Best Selling Products
Sharing 5 Features You Should Know When Using Adobe InDesign
Nội dung
- 1. MASTER pages
- 1.1. Master Page Features
- 1.2. How to create and apply Master Pages
- 2. FRAME
- 2.1. Text and image frames
- 2.2. Use Frame to create professional layouts
- 3. MARGIN & BLEED
- 3.1. Margin - Page margin
- 3.2. Bleed - Edge cut area
- 4. COLOR CORRECTION
- 4.1. Color correction tools in InDesign
- 4.2. Adjust color for objects
- 5. FIND/CHANGE
- 5.1. Search and replace text
- 5.2. Search for other properties
- Conclusion
Sharing 5 important features on Adobe InDesign to help you design more effectively. From Master pages to color correction tools, understand how to optimize your design work, click to find out now!
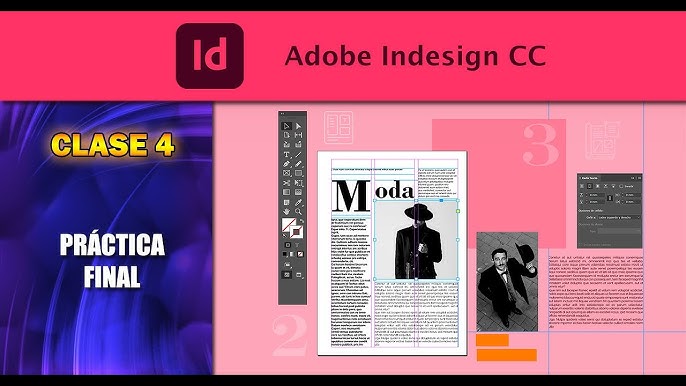
Adobe InDesign is one of the indispensable software for those who love design. With InDesign, creating documents from books, newspapers, flyers, to advertising publications becomes easier and more professional than ever. To get the most out of this software, mastering the basic and advanced features is essential. In the following article, SADESIGN will introduce 5 extremely important features that you should know when using InDesign, helping your design process become faster and more efficient.
1. MASTER pages
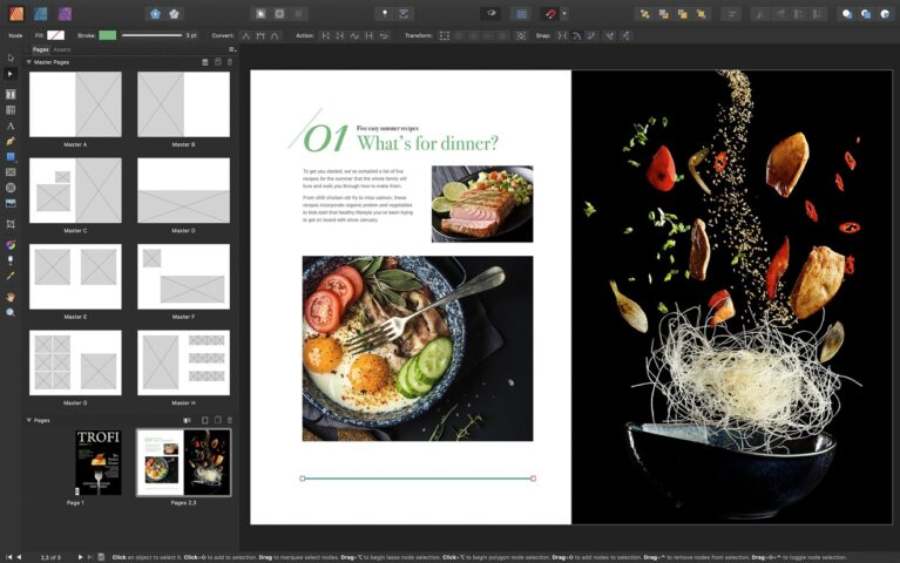
Master Pages are one of the most important features in InDesign. They help users create a common page template for their entire document, saving time and ensuring consistency in design. Master Pages are page templates that you can apply to multiple pages in your document without having to edit each page individually. This is especially useful when you are working with large documents such as books, magazines, or brochures.
1.1. Master Page Features
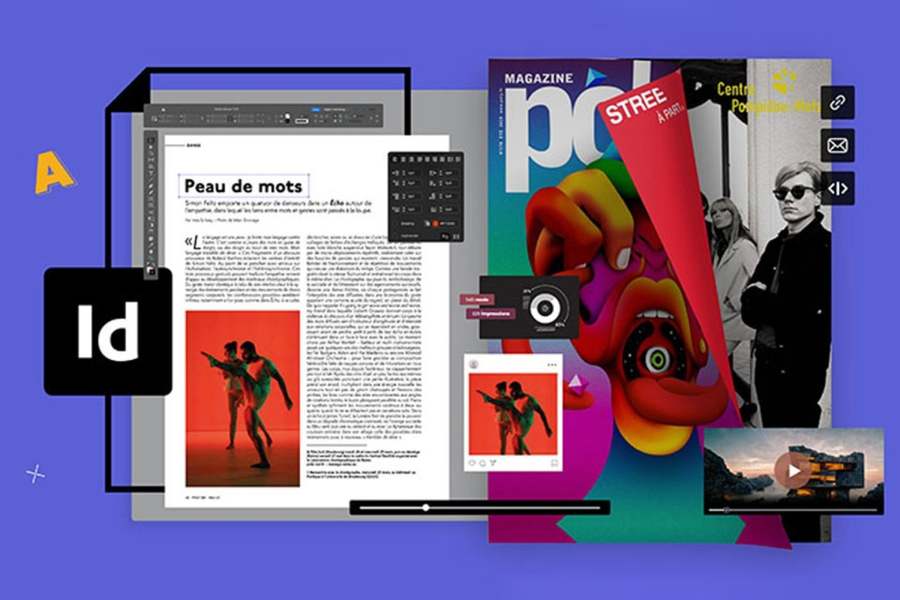
Master Pages allow you to add elements that don't change on all pages, such as page numbers, logos, borders, or a generic title. Once you've created a Master Page, applying it to specific pages in your document is simple. Any changes you make to the Master Page will automatically update on all pages to which you've applied the template.
One of the biggest benefits of using Master Pages is that you can change the layout of a single page without having to edit each individual page. This not only saves time, but also helps ensure consistency in design, preventing pages from looking misaligned or out of sync.
1.2. How to create and apply Master Pages
To create a Master Page in InDesign, simply go to the “Pages” panel, then right-click and select “New Master.” You can edit elements like text, images, or other elements that you want to apply to all pages. Once you have created a Master Page, simply drag and drop it onto the specific pages you want to apply it to.
2. FRAME
In InDesign, the concept of “Frames” is very important. Frames are areas that contain content such as text, images, or graphics. Understanding how to use Frames will help you have more control over your layout and ensure that elements in your design are aligned and distributed properly.
2.1. Text and image frames
A frame in InDesign can contain a variety of objects, including text, images, or vector graphics. When you create a Frame, you not only define the size and position of the element, but you can also easily resize, move, or rotate it without affecting the rest of the document.
InDesign allows you to create many different types of frames, including text frames and image frames. These frames help divide and organize content on the page easily and flexibly.

2.2. Use Frame to create professional layouts
When you're working on complex projects, using Frames makes it easy to control the elements on your page. You can use tools like "Align" and "Distribute" to make sure the Frames are aligned properly, creating a clean and harmonious layout.
3. MARGIN & BLEED
An important element of designing a publication is understanding and setting up Margins and Bleeds correctly . Margins and Bleeds not only affect print quality, but also help you ensure that elements are not cut off when the document is printed.
3.1. Margin - Page margin
Page margins are the space between your content and the edge of the printed page. Setting margins correctly helps ensure that text and images don't touch the edges of the page, making your document look more professional and easier to read. In InDesign, you can customize margins for each page or for the entire document to create a balanced layout.
3.2. Bleed - Edge cut area
Bleed is the extension of content beyond the edges of the design page, to ensure that when the document is trimmed after printing, no important content is lost. Typically, Bleed will be set to about 3mm on each edge. Setting the Bleed correctly in InDesign helps you avoid unnecessary problems during the printing process, such as images or graphics being cropped.
4. COLOR CORRECTION
One of the standout features of InDesign is the ability to adjust colors in a detailed and precise manner. When working with graphic documents, color control is extremely important to ensure the aesthetics and consistency of the final product.
4.1. Color correction tools in InDesign
InDesign offers a variety of tools for customizing colors, including a Color Panel, CMYK (for print) and RGB (for digital design) color systems. You can use these tools to create colors that are accurate and match the needs of your project.
In addition, InDesign also supports tools such as "Swatches" to save colors that you use frequently, making color changes quick and convenient. Another feature is "Color Libraries", allowing you to access international standard color systems such as Pantone to choose standard colors in design.
4.2. Adjust color for objects
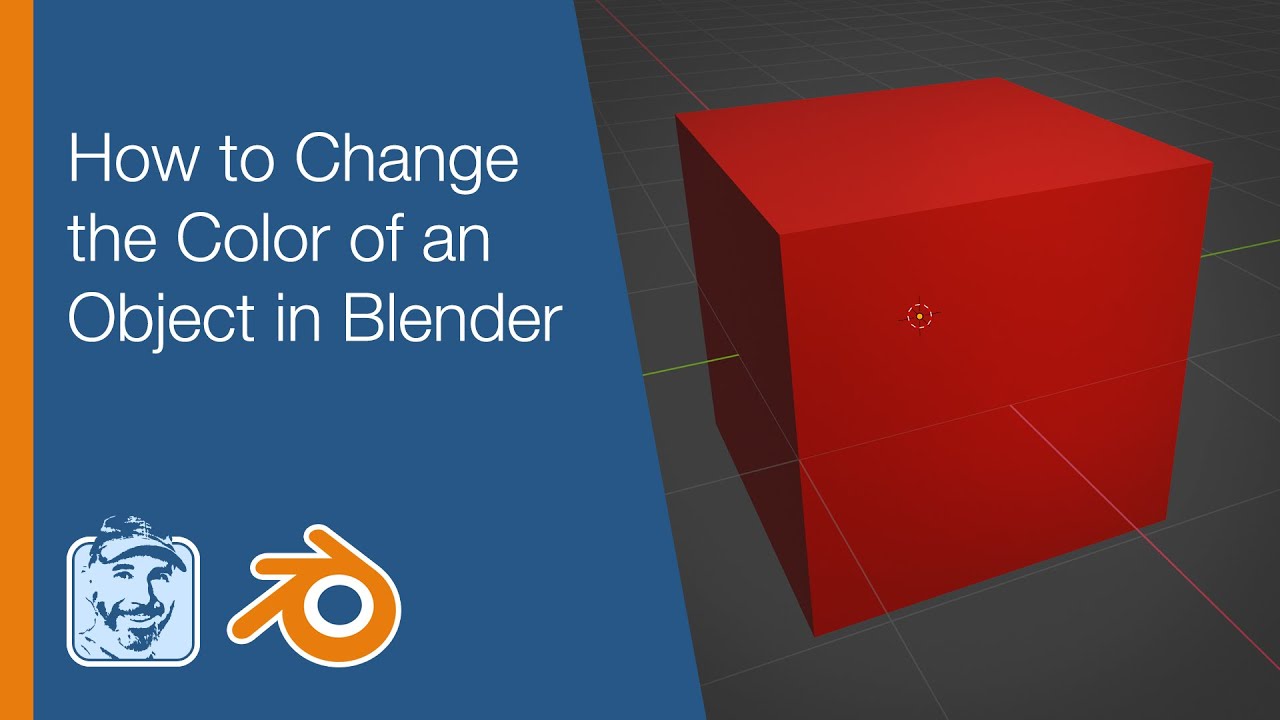
Adjusting the color of text, images, or other objects in InDesign is simple. Just select the object, then use the "Color" or "Swatches" tool to change the color. You can also apply color to borders, backgrounds, or text, creating beautiful effects that attract viewers.
5. FIND/CHANGE
The Find/Change feature in InDesign is a powerful tool that allows you to quickly and accurately search and replace content throughout your document. This is especially useful when you need to fix a specific error in text, change the font, or even change graphic elements without having to manually search and edit each element.
5.1. Search and replace text
With the Find/Change tool, you can search for a specific word or phrase throughout your document and replace it with just a few clicks. You can also extend this feature to find and replace fonts, font sizes, colors, or even visual elements.
5.2. Search for other properties
In addition to text, Find/Change also lets you search for other attributes in a document, such as finding objects of a certain color, finding Frames containing specific images, or finding elements by size and position.
Conclusion
The above article has helped you understand the 5 basic features of InDesign software. Features such as Master Page, Frame, Margin & Bleed, Color Adjustment, and Find/Change all play an important role in creating complete and professional design products. You can refer to buy software at SaDesign - one of the leading graphic software providers in Vietnam. SaDesign not only brings InDesign but also many other popular software such as Adobe Photoshop, Capcut Pro, Illustrator,... Visit the SADESIGN website today to enjoy the most perfect services.


