Best Selling Products
Take 4 Steps to Capture Perfect Bokeh
Nội dung
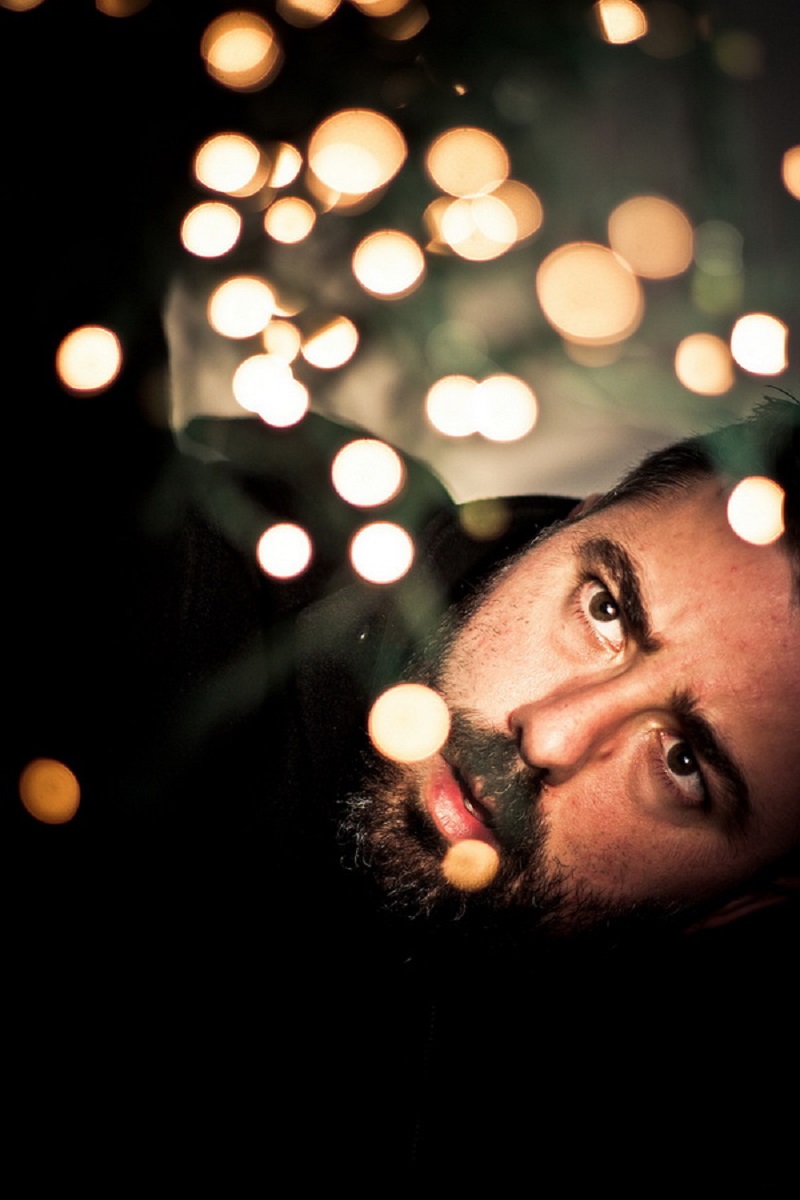
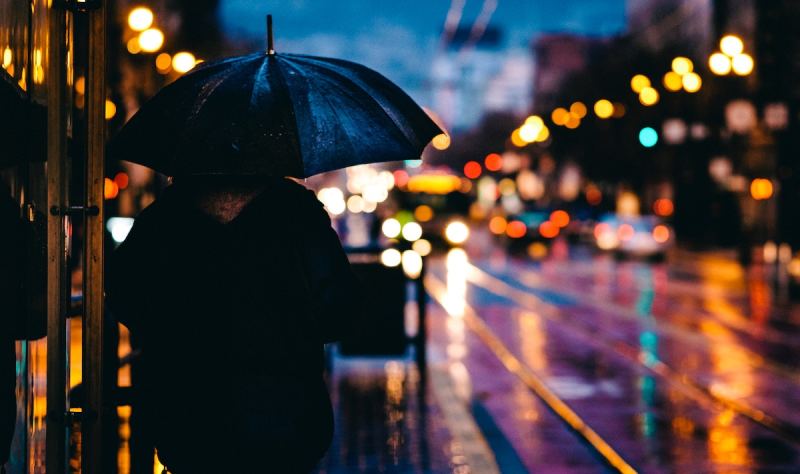
Normally, when using any tool to take photos, background circles - Bokeh circles will appear. These circles are especially evident when taking photos at night. Handling these circles well is one of the dreams of every photographer to have a beautiful and sparkling picture.
Take 4 Steps to Capture Perfect Bokeh
normally, when using any tool to take photos, background circles - Bokeh circles will appear. These circles are especially evident when taking photos at night. Handling these circles well is one of the dreams of every photographer to have a beautiful and sparkling picture.
Content
4 Simple Steps to Get Great Bokeh PhotosFind the shiny spotsSet the smallest f-numberUse the longest focal length possibleSelect objects closest to the lensThings to remember when taking Bokeh photos
Take 4 Steps to Capture Perfect Bokeh
Normally, when using any tool to take photos, background circles - Bokeh circles will appear. These circles are especially evident when taking photos at night. Handling these circles well is one of the dreams of every photographer to have a beautiful and sparkling photo. So what are these circles really? How to handle and take perfect bokeh photos? Follow the 4 steps below from SaDesign .
4 Simple Steps to Get Great Bokeh Photos
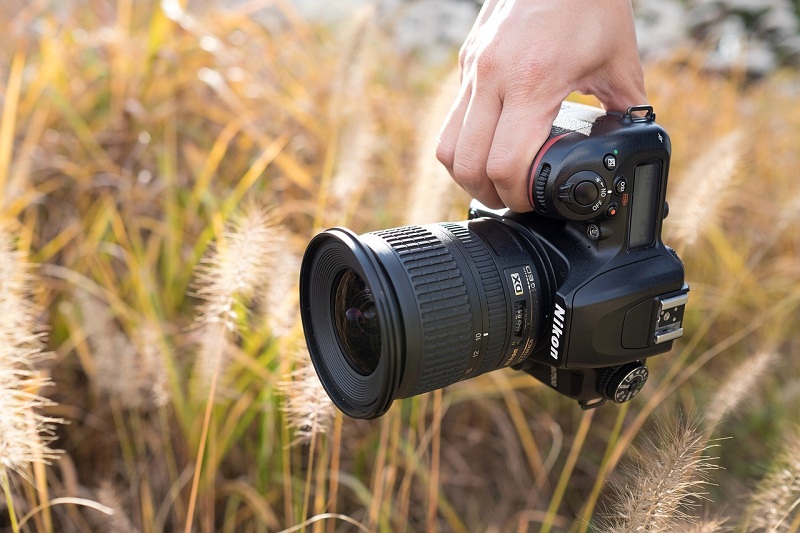
The small circles that often appear when taking photos are often called Background, or in photography they are called Bokeh. The effect of these small circles is to help the photo become clearer and more sparkling thanks to the lights. They are one of the ways to make your photos more professional in the eyes of the viewer. For example, the area where flowers are photographed at sunset. How to get a beautiful, clear and glare-free photo? To get the best results, follow the 4 steps to take the perfect Bokeh below. First of all, you need to prepare all the tools to take photos including: your DSLR or mirrorless camera.
Find the shiny spots
In reality, Bokeh circles are not as magical or mystical as we think. They are created from sparkling points of light - point sources. When we use shallow depth of field to blur - create bokeh from these points of light, they become circles. So looking for sparkling points is very important when shooting Bokeh.

Look for sparkles in the surrounding landscape.Look for sparkles in the surrounding landscape.
Sparkles are often quite simple, all around us that you often overlook. They can be rivers, streams on a sunny day, leaves illuminated by the sun. Follow the sunlight and find places with sparkling light. A little tip for you is to look at the sunlight to find the sparkles. Basically, sparkles are reflections of sunlight. They are often located in places that seem to be backlit, facing away from the sun, so it will not be easy to find them.
Set the smallest f-number
Once you’ve found a bright spot, blurring is all you need to get a good shot. Simply set the f-number to the lowest setting, and select Aperture-priority AE mode, as you’ll need to adjust the aperture. The larger the blur, the larger the Bokeh circle, and the smaller the f-number. You can learn more about using the f-number trick in many of today’s Bokeh photos.
Use the longest focal length possible
The next step to getting a good bokeh shot is to use the widest possible focal length. The longer the focal length, the larger the bokeh circle. If you’re using a zoom lens, shoot at the telephoto end for the best effect.

Use the longest focal length to focusUse the longest focal length to focus
A beautiful photo but taken at different focal lengths will produce different photos, even when taken with the same f-number. When taking the same object, the same f-number, the larger the focal length, the larger the bokeh circle. To get beautiful photos, you need to find the focal length that best suits the object. In fact, it must be understood that the longer the focal length, the less of the surrounding scene can be captured and photographed because the angle of view is narrower. After researching and trying to take photos with many different types of cameras, SaDesign recommends that:
If it is a Full-frame camera, the focal length used is at least 70mm.
APS-C camera for relatively large bokeh circles, use focal length of at least 50mm.
You can also adjust the length to your liking.
Select objects closest to the lens
lo get the best Bokeh effect, the following 2 factors are needed:
The subject of the photo, the object to be focused on must be as close to the lens as possible.
The sparkle points, the areas you want to turn into small bokeh circles, should be as far away from the subject as possible.
If you want to achieve the above two elements, when looking for a vanishing point, make sure that the subject of the photo is as close to the camera as possible. Move closer to the camera if necessary.
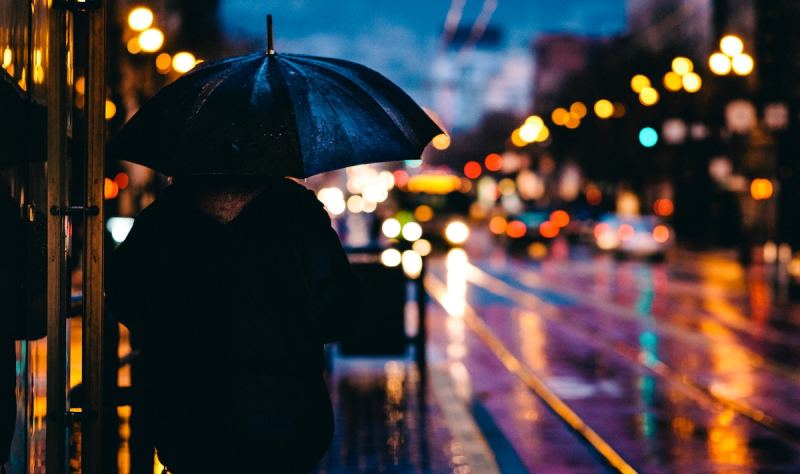
A good photo is when you find the sparkle and choose the subject close to the lens.A good photo is when you find the sparkle and choose the subject close to the lens.
To be able to achieve the above sharing, it is necessary to have a real practice process and outside experience. Try taking pictures of things around you to get more experience.
Things to remember when taking Bokeh photos
Many people when using the Bokeh effect often encounter the following situation: they cannot find the sparkling point. Or the sparkling points are moving and there is nothing next to that bright point to focus on. What to do when encountering this situation is:
Use Manual Focus (MF) to deliberately shift the focus
Switch the focus mode from AF - autofocus, to MF - manual focus. But remember, this is not M mode in shooting mode,
Use your hand to rotate the ring to adjust the focus on the lens to get the best focus.
This ring needs to be rotated in a certain direction that will get you the focus closest to the camera. For example: clockwise for Canon lenses.
When in doubt about which direction to turn the ring, look through the viewfinder, or the Live View image on the LCD screen. Experiment with turning the ring to see which direction produces the larger blur.
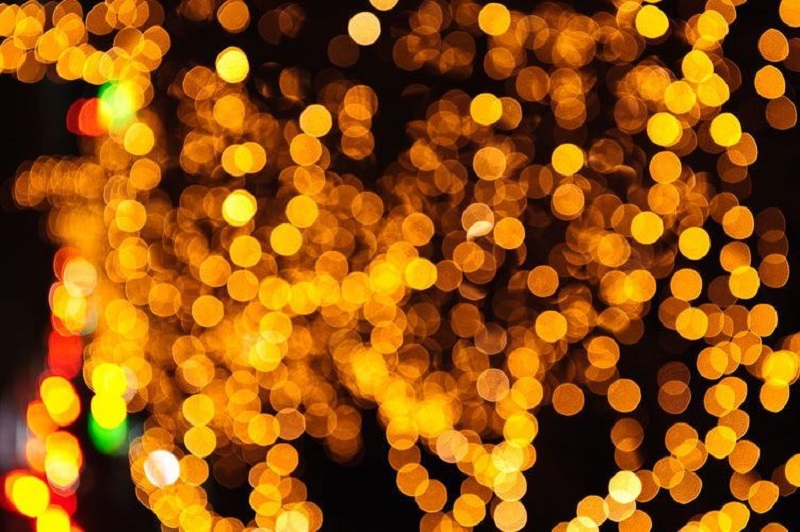
Take photos using the bokeh effectTake photos using the bokeh effect
Remember that any scene or phenomenon, as long as there is a bright spot, we can use this method to focus and create a Bokeh circle. Even when being too familiar with MF, photographers can create a Bokeh circle with any object, any location... A beautiful photo with the Bokeh effect will help you have memorable memories. Hopefully, SaDesign 's sharing will help newcomers to grasp the basic knowledge of taking photos with the Bokeh effect. Wish you success with 4 photos of Bokeh! Subscribe to the Youtube channel to learn Photoshop for free: REGISTER NOW


