Best Selling Products
What is ISO? ISO and Digital Photography
Nội dung
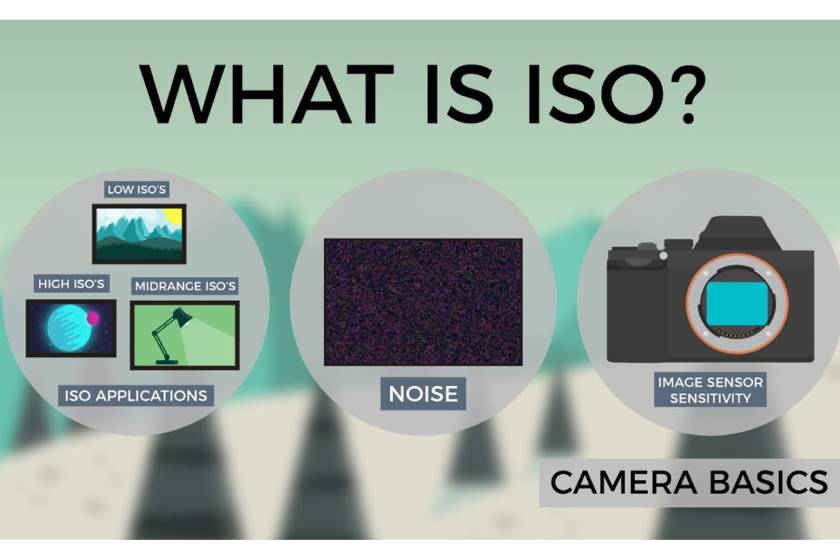
What is ISO? is an issue that any photographer needs to know and understand to serve his photographic work. If you still dream about this term, do not miss the following article that SaDesign Retouching Academy will share.
 What is ISO
WHAT IS ISO?
ISO stands for International Organization for Standardization. Photographically, they are intended to specify a system of exposure metrics devised by the organization.
In essence, ISO is an exposure rating used to tell you how sensitive (sometimes referred to as fast) a film (or digital sensor) is to light.
This system was created for movies and converted to digital. It replaces the older ASA (American Standards Association) and DIN (Deutsche Industrie Norm) exposure ratings to maintain consistency in the international photographic sector.
 iso is International Organization for Standardization
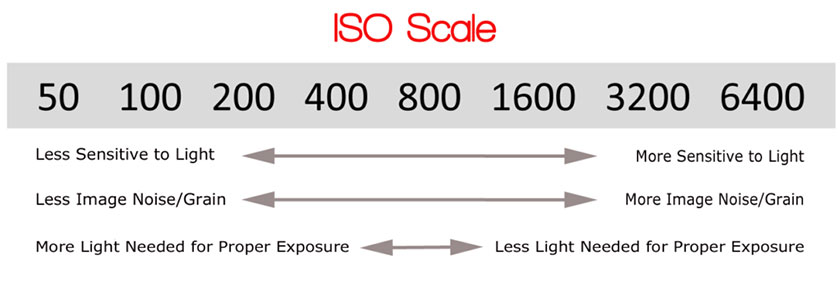
ISO is measured using a series of digital settings (50, 100, 200, etc). Each rank number doubles as it increases. The higher the number of ISO speeds, the more sensitive the film or sensor is to light and thus a faster exposure time is produced.
Setting a higher ISO will be easier in low-light situations. However, it also results in image noise or film grain being mixed into the image. The higher the number of ISO speeds you choose from, the less light you will need to take photos with the correct exposure. But you can reduce the quality of your overall image.
Particles (film) or picture noise (digital) can look great in some situations. However, in professional, product and commercial photography, no one would expect this in their photos. Digital imaging suffers the most in this regard, while film retains interest as long as the grain is not too prominent.
ISO and Digital Photography
In digital photography, ISO 100 is considered normal ISO speed, they provide sharp, detailed images with little or no noise. You should set your camera at a speed of ISO 100 - 200, only raise it when necessary.
When taking pictures, you can reduce some lost exposure time, with low ISO speeds by using strobe light, decreasing your shutter speed or adjusting aperture settings.
It is wise to determine your ISO speed limit based on what you are shooting, as well as the technology in the camera you are using.
For example, a crop-frame camera, it takes more time to collect light than a light-sensitive sensor on a full-frame. Likewise, some camera models are rated as more sensitive than others.
Determine the specific camera's light sensitivity and adjust shooting styles to maximize the camera's strengths and overcome weaknesses.
 ISO and Digital Photography
Digital ISO is a way to 'fool' a more sensitive sensor. You may notice that the image noise generated by the high ISO image is similar to the image noise produced during post-production when the exposure is overexposed.
The reason is because technology is using similar methods to yield more information. Unlike analogue, where the sensitivity is really different based on the ISO reel you are using, you won't change the sensor on a DSLR camera.
When you increase your ISO beyond a certain point, you're asking to program it to 'make' the sensor see more light to improve exposure.
How to choose the correct ISO speed
When there is plenty of light, such as a sunny day, use the lowest ISO setting.
When working in low light outdoors, open your aperture (lower f-stop) or use a slower shutter speed (no less than 1/80 to avoid camera shake and motion blur) before increasing the ISO.
When shooting low light indoors, use artificial light in the form of flash or strobe light. If using artificial light is not an option, open your aperture, use a slower shutter speed and increase your ISO speed step by step until you find a low ISO setting. exposure to get the right exposure.
Different types of film for analog cameras determine the ISO; So always keep a variety of rolls around. I usually have 100, 200 and 400 on hand whenever I'm filming. Just be aware, you need to use the entire scroll wheel before converting and adjust the ISO setting on the camera so your white balance won't be lost.
ISO and daily scenarios
The lowest ISO setting will always provide cleaner, higher quality images. At times, you might need to play around with the 3 main exposure control settings - ISO, Aperture and Shutter Speed - to find the perfect balance. These three are also known as the Exposure Triangle.
- Sunny daylight: 100 ISO - in this case, you may need to deal with overexposure rather than underexposure. A general rule of thumb (from the movie shooting days) is that ISO 100, aperture and shutter speed should be based on the desired depth of field and subject movement.
- When it is overcast or Indoor: 100 ISO with slower shutter speed and aperture open. If those methods still don't work, increase your aperture to 400 - 800 ISO based on ambient light. Introduce reflectors, strobe lights or flash that will help add more light when possible.
- Low light (Outdoor / Indoor) with no additional light source: 800 ISO or higher.
Visual example
The following photos were all taken at the same time, (4pm on a morning day) with the same amount of ambient light (indoors near a window facing south). You can check camera settings in the top left corner of each image. The lens used is the Canon 24-70mm on a full-frame body.
- Aperture f / 2.8 - Shutter speed 1/80 - ISO 100:
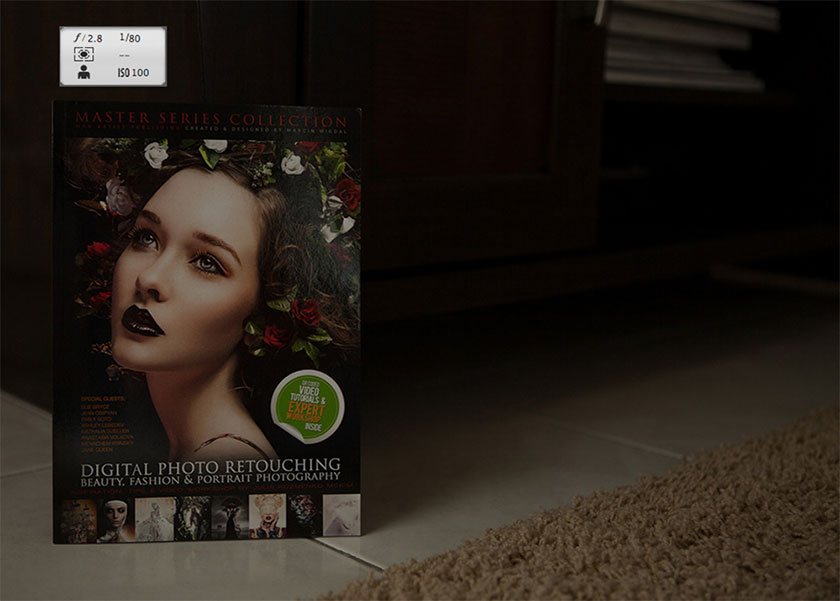 Shutter speed 180 - ISO 100
Here's the basic example, with the aperture wide open and the shutter at the slowest hand-held speed (no internal shake) and normal ISO setting.
- Aperture f / 2.8 - Shutter speed - 1/50 - ISO 100:
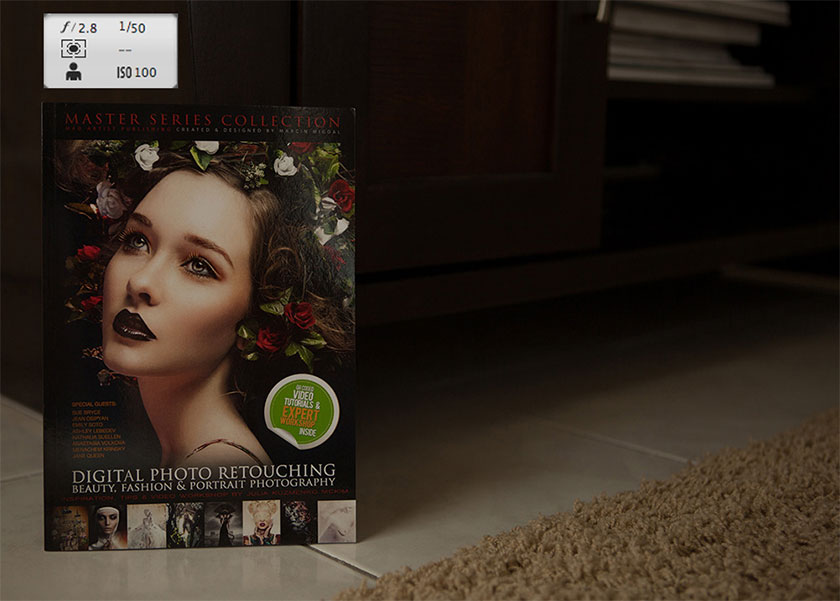 Shutter speed - 1/50 - ISO 100
A slower shutter speed allows more ambient light to reach the sensor, but the image is still underexposed. It also caused a bit of camera shake.
- Aperture f / 2.8 - Shutter speed - 1/160 - ISO 800:
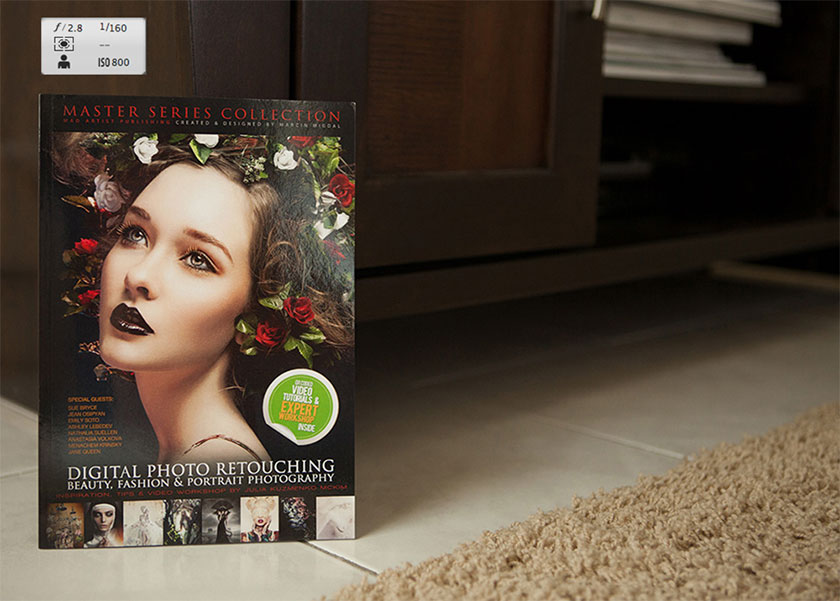 Shutter speed - 1/160 - ISO 800
Overall exposure is improved, but image noise from a higher ISO speed may or may not be caused; depends on what the photo will be used for.
- Aperture f / 7.1 - Shutter speed - 1/160 - ISO 6400:
A change in depth of field and more areas in focus has occurred due to the smaller aperture (f / 7.1) Image noise in the dark has been significantly increased due to the high ISO speed (6400) .
Sample Close-up:
100 ISO - shadow contains no image noise (shadows / shadows are among the first places where image noise / grain may be visible).
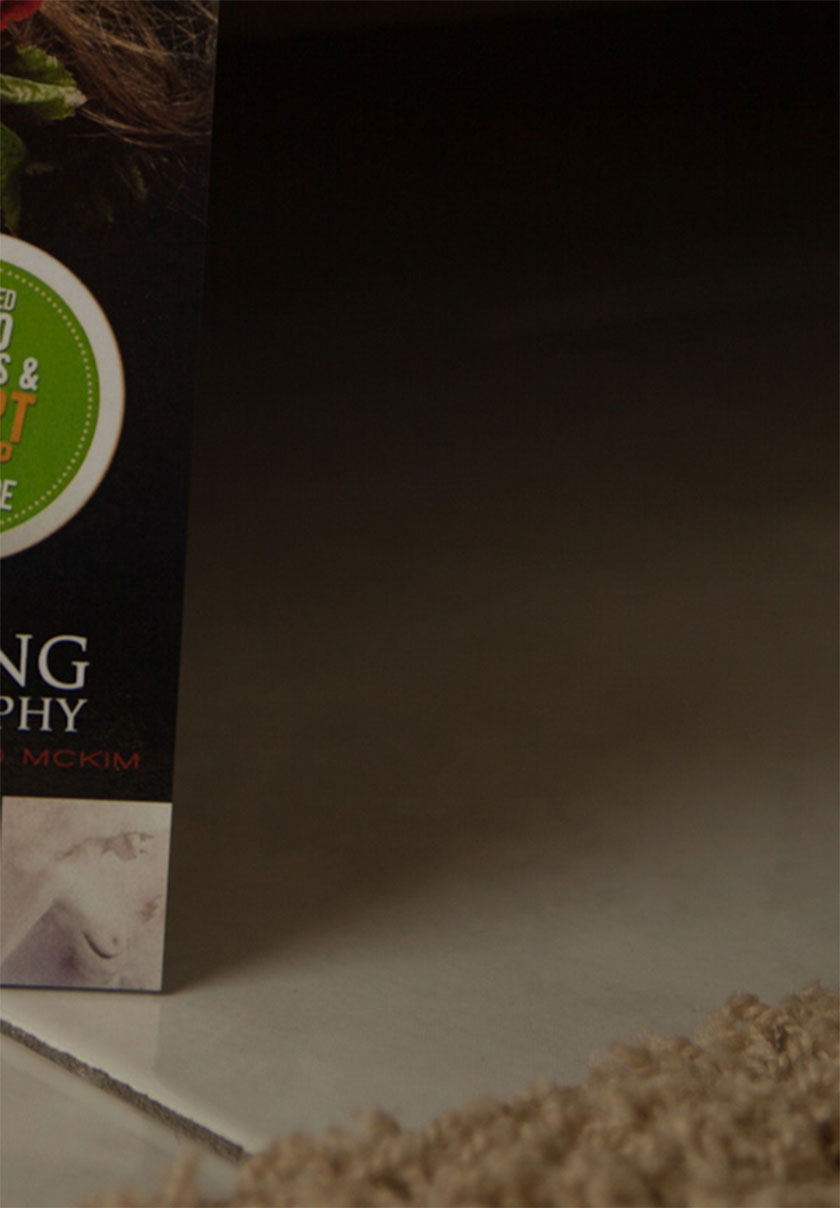 100 ISO
800 ISO - some noise, slightly better details due to exposure.
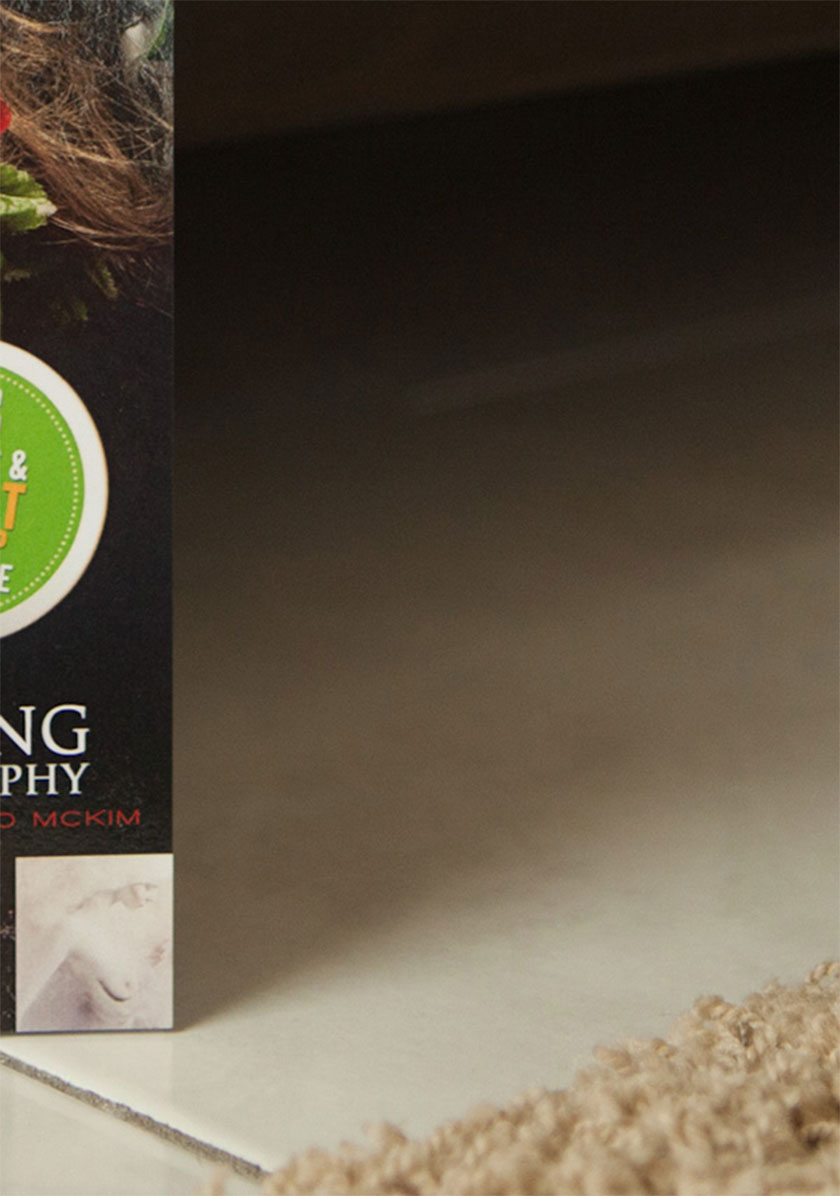 800 ISO
ISO 6400 - very noticeable image noise; very poor image quality.
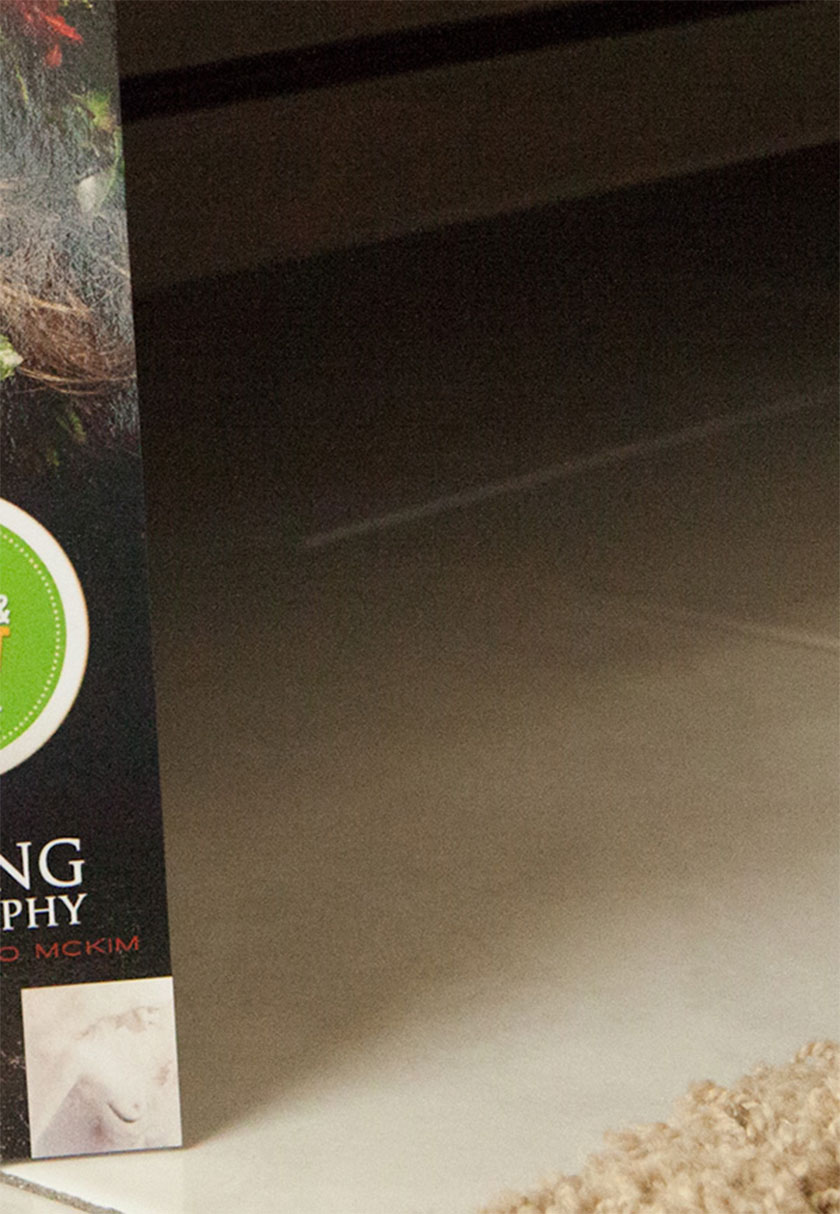 6400 ISO
Some important notes
Many newer professional DSLRs perform better at high ISO settings, often significantly reducing image noise compared to their predecessors.
If you're shooting for large prints or for a client, remember where they'll be seen and whether the image quality is scrutinized.
These options should be considered before increasing the ISO speed:
- The gown is your friend: use artificial light whenever possible in low light conditions.
- Camera Vibration: use a tripod to minimize camera movement. - Really low shutter speeds can be used for stills.
- Depth of field: If a shallow (less in focus) depth of field is an option, open up your aperture to increase exposure.
Film grain effects: Easily remove noise or grain in B&W images. That is the chromatic (color) noise, the most unsightly. Additionally, people are familiar with the classic look of movies and it can add another interesting aspect to your photos that would otherwise be an eyesore.
Quick recap
- The higher the ISO, the more sensitive the film / sensor is to light.
- Lower the ISO, the clearer and cleaner the image will appear.
- ISO speed is related to the aperture and shutter speed combinations allowed. It is one of the three main factors that affect exposure in an image.
The higher the ISO, the more noisy or grainy the image is, especially in the black / shadow areas of the image.
SaDesign Retouching hopes that through this article you have explained in more detail about "What is ISO?" If you have any contributions, please leave a comment below this article.
See more What is image noise? How to deal with this situation in Photoshop


