Best Selling Products
03 Ways to drop text shadow in Photoshop SUPER EASY
Nội dung
- 1. Why do we need to drop text shadows in Photoshop?
- 2. Ways to create text shadows in Photoshop
- 2.1. How to cast upside-down text-shadow in Photoshop
- 2.2. Create a short shadow for text in Photoshop
- 2.3. How to create long shadows for text in Photoshop
- 2.4. How to create borders for text in Photoshop
- 3. Tips to create beautiful text shadows in Photoshop
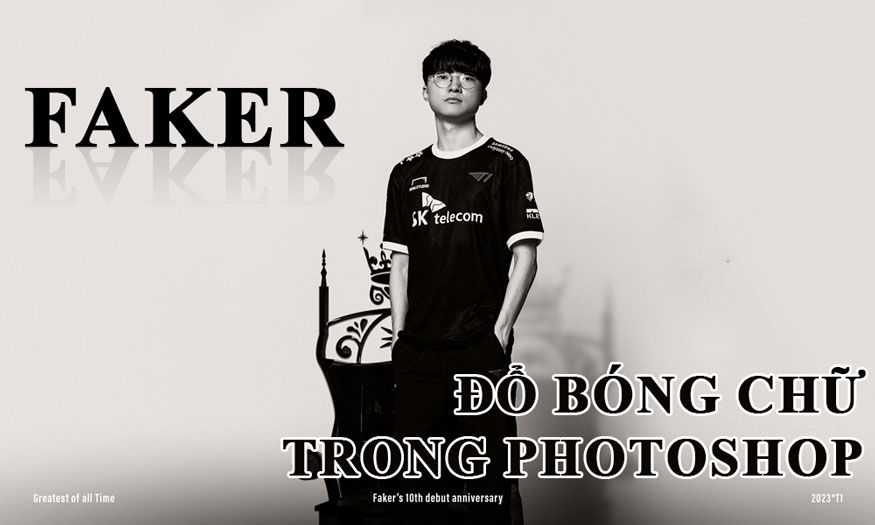
To make the text in Photoshop have depth and impression, you can try the shadow effect for the text. Reasonable and natural shadows will help your overall photo be more beautiful. Let's refer to some simple ways to shadow text in Photoshop right after this.

1. Why do we need to drop text shadows in Photoshop?
In some cases, the text is the main subject of the photo, you want it to be the highlight, to stand out, to attract attention, then shading the text in Photoshop is the best solution. Text shadows in Photoshop are a technique for creating a 3D effect on text, making it stand out from the background. Text shadows help create a sense of depth, volume, and light in your photos. You can also customize the color, size, direction, and opacity of the shadow to suit your ideas.
2. Ways to create text shadows in Photoshop
There are currently many ways to create text shadows in Photoshop. Depending on your text shadow needs, you can refer to some of the following methods.
2.1. How to cast upside-down text-shadow in Photoshop
To be able to drop text-shadow in Photoshop with a mirror-like shadow effect, you can follow the steps below.
Step 1: Open Photoshop software on your computer. Then, create a new file with the size and background color you want by selecting File => New on the toolbar or you can press the shortcut key Ctrl + N. You can also drop text-shadow in Photoshop directly on existing images.
.jpg)
Step 2: On the toolbar, select Text or press the shortcut key T and type any text. Customize the font, size and color of the text to prepare to apply text shadow in Photoshop.
.jpg)
Step 3: Duplicate the text layer by right-clicking on the Layer => Duplicate Layer on the toolbar.
.jpg)
Step 4: Select the duplicated Layer, press the shortcut key Ctrl + T to adjust the position of this Layer. Then right-click and select Flip Vertical to rotate the new Layer from its original position.
.jpg)
Step 5: On the toolbar, use the Move Tool (V) to move the newly adjusted Layer below the original Layer. This Layer will be the shadow layer that creates the text-shadow effect in Photoshop.
.jpg)
Step 6: Right-click on the newly edited Layer then select Rasterize Type to change the text to Graphic format.
.jpg)
Step 7: To create a mask on this Layer, select the Add Vector mask icon.
.jpg)
Step 8: Select the Add Vector mask area of the copied Layer => select the Gradient Tool (G) to fill the text with color. Select the appropriate Gradient color style, then hold down and drag the mouse on this Layer from bottom to top.
.jpg)
Step 9: Align and reduce the Opacity of the newly created Layer to about 50% to make the text look more natural.
.jpg)
Step 10: Once finished, hold down the shortcut key Ctrl + Shift + E and select all the Layers to combine the Layers with the original background image, then save the image.
2.2. Create a short shadow for text in Photoshop
If you want the shadow of the text to be short, you can use the Blending Option feature. Follow these steps:
Step 1: On the toolbar, select Text or press the shortcut key T and type any text on the photo in Photoshop. Customize the font, size and color of the text to prepare to apply text shadow in Photoshop.
.jpg)
Step 2: Right-click on the text layer and select Blending Option to create a text shadow effect in Photoshop.
.jpg)
Step 3: Click Drop Shadow and then adjust the following parameters:
Angle: Shadow tilt
Distance: Ball distance
Spread: Size of the shadow
Size: Size
.jpg)
Step 4: After adjusting, click OK. That completes the extremely simple way to add text shadow in Photoshop.
.jpg)
2.3. How to create long shadows for text in Photoshop
If you want the shadow of the text to be long, you can follow these steps:
Step 1: On the toolbar, select Text or press the shortcut key T and type any text on the photo in Photoshop. Customize the font, size and color of the text to prepare to apply text shadow in Photoshop.
Step 2: Right-click on the text layer then select Blending Option. Then select both Drop shadow and stroke and adjust the following parameters:
Size: Text border size
Position: Background position changed to outside
Color: Text border-color
.jpg)
Step 3: Click on the fx item at the bottom of the Blending Option window to create another Drop shadow.
.jpg)
Step 4: Go to Drop shadow to increase the Distance attribute.
.jpg)
Step 5: Continue to adjust the Drop shadow then adjust the Distance like step 3 according to your design purpose.
The result you get will be a long shadow of the text. So you have completed the text shadow in Photoshop.
.jpg)
.jpg)
2.4. How to create borders for text in Photoshop
In addition to shading text in Photoshop, you can also create borders for text in Photoshop. To create borders for text in Photoshop, you can follow these steps:
Step 1: On the toolbar, select Text or press the shortcut key T and type any text on the photo in Photoshop. Customize the font, size and color of the text to prepare to apply text shadow in Photoshop.
(2).jpg)
Step 2: Right-click on the text layer.
.jpg)
Step 3: Then select Stroke, adjust the basic parameters:
.jpg)
Size: Text border size.
Position: Border position, change to Outside!
Color: Text border color.
Then click OK.
3. Tips to create beautiful text shadows in Photoshop
.jpg)
Creating text shadows in Photoshop is very simple, but to have beautiful, unique and natural shadows, you should note the following points:
Use the Layer Styles feature in Photoshop to customize many effects for layers such as Bevel and Emboss, Outer Glow, Inner Shadow, Gradient Overlay, etc. You can access Layer Styles by right-clicking on the layer and then selecting Blending Option. The dialog box that appears is the Layer Styles dialog box.
Remember to adjust the Opacity. It is an important parameter when you make a text shadow in Photoshop because it affects the transparency of the shadow. You can adjust the Opacity of the shadow in the Layer Style window when selecting Drop Shadow. Note that you should keep the Opacity of the shadow lower than the Opacity of the text to create a sense of depth and volume for the text.
Adjust the Distance and Spread parameters accordingly. Distance is the distance between the text and the shadow, and Spread is the spread of the shadow. You can increase or decrease the Distance and Spread to create different shadow effects, depending on the light source and your viewing angle.
Adjust the Size and Angle accordingly. Size is the size of the shadow, and the Angle parameter is the angle of the shadow relative to the text. Change the Size and Angle accordingly to create more vivid shadows in text in Photoshop.
Don’t forget to adjust the color of the shadow. The shadow is usually black by default, but you can completely fill it with other colors. Try different colors to choose the most suitable color.


