Best Selling Products
3 Simple Steps to Create Light Ray in Photoshop
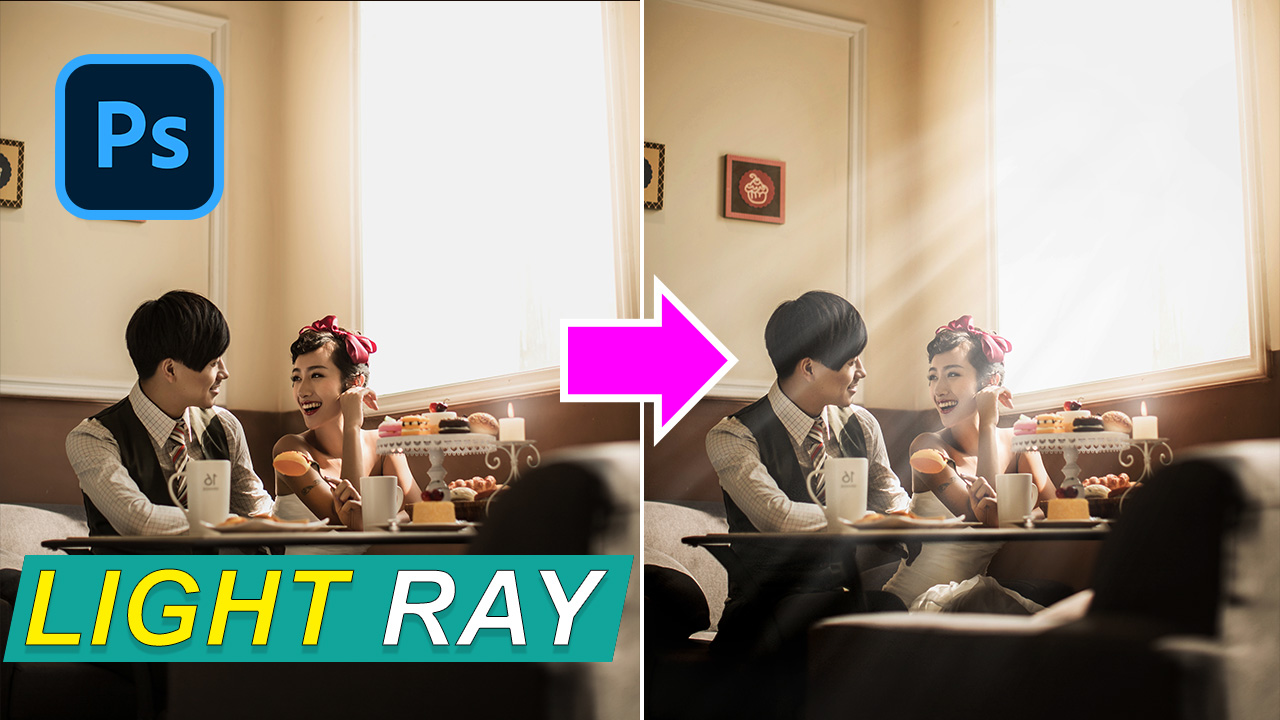
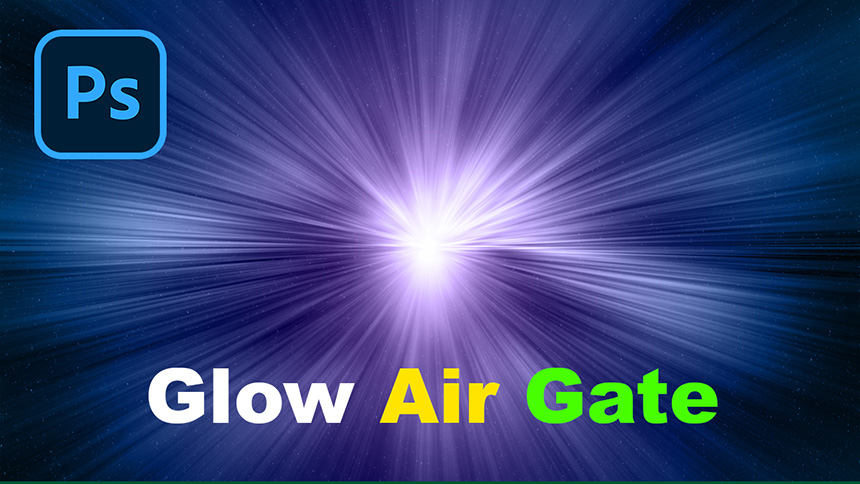
Hello everyone, this is SaDesign channel, today I will share with you the simple steps to create light rays in Photoshop.
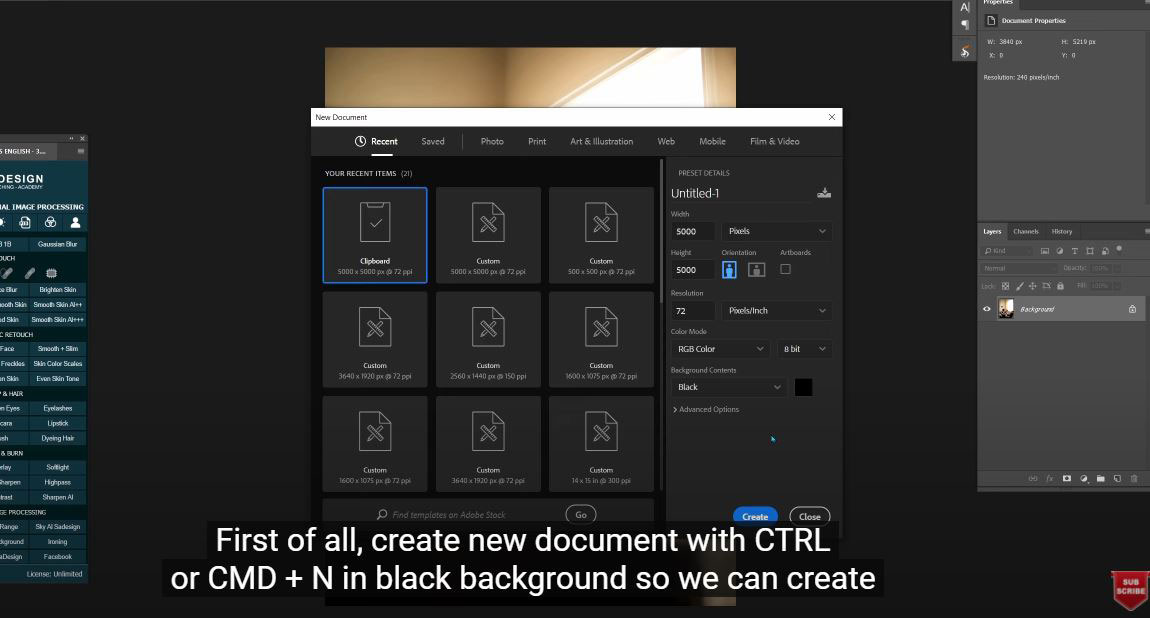
(1). First of all, create a new document with CTRL or CMD + N on a black background so that we can create sparks in this new document and create brushes on it.
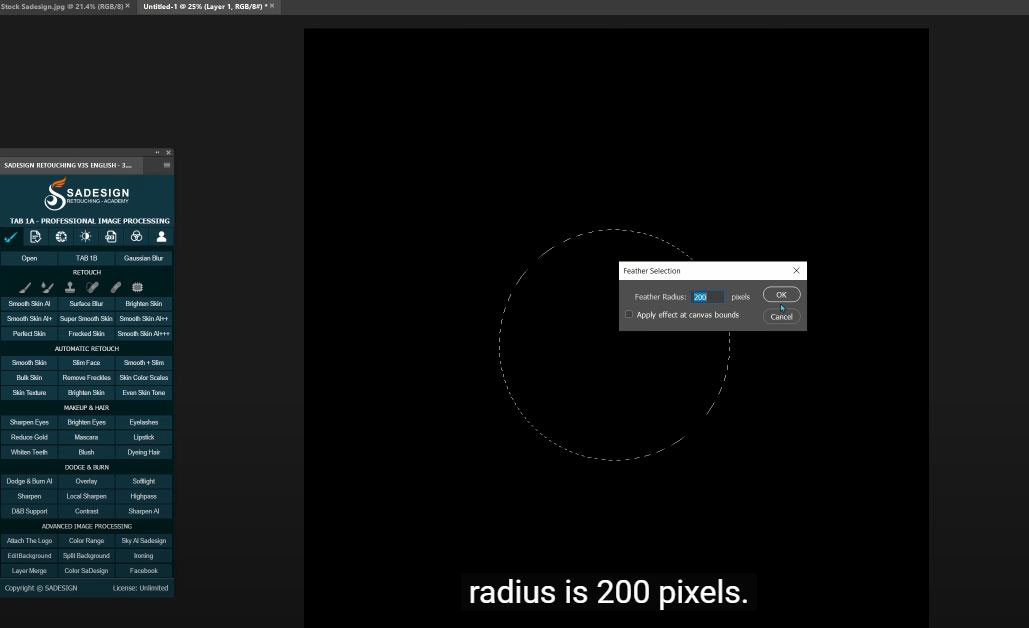
(2). Create new layer by clicking to new layer icon and picking "Eliptical Marquee Tool” - M shortcut to make a circle. Hold ALT and SHIFT to draw a nice perfect circle in the middle. Go to Select > Modify > Feather (Shift + F6 shortcut) to make soft border, the feather radius is 200 pixels. Press D to set the color of foreground and background as default with black on the foreground. Go to Filter > Render > Clouds. Deselection with shortcut CTRL or CMD + D and then Filter > Blur > Radial Blur, ensure to choose zoom option in blur method, good quality and the amount is about 100. In blur center, click and drag the center point to the upper corner just like the light from the window.
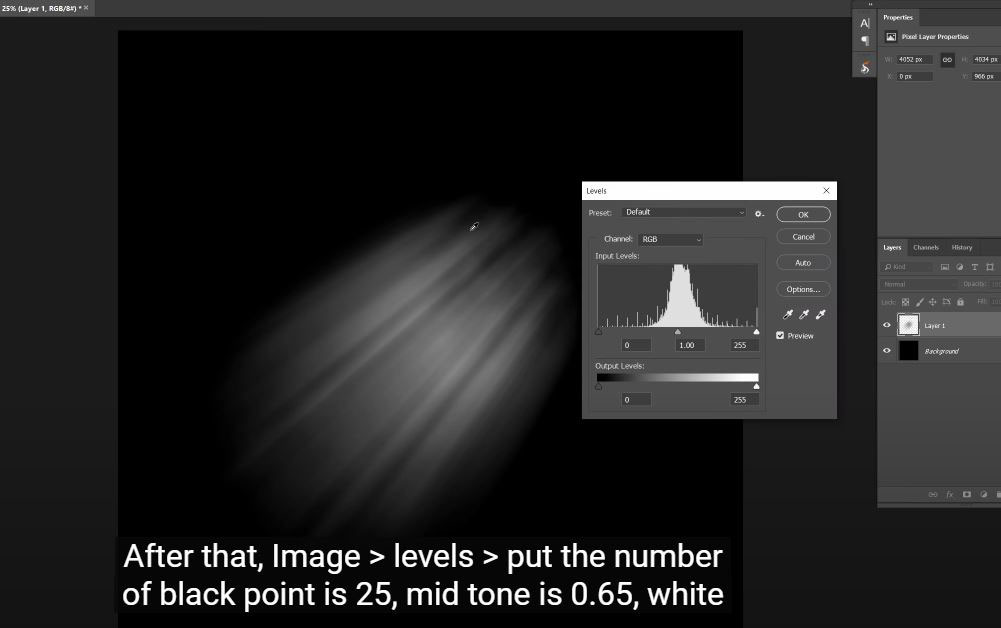
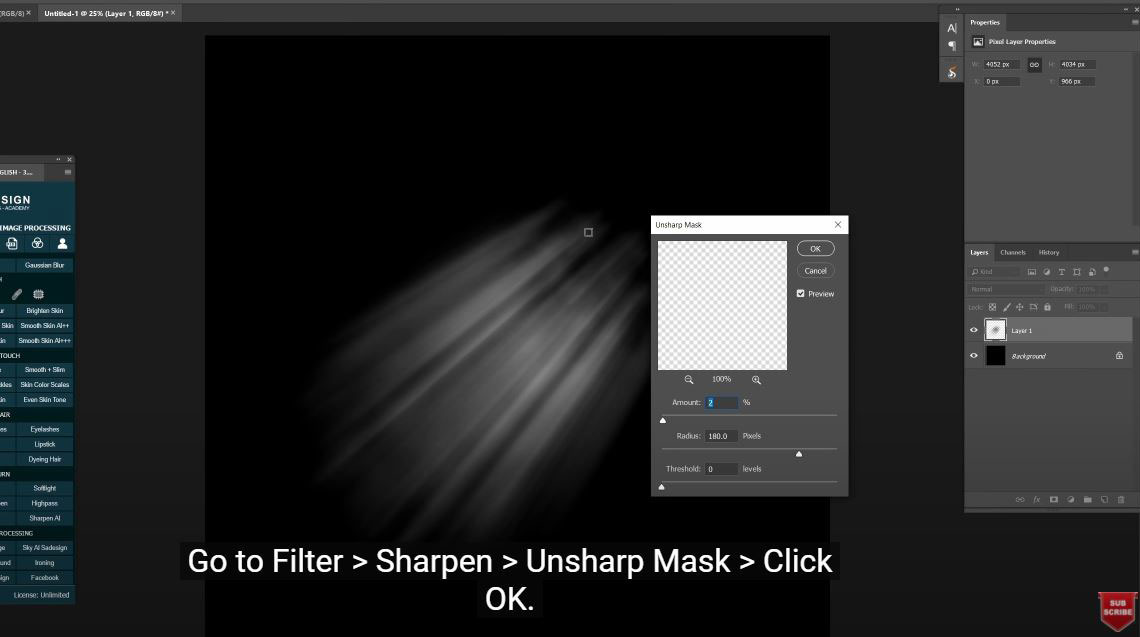
(3). After that, Image > levels > put the number of black point is 25, mid tone is 0.65, white point is 200. Go to Filter > Sharpen > Unsharp Mask > Click OK. Right click to the adjustment icon and choose Invert. Press Ctrl or CMD + A to select all ang go to Edit > Copy Merged. Next, Edit > Paste or CTRL + V. Go to Edit > Define Brush Preset and put the name as you wanted. Now you can create the light ray with brush.
(4). Go back to the image you want to create light ray and choose Brush tool (B shortcut). Make sure to choose the correct brush that we just created.
Create new layer and ensure foreground is in white and paint with just a click. That’s it. Enjoy your result.
REGISTER FOR FREE PHOTOSHOP LEARNING
============================
The most powerful Retouch tool processor
? DOWNLOADS Practical pictures: https://drive.google.com/file/d/1HBl-wnFGdF0znTt4c-MbKUJS7U7JHrPn/view?usp=sharing


