Best Selling Products

ChatGPT Plus Account (GPT-4)
16 USD

MidJourney Account
29 USD

Upgrade Duolingo Super
29 USD

Capcut Pro 1 Year
39 USD

Genuine Cheap Canva Pro
39 USD

Autodesk All App Account Copyright
120 USD

Genuine Adobe Illustrator account
99 USD

Upgrade Genuine Office 365
49 USD

Upgrade genuine Capture One account
120 USD

Adobe Premiere Pro Account
99 USD

Adobe Photoshop Copyright - Full App
120 USD

Windows 10 & 11 Pro Key
36 USD

Freepik Premium Account
59 USD

Copyright Adobe Lightroom Account
59 USD

Plugin Retouch4me
69 USD
4 factors that determine blur in photography
Nội dung
The blurring effect, or bokeh, is an important element that helps the subject stand out and adds depth to the photograph.
1. What is the blurring effect in photography?
Blur (or Bokeh) is a phenomenon where areas outside the point of focus no longer appear sharp but become soft and blurred. This is one of the most commonly used techniques in modern photography to separate the subject from the background.
Unlike phones that use AI-powered background blur algorithms, digital cameras with large sensors and interchangeable lenses can create a natural-looking blur effect through optical elements.
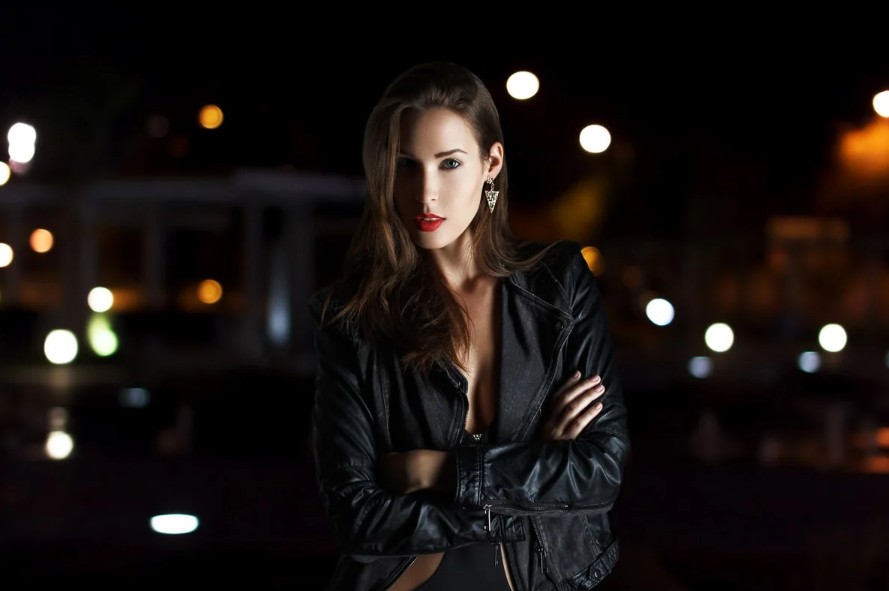
When the foreground or background is blurred, the viewer's gaze is completely focused on the subject. This is also why portraits, product photos, wedding photos, and macro photos often use this effect to enhance their aesthetic appeal.
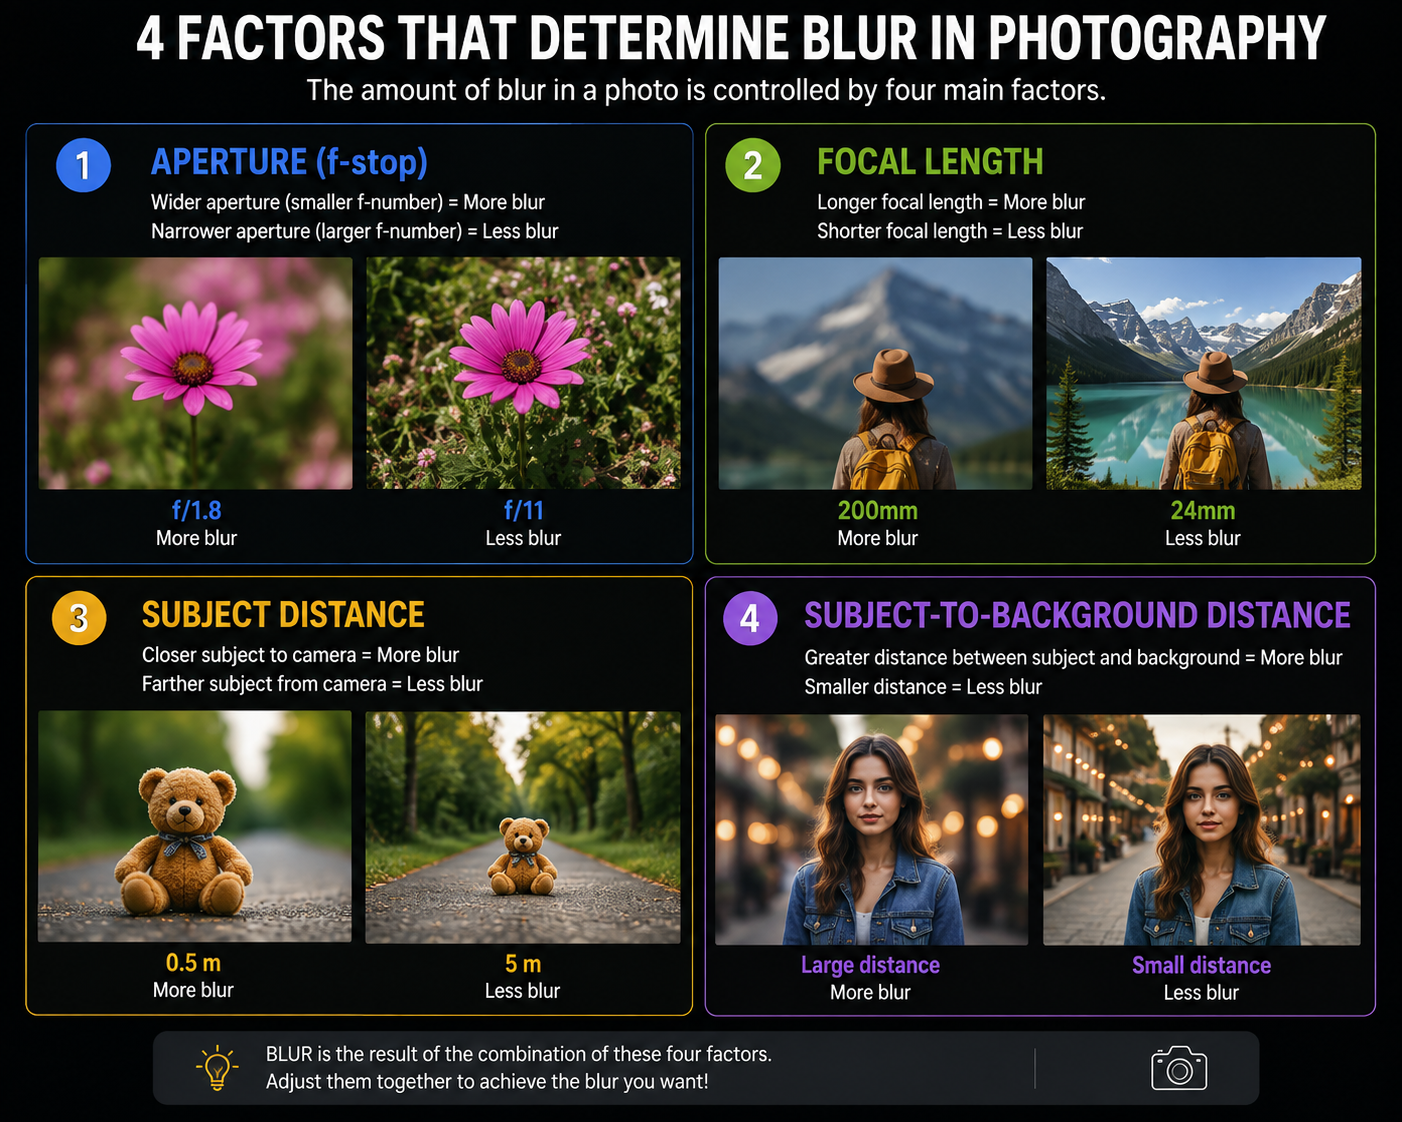
The degree of blurring does not depend on a single parameter but is determined by four main factors:
-
Aperture (or f-number)
-
focal length of the lens
-
The distance between the camera and the subject
-
The distance between the subject and the background
Understanding each element will help you proactively control the bokeh effect instead of relying solely on the camera's automatic mode.
2. Aperture
Of the four factors affecting the bokeh effect, aperture is the most impactful. Simply changing the aperture can make a significant difference in depth of field and the degree of background blur.
The aperture is a component inside the lens that regulates the amount of light passing through to the camera sensor. The aperture opening is expressed in f-stops, such as f/1.4, f/1.8, f/2.8, f/4, f/5.6, f/8, or f/16 .
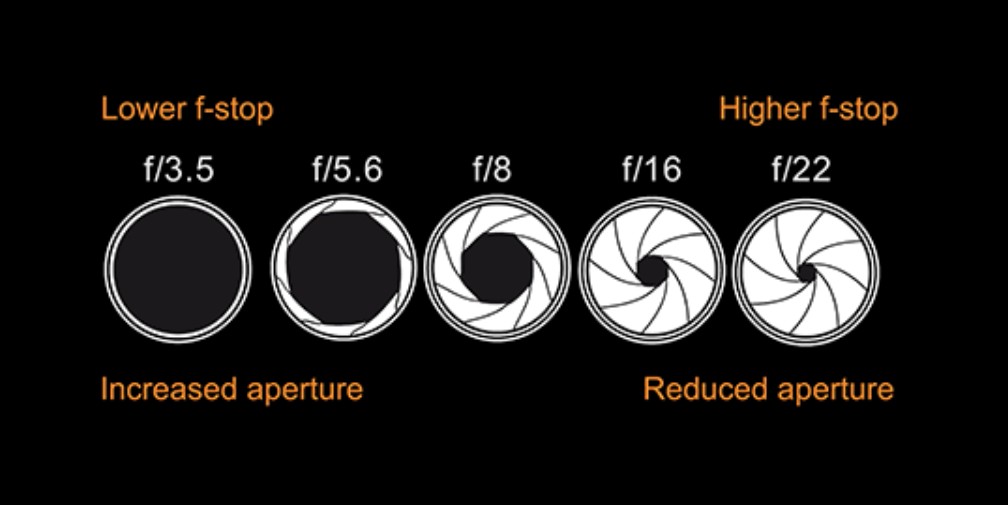
This is a concept that many beginners easily misunderstand because the numerical value and aperture size have an inverse relationship.
Specifically:
-
The smaller the f-number, the larger the aperture.
-
The larger the aperture, the shallower the depth of field and the more blurred the background becomes.
-
The larger the f-number, the tighter the aperture, increasing the depth of field and resulting in sharper details in the image.
For example, when shooting a portrait at f/1.8 , the subject's face will be in sharp focus while the background is softly blurred. This helps the subject stand out and creates a more professional look.
Conversely, if you switch to f/16 , the focus area will expand significantly. Not only the face, but also objects in front of and behind the subject will be clearly visible. This is a setting commonly used when shooting landscapes or architecture.
The difference can be visualized as follows:
-
f/1.4 – f/2: Provides very strong background blur, suitable for artistic portraits.
-
f/2.8 – f/4: The background remains blurred, but some of the surrounding environment is preserved.
-
f/5.6 – f/8: Medium depth of field, suitable for group photos or travel pictures.
-
f/11 – f/16: Most frames are sharp, suitable for landscapes and architecture.
This is also why portrait photographers often choose lenses with large apertures such as 50mm f/1.8 , 85mm f/1.8 , 85mm f/1.4 , or 70-200mm f/2.8 to create beautiful bokeh effects and separate the subject from the background.
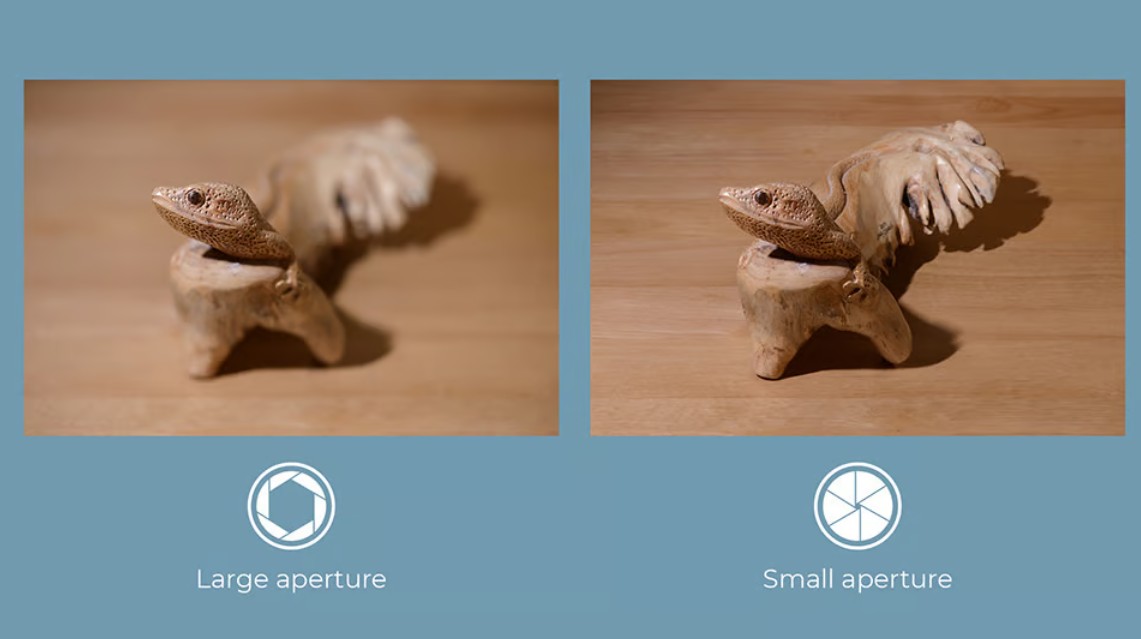
However, a large aperture isn't always the best option. If the aperture is opened too wide, the focus area will be very shallow. Even slight movement of the subject or camera shake can cause the focus point to shift, especially when shooting at close distances.
Tips for using aperture effectively
If the goal is to create portraits or product photos with a prominent bokeh effect, prioritize using the largest aperture the lens supports. Conversely, when shooting landscapes, architecture, or group photos, close the aperture down to around f/8 to f/16 to increase depth of field and ensure the entire frame is sharp.
Additionally, it's important to note that a large aperture also means more light enters the sensor. In bright light conditions, you may need to reduce the ISO or increase the shutter speed to avoid overexposure.
3. Focal length
Besides aperture, the focal length of the lens also directly affects its ability to blur the background.
Focal length is the optical distance from the center of the lens to the sensor when focusing at infinity and is expressed in millimeters (mm) .
Generally, the larger the focal length, the narrower the field of view and the stronger the ability to create a blurred background.
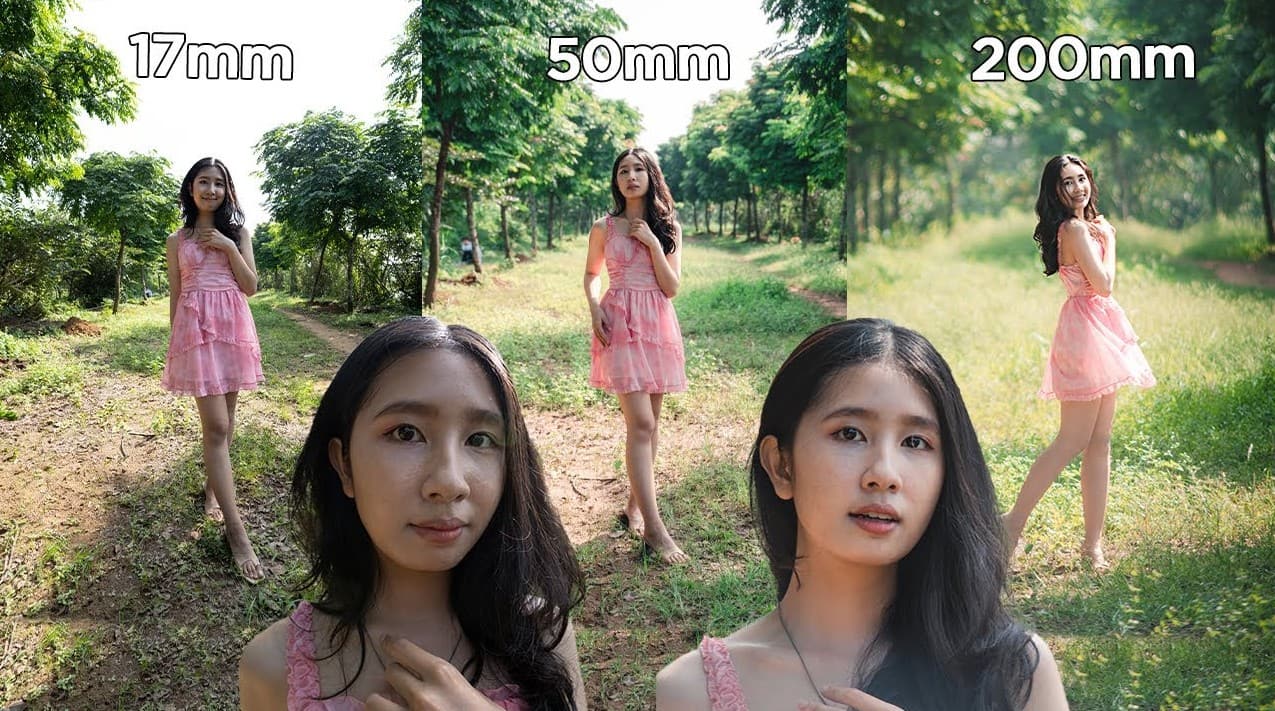
The principle is easy to remember:
-
The longer the focal length, the more blurred the background becomes.
-
The shorter the focal length, the sharper the background.
For example, if using the same zoom lens:
-
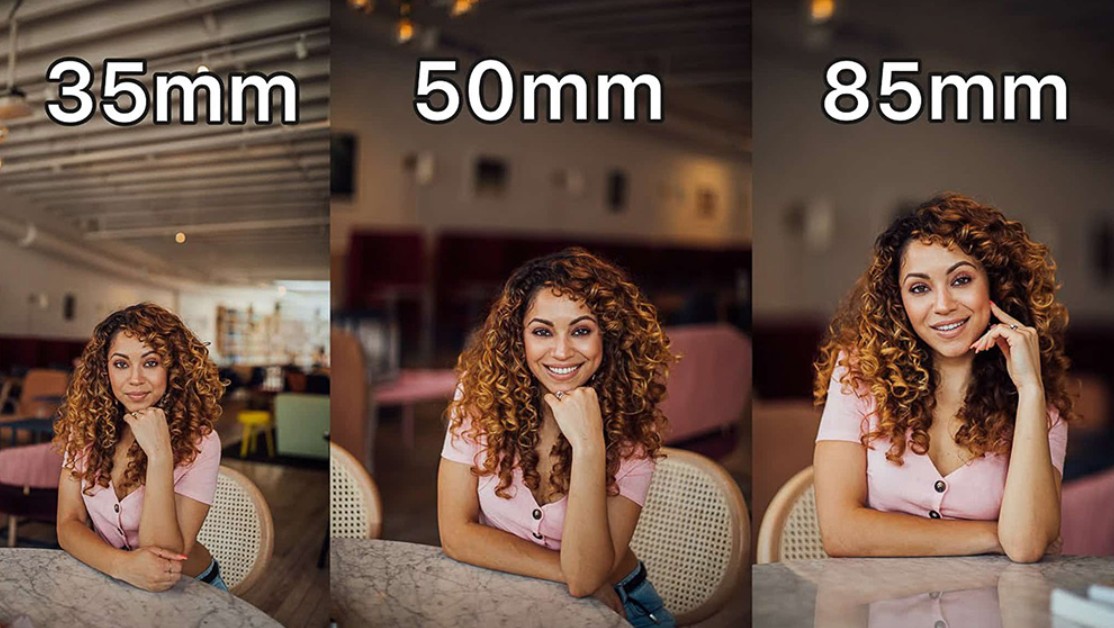
35mm will give you a wide field of view, with the background still quite sharp.
-
The 85mm lens starts to create a noticeable bokeh effect.
-
A focal length of 135mm or 200mm will create a strong background blur and a sense of separation between the subject and its surroundings.
-
A 250mm lens can make the background almost melt away even though the aperture remains unchanged.
This happens due to the phenomenon of Perspective Compression .
When using a long focal length, the layers of space in the background appear to be pulled closer together, while the background is compressed and blurred compared to using a wide angle. As a result, the subject stands out and the frame gains more depth.
This is why photographers often step back from the subject and use telephoto zoom instead of standing close and using a wide-angle lens. This method preserves natural facial proportions while creating a beautiful bokeh effect.
Additionally, longer focal lengths help reduce distortion. When shooting portraits with a 24mm lens at close range, the face may appear elongated or the nose may look larger than normal. In contrast, an 85mm or 135mm focal length will reproduce facial proportions more naturally.
When should you use a long focal length?
Telephoto lenses are particularly suitable for many genres of photography, such as:
-
Take portraits to create a soft bokeh effect.
-
Photographing wildlife from a distance.
-
Sports photography aims to capture the action-packed moments.
-
Photograph flowers, plants, or insects to highlight the subject.
-
Product photography requires a clean and blurred background.
Meanwhile, wide-angle focal lengths like 16mm, 24mm, or 35mm are more suitable for shooting landscapes, architecture, or interior spaces because they retain more detail throughout the frame.
4. Focusing range
Besides camera settings, the distance between the camera and the subject also greatly affects the degree of background blur.
This is a factor many beginners often overlook, even though simply changing the photographer's position can make a significant difference.
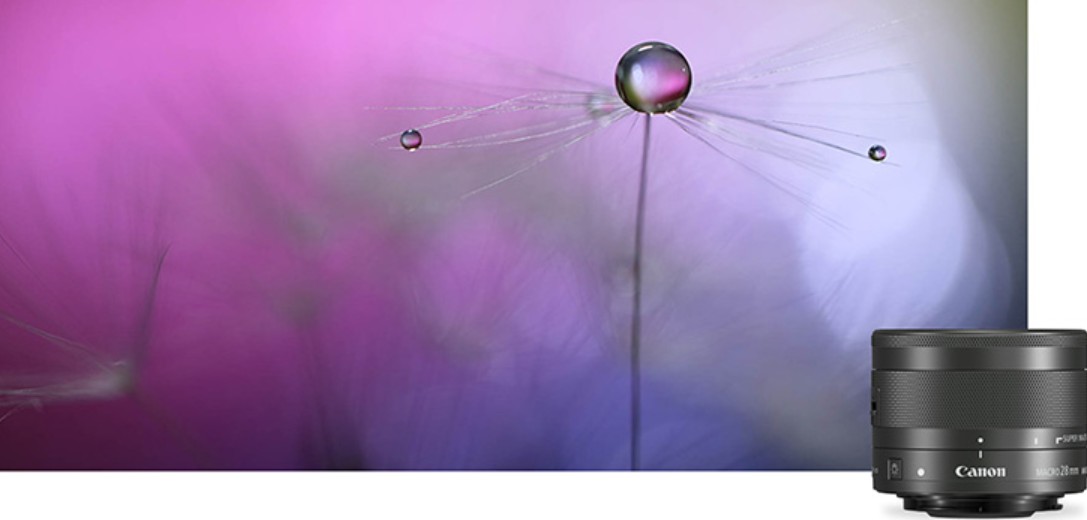
The principle is very simple:
The closer the camera gets to the subject, the more blurred the background becomes.
This happens because as the focusing distance decreases, the depth of field also decreases. The area in focus becomes thinner, while the areas in front of and behind the focus point become more blurred.
For example, when photographing a flower:
-
If you stand about 150 cm away , the background is still discernible.
-
If you move closer to just 50 cm , the background will blur significantly even without changing the aperture or focal length.
This effect is particularly noticeable when shooting macro photos, close-ups, or product shots.
That's also why many macro photos have very smooth backgrounds even when using apertures of only f/4 or f/5.6 .
In addition to blurring the background, getting closer to the subject also helps to highlight the texture, detail, and color of the object being photographed.
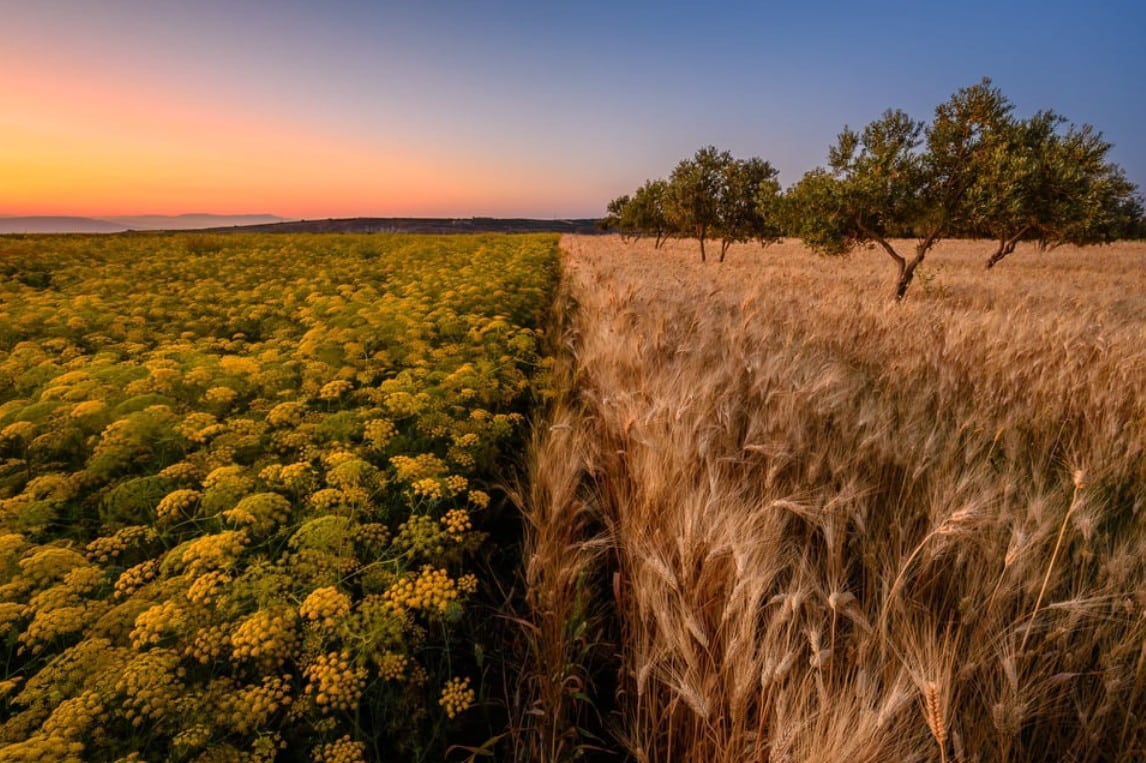
Notes on shooting at close range
Each lens has a minimum focus distance . If you get too close, the camera will be unable to focus and the image will be completely blurry.
To fix this, you should:
-
Use a dedicated macro lens.
-
Activate Macro mode if shooting with a camera or phone.
-
Choose lenses that are capable of focusing at close range.
-
Move the camera slowly to find the optimal focusing distance.
Additionally, when shooting at very close distances, the depth of field will be extremely shallow. Therefore, focus precisely on the most important areas, such as the eyes when shooting portraits or the pistil of a flower when shooting macro.
5. Distance between the subject and the background
Of the four factors affecting the blur effect, this is the simplest and easiest to apply because it doesn't require changing equipment or camera settings.
Even while keeping the aperture, focal length, and focus distance the same, you can significantly enhance the bokeh effect simply by changing the subject's position.
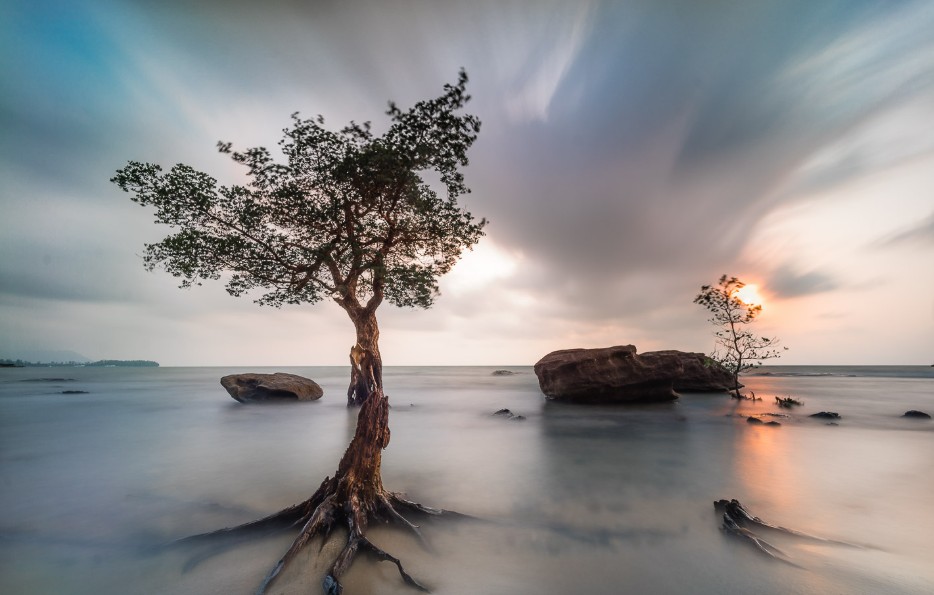
The principle is:
The greater the distance between the subject and the background, the more blurred the background becomes.
For example, if you photograph a person standing very close to a wall, the wall will still be quite visible because the distance between the two objects is so small.
Conversely, if the person is standing about 10–20 meters away from the wall , the background will become much softer, helping the subject stand out and creating depth in the frame.
In outdoor portrait photography, photographers often choose areas with distant backgrounds such as rows of trees, lakes, or long stretches of road to create a natural bokeh effect.
This principle is also very effective for product photography. Instead of placing the product close to the background, photographers often move it forward by a few tens of centimeters to over a meter. With just this small change, the background becomes significantly blurred without needing to open the aperture to its maximum.
6. Combine elements to create the optimal blurring effect.
Although each element can create a blurring effect, for best results you should combine them rather than adjusting just one parameter.
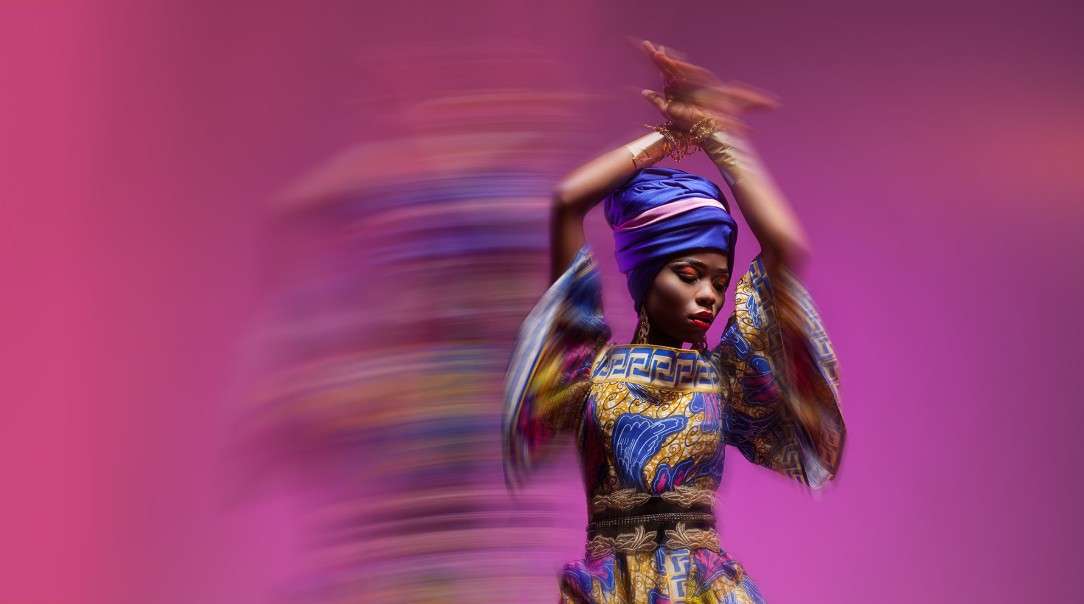
For example, when taking portraits outdoors, you can:
-
Use an aperture of f/1.8 or f/2.8 .
-
Choose a focal length of 85mm or 135mm .
-
Stand close to the subject.
-
Position the subject a few meters away from the background.
This combination will create a strong bokeh effect, making the subject stand out and giving the image a distinct sense of depth.
Conversely, if you want to photograph landscapes, you can close the aperture to f/11 , use a wide-angle focal length, and focus at a suitable distance so that the entire scene is sharp.
The key is that there's no fixed formula for every photograph. Photographers need to be flexible and adjust elements based on the subject, lighting conditions, and their creative vision.
7. Tips for creating beautiful photos with a blurred background.
A photograph with a beautifully blurred background depends not only on the equipment but also on how the photographer controls the composition and lighting.
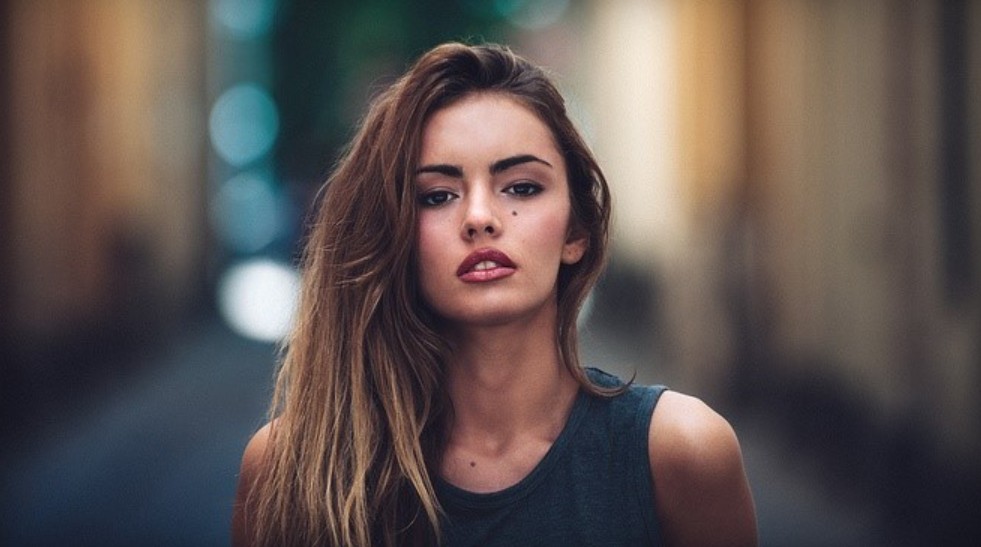
Prioritize focusing precisely on the eyes when shooting portraits, because even a slight misplaced focus point can ruin the entire image's appeal.
At the same time, a simple background should be chosen to maximize the bokeh effect. Small light sources such as decorative lights, sunlight filtering through trees, or streetlights at night will create beautiful bokeh circles, adding artistic value to the photograph.
Additionally, avoid overusing large apertures in all situations. For group photos or photos requiring a lot of detail, closing the aperture will help ensure that all subjects are sharper and more balanced.
Practicing with different apertures, focal lengths, and distances will help you quickly understand how these factors affect the image, allowing you to proactively create the desired blur effect.





















VIP Products








Best Selling Products
ChatGPT Plus Account (GPT-4)
16 USD
MidJourney Account
29 USD
Upgrade Duolingo Super
29 USD
Capcut Pro 1 Year
39 USD
Genuine Cheap Canva Pro
39 USD
Autodesk All App Account Copyright
120 USD
Genuine Adobe Illustrator account
99 USD
Upgrade Genuine Office 365
49 USD
Upgrade genuine Capture One account
120 USD
Adobe Premiere Pro Account
99 USD
Adobe Photoshop Copyright - Full App
120 USD
Windows 10 & 11 Pro Key
36 USD
Freepik Premium Account
59 USD
Copyright Adobe Lightroom Account
59 USD
Plugin Retouch4me
69 USD