Best Selling Products

Windows 10 & 11 Pro Key
36 USD

Genuine Cheap Canva Pro
39 USD

Adobe Premiere Pro Account
99 USD

Plugin Retouch4me
69 USD

Freepik Premium Account
59 USD

Copyright Adobe Lightroom Account
59 USD

Upgrade Duolingo Super
29 USD

Adobe Photoshop Copyright - Full App
120 USD

ChatGPT Plus Account (GPT-4)
16 USD

Autodesk All App Account Copyright
120 USD

Genuine Adobe Illustrator account
99 USD

Upgrade Genuine Office 365
49 USD

MidJourney Account
29 USD

Capcut Pro 1 Year
39 USD

Upgrade genuine Capture One account
120 USD
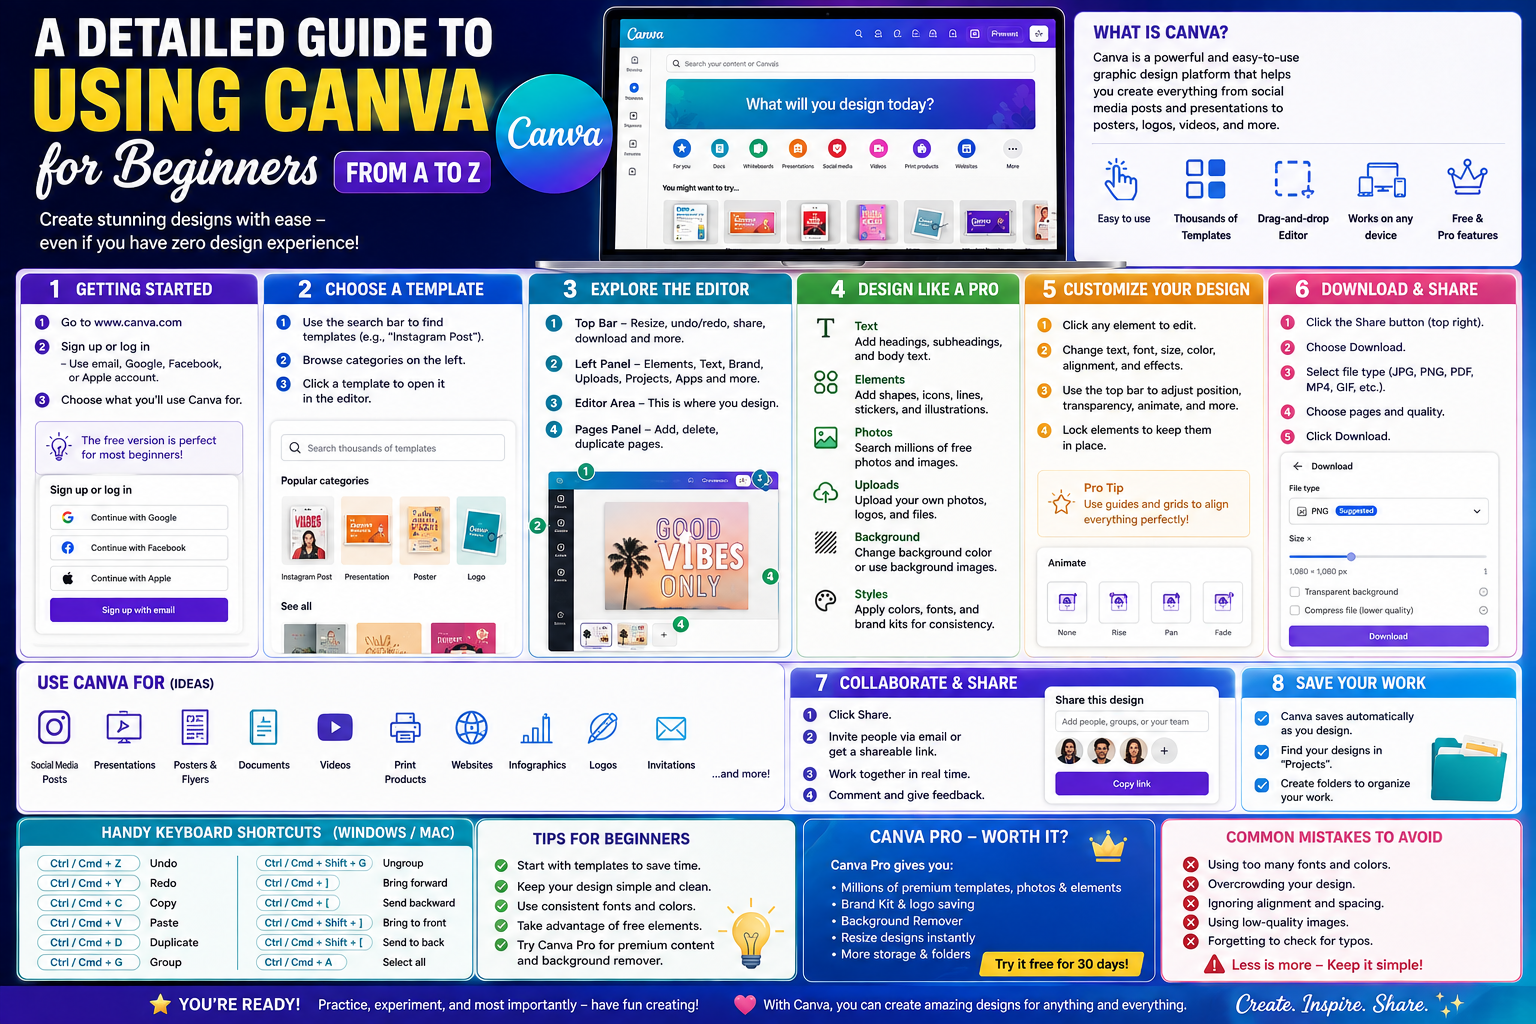
A Detailed Guide to Using Canva for Beginners from A to Z
Nội dung
- 1. The nature of Canva and why this platform is right for you.
- 1.1. Concept of the Canva design tool
- 1.2. Outstanding benefits for beginners
- 2. Initial steps to designing on Canva for beginners
- 2.1. Account registration and initial setup
- 2.2. Understanding the Differences Between the Free and Pro Versions
- 3. Explore the main working interface of CanVa
- 3.1. Homepage Management Area
- 3.2. Editing toolbar within the project
- 4. The process of designing a complete publication from scratch.
- 4.1. Step 1: Determine the standard dimensions for the design.
- 4.2. Step 2: Choose a layout or template from available options.
- 4.3. Step 3: Change and personalize image content
- 4.4. Step 4: Add creative decorative elements
- 4.5. Step 5: Perform a final check and export a high-quality file.
- 5. Introducing the smart design support tool Appvip.ai
- 6. Extremely useful tips and tricks for beginners
- 6.1. Make the most of keyboard shortcuts to speed up your work.
- 6.2. Basic color matching principles in design
- 6.3. How to manage and use Vietnamese fonts without errors
- 7. Common mistakes to avoid when first using Canva
- 7.1. Inserting too much information into a single frame
- 7.2. Choosing the wrong image format when publishing.
- 7.3. Violation of image copyright bearing the Canva logo.
- 8. Conclusion
This Canva beginner''s guide helps you easily master this drag-and-drop graphic design tool, quickly creating professional publications.
1. The nature of Canva and why this platform is right for you.
1.1. Concept of the Canva design tool
Canva is an online graphic design platform launched in 2013, available on both web browsers and mobile apps. Unlike professional software requiring advanced skills such as Adobe Photoshop or Illustrator, this tool simplifies all operations. Users simply select, drag, and drop pre-made elements to create a complete product.
1.2. Outstanding benefits for beginners
This platform boasts a fully Vietnamese interface, making it easy for users to get acquainted with from their first visit. In addition, the system provides millions of ready-made design templates categorized by specific themes such as Facebook posts, YouTube thumbnails, resumes, and advertising posters. This completely eliminates the fear of "running out of ideas" or "not knowing where to start" for those without formal art training.
2. Initial steps to designing on Canva for beginners
2.1. Account registration and initial setup
Your journey into the world of creativity begins by visiting the Canva homepage. You can easily register for a completely free account using your Google, Facebook, or personal email account. The system will ask a few short questions about your intended use to optimize the suggestions displayed on your homepage later.
2.2. Understanding the Differences Between the Free and Pro Versions
The free version offers over 250,000 design templates along with hundreds of thousands of basic images and graphics. For beginners, this resource library is more than enough to meet basic needs. However, upgrading to Canva Pro unlocks unlimited resources, a one-click background removal feature, and the incredibly convenient ability to automatically resize designs.
3. Explore the main working interface of CanVa
3.1. Homepage Management Area
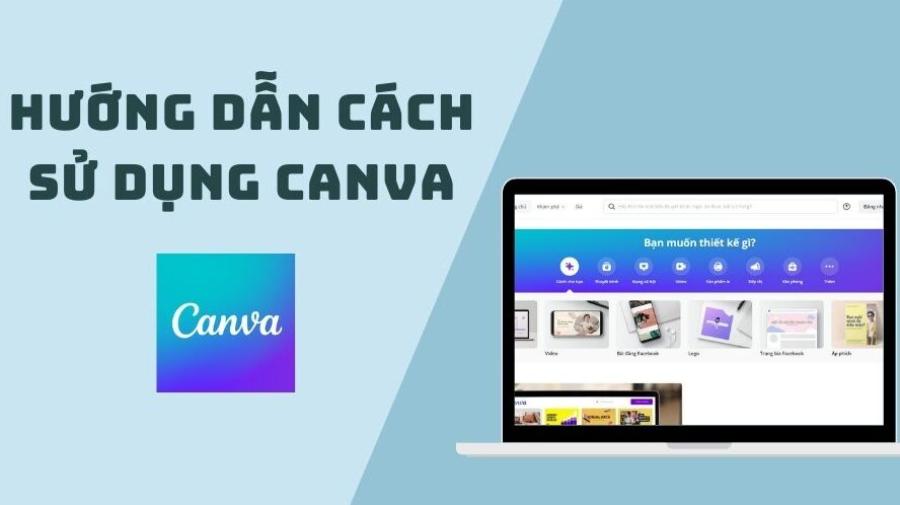
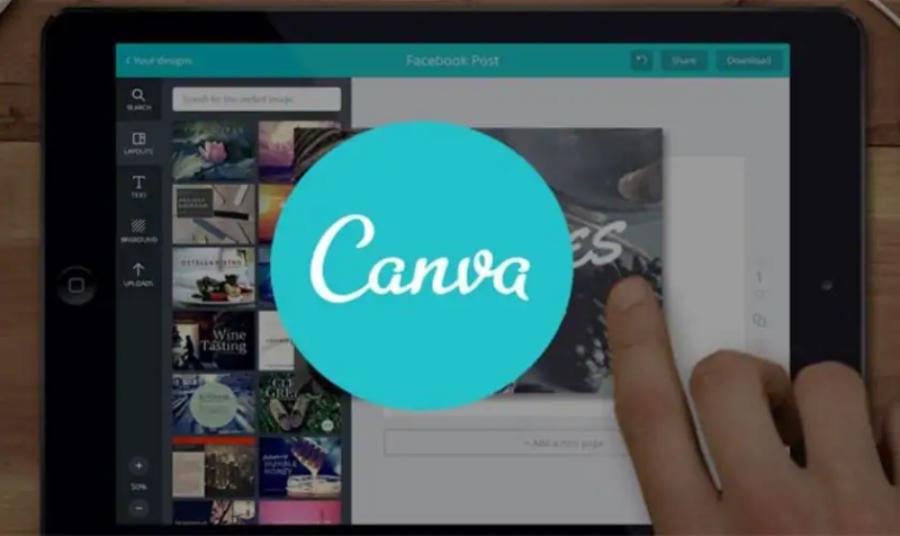
The home screen contains all the most important navigation tools. At the top is the smart search bar, where you can type any keyword related to the product you want to create. The left-hand corner displays a catalog of your recent designs, shared projects, and a folder storing your personal brand assets.
3.2. Editing toolbar within the project
When you open a new design page, a black menu bar will appear on the left side of the screen. This is where you'll find all your creative tools, including:
-
Templates: A place containing pre-designed layouts created by experts.
-
Elements: A repository for shapes, stickers, illustrations, charts, and photo frames.
-
Uploads: This section allows you to upload images, videos, or audio from your personal computer to Canva.
-
Text: Where you can add headings and paragraphs with hundreds of different fonts.
4. The process of designing a complete publication from scratch.
4.1. Step 1: Determine the standard dimensions for the design.
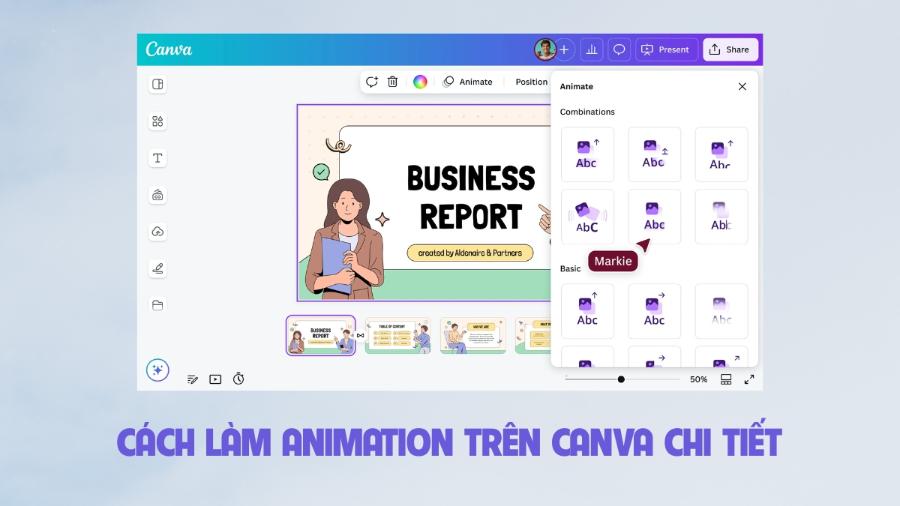
Determining the correct size is crucial for ensuring the quality of the image displayed after publication. You can choose from pre-formatted sizes such as "Instagram Post" (1080x1080 px) or enter your own custom size by clicking the "Create New Design" button in the upper right corner of the screen.
4.2. Step 2: Choose a layout or template from available options.
Instead of manually arranging everything, beginners should start by choosing a pre-made template that suits their theme from the toolbar on the left. Simply click on the template, and the entire layout—from images and text to colors—will instantly appear on your blank page.
4.3. Step 3: Change and personalize image content
Now it's time to turn the pre-made template into your own. Double-click on the existing text to change the text content, adjust the font size, and choose the appropriate colors using the toolbar at the top. If you want to change the image, simply drag an image from the "Upload Content" section and drop it over the old image.
4.4. Step 4: Add creative decorative elements
To make your publication more engaging, access the "Components" section. Try searching for keywords like "line," "arrow," "circle," or illustrations related to the article's topic. Remember to arrange these elements appropriately to avoid overwhelming the reader.
4.5. Step 5: Perform a final check and export a high-quality file.
After completing the editing steps, click the "Share" button in the upper right corner and select "Download". Canva supports many different file export formats depending on your needs:
-
PNG: The best choice for images posted on social media because it retains high sharpness.
-
JPG: The optimal format for small-sized images, suitable for posting on websites.
-
Standard PDF or printable PDF: This format is required if you intend to have the product printed commercially.
5. Introducing the smart design support tool Appvip.ai
In the content creation process, combining beautiful images from Canva with groundbreaking content ideas is the core formula for success. The website appvip.ai is a fantastic artificial intelligence solution that helps you automate scriptwriting, text content creation, and design idea generation quickly. Applying this support tool in conjunction with your graphic design skills on Canva will significantly increase your productivity, transforming abstract ideas into professional media products in just minutes.

6. Extremely useful tips and tricks for beginners
6.1. Make the most of keyboard shortcuts to speed up your work.
Memorizing and using basic keyboard shortcuts will save you a lot of time using the mouse:
-
T key: Press to quickly add a new text box to the page.
-
R key: Press to quickly create a rectangle or square.
-
The C key: Press to quickly create a circle.
-
L key: Press to quickly create a straight line.
-
Ctrl + Z: Undo the last incorrect action.
6.2. Basic color matching principles in design
The most common mistake beginners make is using too many bright colors in a single image. You should limit your design to between two and three main colors. You can take advantage of Canva's "Photo Color Palette" feature, which automatically analyzes the colors in your uploaded image and suggests complementary text tones for optimal harmony.
6.3. How to manage and use Vietnamese fonts without errors
Many beautiful fonts on Canva display accents incorrectly when typing Vietnamese due to incompatibility (font error). To fix this, type "Vietnamese" into the font search bar. The system will filter out all fonts that have been fully localized for Vietnamese, ensuring smooth and beautiful display for all your text content.
7. Common mistakes to avoid when first using Canva
7.1. Inserting too much information into a single frame
The information-grabbing mindset often leads newcomers to try to cram as much text as possible into a single image. This diminishes the visual experience and prevents viewers from focusing on the core message. Leave some reasonable white space to allow the design to "breathe" and look more elegant.
7.2. Choosing the wrong image format when publishing.
Exporting a photo to Facebook as a PDF or a low-resolution JPG file for printing on advertising banners are disastrous mistakes. Always remember the rule: social media images should prioritize PNG, website images should prioritize JPG, and printed documents and publications must use PDF.
7.3. Violation of image copyright bearing the Canva logo.
When using a free account, you'll see some images or elements with a small crown icon (Pro icon). If you intentionally use them, the resulting image will show stripes and a faint, faded Canva logo. Actively filter out "Free" elements using Canva's filters to ensure your product remains clean and professional.
8. Conclusion
Learning to use Canva for beginners isn't as difficult as you might think; the most important thing is consistent daily practice. Mastering this drag-and-drop tool will not only help you create beautiful media content but also open up many opportunities to improve work efficiency and advance your career. Start today with the simplest designs; gradually, you'll develop your own aesthetic sense and create works that truly reflect your personal style.





















VIP Products








Best Selling Products
Windows 10 & 11 Pro Key
36 USD
Genuine Cheap Canva Pro
39 USD
Adobe Premiere Pro Account
99 USD
Plugin Retouch4me
69 USD
Freepik Premium Account
59 USD
Copyright Adobe Lightroom Account
59 USD
Upgrade Duolingo Super
29 USD
Adobe Photoshop Copyright - Full App
120 USD
ChatGPT Plus Account (GPT-4)
16 USD
Autodesk All App Account Copyright
120 USD
Genuine Adobe Illustrator account
99 USD
Upgrade Genuine Office 365
49 USD
MidJourney Account
29 USD
Capcut Pro 1 Year
39 USD
Upgrade genuine Capture One account
120 USD