Best Selling Products
All about Smart Object in Photoshop
Nội dung
- 1. What is Smart Object in Photoshop?
- 2. 02 types of Smart Objects in Photoshop
- 3. Problems with Smart Objects that beginners often encounter
- 4. When to use Smart Objects in Photoshop
- 5. How to turn a Layer into a Smart Object and vice versa
- 6. How to Use Smart Objects for Non-Destructive Editing
- 6.1. Edit multiple Smart Objects at once
- 6.2. Editing individual Smart Objects
- 7. Use linked Smart Objects on several files
- 8. Use smart filters
- 9. Mask filter in Photoshop
- 10. Use Smart Objects to create templates
- 11. Applications of the Smart Object tool in Photoshop
- 11.1. Preserve quality when zooming in or out of a Layer
- 11.2. Apply Smart Object feature to image layer
- 11.3. Apply Smart Object to Text Layer
- 12. Disadvantages of using Smart Objects
- 13. Instructions to turn off Smart Objects in Photoshop
Smart Object in Photoshop is a useful format when using Photoshop. Understanding Smart Object and how it works will help you maximize the power of Photoshop, enhance your creativity and optimize your workflow. In this article, SaDesign will provide you with complete knowledge about Smart Object, from basic concepts to advanced applications so that you can use this tool effectively in your designs.
1. What is Smart Object in Photoshop?
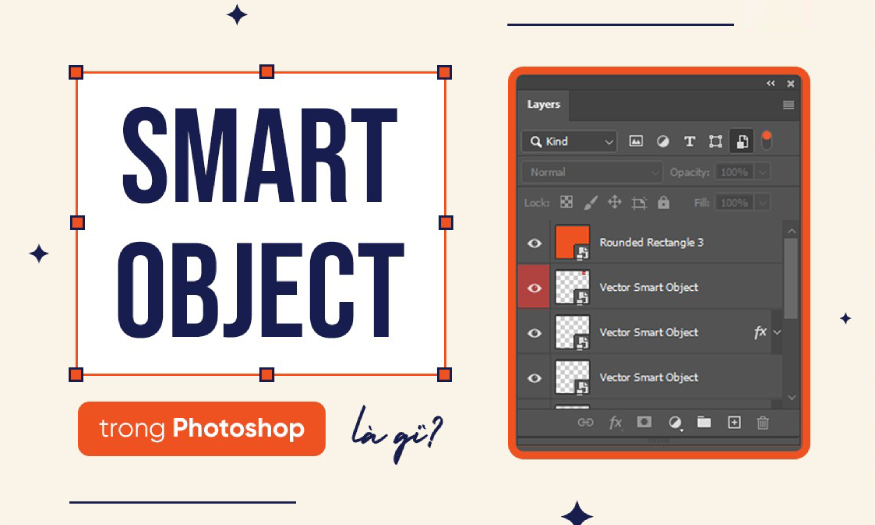
Smart Object is a special layer in Photoshop that allows you to store and edit images, graphics, or text without losing the original quality. Instead of directly editing pixels on the layer like regular layers, Smart Object will store layer information in a separate file, allowing you to perform non-destructive editing operations.
Advantages of Smart Object:
Smart Object allows you to edit images without changing the original file, ensuring image quality is always preserved.
You can resize, rotate, flip, deform, apply filters and effects to Smart Objects easily and flexibly.
Smart Objects save you time and effort when you need to edit a series of similar layers.
2. 02 types of Smart Objects in Photoshop
In Photoshop, there are two main types of Smart Objects:
Embedded Smart Object: This type is quite popular, they possess all the characteristics of Smart Object, helping to retain data from the original file but not connecting to the original file. With this type when you work with Smart Object in Photoshop will not change everything in the original file.
Linked Smart Object: This is the exact opposite of the other type. If you add a color image to a new artwork as a linked Smart Object. Then open the original file and convert the image to black and white, after you go back to the design the linked Smart Object will be black and white even if you don't make any edits to the file. This is useful when you are working with multiple files that share linked Smart Objects. Just edit the original source and all Smart Objects will be automatically updated.
3. Problems with Smart Objects that beginners often encounter
Although Smart Objects are extremely useful, some Photoshop beginners often encounter the following problems. Specifically, Smart Objects will reject all impacts on layers including:
Use Brush to paint on layer
Use the Lasso Tool on the layer and press Move to crop the image.
Use Clone Stamp Tool/ Healing Brush Tool or Patch Tool on the layer
Use Eraser directly on Layer
All actions on the surface of the Smart Object layer are rejected, and a message box will appear saying that it needs to be "rasterized" before it can be manipulated!
4. When to use Smart Objects in Photoshop
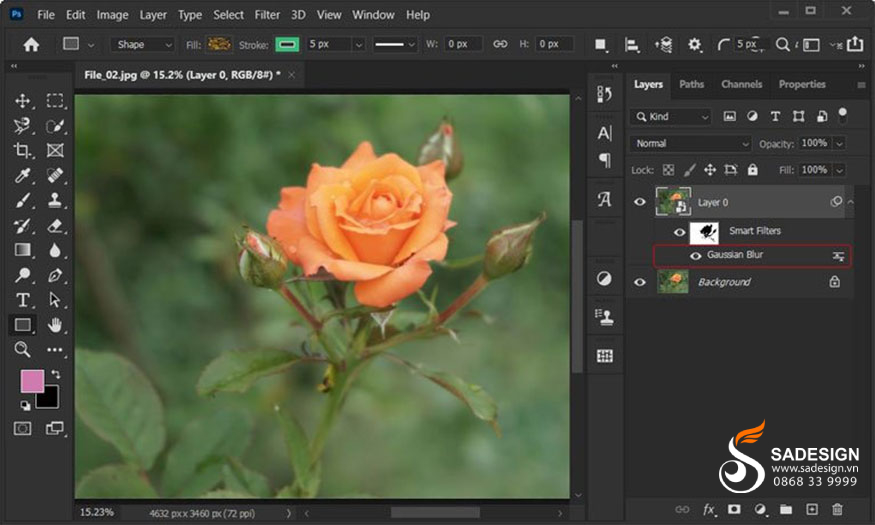
Smart Objects are a useful tool in many situations. You should use Smart Objects when:
Need non-destructive image editing: If you want to apply effects, edit images without affecting the original file, Smart Object is the ideal choice.
Zoom in/out of images without losing quality: Smart Object allows you to zoom in or out of images without losing image quality like when editing regular layers.
Apply the same effect to multiple images: You can easily apply the same effect or edit to multiple Smart Objects at once, saving time and effort.
Create templates or designs: Smart Objects make it easy to create templates with editable elements, saving you design time.
In general, you can use Smart Objects when you want to preserve the original data on your layer.
5. How to turn a Layer into a Smart Object and vice versa
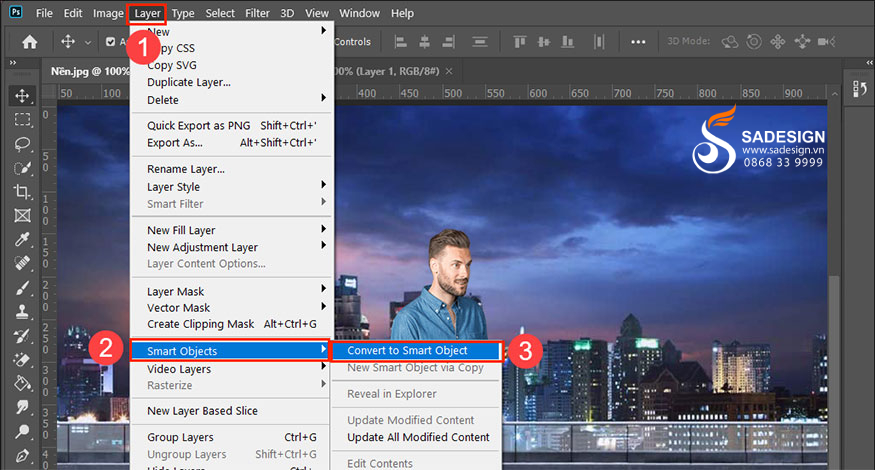
When encountering any problem related to Smart Object, the effective solution is to convert the Smart Object layer into a normal layer as follows:
Right-click on Layer > select “Rasterize Layer” and the layer is back to normal!
To turn a normal layer into a Smart Object is quite simple, right-click on that Layer > select "Convert to Smart Object" and you're done!
6. How to Use Smart Objects for Non-Destructive Editing
Smart Objects provide the flexibility to edit images without affecting the original file. There are two main ways to edit Smart Objects:
6.1. Edit multiple Smart Objects at once
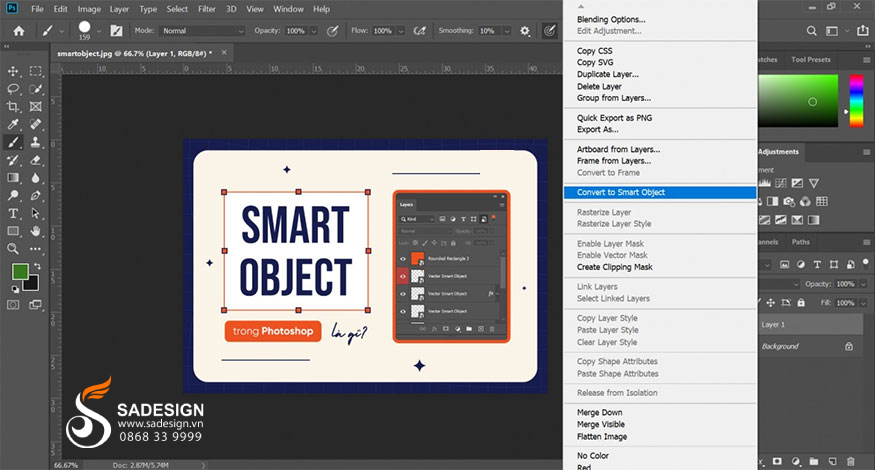
If you have multiple Smart Objects and want to apply the same edit (like color adjustment, contrast, etc.) to all of them, you can do the following:
Step 1: Highlight the layer containing the content you want to repeat > right-click to select Convert to Smart Object.
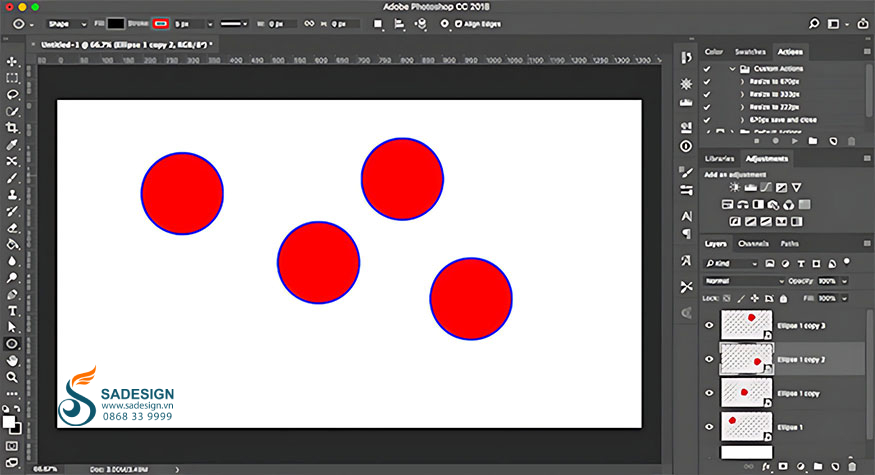
Step 2: Duplicate the layer by pressing Ctrl + J to create multiple copies of the same Smart Object.
Step 3: Use the Move tool (V) to reposition the duplicated layers.
Step 5: For any layer in the duplicated layer, double-click the thumbnail in the Layers panel to open the original content in a new tab. Edit and save, then close the tab.
Step 6: Back in the main file, the cloned Smart Object versions are updated to reflect the changes you just made.
6.2. Editing individual Smart Objects
To edit individual Smart Objects, you can do the following:
Instead of duplicating the layer, go to Layer > Smart Objects > New Smart Object via Copy to create a copy of the 2 Smart Object layers and the original file.
7. Use linked Smart Objects on several files
Smart Objects can be linked to other files. This means that if you edit the Smart Object's original file, your changes will automatically be updated across all Photoshop files that use that Smart Object.
For example, let's say you have a PSD file containing a logo designed using a Smart Object. You then insert this logo into other Photoshop files using a Smart Object. When you edit the logo in the original PSD file, the copies of the logo in the other files are automatically updated.
8. Use smart filters
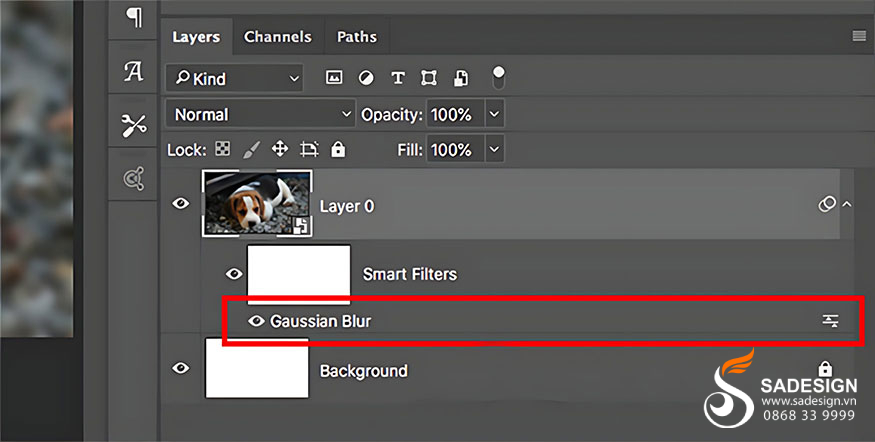
Smart Filters are a useful feature built into Smart Objects. Instead of applying a filter directly to a layer, Smart Objects allow you to apply the filter as an edit layer.
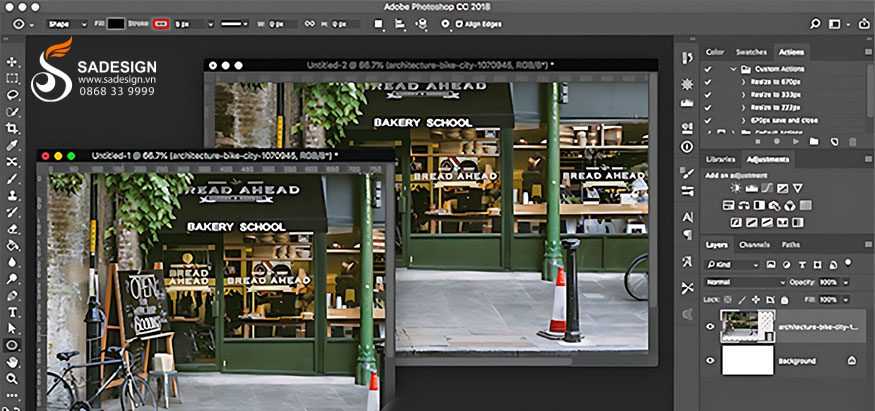
Advantages of smart filters:
Easy filter editing: You can change or turn off the filter effect at any time by clicking on the layer containing the effect (smart filter) and adjusting the parameters.
No loss of image quality: Using Smart Filter does not reduce image quality.
Efficient effects management: You can easily track and manage applied filters through the layer panel.
Convert your layer to a Smart Object and apply the filter as usual. Look in the Layers panel and you'll see the filter listed below the Smart Object layer. Double-click it to edit it or drag it to the trash to delete it.
9. Mask filter in Photoshop
The Mask filter in a Smart Object allows you to create a smooth transition between the area of the image where the Smart Filter is applied and the area of the image that is not. This is useful when you only want to apply an effect to a part of the image.
For example, you can apply a blur effect to part of an image using Smart Filter and Mask. The area where the effect is applied will be blurred, while the rest of the area remains the same.
Masking filters let you create portrait bokeh effects or selectively apply sharpening or noise reduction effects to specific areas of your photo.
10. Use Smart Objects to create templates
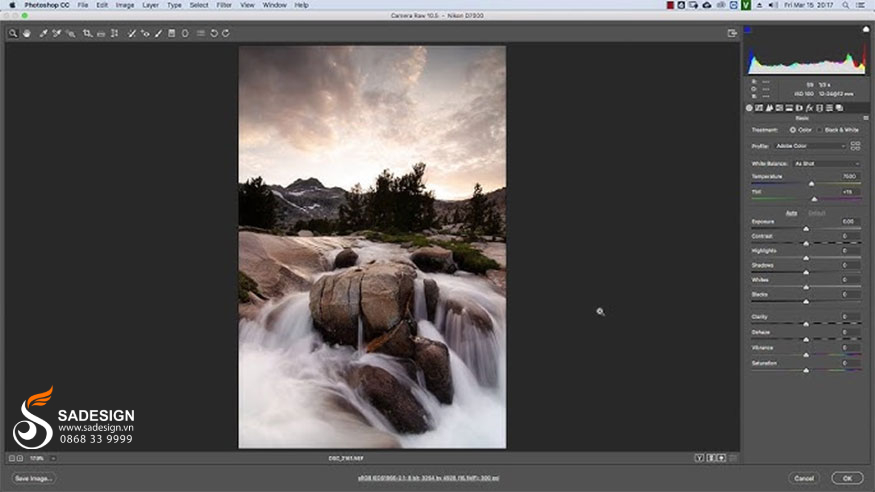
Smart Object is a great tool for creating templates for your designs. You need to right-click on the Smart Object layer > select Replace Contents > select the new image you want to use as the source content.
This is useful because if you have applied a filter or changed the shape of a layer, the new source image for the Smart Object will retain these properties. If you put a new image on a separate layer, this will not happen.
11. Applications of the Smart Object tool in Photoshop
Smart Objects bring many benefits to Photoshop users.
11.1. Preserve quality when zooming in or out of a Layer
One of the standout uses of Smart Object is the ability to zoom in/out of layers without losing image quality.
11.2. Apply Smart Object feature to image layer
You can apply Smart Objects to image layers to create unique effects. For example, you can use a photo of flowers as a Smart Object and place it on a portrait photo to create a pattern effect.
11.3. Apply Smart Object to Text Layer
Smart Objects are also useful when applied to text layers. You can use Smart Objects to create unique text effects, such as 3D effects, drop shadows, or distortions.
smart-object-trong-photoshop-10
12. Disadvantages of using Smart Objects
While Smart Objects offer many benefits, they also have some disadvantages:
Space Consumption: Smart Objects can take up more space than regular layers because they store information in a separate file.
Difficult to manage: When you have too many Smart Objects in a file, managing and keeping track of them can become complicated.
System resource consumption: Using many Smart Objects can increase the load on the system, especially on low-configuration computers.
13. Instructions to turn off Smart Objects in Photoshop
To turn off the Smart Object feature, you can use the following methods:
Rasterize Smart Object:
Select the Smart Object and go to menu Layer > Smart Objects > Rasterize.
This action will turn the Smart Object into a regular layer, and you will no longer be able to edit it non-destructively.
Edit the original file directly:
Double-click the Smart Object's thumbnail. Photoshop opens the Smart Object's original file.
After editing, save the file and close it. The PSD file will no longer be a Smart Object.
Smart Object in Photoshop is an extremely useful feature in Photoshop, helping you edit images, create effective templates and preserve image quality. Understanding how to use Smart Object will help you maximize the power of Photoshop in your design and photo editing work.
Hopefully this article SaDesign has provided you with useful information about Smart Object and how to use it in Photoshop.


