Best Selling Products

Capcut Pro 1 Year
39 USD

Autodesk All App Account Copyright
120 USD

Adobe Photoshop Copyright - Full App
120 USD

MidJourney Account
29 USD

Upgrade genuine Capture One account
120 USD

Genuine Adobe Illustrator account
99 USD

Genuine Cheap Canva Pro
39 USD

Upgrade Duolingo Super
29 USD

ChatGPT Plus Account (GPT-4)
16 USD

Windows 10 & 11 Pro Key
36 USD

Adobe Premiere Pro Account
99 USD

Copyright Adobe Lightroom Account
59 USD

Plugin Retouch4me
69 USD

Freepik Premium Account
59 USD

Upgrade Genuine Office 365
49 USD
Breakthrough Features of Character Animation in 3Ds Max
Nội dung
Character Animation in 3Ds Max is the process of creating realistic, natural movements for 3D characters by combining many professional techniques. The software provides powerful tools such as Rigging to build skeletons, Skinning to assign smooth skin, along with Keyframe Animation and Motion Capture to set up detailed movements.
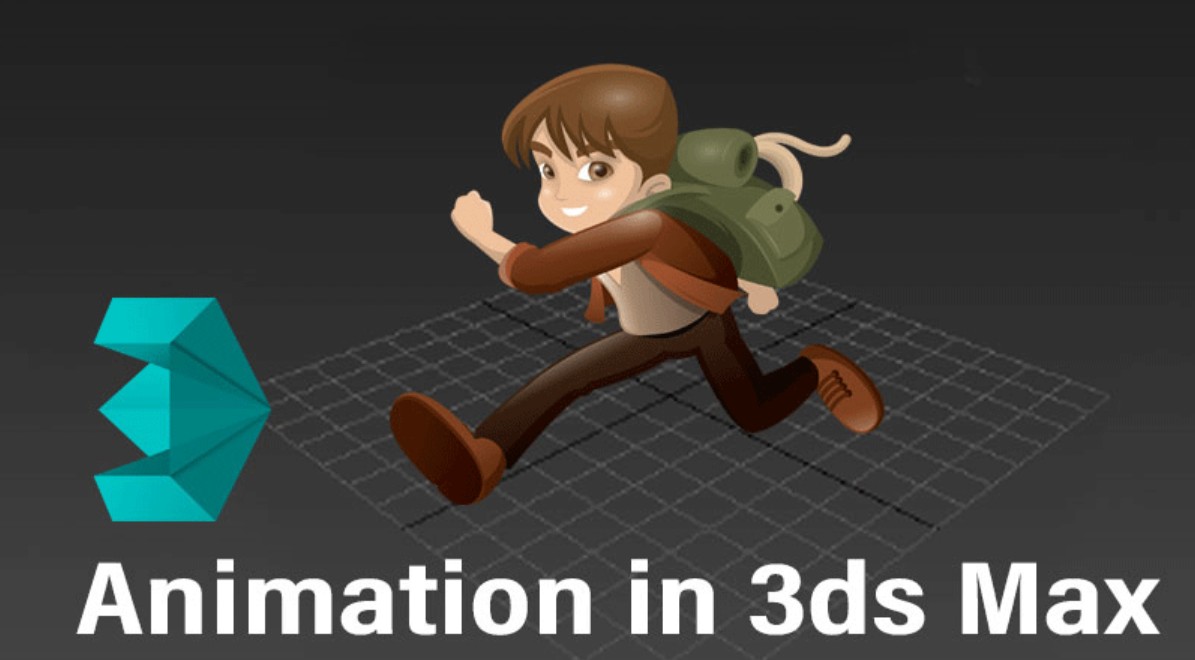
In the world of 3D graphics today, 3Ds Max is always considered one of the most powerful and flexible software for creating shapes and movements. Widely used in fields such as cinema, games, advertising and interior design, 3Ds Max not only helps users create vivid images but also opens up unlimited possibilities in building characters with smooth and realistic movements.
Character Animation , also known as character movement, is the decisive factor in bringing life to any 3D project. Creating natural, subtle movements for characters requires not only high technique but also creativity and deep understanding of the tools provided by the software. The following article will bring you closer to the world of Character Animation in 3Ds Max . Let's explore now!
1. Overview of Character Animation in 3Ds Max
Before diving into the details of the features, let's grasp some basic concepts about Character Animation in 3Ds Max.
Character Animation is the process of creating movement for characters in a 3D environment. From body movements to small facial gestures, every detail needs to be focused on to create a character that is lively and natural. In 3Ds Max, this process is done through a series of specialized tools and techniques, helping users easily move from model building to the animation stage.
.jpg)
To create a perfect animated character, it is necessary to combine many different elements:
Rigging: The process of building a skeleton for a character. This is the first and very important step, helping to shape the character's movement structure.
Skinning: The process of assigning mesh to a skeleton, ensuring that the character's movements are smooth and natural.
Keyframe Animation: The technique of placing movement points (keyframes) to define the main state of the character over time.
Motion Capture: Technology that records real-life motion and applies it to 3D characters, increasing realism and saving production time.
.jpg)
These components form the foundation of the Character Animation process, ensuring that every character movement is carefully calculated and adjusted.
2. Features of Character Animation in 3Ds Max
2.1. Animation Controls
Animation Layers: This feature allows animators to create multiple layers of animation, allowing them to build complex animations more efficiently. Layers can be blended to create varied motion while maintaining the basic animation.
Motion Capture Support: 3ds Max supports motion capture data that can be applied to character frames, streamlining the animation process by using the actor's actual movements.
.png)
2.2. Character Rigging
Bones and Joints: 3ds Max allows users to create a skeletal structure for a character using bones and joints, which act as a framework for animating the character.
Skinning: The skinning process attaches the character mesh to the bone structure, allowing realistic deformation when the bones are animated. Techniques such as Smooth Skin and Rigid Skin are available to provide different types of control over mesh deformation.
2.3. Character Animation Tools
CAT (Character Animation Toolkit) is quite advanced but in some ways the simpler character animation system of the two. With CAT, you can easily rig and animate multi-legged and non-human characters. CAT is also capable of animating human characters quite realistically. Among the rigs built into CAT are several multi-legged creatures such as dragons with four legs and two wings, spiders and centipedes with 18 legs. You can easily animate them along paths without slipping using the graph-based CATMotion editor. CATMotion is best suited for modifying periodic motion in real time by adjusting parameters for body parts such as the pelvis; parameters include Twist, Roll, Elevate, Lift, and Push.
.png)
Another powerful yet relatively easy-to-use feature of CAT is the layering system, available both in CATMotion (for individual body part cycles) and at the full frame level, with keyframe weighting at both levels. The latter supports color coding of layers to easily see which layer is contributing to the motion at any given time. CAT also supports blending FK and IK for custom controls. Finally, CAT provides muscle and muscle fiber objects to simulate character musculature.
2.4. Character studio
Character Studio is an extensive character animation toolkit primarily used for bipedal rigs, which is why its basic rig object is called Biped. You can also use character studio to work with multi-legged characters. The character studio feature set in 3ds Max provides professional tools for animating 3D characters. It is an environment where you can quickly and easily build skeletons (also known as character rigs) and then animate them, thus creating motion sequences. You use animated skeletons to control the movement of geometry, thus creating virtual characters. You can create crowds of these characters and animate the crowd's.png) movements using a delegate system and procedural behaviors.
movements using a delegate system and procedural behaviors.
Another part of character studio is the Physique modifier for creating skins for character rigs. Physique can be used with other rig objects besides Biped and provides features such as user-defined skin stiffness and deformation. The third component of character studio is Crowd, which allows procedural animation of large groups of characters with behaviors such as dodging, random movement, and following a surface.
Biped is a powerful component of the character studio. Its features include procedural footwork (walking), freeform animation, a dedicated animation editor called Workbench, and a non-linear animation feature called Motion Mixer (also available for general animation). Additionally, the Motion Flow feature offers random scripting, procedural transitions, and more.
(1).png)
2.5. Populate Toolset
The Populate toolset allows you to add animated characters to your scenes quickly and easily. Characters can walk along paths or streams, and others can congregate in idle areas or sit on benches. Streams can be as simple or complex as you like, and can include ramps and shallow slopes.
Ribbon > Tab Populate
Default menu: Animation menu > Populate > Populate tool
Alt Menu: Simulation Menu > Populate > Populate Tool
(1).png)
The Populate toolkit includes the following basic components:
Flow: A pedestrian path, like a sidewalk or hallway. A flow consists of one or more connected straight-line flow segments that you create by clicking and moving your mouse in the viewport. When the flow is properly shaped, with the allowed angles between segments and slopes, parallel lines representing pedestrian paths appear along the length of the flow. You can edit existing flows by moving the segments and their endpoints, called flow points.
Idle Area: An area separate from streams where people congregate, such as a park or traffic island. Settings include density and how people form groups of interacting characters. Idle areas are always separate from streams; Populate does not support people moving between the two.
.png)
Seat: A box-shaped object that a person sits on. You can place chairs in the idle area or anywhere else in the scene. People sitting in chairs can interact with people sitting in nearby chairs, or they can act as if they are alone.
People: The virtual humans in the Populate simulation. You can adjust their appearance by setting their skin type, from stick figures to textured skin, by reshaping their appearance, swapping their appearance, and by switching between resolutions. Otherwise, you control the Populate people indirectly by adjusting the settings described in these topics.
2.6. Animation Curves and Keyframin
Dope Sheet and Curve Editor: These tools help manage and refine keyframes, giving animators precise control over timing and motion. The curve editor is especially useful for fine-tuning animations through editable motion curves.
Constraints: Animators can use constraints (such as Position, Rotation, and Scale constraints) to maintain relationships between animated objects, allowing for more dynamic and realistic motion.
Through this article, we have explored the core features of Character Animation in 3Ds Max. Each tool and process plays an important role in making characters come alive and natural, making a difference in modern 3D graphics projects. Hopefully, with the above sharing, you will have more motivation and knowledge to confidently implement your animation projects.


VIP Products


Best Selling Products
Capcut Pro 1 Year
39 USD
Autodesk All App Account Copyright
120 USD
Adobe Photoshop Copyright - Full App
120 USD
MidJourney Account
29 USD
Upgrade genuine Capture One account
120 USD
Genuine Adobe Illustrator account
99 USD
Genuine Cheap Canva Pro
39 USD
Upgrade Duolingo Super
29 USD
ChatGPT Plus Account (GPT-4)
16 USD
Windows 10 & 11 Pro Key
36 USD
Adobe Premiere Pro Account
99 USD
Copyright Adobe Lightroom Account
59 USD
Plugin Retouch4me
69 USD
Freepik Premium Account
59 USD
Upgrade Genuine Office 365
49 USD