Best Selling Products
How to convert Ai files to PSD
Nội dung
With just a few simple steps, you can completely get Illustrator's EPS file to use in Photoshop. Specifically, how to convert Ai files to PSD and keep the layers will be introduced by Sadesign in the following article!
With just a few simple steps, you can completely get Illustrator's EPS file to use in Photoshop. Specifically, how to convert Ai files to PSD and keep the layers will be introduced by Sadesign in the following article!
1. Introduction to File Ai and PSD File
- Ai will have the saved image extension ".Ai" created by Illustrator editing software (abbreviated as Ai). Illustrator is a graphics program commonly used for vector processing with the ability to describe vector drawings in file formats such as EPS or PDF.
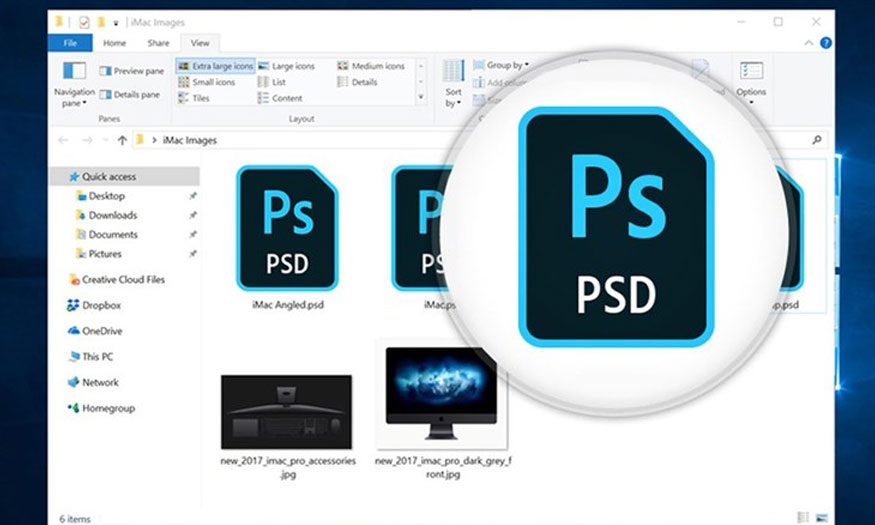
- A PSD file (Photoshop Document) is an image file created by Photoshop software, which is software that specializes in processing raster images. With PSD files, images are saved including layers.
Converting Ai files to PSD is to change the data structure in the Ai file so that when opened in Photoshop, it still ensures correct operation. However, conversion is only possible with related files (Ai and PSD). AI files containing audio will not be completely converted to PSD.
2. Optimize the document before converting AI files to PSD
To convert Ai files to PSD smoothly, the first important thing is that you need to optimize the document:
2.1. Strokes
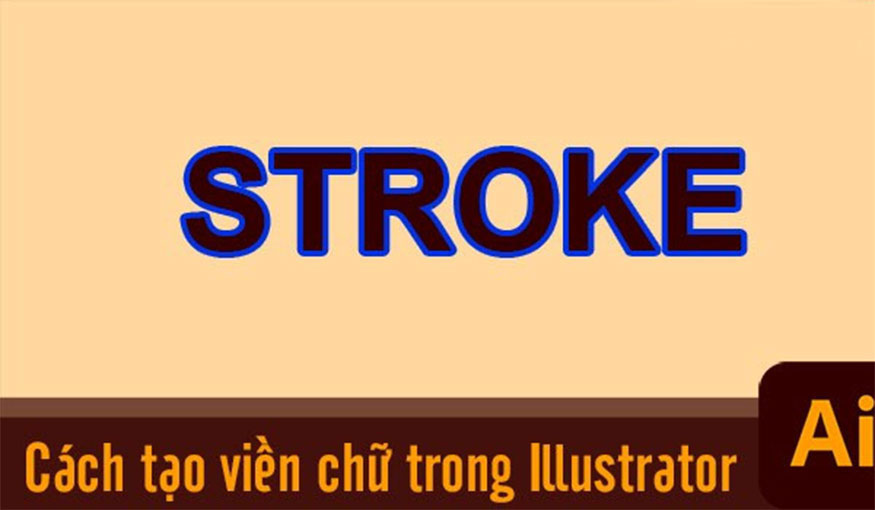
Stroke in Illustrator is the outline of an object used to highlight the object. To keep the strokes as vectors in Illustrator, we need to convert them into independent objects through Object by: Select Object => Path => Outline Stroke.
2.2. Similar objects
For a group of similar objects, we can group them, for example, hair or text, we can group them into complex paths, helping to move and edit conveniently.
If you want to combine objects into a compound path, do the following:
- Select the object you want to combine => Select Object => Select Make Compound Path so the objects will combine into a single path.
- To check if the object has been combined successfully, move one of the objects. If the other objects in the group also move, it means the combination was successful.
2.3. Effects
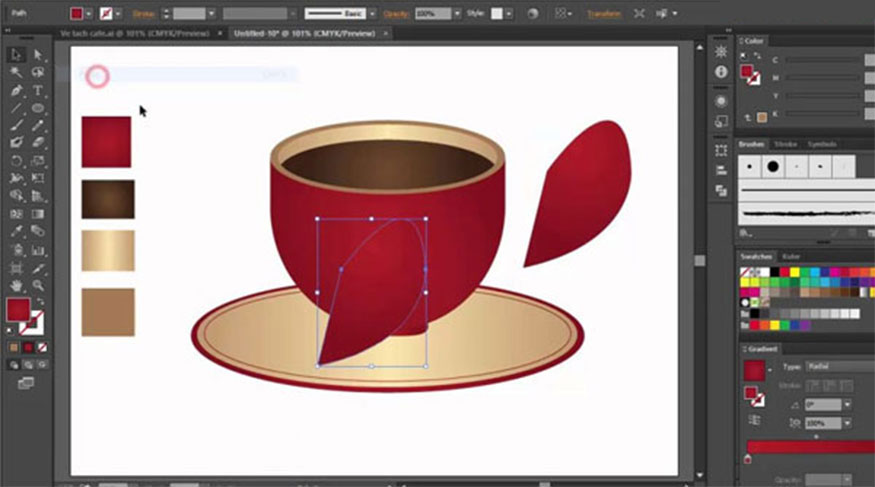
With files that have objects that use effects, these effects may not be converted correctly to PSD. Therefore, you need to classify objects manually. First, you need to identify the object applying the effect to group them together. Once the classification is complete you can run the conversion script.
2.4. Templates
For Illustrator files that contain templates, you'll need to use a script to convert the file to PSD. Templates may not be converted correctly to PSD if they are not vector objects.
To keep the sample as a vector, use the command Object => Select Expand before running the script. This operation has the effect of converting samples into normal vector objects.
2.5. Mesh, gradient
If Illustrator doesn't transfer the object to Photoshop, we can use another option which is scripting. This script helps create separate groups for each object to separate them in raster layers in Photoshop. This makes switching between two applications more convenient.
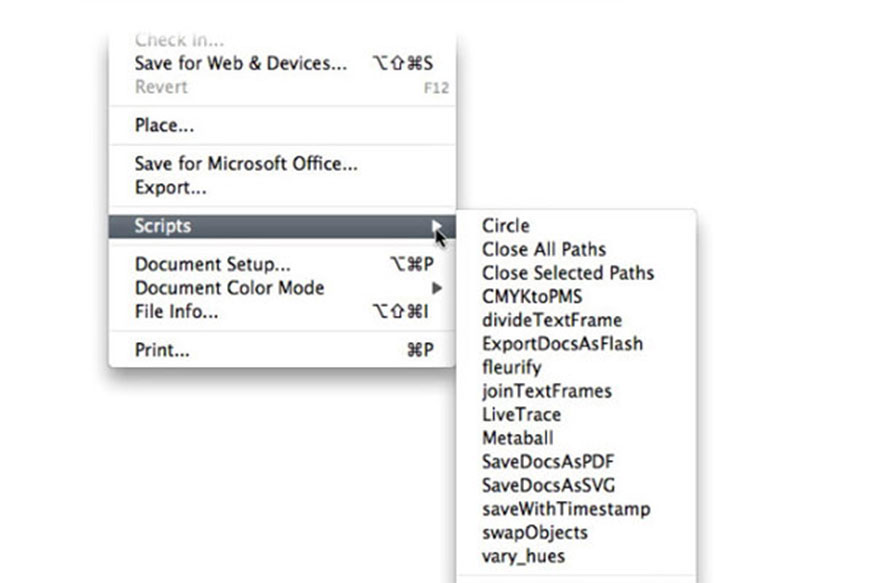
Once the script has been run, the raster objects will be separated into different layers in Photoshop.
3. Steps to convert Ai File to PSD
To convert AI file to PSD, follow these specific instructions:
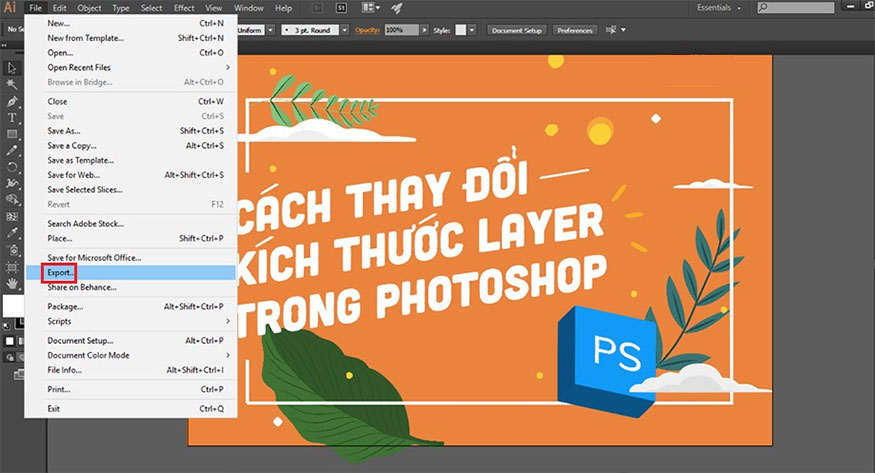
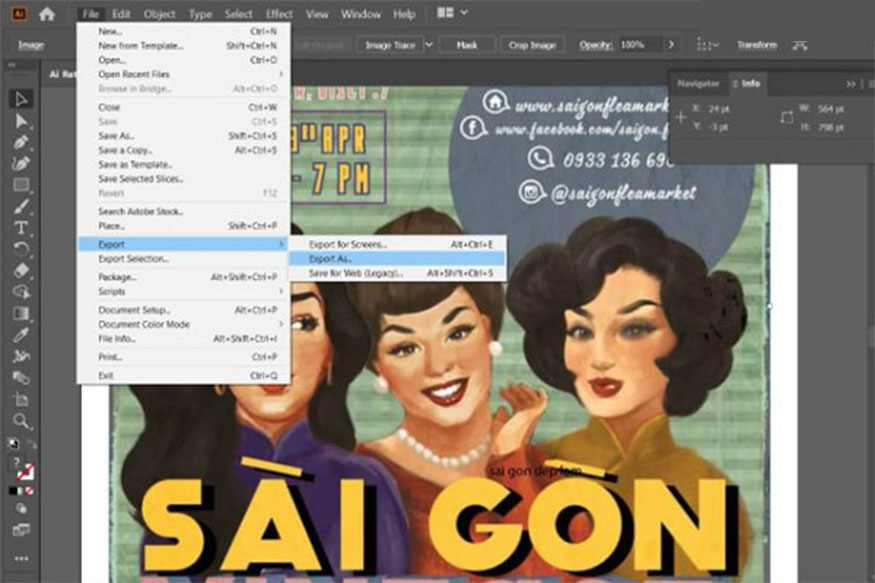
Step 1: Go to the working window of Illustrator => select File => Export.
Step 2: In the Save as type section, select Photoshop (*.PSD). In the window that appears, choose the resolution and color mode as you like.
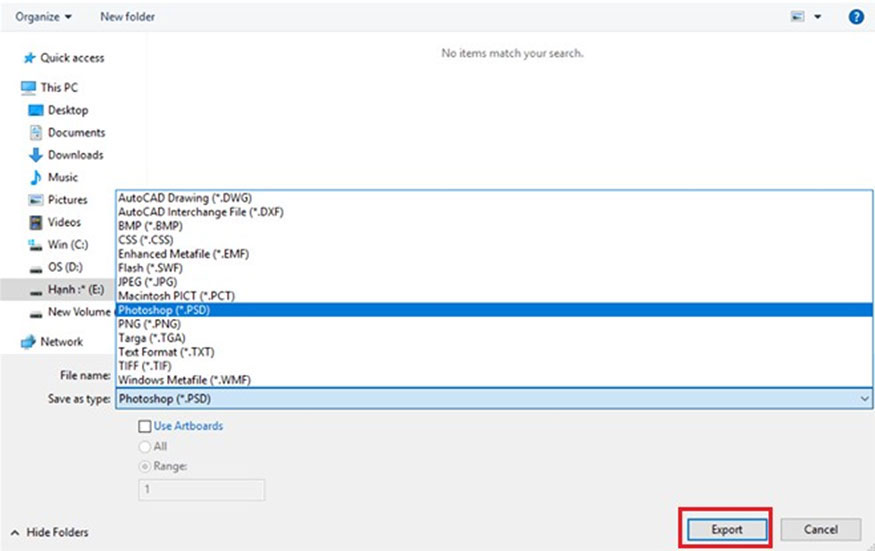
Step 3: To merge the layers into one, in the Options section, click Flat Image. If you want to keep the layer intact, click Write Layer. When opening a PSD file in Photoshop, the Shapes are separated into layers for user convenience when editing.
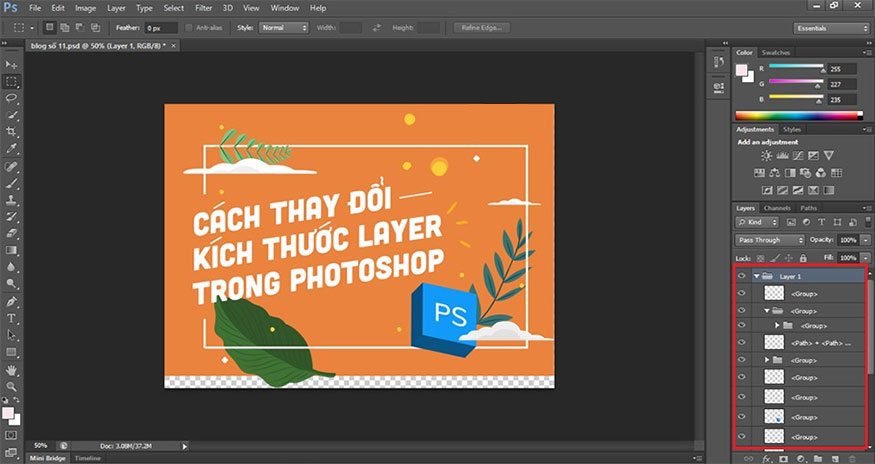
4. Instructions for editing Ai files in Photoshop
Editing Ai files in Photoshop is quite simple as follows:
Step 1: Open Adobe Illustrator (Ai) => Open the Ai file that needs to be edited.
Step 2: Go to the toolbar, select File => Export => click Export As.
Step 3: In the Export window, click "Save as type" to select the file format "Photoshop (*.PSD)”.
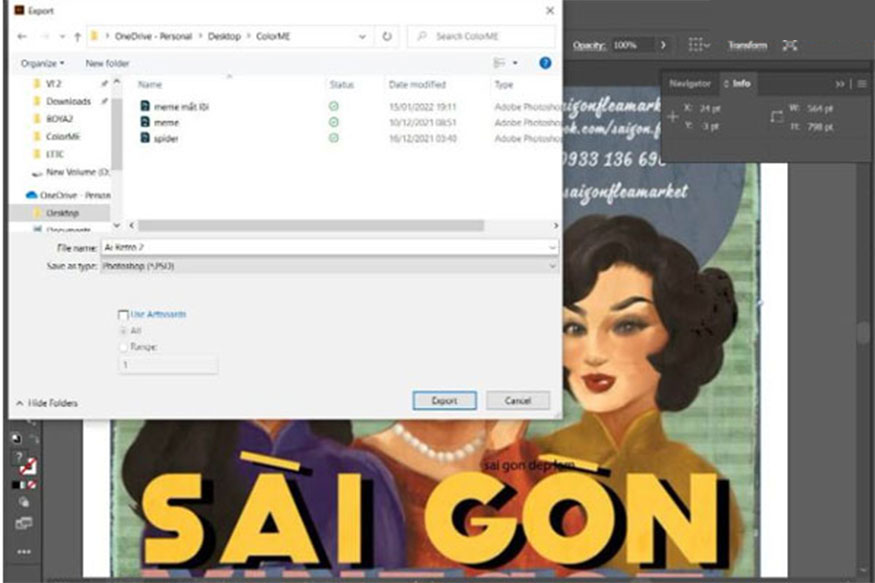
Step 4: Adjust image parameters according to usage needs => When completed, select “OK”.
Open the Photoshop application and the file and you can edit the Ai file with Photoshop as usual.
It can be seen that converting Ai files to PSD is quite simple and does not take up too much of your time. Don't forget to follow Sadesign to continuously update yourself with useful information about photo editing!


