Best Selling Products
Create A Simple Rainbow Effect in Photoshop
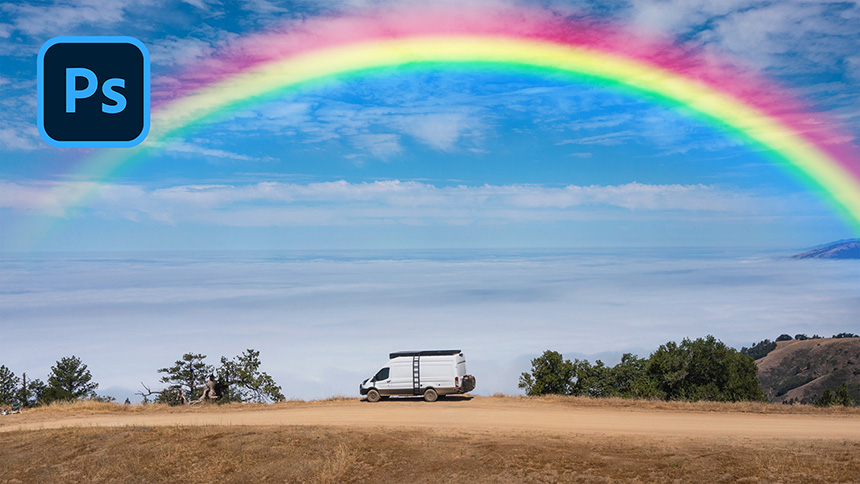
Welcome to SaDesign channel, in this video, I’m going to show you the way to create a realistic rainbow for your own photo in Photoshop.
First step, create a new layer with this little icon over here. Pick up Gradient tool, choose the arrow icon to drop the box, then move to wheel icon on the right side, select “Special Effects”, Append. Now, scroll down the preset box and pick up the last one which is the colors of rainbow.
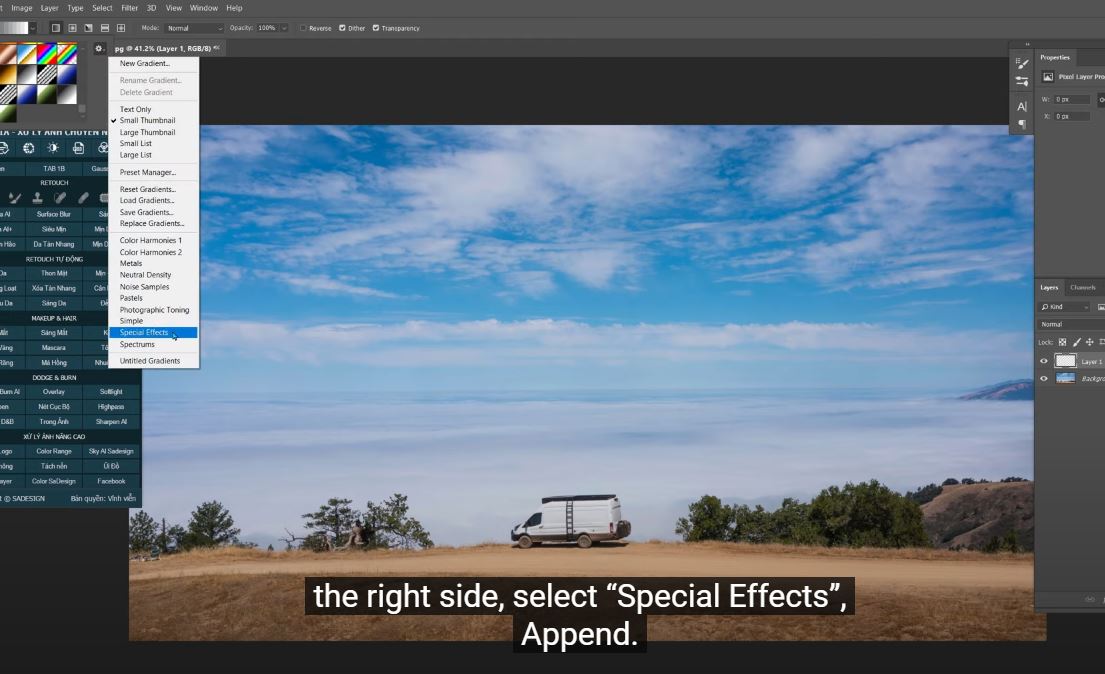
Make sure to choose the radial gradient icon over here before applying the gradient.
Next, draw a long line from the bottom to the top for creating the rainbow. CTRL+T to expand horizontal and adjust the position a little bit.
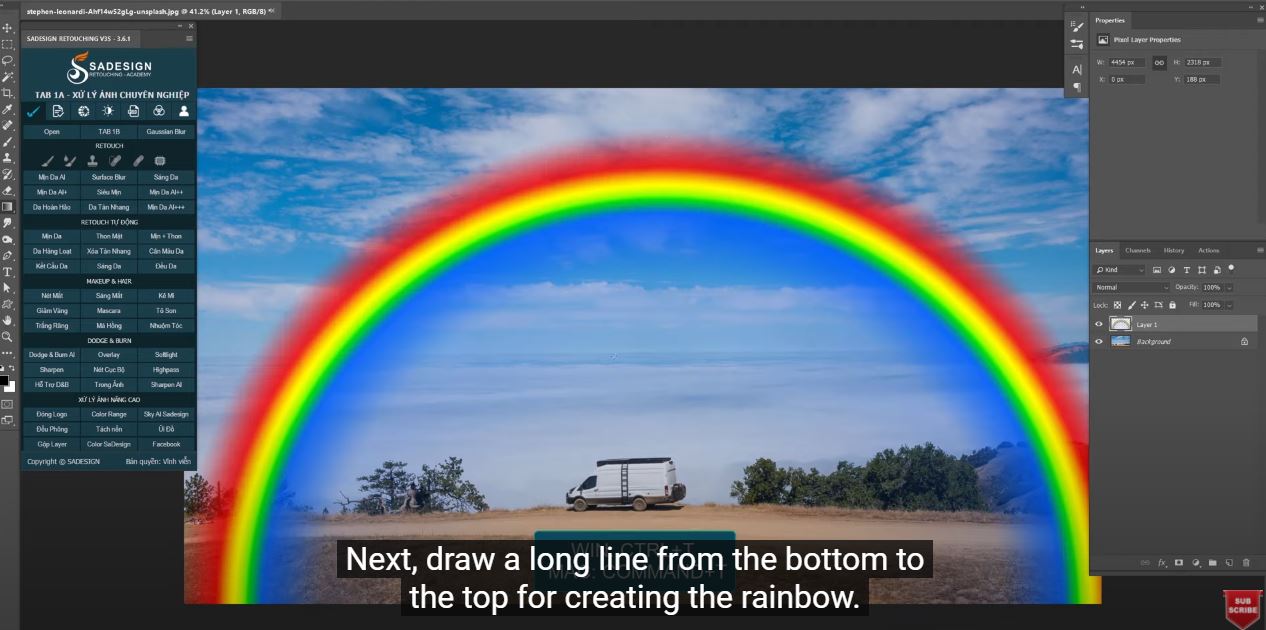
Create a layer mask with this icon, use Gradient tool, change preset to the first one, it’s the foreground to background. Change to linear gradient, ensure foreground color should be black. Then, draw another straight line just as the first one.
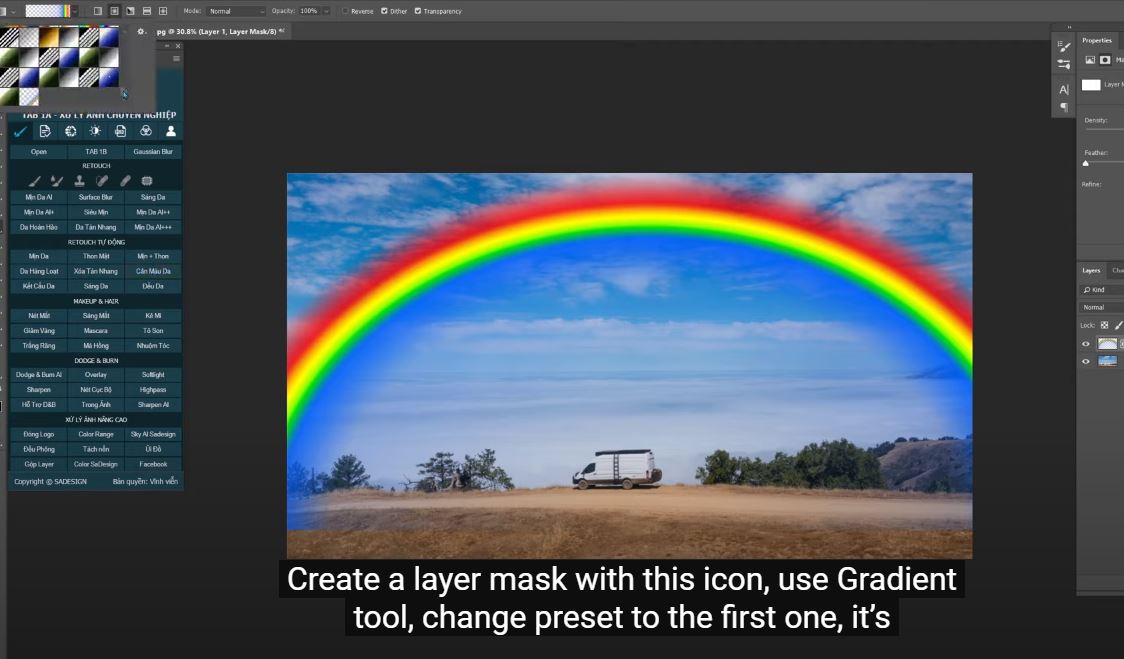
You can use eraser tool to remove some areas that you want, make sure white in the foreground color and opacity around 30% Change blend mode to screen, duplicate it with CTRL or CMD + J to enhance the color and brightness.
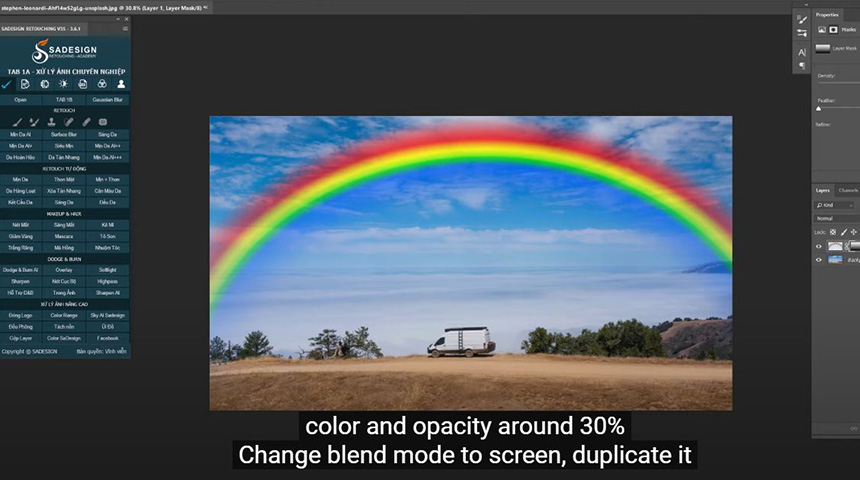
On top layer, change to overlay in blend mode. Reduce the opacity to 60% Put 2 top layers into a group and create a white layer mask. We will fade the color of rainbow on the left side. To do that, currently we still use Gradient tool. But make sure because we want to fade gradually from the left of the rainbow. Foreground color should be black.
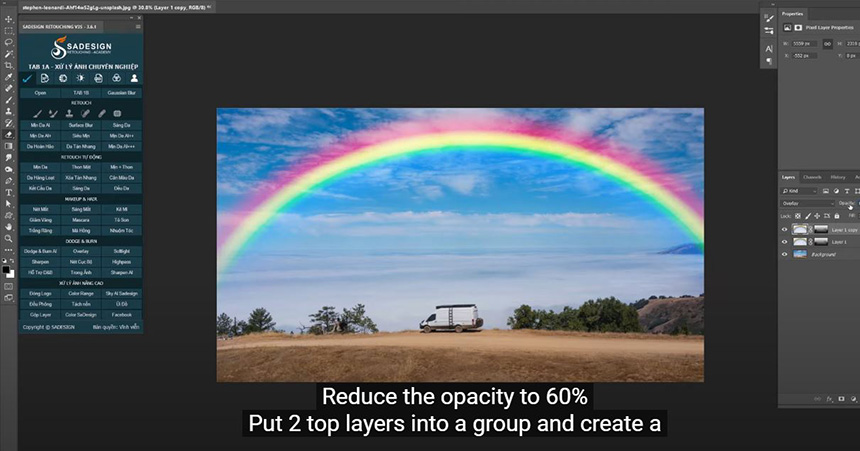
There you go. Hope you like this video, hit like and subscribe to our channel to get more and more tips day by day. Thanks for watching!
REGISTER FOR FREE PHOTOSHOP LEARNING
============================
The most powerful Retouch tool processor
DOWNLOAD:
✅ SADESIGN PANEL ENGLISH: https://sadesign.ai/retouching/
✅ SADESIGN PANEL VIETNAM: https://www.retouching.vn/


