Best Selling Products

Adobe Photoshop Copyright - Full App
120 USD

Plugin Retouch4me
69 USD

Genuine Adobe Illustrator account
99 USD

Upgrade Duolingo Super
29 USD

ChatGPT Plus Account (GPT-4)
16 USD

Genuine Cheap Canva Pro
39 USD

Freepik Premium Account
59 USD

Upgrade Genuine Office 365
49 USD

MidJourney Account
29 USD

Capcut Pro 1 Year
39 USD

Adobe Premiere Pro Account
99 USD

Windows 10 & 11 Pro Key
36 USD

Autodesk All App Account Copyright
120 USD

Copyright Adobe Lightroom Account
59 USD

Upgrade genuine Capture One account
120 USD
Create Impressive Interfaces With Glassmorphism In Photoshop – Learn Fast, Practice Easy!
Nội dung
Today, we will explore and practice how to create the Glassmorphism effect - a modern interface design trend, bringing luxury and sophistication with just a few simple steps on Photoshop.
Glassmorphism is a design style that uses transparency, blur, and soft lighting effects to create the feeling of “seeing through” a glass surface. This trend is favored by many designers because of its sophistication and modernity, suitable for web, mobile, and application interfaces. In this article, you will be guided step by step to complete the Glassmorphism effect in Photoshop.
1. Understand the Glassmorphism Effect
Glassmorphism is more than just a transparency effect; it is a subtle blend of elements like transparency, blur, light, and shadow to create a modern, soft, and deep look. Let’s take a closer look at each of the outstanding features of this effect:
1.1. Opacity
Transparency is the ability to “see through” an object, creating the feeling that you are looking through frosted glass. By reducing the opacity of the layer containing the object, you allow the details underneath to show through more softly. This not only creates a subtle aesthetic, but also helps to tie the elements of the design together harmoniously.
.png)
1.2. Blur Effect
Blur effects, especially Gaussian Blur, are used to soften the details of the object, creating a virtual blur that resembles real glass.
When you apply Gaussian Blur to an object layer, sharp edges are gradually softened, creating a soft, blurry feel. This not only makes the object look more natural, but also helps to highlight the elements behind it without being too competitive.
Adjust the blur level to suit (usually 5 to 15 pixels) to maintain softness without losing the subject's identity.
.png)
1.3. Light and Shadow
The combination of light and shadow creates depth in the design, making the elements on the interface come alive and feel three-dimensional.
Light: Soft light, expressed through effects like Inner Glow, gives the impression of reflections coming from within the object. This helps to highlight the contours of the object and adds elegance to the design.
Drop Shadow: A soft drop shadow under the subject not only creates a clear separation between the subject and the background, but also creates a sense of buoyancy, as if the subject is floating above the background.
2. Step-by-Step Guide to Creating Effects
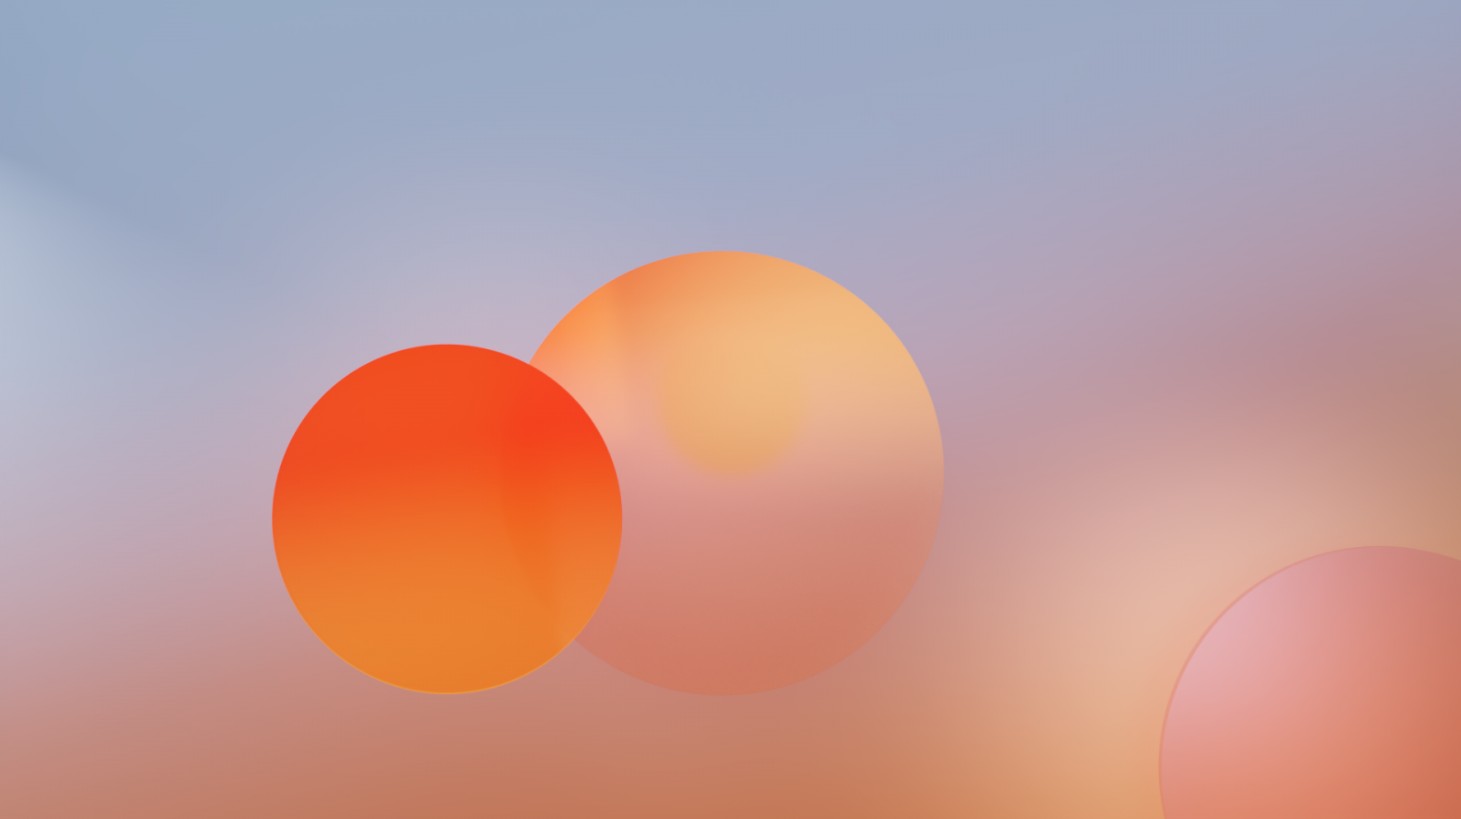
Step 1: Choose any image as Background
.png)
Step 2: Create any Shape layer to make the mirror piece, located on the Background 1 layer created.
.png)
Step 3: Select layer Background 1 again, press Ctrl + j to duplicate the layer, name it Background 2.
.png)
Step 4: Drag the Background 2 layer above the Shape layer, at this point the Shape layer will be hidden.
.png)
Step 5: Select layer Background 2 and use the command: Layer - Create clipping mask so that Background 2 is in the Shape.
.png)
Step 6: Select layer Background 2 and use the command: Filter - Blur - Gaussian Blur to blur Background 2.
.png)
Step 7: Select the Shape layer, open the Layer style panel, select Drop Shadow and adjust as you like to get the right shadow.
.png)
Step 8: Now you have the basic glass effect, just need to add effects to the Shape and Background 2 layers to suit your design. For example, add noise, stroke (border), inner glow, color with brush...
.png)
Through this tutorial, hopefully you have grasped how to create a simple but effective Glassmorphism effect on Photoshop. With detailed instructions, you just need to practice step by step, be creative and vary to create design products with a strong personal style.


VIP Products


Best Selling Products
Adobe Photoshop Copyright - Full App
120 USD
Plugin Retouch4me
69 USD
Genuine Adobe Illustrator account
99 USD
Upgrade Duolingo Super
29 USD
ChatGPT Plus Account (GPT-4)
16 USD
Genuine Cheap Canva Pro
39 USD
Freepik Premium Account
59 USD
Upgrade Genuine Office 365
49 USD
MidJourney Account
29 USD
Capcut Pro 1 Year
39 USD
Adobe Premiere Pro Account
99 USD
Windows 10 & 11 Pro Key
36 USD
Autodesk All App Account Copyright
120 USD
Copyright Adobe Lightroom Account
59 USD
Upgrade genuine Capture One account
120 USD