Best Selling Products
How to cut the hair in Photoshop fastest
Nội dung

The way how to cut the hair in Photoshop is not too complicated as many people think, see the following article to see how simple it is.
 cut the hair in Photoshop
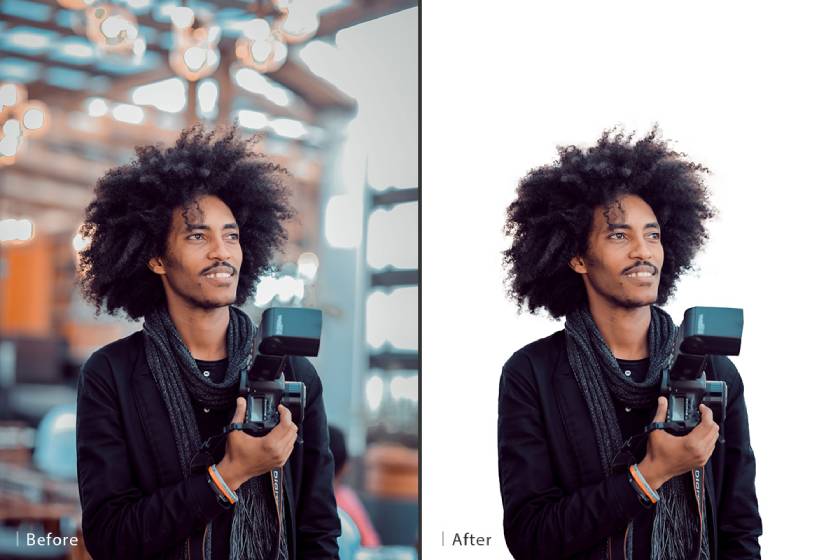
To get a beautiful portrait photo, hair retouching is indispensable, because hair can be the factor that makes the overall picture successful. Sometimes, you can choose a photo like that but the hair is a minus point, so now you should use Photoshop to "cut" the excess hair.
Haircutting techniques in professional photo editing software Photoshop
There are 2 techniques to separate hair by color range and Refine Edge. The key of this technique is that you process the selection with Refine Edge.
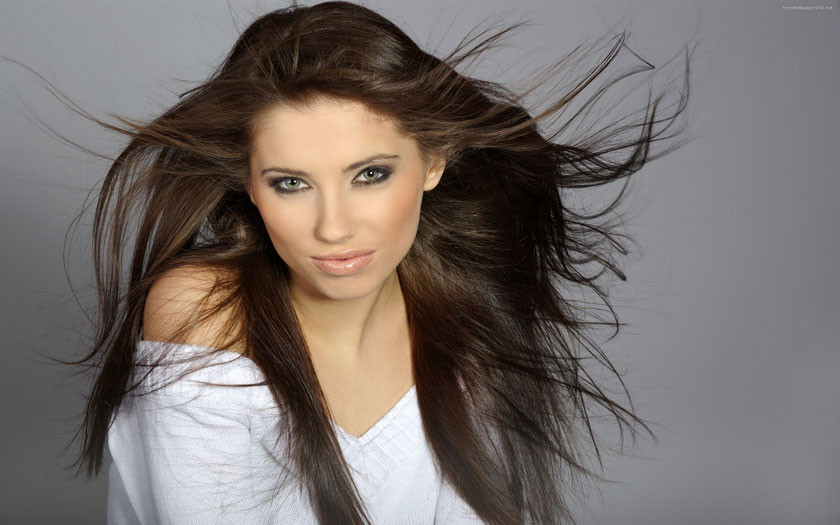
Normally during the photo shoot for some reason the photographer accidentally or intentionally leaves tangled hair, or hair flies. in the wind. That is what makes our future collage process so much difficult. Luckily photoshop has supported the user with a lot of tools and commands to handle this problem.
 edit the hair
The haircut in photoshop will make your photos of people more perfect. However, you need to know how to correct and harmonize with the composition to avoid over-editing that loses the naturalness of the image. After editing your hair, you also need to edit other details for uniformity such as face, body shape, eyes, ...
How to cut the hair in Photoshop
Creating a hair mask is often one of the tools which is the toughest and most time-consuming work a hairdresser can do. This video guides how to cut hair effectively in a short amount of time. Please refer to the video below: https://youtu.be/6Yp_TYPtVM8.
Start by using the Quick Selection Tool to drag a selection around the object, hold down the Shift key to add to the selection, or the Alt / Option key to subtract your selection. Once you have your basic selection, refine it by clicking Select & Mask on newer versions of Photoshop.
Under Select & Mask, choose the Refine Edge Brush, resize it if needed, and run it on the edges of your selection. Photoshop will read those local pixels and try to clean up the edges appropriately.
Once you are satisfied with the cleaned selection and if you will want to push a small amount using the Feather slider (about 2.5% in the video) and increase the Contrast slider to about 20%.
If there are still some edges that need some maintenance, choose the Brush Tool to paint them back in the selection. You should have a little more if you want to make the following steps more effective.
 how to cut the hair in photoshop
The next step, under Output Settings on the right side of the window, is Export to Layer Mask and click on OK. With your subject now cropped, in the layer mask, on a transparent background (checkered by default), you'll want to place it in the background to see the quality of your cut out.
This next tip is the one that makes a difference when dealing with the edges of the hair. It involves selecting the Brush Tool and making sure you have Layer Mask selected. Change the Brush Mode to Soft Light and set your foreground color to Black. Paint on the edges of the object, especially areas that might have some border, and you will be amazed at how effective this trick works.
Above is sharing about how to cut hair in Photoshop, SaDesign Retouching hopes to help you grasp useful information. If you want to consult and use professional image editing services, please contact us immediately for the fastest service.
See more How to clean studio background in Photoshop fastest


