Best Selling Products

Copyright Adobe Lightroom Account
59 USD

Upgrade Genuine Office 365
49 USD

Freepik Premium Account
59 USD

ChatGPT Plus Account (GPT-4)
16 USD

Capcut Pro 1 Year
39 USD

Upgrade genuine Capture One account
120 USD

Windows 10 & 11 Pro Key
36 USD

Autodesk All App Account Copyright
120 USD

Adobe Photoshop Copyright - Full App
120 USD

Genuine Cheap Canva Pro
39 USD

Plugin Retouch4me
69 USD

Upgrade Duolingo Super
29 USD

MidJourney Account
29 USD

Adobe Premiere Pro Account
99 USD

Genuine Adobe Illustrator account
99 USD
Instructions about how to treat eyebrows with photoshop
Eyebrows are what helps create a perfect face. To achieve this not only with the help of the makeup artist, but also with the help of the photo editor. The following article we will learn about how to treat eyebrows with photoshop.
how to treat eyebrows with photoshopAsk yourself: “Is eyebrow shape part of a makeup concept? Are there any makeup artists in studio film? Are eyebrows properly styled and groomed?
In the following tutorial, we will cover the basics of eyebrow posing and the basic techniques for applying that knowledge in Photoshop.
Correct eyebrow shaping
Although the eyebrow shape is highly dependent on the model's face shape, there is a "general rule" that should be observed as follows:
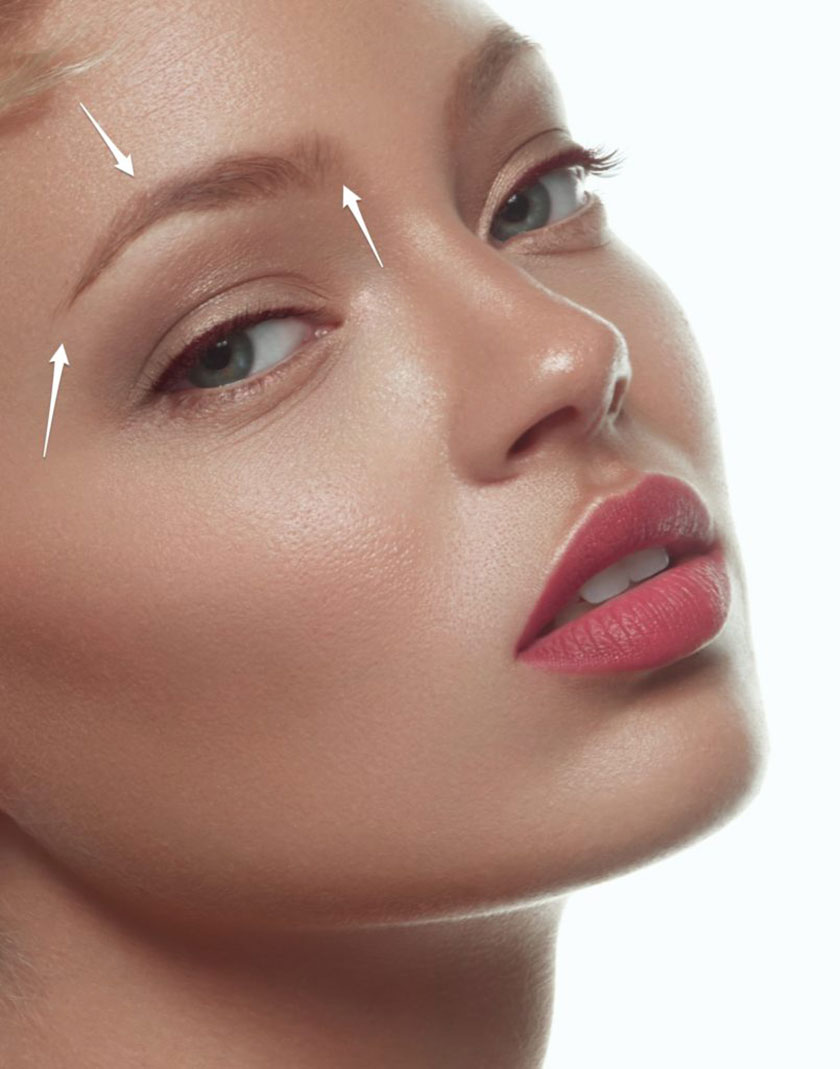
 Correct eyebrow shaping
- The inner edge of the brow is said to be aligned with an imaginary vertical line between the nostrils and the outer part of the bridge of the nose.
- The highest point of the palate appears in the imaginary line that starts from the middle above the nostrils and passes through the middle of the eye. In this way, the eyebrows curl at the last third of their length.
- The tail of the brow ends at the imaginary line starting in the middle of the nostril and aligned with the corner of the eye or just slightly beyond it. The tail is thinner than the edge, tapering off at the end.
Now let's see how we can change the eyebrow shape while keeping the same rule mentioned above, to match the shape of the face.
Makeup artists separate face shapes into six striking categories:
Oval-shaped
Forehead is broader than chin, gracefully slim from prominent cheekbones to narrow oval-shaped chin. Perfect brow shape is soft edges, start straight up, then make a gentle curve at 2/3 of the length and go down.
Long
Forehead, cheekbones and jaw contour of approximately equal width, slim face with narrow chin. The purpose of the eyebrow shape here is to make the face look shorter, so the brow should be almost flat to create a horizontal line across the face.In this case, you extend the tail of the eye slightly outwards to create a straight line from West to East.
Ring
The face is widest at the cheeks and appears to be almost as wide as the length. This can be rebalanced by creating a very high arch of eyebrows, which will deceive the viewer's vision, thus making it look longer.The eyebrow shape should follow a straight line to the top of the high arch and then drop down. Try to avoid soft curled eyebrows, as they will make the face look rounder.
Square
While the forehead, cheekbones and jaw line are about the same width, the most prominent feature is the heavy and firm jaw. You can try to balance it with a pair of thick angled eyebrows, which will create a definite angle at the top of it or try softening it with a pair of slightly curved eyebrows.Heart
The heart shape is similar to an oval face, but the chin is tapered. Shape eyebrows with low arches, which helps stretch the forehead and balance with the pointed chin.
Diamond
Diamond-shaped faces are usually quite angular with a short forehead and wide temples. A pair of thin curled eyebrows will soften the corners and visually reduce the widest part of the face - the temples. As you can see, the correct shape of the face will help you find the perfect eyebrows.
Practical application
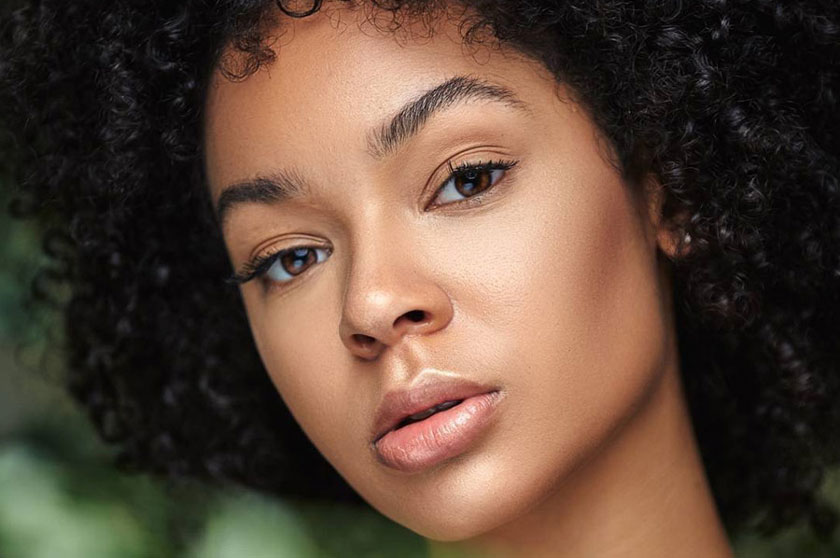
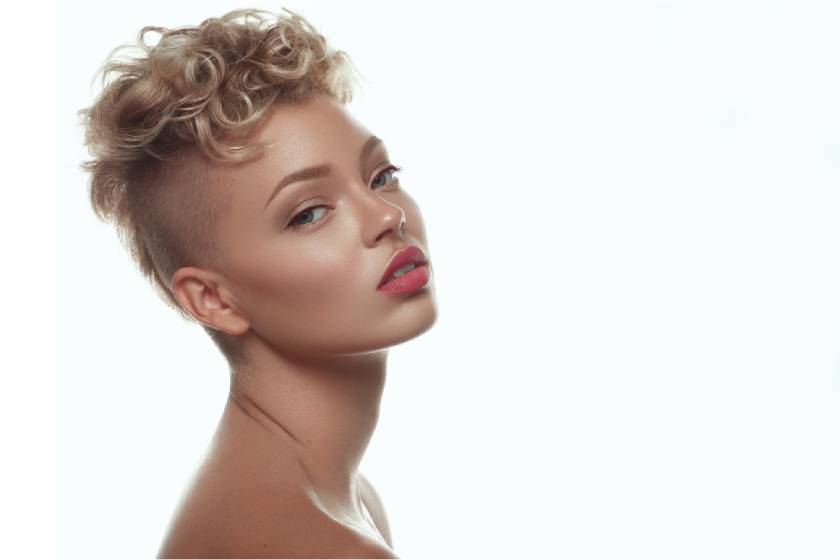
First of all, you need to evaluate the eyebrows and face shape in the image you are working on.
 Practical application
Here, we can see that the model's face shape is almost square with prominent jaw contour. That means our goal is to create a pair of thick eyebrows with an angle strong enough to balance the jawline. However, they are not too sharp, as this will disrupt the general softness of the model's expression.
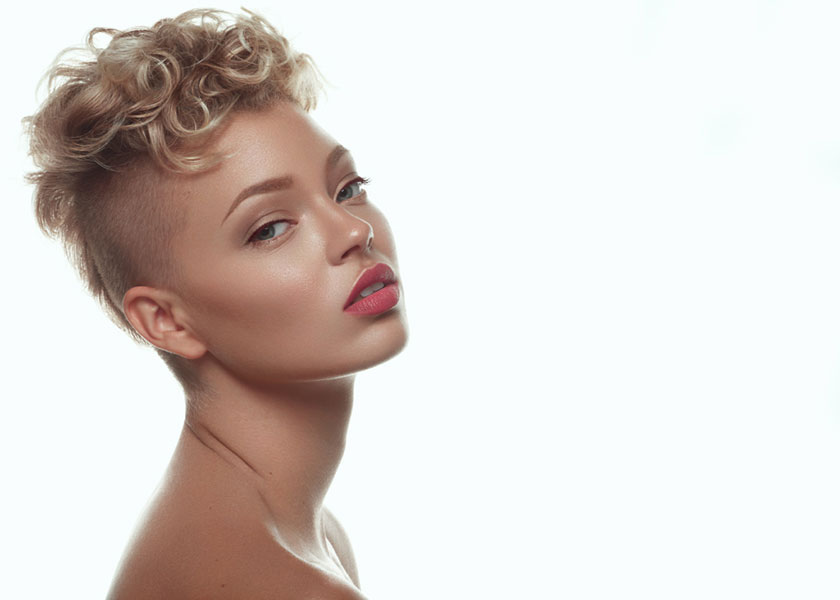
Taking a closer look at the eyebrows, we can see that it is quite tall, soft curl and has a short tail. Following the makeup artist's steps, it can be distinguished that the hairs on the inner edge are cut short and brushed up and a thicker, more angular curve is created with a pencil.
Since we do not intend to deviate too much from the original shape, the length of the brow will be a bit shorter and the arch is slightly more focused than the supposed "perfect" shape. But in this case, our duty is to maintain the original proportional integrity and work according to the makeup artist's intentions.
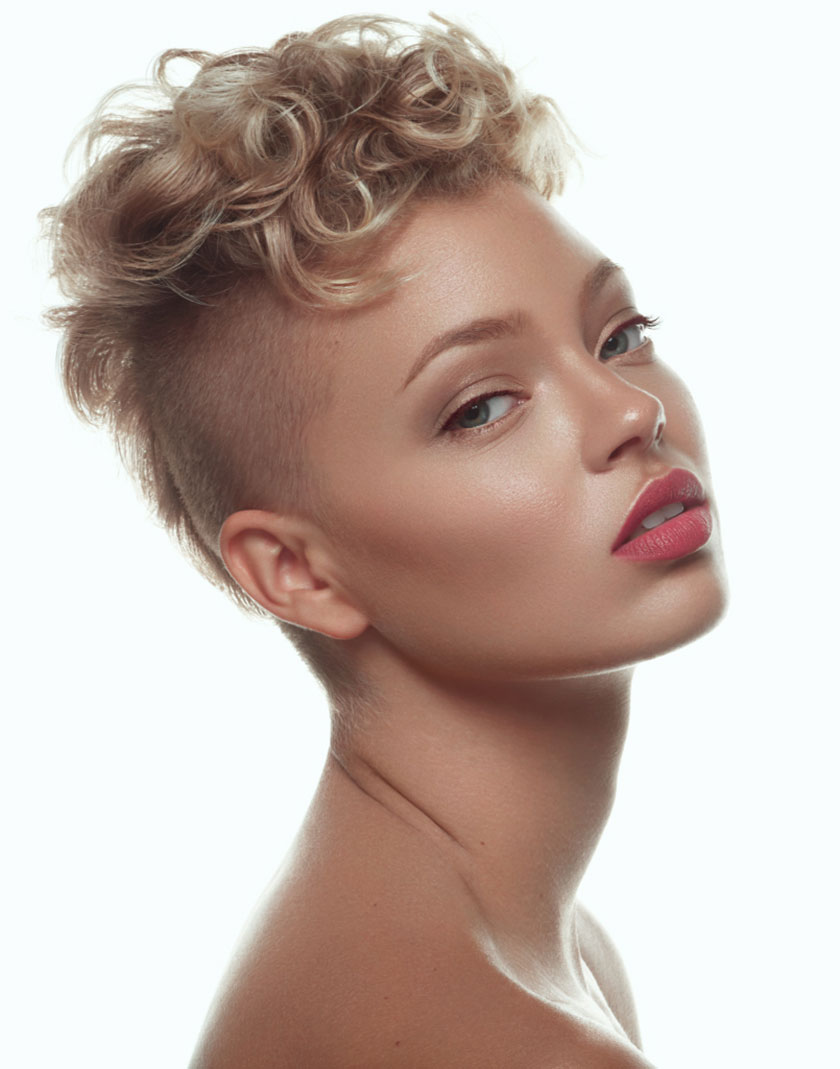
 edit eyebrow
Now we'll try to tweak the brow shape slightly, while keeping the original grooming and keeping as close to the natural shape as possible.
The first step, you need to clean the area around the brow from any hairs, then make sure to trim the hairs that are not in the shape you intended. The tools you choose will be the Clone Stamp and Healing Brush tools.
Next, put a brush to draw the missing bristles. You want a soft brush with Shape Dynamics Size Control set to Pen Pressure and both Flow and Opacity set to 100%.
Shape Dynamics is key because you want your hair to be pointed. Use short lines and start filling the gaps in the brow on a new blank layer. Here, our aim is to add more short hairs to the inner edge, fill the upper edge drawn out with a brow pencil and extend the tail slightly towards the temples.
Ảnh lap-day-khoang-trong-tren-chan-may
Make sure you check regularly to see if the shape you are creating is the shape you originally intended.
After you have drawn the fur, check the area. If the color of the strands of hair you have drawn seems to be out of focus due to wrong color selection with the eyeliner, you adjust the Selective Color to the layer you're working on.
Often the hairs you've drawn stand out and appear "sharper" than the rest of the image. Apply a small amount of Gaussian Blur to the layer with the new hairs so that they blend in with the rest. In some cases (a close-up too close but your drawing is thick enough), you may need to add some noise to match the original texture.
In the next step you need to use Dodging and Burning to cover the "gaps" and make the edges cleaner. You need to be careful, because overuse of Burning will make your eyebrows darker than intended. Check back regularly to make sure everything is perfect.
If necessary, clean around the edges once. Zoom out and check results by enabling and disabling visibility of layers by turning editing off and on.
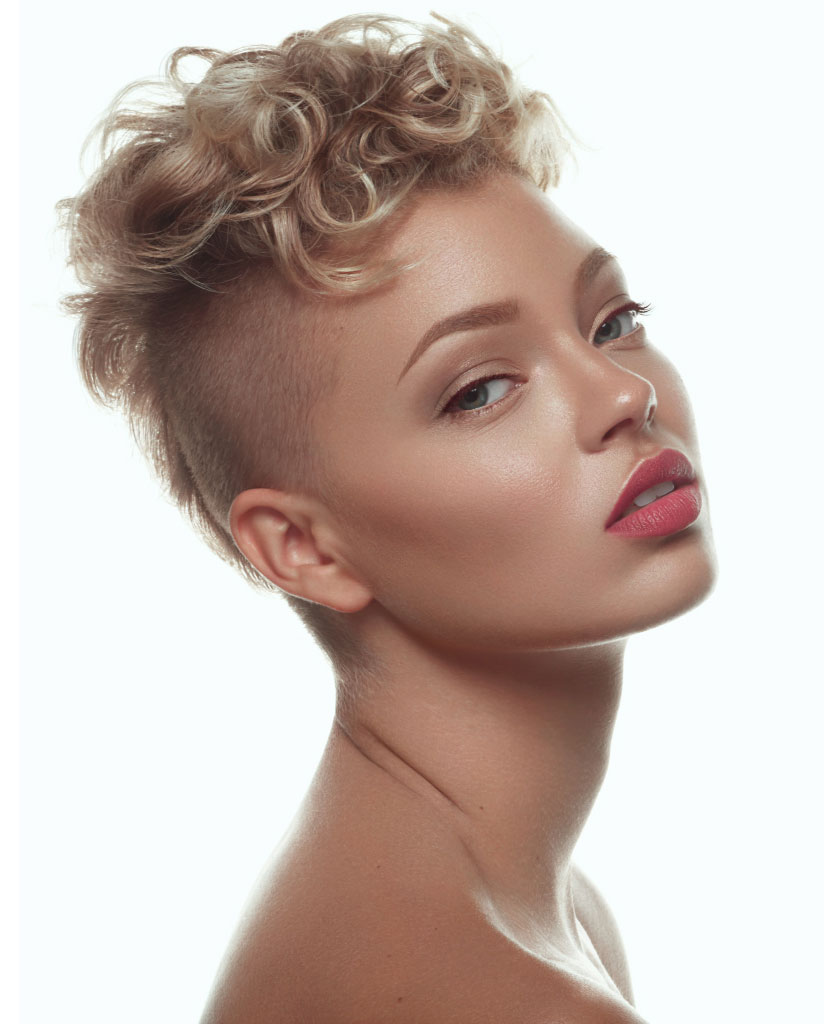 image finally
Make sure that the work you have done is fully integrated into the image. Go back and edit everything if needed. SaDesign Retouching wishes you luck and have a beautiful retouched image with the above Photoshop treatment for eyebrows.


VIP Products


Best Selling Products
Copyright Adobe Lightroom Account
59 USD
Upgrade Genuine Office 365
49 USD
Freepik Premium Account
59 USD
ChatGPT Plus Account (GPT-4)
16 USD
Capcut Pro 1 Year
39 USD
Upgrade genuine Capture One account
120 USD
Windows 10 & 11 Pro Key
36 USD
Autodesk All App Account Copyright
120 USD
Adobe Photoshop Copyright - Full App
120 USD
Genuine Cheap Canva Pro
39 USD
Plugin Retouch4me
69 USD
Upgrade Duolingo Super
29 USD
MidJourney Account
29 USD
Adobe Premiere Pro Account
99 USD
Genuine Adobe Illustrator account
99 USD