Best Selling Products
Exploring Layer Blending Modes in Photoshop
Nội dung
In this article, we will discuss some of the layer blending modes in Photoshop so that you can understand and apply them most effectively.
 Blending Modes in Photoshop
The software image editor Photoshop professional will have 4 blend modes:
- Lighten blending mode
- Darken blending mode
- Mixing contrast mode
- The blend mode based on the color
The most important factor in each mode is how each group works so that the user can set the start and then test until the right end point is found to produce the desired result.
The basics to note
Combination modes can get quite complicated when you are just starting out, but they are really easy to use once you get the list of Blending modes. You need to have at least two classes in your file - a base class and a blend class, applied to the base class - to create interaction with the blend mode between the blend and the base layer.
In the description below, SaDesign Retouching will describe what the result will look like when a specific Blending mode is placed for the blending layer (top layer in interaction). Please refer to the video: https://youtu.be/hV-2RJUq6bM
Dark modes
The darkening group of the Blending modes:
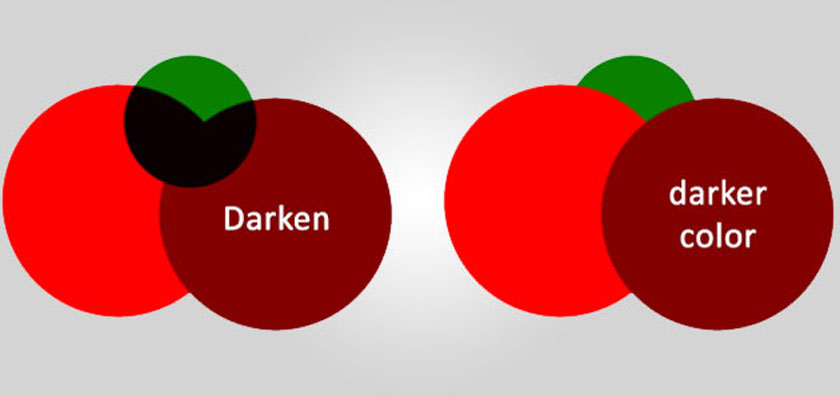
- Darken
- multiplier
- Record color
- Linear recording
- Darker colors
These Blending modes will darken your image whenever the blending layer has pixel value darker than pure white. Among the Darken Blending Modes, the most commonly used options are Darken and Multiply.
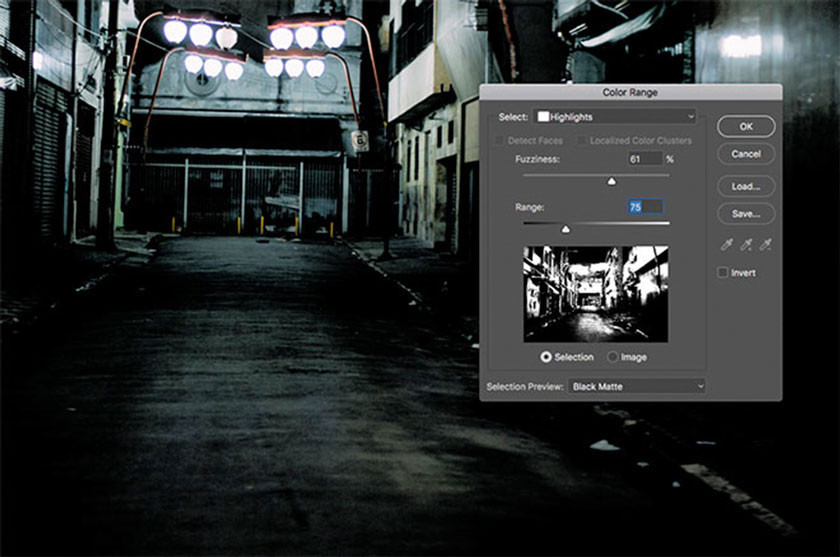 Dark modes
Multiply works for color grading by applying a black and white adjustment layer and adding vignettes. Darken is useful for applying selective sharpening to dark parts of the edges, fixing fluffy hairs, duplicating eyelashes, and combining multiple exposures.
LIGHTENING BLENDING Modes
The Blending Mode's Brightening Group:
- Brightens
- Screen
- Color Dodge
- Linear Dodge
- Brighter Colors
These blending modes will brighten your image whenever the selected layer has pixel values brighter than absolute black. Among the Lighten Blending Modes, Lighten and Screen are the most commonly used.
Contrast blending mode group
The screen works well for applying bright textures captured against a dark background (eg, bokeh, smoke). Brightening is useful for correcting dark color, applyed selective sharpening and combining multiple exposures.
The group of contrast blend modes includes:
- Overlay
- Soft light Commerce
- Lighting linear
- Lighting lively
- Bright lights
- Batteries light
- Hard mixtures
These things will brighten your image if the layer blending value pixel brighter than 50% gray and darken the image photos whenever they are darker than 50% gray.
 blending mode group
Blending modes like Overlay and Soft Light work well when combined with a 50% gray layer to avoid and burn. Black and white adjustment layer to modify contrast based on color. Layers with the Highpass filter are applied to sharpen and build contrast, as well as add noise or texture that are shown on the 50% gray layer.
Linear Light and Vivid Light are most commonly used with the High Pass layer for sharpening or extracting textures as well as Frequency Separation.
Color spray modes
The basic color blending modes are:- Hue
- Saturation
- Color
These will allow you to apply hue, saturation, and brightness elements from the blending layer to your image. So only the Brightness Blending mode affects the brightness level of your image while the other elements focus on the actual color value.
The luminance blending mode is often combined with black and white curves, levels, or adjustments to eliminate the effect of the contrast saturation change caused.
Color Blending mode allows to render a layer's hue and saturation value while the luminance value is omitted, making it a great choice for applying uniform layers of color to complement or negative color.
Above is the sharing of layer blending modes in Photoshop, SaDesign Retouching hopes to help you grasp useful information. If you find the article interesting and necessary, please press the Like and Share buttons.
See more: Creating Bandless Gradients in Photoshop


