Best Selling Products

Genuine Cheap Canva Pro
39 USD

Plugin Retouch4me
69 USD

Upgrade genuine Capture One account
120 USD

Upgrade Duolingo Super
29 USD

Genuine Adobe Illustrator account
99 USD

Freepik Premium Account
59 USD

Windows 10 & 11 Pro Key
36 USD

Upgrade Genuine Office 365
49 USD

Adobe Photoshop Copyright - Full App
120 USD

Autodesk All App Account Copyright
120 USD

ChatGPT Plus Account (GPT-4)
16 USD

Capcut Pro 1 Year
39 USD

Adobe Premiere Pro Account
99 USD

Copyright Adobe Lightroom Account
59 USD

MidJourney Account
29 USD
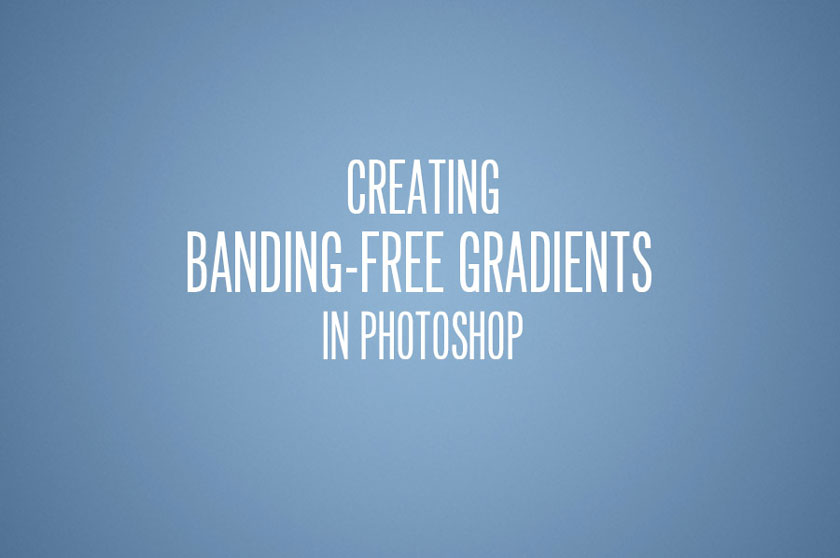
Creating Bandless Gradients in Photoshop
Nội dung
- What are gradients in photo editing software Photoshop?
- How to replace the background with a gradient
- Step 1: Create a new file
- Step 2: Create another Gradient Fill layer
- Step 3: Control Noise
- Step 4: Add noise in a new layer
- Step 5: Adjust both the Opacity and Fill on the noise layer.
- Step 6: Reconfigure the Image's Shape, Contrast and Color
In this tutorial we will look at how to create bandless gradients in Photoshop. In spite of often being misunderstood, when used properly, gradients are considered as an excellent tool that can be used in all types of applications including shading, or filling and patching every smooth surfaces such as walls or ceilings.
Creating Bandless Gradients in PhotoshopHowever, one of the problems with gradients is banding, so you need to know how to solve this problem properly. Once you know how to create a suitable gradient, the potential for using them is unlimited and will help to make your image editing work much more flexible and professional.
What are gradients in photo editing software Photoshop?
Gradient is actually a color changing tool. This tool is based on the principle of mixing monochrome bands according to a certain rule. This means that this tool helps the user to change from one color to another one.
 what is Gradient
You need to distinguish clearly that the blending of the color range is completely different from mixing the color point. However, the general rule is still based on the principle of spill coloring. For ease of visualization you will have straight ropes on the water and each string contains 1 color. When you simultaneously immerse those strings in the water, the color splashes and blends together to make color variation bands.
Gradient in Photoshop is a tool located in the tool bar on the left side of the working screen. The keyboard shortcut for calling this tool is (G). In Photoshop, the gradient has 5 basic gradients including Linear, Radial, Angular, Reflected and Diamond. You can manage the properties of the gradient in Photoshop in the control bar, when you select the gradient tool (G) to edit the image.
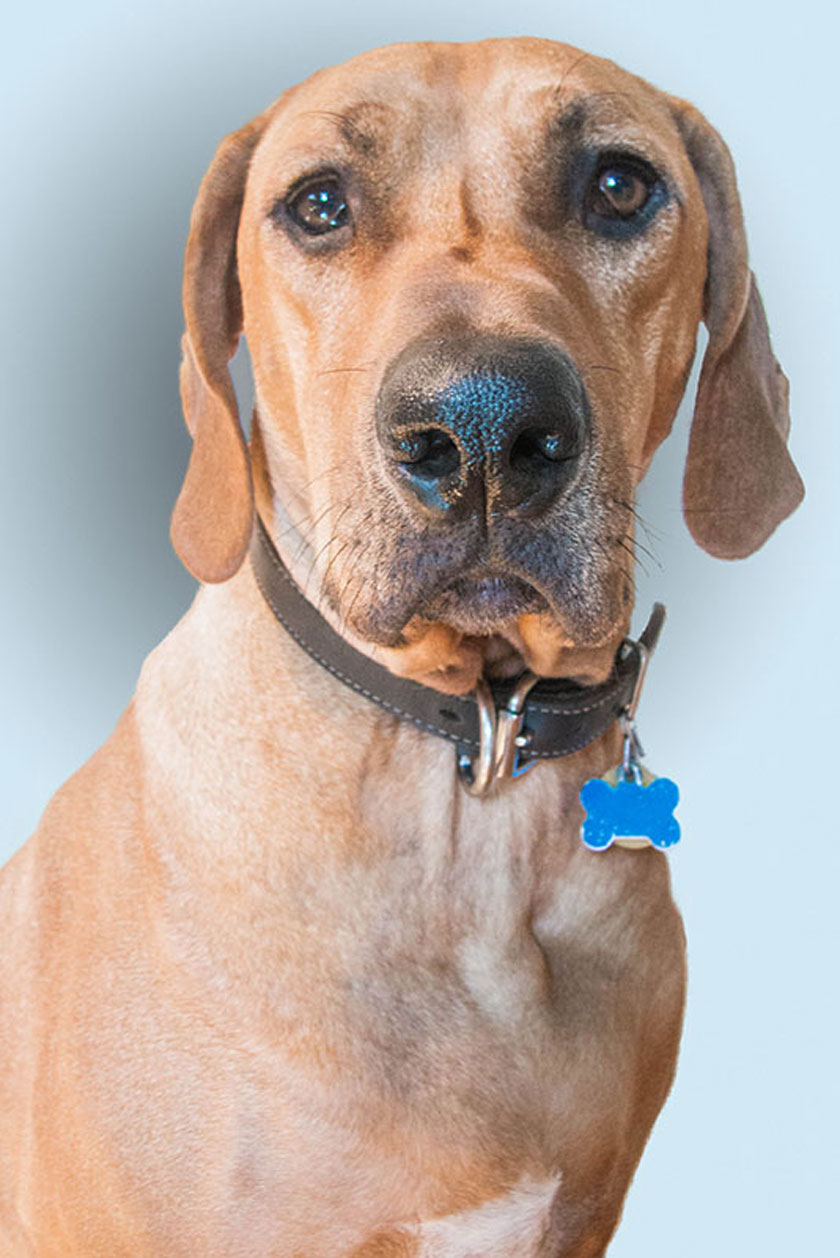
How to replace the background with a gradient
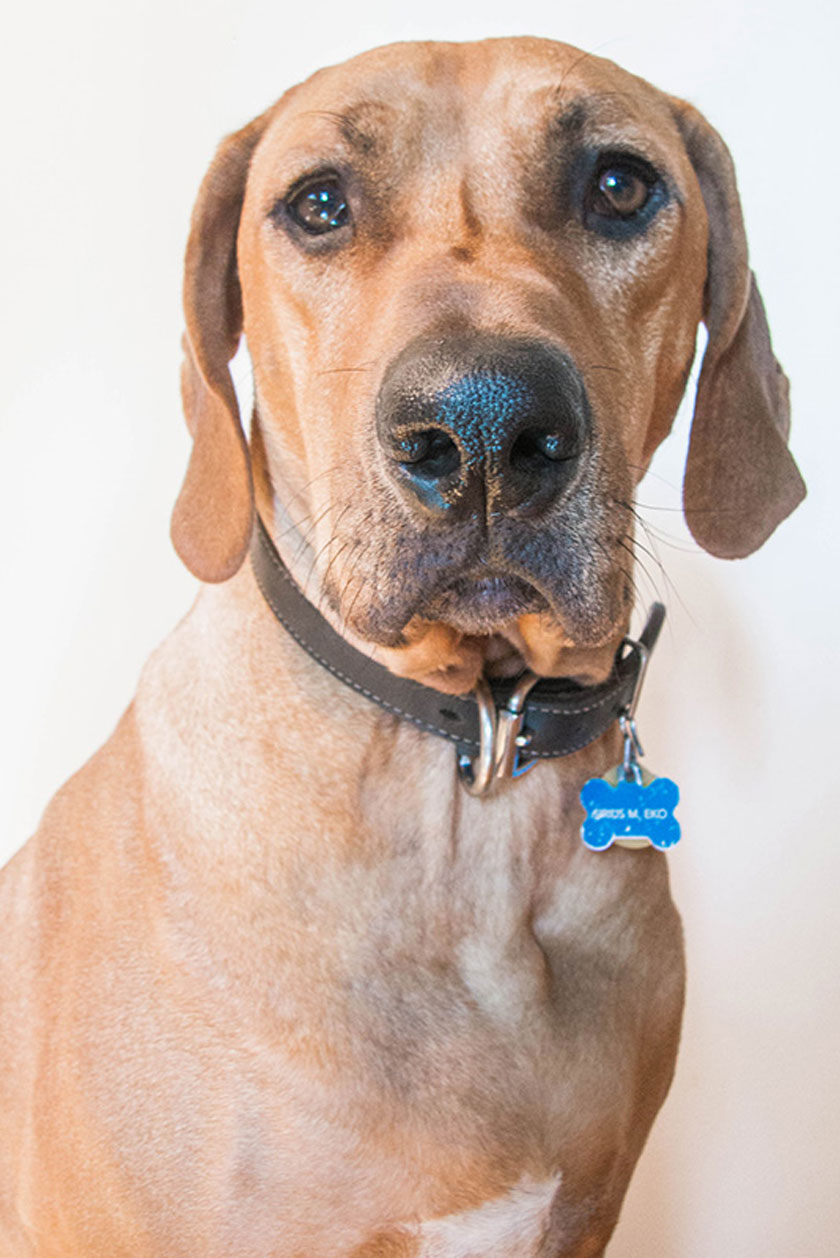
In the following section, we will learn how to replace the existing background in the dog image with a gradient, as follows:
Step 1: Create a new file
Let's start with a new file. You can only add a new gradient or a new Gradient Fill layer in your existing file, creating a whole new file will allow more flexibility when you need to adjust it later. In general, you want your gradient to be the same size as the area you're adding it to, or the file you'll be placing it in.
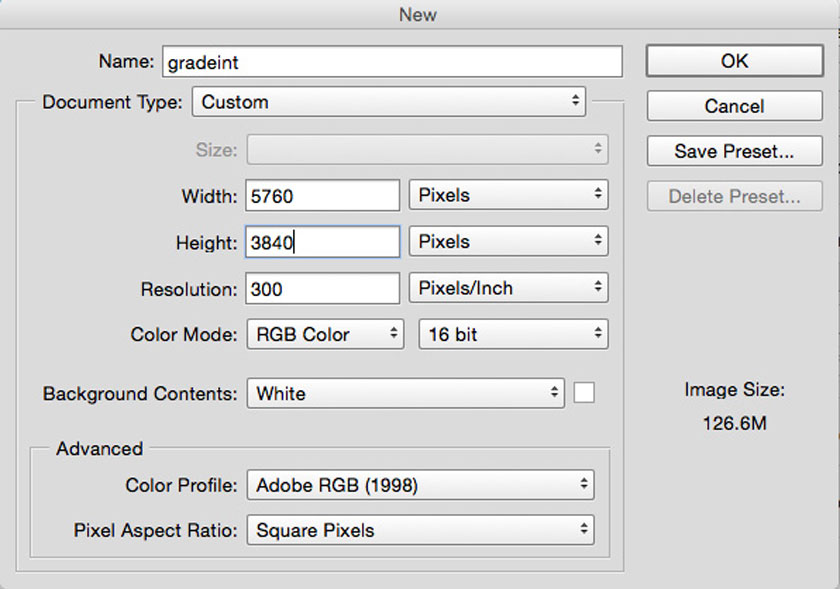 Create a new file
To do this, you can create a new file with the same size as the Canon 5D image: 5760 x 3840 pixels. Note that make sure it is in 16-bit mode, which should help minimize the scattering, even if you normally work with 8-bit files. Although 16-bit files use significantly more system resources, with gradients you can achieve a much smoother tonal range than in 8-bit mode.
Finally, you can place your 16-bit gradient in an 8-bit file as a smart object. This will give you the full tonal range of the 16-bit file on your gradient while still allowing you to easily work with the 8-bit file.
If you are worried about the file size or using too much RAM, you can reorder your layer after you have placed and adjusted it.
Step 2: Create another Gradient Fill layer
Now let's add a Gradient Fill layer. You can only draw a gradient using the Gradient Tool in your blank canvas, but using the Gradient Fill layer will give you more control when editing it after you've placed it in your image. You can choose a simple two-color radial gradient, but you can use any color combination you like. By increasing the scale, you can make the tonal range more subtle.
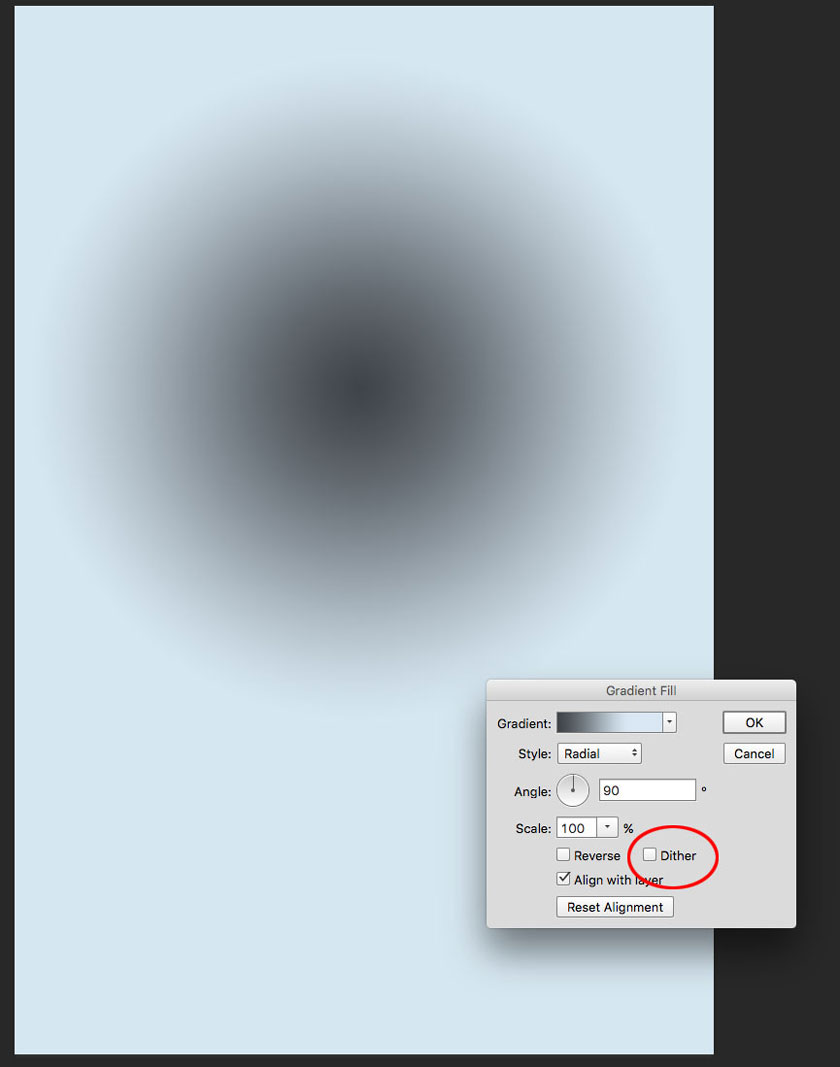 Create another Gradient Fill layer
However, note that Dither has been unchecked. This is important because you probably don't want Photoshop to add any more noise than we can control. Click OK when you have the gradient that looks the same or less than you want.
You can see at this point that the gradient is pretty much distributed. Now you need to remove that.
Step 3: Control Noise
To control the noise, create a new layer, fill it with 50% gray and change its Blend Mode to Linear Light.
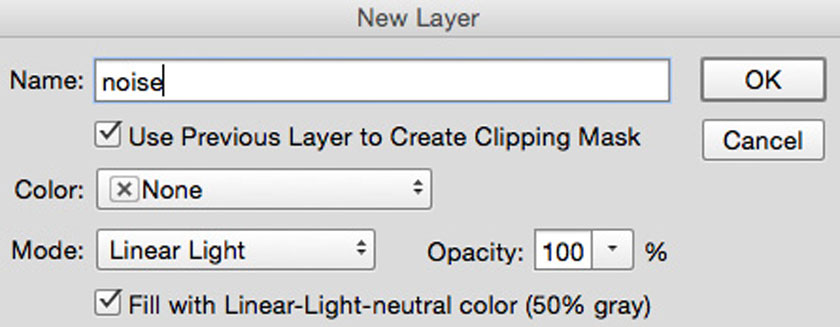 Control Noise
You can perform each of those steps as separate steps, but by using the New Layer command, through the Layer menu. Or by pressing Ctrl / Cmd + Shift + N, you'll have a dialog box handy.
Here, you can name your layer. You choose its Blend Mode and you will have the option of coloring the layer with 50% gray.
Step 4: Add noise in a new layer
After you've done this, add the noise to the new layer. Choose Filter => Noise => Add Noise and set the amount to 25% with the Homogeneous distribution and make sure Monochrome is selected.
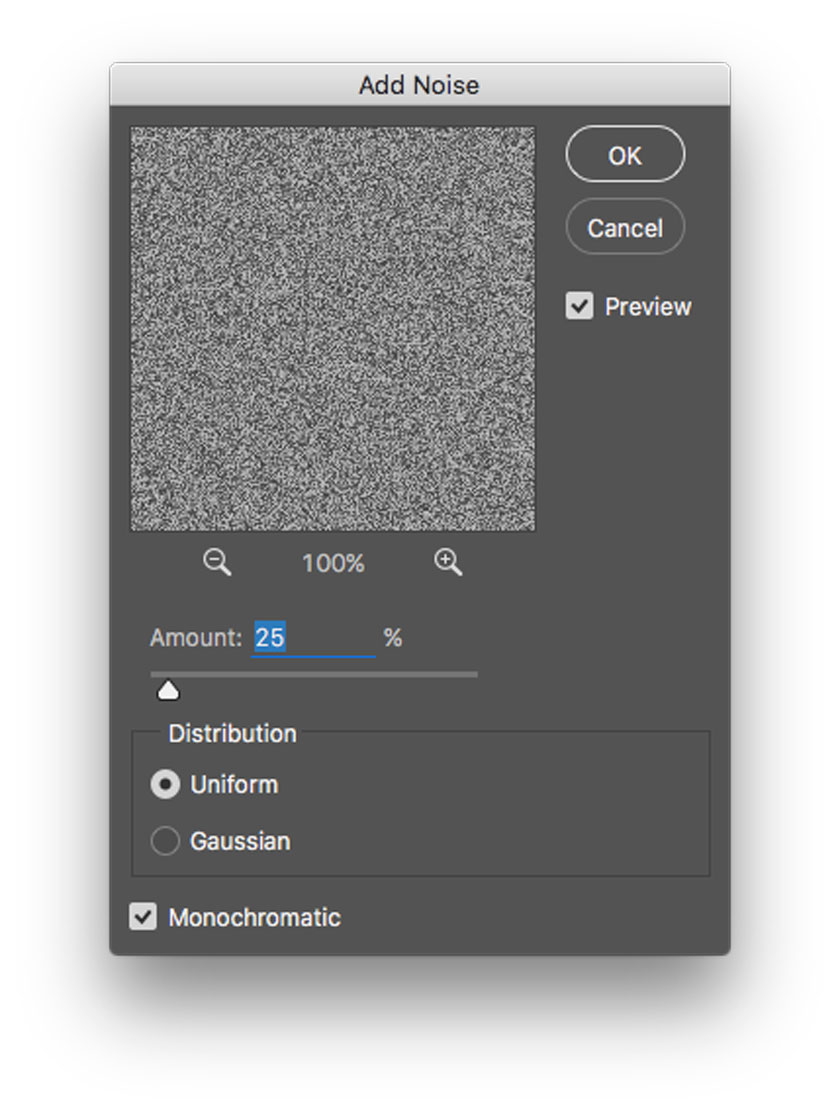 Add noise in a new layer
The first thing you'll notice is that this amount of noise is excess - too much for any serious application. Therefore, you need to adjust that in the next step.
Step 5: Adjust both the Opacity and Fill on the noise layer.
If you want to adjust both the Opacity and Fill on the noise layer, the noise returns to acceptable levels. Remember, the key here is to add just enough noise to destroy the band, but not so much that the slope occurs in noise. Usually professional photo editors will start around 20% each, Fill and Opacity.
It's important to note here that the amount of noise you need to use will depend a lot on the final size of the image as well as the range of tones in your gradient. As you adjust the level of visible noise, zoom in and out to make sure you can see both the noise and the correct frequency range.
If you haven't already, save your gradient.
Step 6: Reconfigure the Image's Shape, Contrast and Color
Finally you should open the gradient as a smart object and drag it onto your image or place it in your image by going to File => Set Embedded…
Similar to 16-bit files, smart object uses more system resources. However, adjusting the gradient as a Smart Object will allow you to further refine its shape, contrast, and color as it appears in your image.
At this point, you may also need to further adjust the noise level by changing the Fill or Opacity, or both. Once you've set gradients and noise and bands seem acceptable, you can intelligently rearrange objects if you need to reduce the file size or optimize your system's resources.
 results
Above is sharing how to create bandless Gradients in Photoshop, SaDesign Retouching hopes to help you grasp the useful information. If you still have questions that need more support on this issue, please leave a comment below the article for us to quickly support.
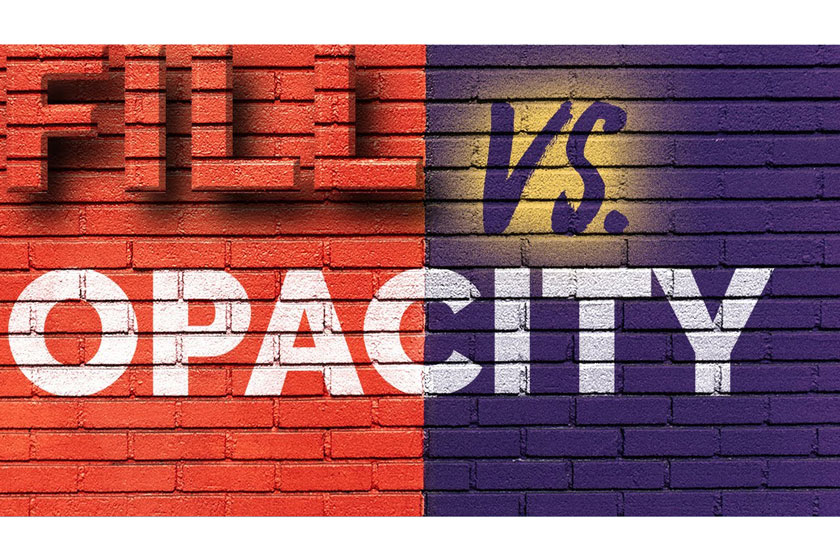
See more The differences between Fill and Opacity in photoshop


VIP Products


Best Selling Products
Genuine Cheap Canva Pro
39 USD
Plugin Retouch4me
69 USD
Upgrade genuine Capture One account
120 USD
Upgrade Duolingo Super
29 USD
Genuine Adobe Illustrator account
99 USD
Freepik Premium Account
59 USD
Windows 10 & 11 Pro Key
36 USD
Upgrade Genuine Office 365
49 USD
Adobe Photoshop Copyright - Full App
120 USD
Autodesk All App Account Copyright
120 USD
ChatGPT Plus Account (GPT-4)
16 USD
Capcut Pro 1 Year
39 USD
Adobe Premiere Pro Account
99 USD
Copyright Adobe Lightroom Account
59 USD
MidJourney Account
29 USD