Best Selling Products

Windows 10 & 11 Pro Key
36 USD

MidJourney Account
29 USD

Capcut Pro 1 Year
39 USD

Plugin Retouch4me
69 USD

Adobe Photoshop Copyright - Full App
120 USD

Upgrade Duolingo Super
29 USD

Adobe Premiere Pro Account
99 USD

Genuine Adobe Illustrator account
99 USD

Upgrade Genuine Office 365
49 USD

Autodesk All App Account Copyright
120 USD

ChatGPT Plus Account (GPT-4)
16 USD

Freepik Premium Account
59 USD

Genuine Cheap Canva Pro
39 USD

Upgrade genuine Capture One account
120 USD

Copyright Adobe Lightroom Account
59 USD
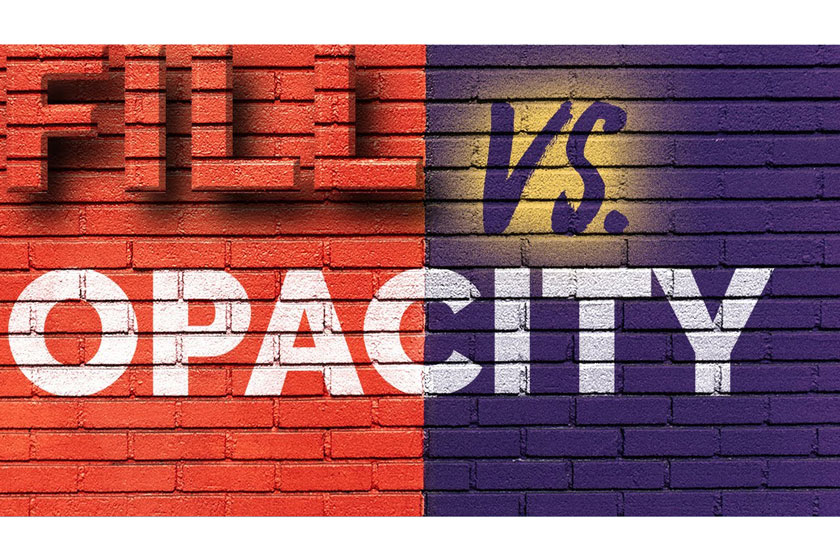
The differences between Fill and Opacity in photoshop
Nội dung
 fill and opacity
Learn about Fill and Opacity tools
Photoshop is a photo editing software with a lot of functions, you may often work with this tool, but you probably do not fully understand about it, typically 2 toolbars Fill and Opacity. If you use Opacity or Fill to make adjustments to the transparency of normal layers, the use of these two tools is similar. However, if you use Layer Styles, it is immediately obvious the difference between their functionality. Because Fill only affects pixels, shapes and text on a layer, but they don't affect the Shadow. In addition, 8 blending modes of fill and opacity are different activities such as: Color Burn, Vivid Light, Linear Light, Hard Mix, Linear Burn, Color Dodge, Linear Dodge and Difference. Using the Fill slider instead of the Opacity slider with these blending modes will get better results.Comparison Brush OPACITY with FLOW
Most users when working with Photoshop tend to use the Opacity slider and leave the Flow intact. However, when you know the difference between two of them, you will choose for yourself the tool that works best. Be aware that the Opacity will apply to any area you paint, no matter how many times you pass through it. After you lift the pen or mouse button and repaint the area, it will cover with more paint. Conversely, when you use Flow, every time you paint over an area, even if you lift the mouse or not, the amount of paint will continue to increase. You will also see that Flow tends to paint more than the same amount of Opacity. Following example you will see this difference: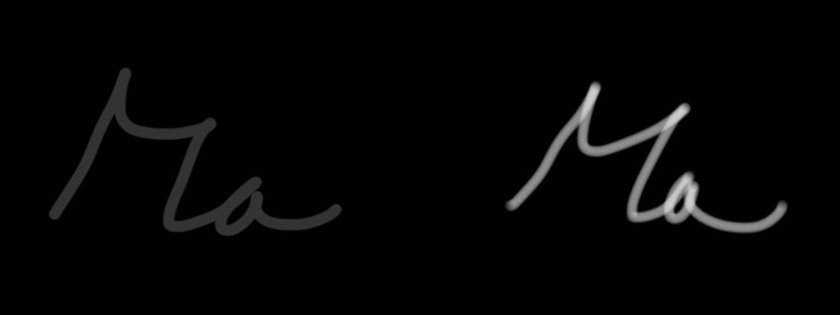 BrushOpcity with Flow
Comparing Layer Opacity with Fill
At layer level, Fill and Opacity just bring about different results in Linear Blend Mode. This is illustrated in the image below. In the example below, you can see that the 2 overlapping bars are set to 50% Opacity on the left and 50% Fill on the right, and both are blended with the Linear Blend Mode. As you can see, on the Opacity side, the two 50% bars stacked on top of each other don't give 100% coverage. On the Fill side, two 50% bars actually result in 100% filling in the overlapping area.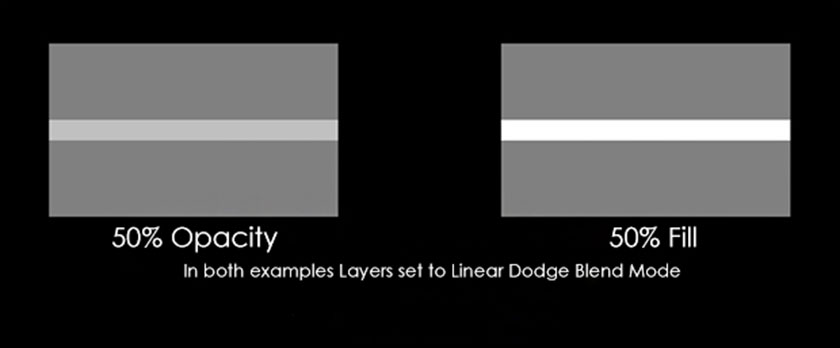 Opacity with Fill
 Difference Opacity and Fill


VIP Products


Best Selling Products
Windows 10 & 11 Pro Key
36 USD
MidJourney Account
29 USD
Capcut Pro 1 Year
39 USD
Plugin Retouch4me
69 USD
Adobe Photoshop Copyright - Full App
120 USD
Upgrade Duolingo Super
29 USD
Adobe Premiere Pro Account
99 USD
Genuine Adobe Illustrator account
99 USD
Upgrade Genuine Office 365
49 USD
Autodesk All App Account Copyright
120 USD
ChatGPT Plus Account (GPT-4)
16 USD
Freepik Premium Account
59 USD
Genuine Cheap Canva Pro
39 USD
Upgrade genuine Capture One account
120 USD
Copyright Adobe Lightroom Account
59 USD