Best Selling Products
How to brighten the eyes naturally in Photoshop
Nội dung
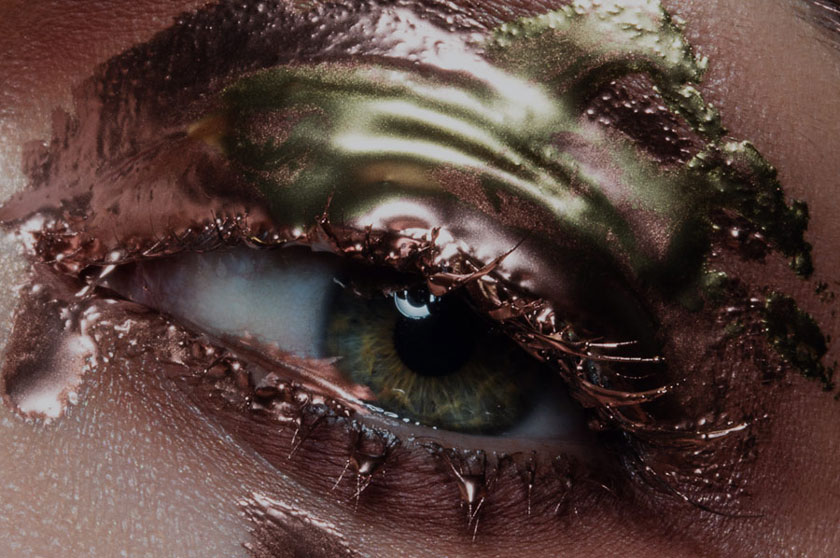
Retouching the model's eyes in this photo is essential when this detail looks unnatural. Otherwise it would spoil the overall beauty of the entire portrait. Here are instructions how to brighten eyes naturally in Photoshop you should not ignore.
 brighten the eyes naturally
How to brighten the eyes naturally in Photoshop
Sclera, or whites of the eyes in a photo should be carefully considered when editing beauty and fashion photos as well as portraits. It can reflect the bright makeup and colors around the model during the shoot, or more typically look her a bit red and have lots of blood vessels.
In the video below, we show you how to clean eye whites in Photoshop by treating unwanted colors so that you get the best shot. What we need to do is keeping some details and blood vessels in the whites of the eyes to maintain a natural look.
We can use the lasso or pen tool in Photoshop to make a selection. Select and create a mask (Q for Quick Mask). Adjust the mask using Gaussian Blur to blur its edges and make micro adjustments to the mask using the Gradient Tool. After you like the mask, press “Q” again to place the mask and then add a Selective Color Adjustment Layer.
Professional image editing experts recommend you should adjust the Neutral option of the Selective Color Properties while bringing up the Dashboard to see different colors that contaminate the dura.
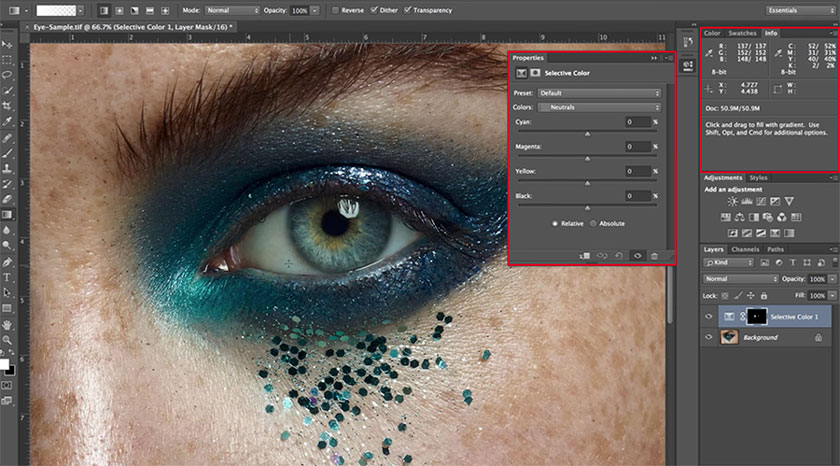 Selective Color Properties
To open the Dashboard, go to Photoshop's menu bar, then Window, and from the drop-down menu choose "Info." Follow the instructions shown in this video:
[embed]https://youtu.be/OjbQsWiLdO4[/embed]You can draw changes into target areas. Use the brush to set the Opacity to less than 100% and you will see that you are now able to make some gentle adjustments.
When brightening your eyes, you should brighten the area facing the light. This is because light enters the eyes in the bright area, and "escapes" through the opposite side. If you don't lighten it up, eveything can look very unnatural and "weird".
Notes when editing images with Photoshop
Photo editing does not damage the original image
The simplest way to edit images without damaging the defined image is that you never manipulate it directly. You will be manipulating photo editing using Layer layers, which includes adjustment layers where color adjustments and background tones will be placed on separate layers.
To do that, you just need to use adjustment tool which is Adjustment, it will automatically create an adjustment layer. You will click on it or hide it by clicking the eye icon or deleting it.
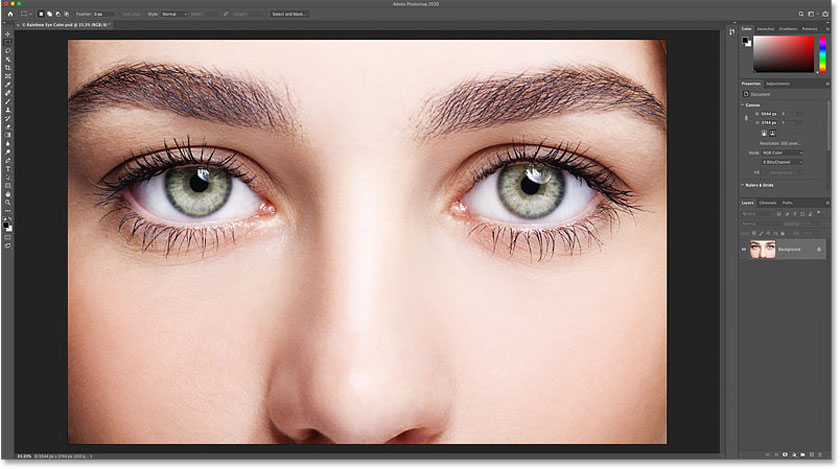 Photo editing does not damage the original image
Blur photo
The next note when adjusting the image, to make your photo more sparkling that you should blur it. To do this in Photoshop, you just need to double-click on the desktop, select the right mouse button and click Open With, choose File => Open.
Process photos with color obsession
A beautiful and professional photo of you needs to have a reasonable composition and shimmering colors, which are considered a very important factor. Because being taken with a phone, your pictures are often "poor" and the colors are not bright. In order to deal with this problem, you need to perform color demolition using the Level tool.
In addition to naturally brightening the eyes in Photoshop, you also need to incorporate other professional portrait image editing methods to get the most comprehensive, satisfying image. If you still have any questions or need further assistance, please contact SaDesign for the fastest service.
See more: How to Use Select and Mask in Photoshop


