Best Selling Products

Upgrade Genuine Office 365
49 USD

Adobe Photoshop Copyright - Full App
120 USD

MidJourney Account
29 USD

Autodesk All App Account Copyright
120 USD

Freepik Premium Account
59 USD

Adobe Premiere Pro Account
99 USD

ChatGPT Plus Account (GPT-4)
16 USD

Plugin Retouch4me
69 USD

Windows 10 & 11 Pro Key
36 USD

Upgrade Duolingo Super
29 USD

Capcut Pro 1 Year
39 USD

Upgrade genuine Capture One account
120 USD

Copyright Adobe Lightroom Account
59 USD

Genuine Cheap Canva Pro
39 USD

Genuine Adobe Illustrator account
99 USD
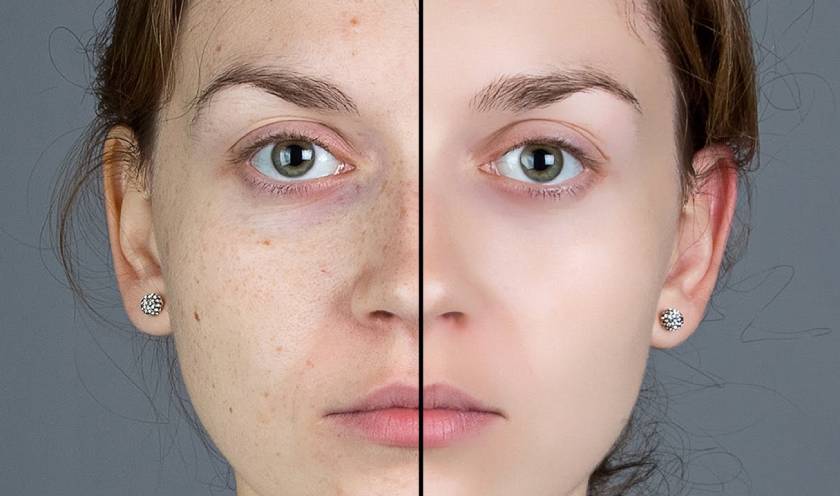
Using Dodging and Burning to retouch skin in photoshop
 Professional photographer and photo editor Zoe Noble says this method is important because "It can have a tremendous effect on your images without destroying any pixels." Another advantage of Noble's retouching technique using layer masks is that the effect can easily be boosted or rolled back to get the exact look you want.
 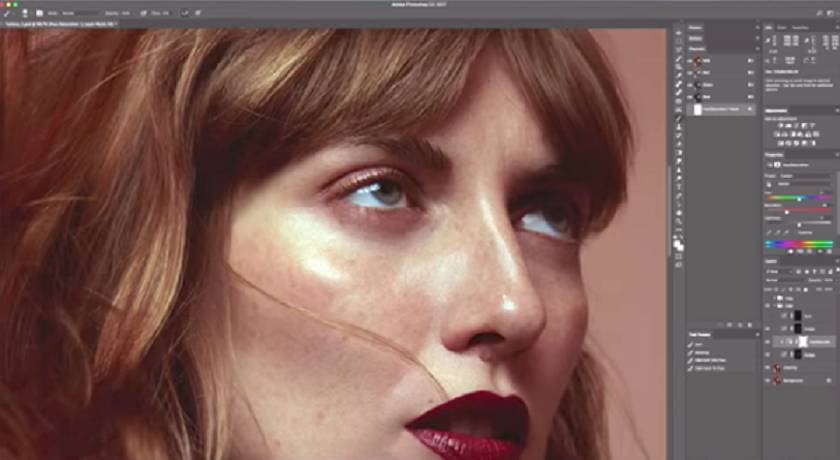 The term “Dodging and Burning” was originally used to describe the darkroom process to selectively lighten or darken specific parts of an image (“Dodging” to lighten and “Burning” to darken). ). In the tutorial below, Noble demonstrates how to do the same thing in Photoshop to smooth out uneven transitions in portraits.
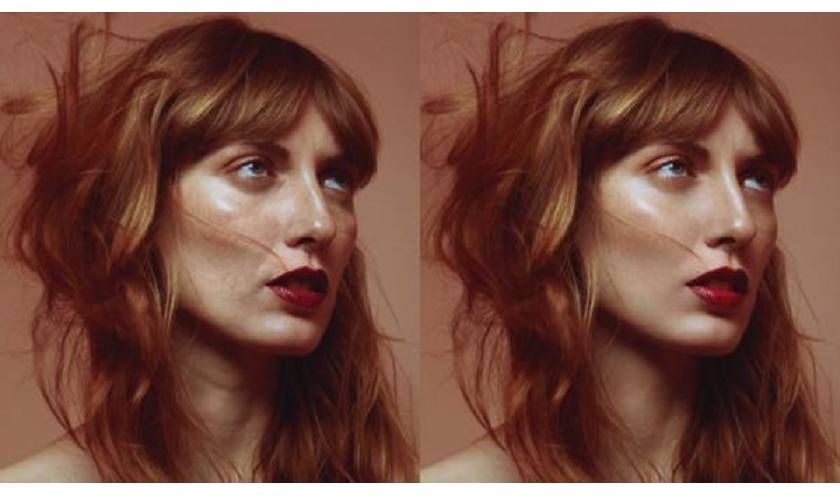
  The trick here, as with most Photoshop retouching methods, is to enhance the original image while preserving a natural look - an especially important goal for portraits. Noble explains how to get the job done in a number of ways using different brushes so you can tailor the technique to your personal taste.
 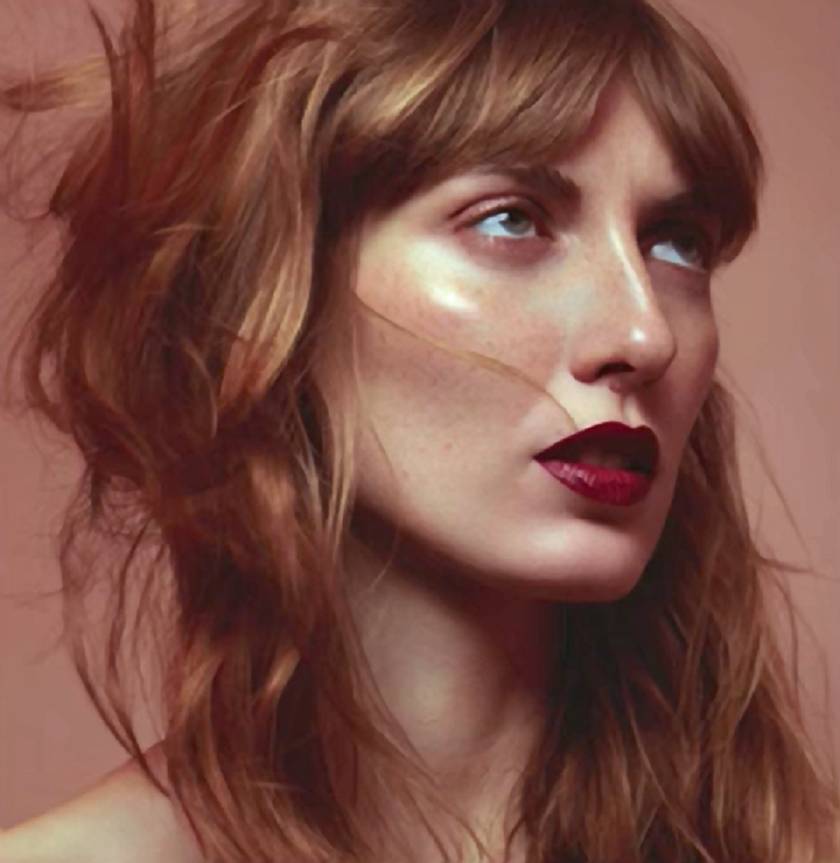 You can watch her share about the tools and how to use them in the video below. [embed]https://www.youtube.com/watch?v=yO9YZKUivOU[/embed] In the video, Noble explains what settings she uses to place her brushes and also how she relies on curves to work with Dodging and Burning. While she doesn't go into detail when it comes to color correction, she does touch on interesting points that you can then explore further. For better visualization, you can refer to the following steps to practice with Dodging and Burning Step 1: Create a new layer Create a new Curves adjustment layer by: Layer > New Adjustment > Curver... then click OK in the dialog window. You name it Burn. Then lower the midpoint of the curve. Simply click on it and drag it down.
 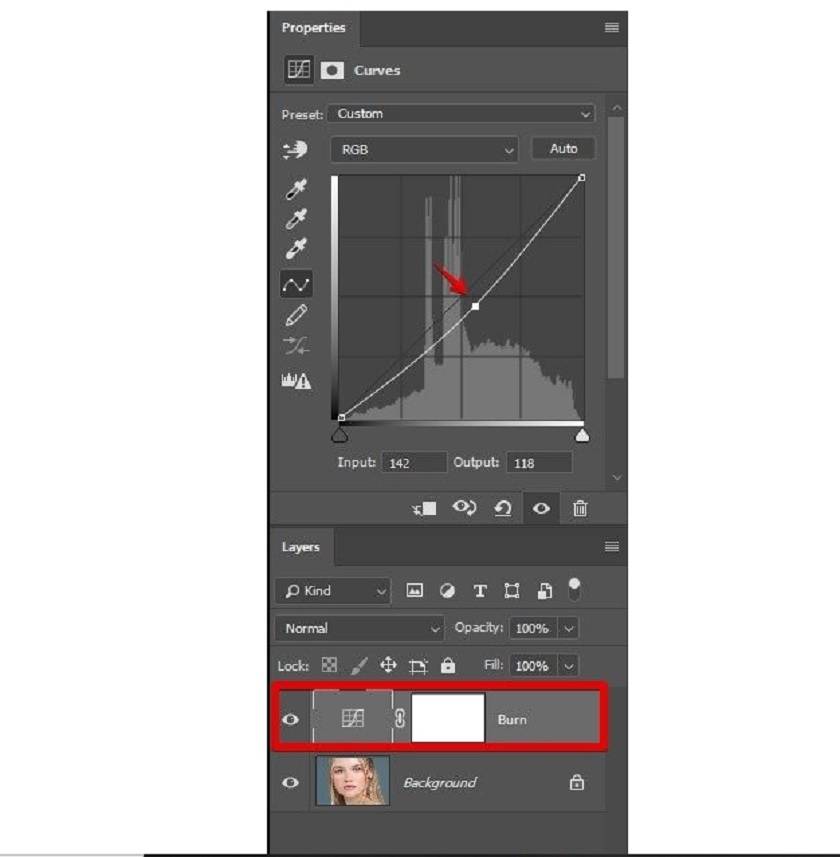 Step 2: Invert the Burn . layer Invert this adjustment layer by: Adjustment > Invert
 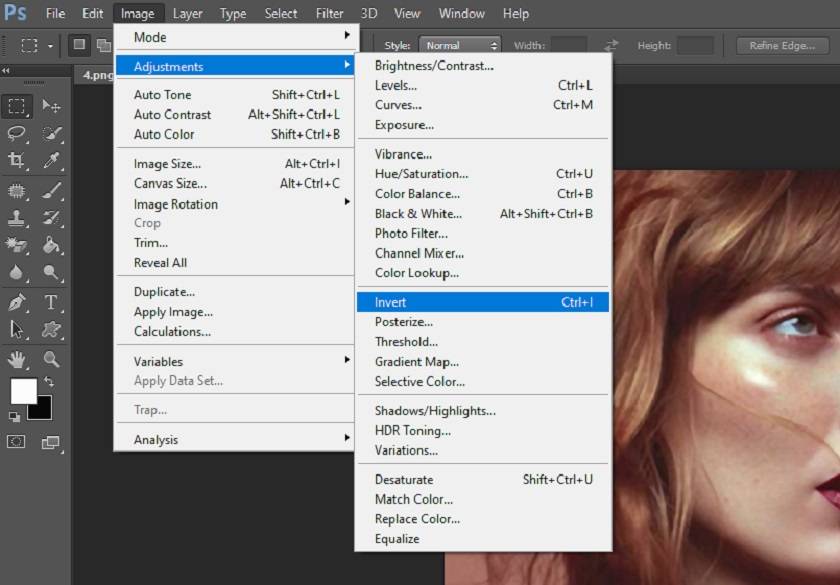 Invert the layer quickly using the keyboard shortcut: Ctrl + I Step 3: Recreate the Curver Adjustment layer In this step, create another layer by: Layer > New Adjustment Layer > Curver.. Name this layer Dodge and then click OK. Start raising the point in the middle of the curve
 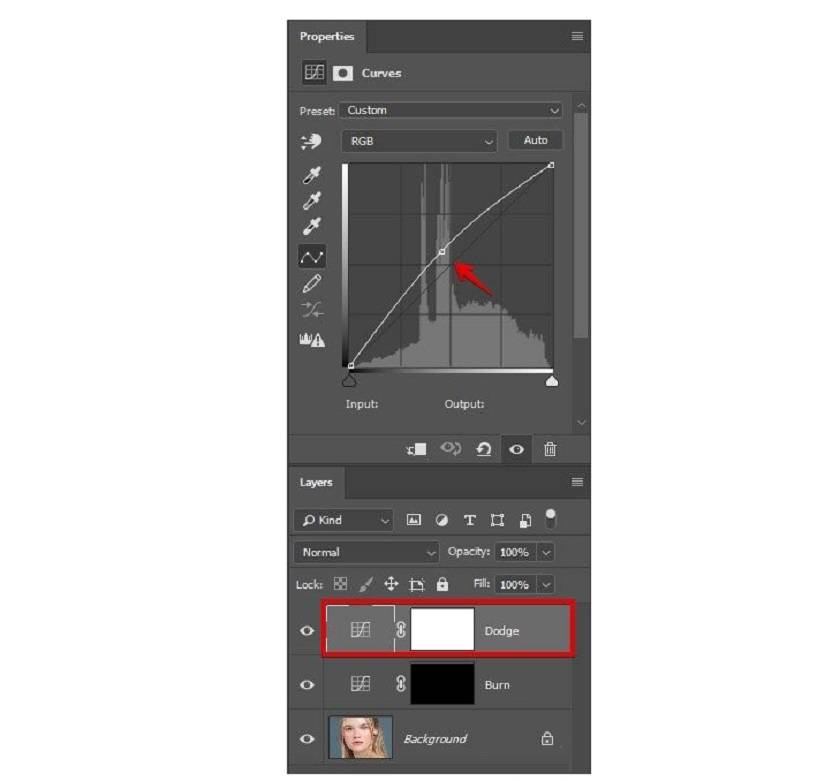 Step 4: Invert the Dodge layer You also do the same as when step 2 Step 5: Start using Dodging and Burning Select the Brush Tool (B) and set the opacity to 40% Then improve the model skin by lightening the dark and light areas of the face.
 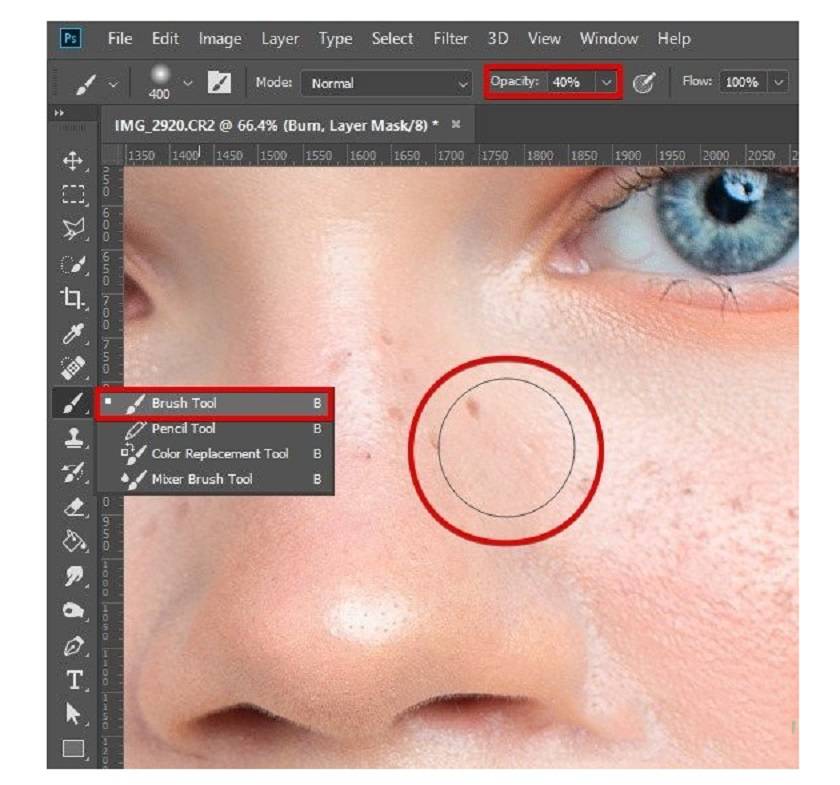 Here are the results
 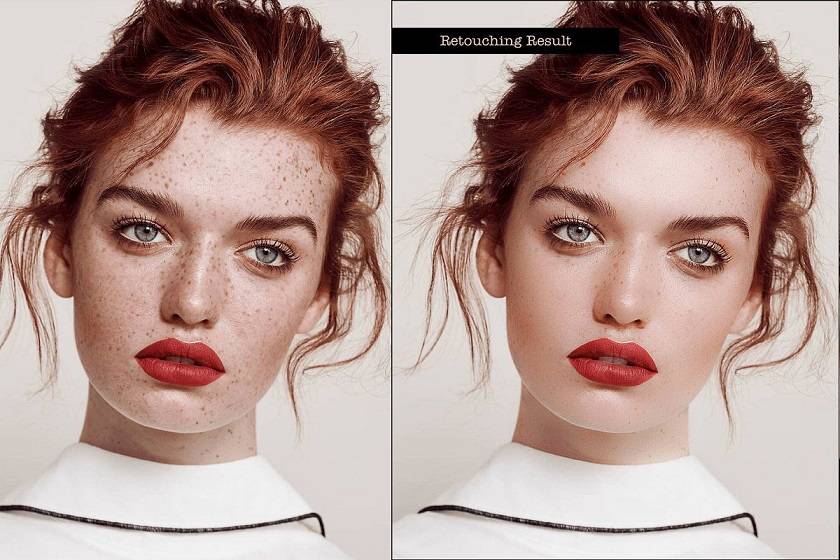 Perhaps as you hear, this method is relatively complicated and difficult to do, but in fact this method is quite simple and effective, all you need to do is use black and white to correct it. for more even and smooth skin. Remember that mastering Dodging and Burning for the skin takes a lot of work and practice. It will take a few months before you can edit images quickly and fully understand what you need to edit.


VIP Products


Best Selling Products
Upgrade Genuine Office 365
49 USD
Adobe Photoshop Copyright - Full App
120 USD
MidJourney Account
29 USD
Autodesk All App Account Copyright
120 USD
Freepik Premium Account
59 USD
Adobe Premiere Pro Account
99 USD
ChatGPT Plus Account (GPT-4)
16 USD
Plugin Retouch4me
69 USD
Windows 10 & 11 Pro Key
36 USD
Upgrade Duolingo Super
29 USD
Capcut Pro 1 Year
39 USD
Upgrade genuine Capture One account
120 USD
Copyright Adobe Lightroom Account
59 USD
Genuine Cheap Canva Pro
39 USD
Genuine Adobe Illustrator account
99 USD