Best Selling Products

Freepik Premium Account
59 USD

Adobe Photoshop Copyright - Full App
120 USD

Genuine Cheap Canva Pro
39 USD

Genuine Adobe Illustrator account
99 USD

Upgrade genuine Capture One account
120 USD

MidJourney Account
29 USD

Capcut Pro 1 Year
39 USD

ChatGPT Plus Account (GPT-4)
16 USD

Upgrade Genuine Office 365
49 USD

Plugin Retouch4me
69 USD

Autodesk All App Account Copyright
120 USD

Upgrade Duolingo Super
29 USD

Adobe Premiere Pro Account
99 USD

Windows 10 & 11 Pro Key
36 USD

Copyright Adobe Lightroom Account
59 USD
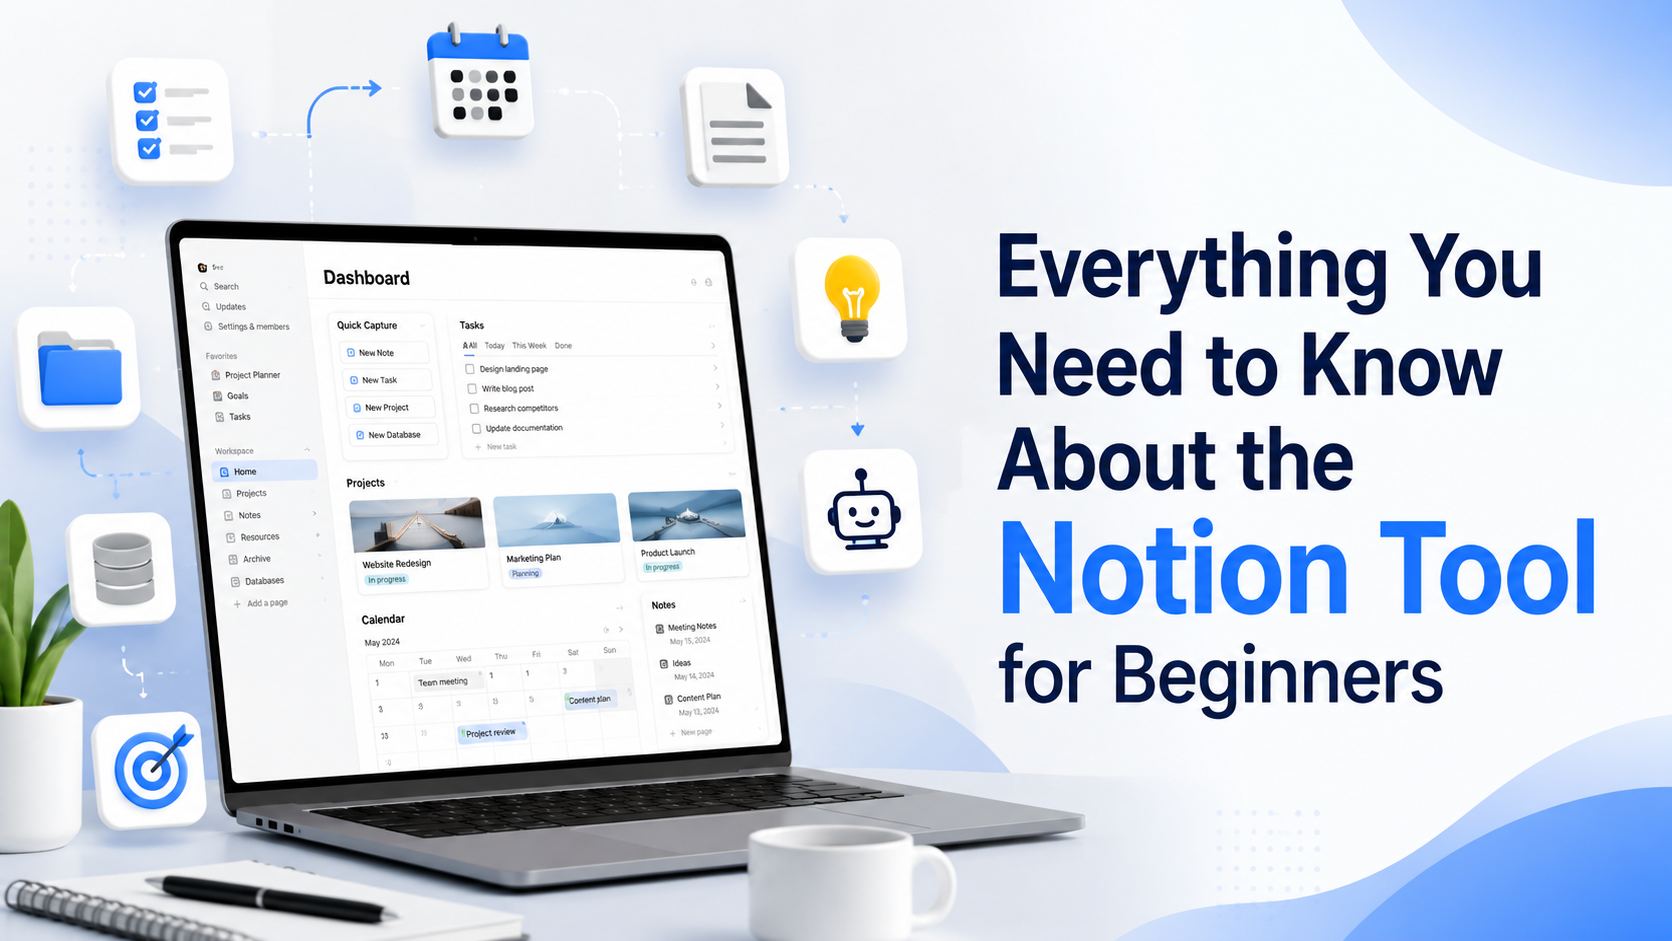
Everything you need to know about the Notion tool for beginners.
Nội dung
- 1. Some basic features in Notion
- 2. Create a workspace with Notion
- 2.1 Setting up the Workspace
- 2.2 Project Management
- 2.3 Creating a team workspace
- 3. How to use Document Notation
- 3.1 Step 1: Create a new document page
- 3.2 Step 2: Customize the document page
- 3.3 Step 3: Save and manage documents
- 4. Instructions for using Notion Wikis
- 4.1 Create a personal Wiki page
- 4.2 Using pre-made templates
- 4.3 Customize to your own style
- 4.4 Effective Information Organization
- 5. How to take notes in Notion
- 5.1 Start by creating a notes page
- 5.2 Using Web Clipper
- 6. Create a To-Do List with Notion
- Step 1: Open the Notion app
- Step 2: Create a new page
- Step 3: Add an icon to the page
- Step 4: Job Classification
- Step 5: Create a To-Do List
- Step 6: Add the task to the list
- 7. Conclusion
Notion is known as a versatile tool that helps you take notes, manage tasks, and store information effectively. With its user-friendly interface and many useful features, Notion allows you to easily create your own workspace and store documents.
1. Some basic features in Notion
Notion is not just a simple note-taking tool; it also integrates many advanced features to help users manage information effectively. Below are some of Notion's outstanding features, helping you make the most of it for your needs.

2. Create a workspace with Notion
When you log into your Notion account, a prominent message will appear stating "all-in-one workspace." This is the starting point for building a personalized workspace tailored to your needs. With Notion, you have full control to create a new workspace, customize it to your preferences, or use the available default space.
2.1 Setting up the Workspace
First, you can set a name for your workspace. Choose a name that reflects its content and purpose, for example, "Marketing Project" or "Personal Task Management." A clear name will help you and other team members easily identify the workspace.
Next, choosing icons for your workspace is also an essential part of the customization process. Icons not only highlight your workspace but also inspire you when you open applications. You can choose from many available icons or upload your own images to express your personal style.
2.2 Project Management
Notion's Workspace is more than just a storage space; it's also where you can take notes and manage your to-do list, projects, and tasks. You can create separate pages for each project, making it easy to track progress. Dividing tasks into specific categories helps you organize information efficiently and reduces confusion while working.
Additionally, you can create new projects according to a plan and add specific goals, deadlines, and necessary notes. Notion allows you to use various tools such as tables, lists, and charts to present information visually and easily.
2.3 Creating a team workspace
Notion is not only useful for individuals, but it's also highly effective for building collaborative workspaces. You can invite multiple members to your workspace, allowing them to contribute, edit, and track information securely. This creates a collaborative work environment where everyone can easily share ideas and documents.
3. How to use Document Notation
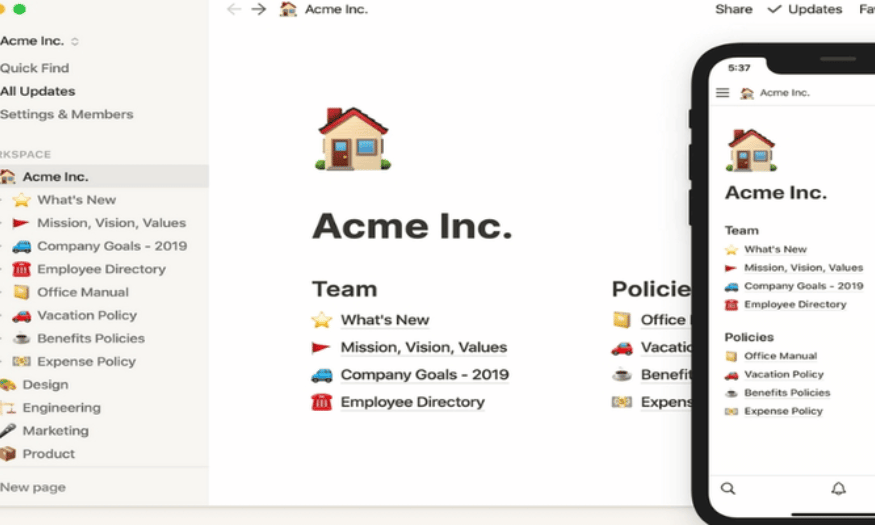
Notion is an indispensable and versatile tool for managing information and documents. Many users, when joining the Notion workspace, often begin by creating and editing documents. To help you understand how to work with documents in Notion, here is a detailed step-by-step guide:
3.1 Step 1: Create a new document page
First, you need to access the main Notion interface. Here, find and click on "New page." This will open a blank document page, ready for you to start working. Creating a new page is simple and quick, allowing you to immediately begin with the ideas or information you want to record.
3.2 Step 2: Customize the document page
When a new document page opens, you'll see a large blank space to unleash your creativity. Here, you can use various features to enrich your content:
-
Inserting images : To make your document more lively, you can add images by dragging and dropping them from your computer onto the page, or use the "/image" option to insert images from the internet or your library.
-
Text Formatting : Notation allows you to format text in various ways. You can choose headings, bold, italics, or create numbered and unnumbered lists. This makes your document more readable and professional.
Adding Tables : If you need to organize information in a table format, you can add a table by typing “/table” and selecting the table type you want. Tables are very useful for comparing data or organizing information systematically.
3.3 Step 3: Save and manage documents
Once you've finished creating your desired document, simply save it to ensure all changes are recorded. Notion automatically saves your progress, so you can rest assured that your information is always preserved. When needed, you can reopen this document to view or edit it. Notion also allows you to create different versions of the document, helping you revisit the change history if necessary.
4. Instructions for using Notion Wikis
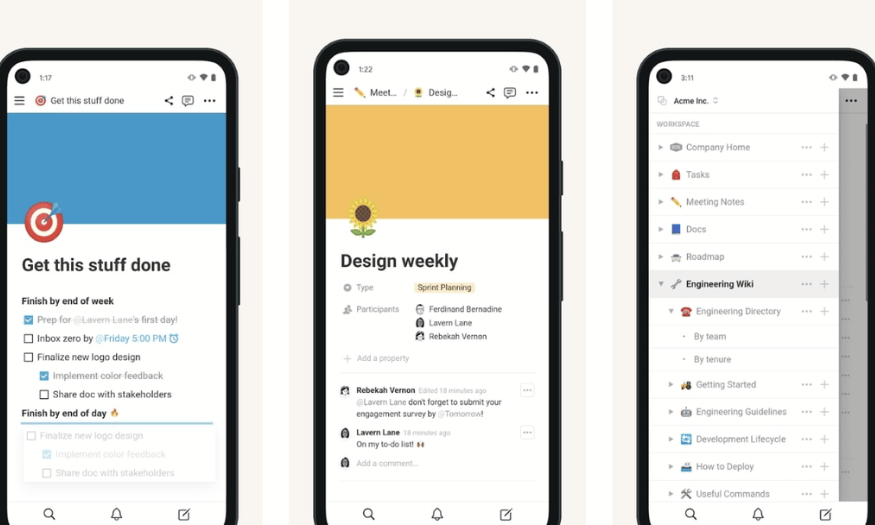
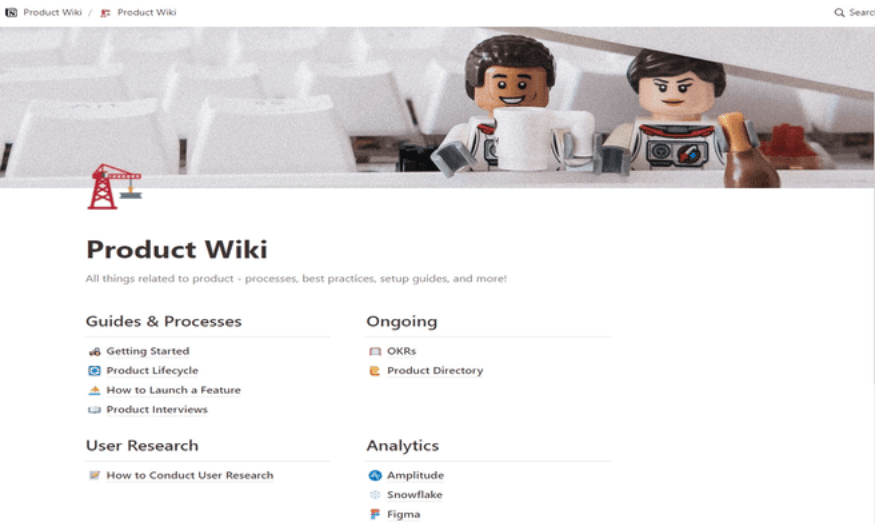
Notion Wikis are a feature that allows users to organize and store information systematically. With the ability to create personal Wiki pages, you can easily store and share knowledge, documents, or any information you want. This not only helps you manage information better but also creates opportunities for others to contribute ideas and additional information.
4.1 Create a personal Wiki page
To begin using Notion Wikis, first create a new Wiki page. You can do this by clicking the “Add a page” button in Notion. Then, you can name your Wiki page, such as “Knowledge Library” or “Project Guide”. This will help you easily identify the page's content.
4.2 Using pre-made templates
Notion offers many useful Wiki templates that you can use immediately. To find these templates, go to the "Templates" menu and search for the keyword "Wiki". If you don't find a template that suits your needs, don't worry! Notion allows you to search for templates shared by the community. Just type "Wiki" into the search bar and you'll see a wealth of options from other users.
4.3 Customize to your own style
If you want to create a truly unique Wiki page, you can design templates in your own style. Start by adding elements like a title, text, images, and links. You can also use tools like tables, lists, or image galleries to make the Wiki page more engaging and easier to understand.
4.4 Effective Information Organization
When building a wiki, pay attention to how you organize the information. You can create subpages for specific topics, making it easier for users to search and access information. For example, if you are creating a wiki for a project, you could have subpages such as "Schedule," "Documents," and "Meeting Notes." This not only helps you keep things organized but also improves the accessibility of information for other users.
Additionally, simply click the "Share" button and enter the email addresses of the people you want to invite. They will be able to contribute ideas, edit, or add information, creating an effective collaborative workspace.
5. How to take notes in Notion
With its Web Clipper feature, Notion allows users to save favorite websites and important notes, making it easy to access them later without losing track of them.
5.1 Start by creating a notes page
First, simply open Notion and create a new page. Next, you can explore various options to personalize your notes page.
-
Create a New Page : Click the "New Page" button to begin.
-
Choose a Template : In the left-hand menu, you'll find the "Template" option. Click on it and select "Education" to find suitable note templates.
-
Customization and Design : You can choose from a pre-made template or design a completely new template to your liking. Notion allows you to add various elements such as text, lists, images, and more, making your notes page more lively and easy to read.
5.2 Using Web Clipper
The Web Clipper utility is one of Notion's highlights. When you're browsing the web and find important information, simply use the Web Clipper to save it. This not only helps you keep track of information but also allows you to add notes and organize them efficiently.
6. Create a To-Do List with Notion
Among Notion's many useful features, the ability to create to-do lists is one of the most popular and sought-after functions. Effective task management not only increases productivity but also provides a sense of satisfaction upon completing each task. Below is a detailed guide to easily create a to-do list in Notion:
Step 1: Open the Notion app
First, open the Notion app on your device. If you haven't installed it yet, download it from the official Notion website. After logging in, you will see the app's main interface.
Step 2: Create a new page
To begin, click the “Add a page” button on the left sidebar. The system will automatically create a new page for you. Here, you need to name the page by clicking on “Untitled” and entering a name you want, for example, “To Do List”.
Step 3: Add an icon to the page
If you want to make your list more lively and easily recognizable, add an icon. Click on “Add icon” and choose an icon that matches the content of your list. This will not only help you find pages more easily but also add inspiration to your work.
Step 4: Job Classification
One of Notion's advantages is its ability to organize information flexibly. To categorize tasks, you only need to perform a few simple steps. Click on "Turn into" and select "Toggle list". Then, you can enter task categories such as "Daily tasks", "Upcoming projects", or "Personal tasks" for easy management and tracking.
Step 5: Create a To-Do List
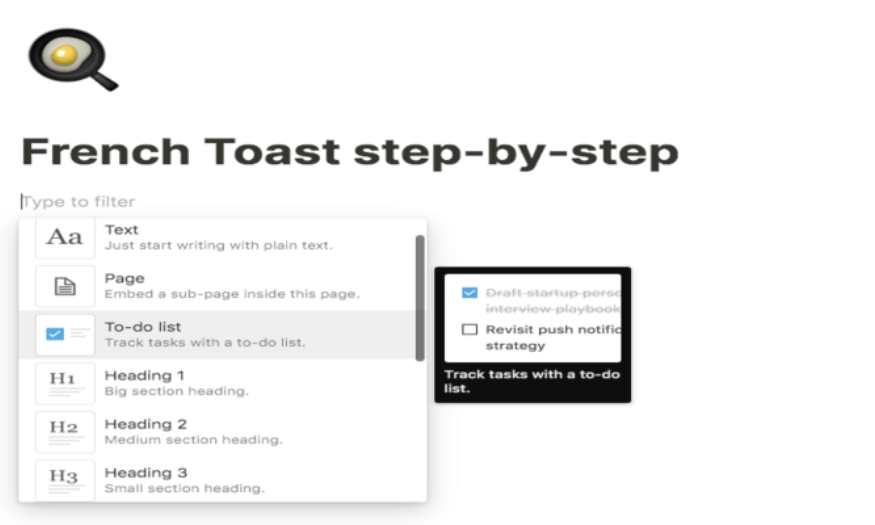
After categorizing your tasks, move your mouse cursor to the top of the list. There, find and click the "+" icon, then select "To do list". This will allow you to create a list of tasks that can be marked as completed.
Step 6: Add the task to the list
Finally, simply add the tasks to the list you just created. Enter specific tasks such as "Send emails to clients," "Prepare reports," or "Attend meetings" to create a clear and manageable list. You can also customize the list by adding deadlines, notes, or assigning tasks to other team members if you're working in a team.
7. Conclusion
Notion is a useful tool for anyone who wants to organize information effectively. With its ability to create workspaces, take notes, manage documents, and many other features, Notion not only helps you work more efficiently but also creates a creative workspace. Especially if you want to take full advantage of Notion's advanced features, upgrade today and discover the exciting things Notion has to offer!





















VIP Products








Best Selling Products
Freepik Premium Account
59 USD
Adobe Photoshop Copyright - Full App
120 USD
Genuine Cheap Canva Pro
39 USD
Genuine Adobe Illustrator account
99 USD
Upgrade genuine Capture One account
120 USD
MidJourney Account
29 USD
Capcut Pro 1 Year
39 USD
ChatGPT Plus Account (GPT-4)
16 USD
Upgrade Genuine Office 365
49 USD
Plugin Retouch4me
69 USD
Autodesk All App Account Copyright
120 USD
Upgrade Duolingo Super
29 USD
Adobe Premiere Pro Account
99 USD
Windows 10 & 11 Pro Key
36 USD
Copyright Adobe Lightroom Account
59 USD