Best Selling Products

ChatGPT Plus Account (GPT-4)
16 USD

Upgrade Duolingo Super
29 USD

Adobe Premiere Pro Account
99 USD

Plugin Retouch4me
69 USD

Freepik Premium Account
59 USD

Autodesk All App Account Copyright
120 USD

Upgrade genuine Capture One account
120 USD

Adobe Photoshop Copyright - Full App
120 USD

Upgrade Genuine Office 365
49 USD

Capcut Pro 1 Year
39 USD

MidJourney Account
29 USD

Copyright Adobe Lightroom Account
59 USD

Genuine Cheap Canva Pro
39 USD

Windows 10 & 11 Pro Key
36 USD

Genuine Adobe Illustrator account
99 USD
Fixing the Yellow Tint Issue in Photos Taken with a Camera
Nội dung
- 1. Why do photos taken with a camera have a yellow tint?
- 1.1 Color temperature (Kelvin)
- 1.2 White Balance Errors
- 1.3 Underexposure and color noise in dark areas
- 1.4 Physical factors: lens, filter, and environment
- 2. Ways to reduce the yellow tint when taking photos
- 2.1 Set the white balance correctly before shooting.
- 2.2 Cleaning the lens and optimizing lighting
- 2.3 Removing yellow tint in post-production using RAW files
- 3. Instructions on adjusting color temperature using Lightroom or Photoshop
- 4. Important considerations when dealing with yellow-tinted images.
In just one minute, you'll understand why your photos have a yellow tint and how to fix it quickly and easily. Suitable for camera beginners. Can be applied immediately when shooting indoors or under yellow lighting.
Fixing the Yellow Tint Issue in Photos Taken with a Camera
In just one minute, you'll understand why your photos have a yellow tint and how to fix it quickly and easily. Suitable for camera beginners. Can be applied immediately when shooting indoors or under yellow lighting.
A well-composed, well-lit photograph with inaccurate colors, especially a yellow tint, can significantly reduce its value and even make viewers feel uncomfortable or perceive it as unprofessional. Yellow tint is one of the most common color errors encountered by camera users, from beginners to semi-professionals. This phenomenon occurs frequently in familiar settings such as indoor photography under yellow lighting, weddings, events, cafes, or sunsets. Many believe this is a natural "color quality" of the light, but in reality, many cases of yellow tint are technical errors that can be controlled and corrected.
This article will help you understand the nature of the yellow tint phenomenon in photos, from the principles of color temperature and white balance to the physical factors affecting color. More importantly, you will learn how to minimize the yellow tint right from the moment of shooting , as well as thoroughly address it in post-processing using Lightroom and Photoshop in a scientific and proper manner, without altering the color or reducing image quality.
1. Why do photos taken with a camera have a yellow tint?
To completely eliminate the yellow tint, you first need to understand the root cause. In photography, color isn't something the camera automatically understands, but rather the result of the camera interpreting light through algorithms and technical settings.
1.1 Color temperature (Kelvin)
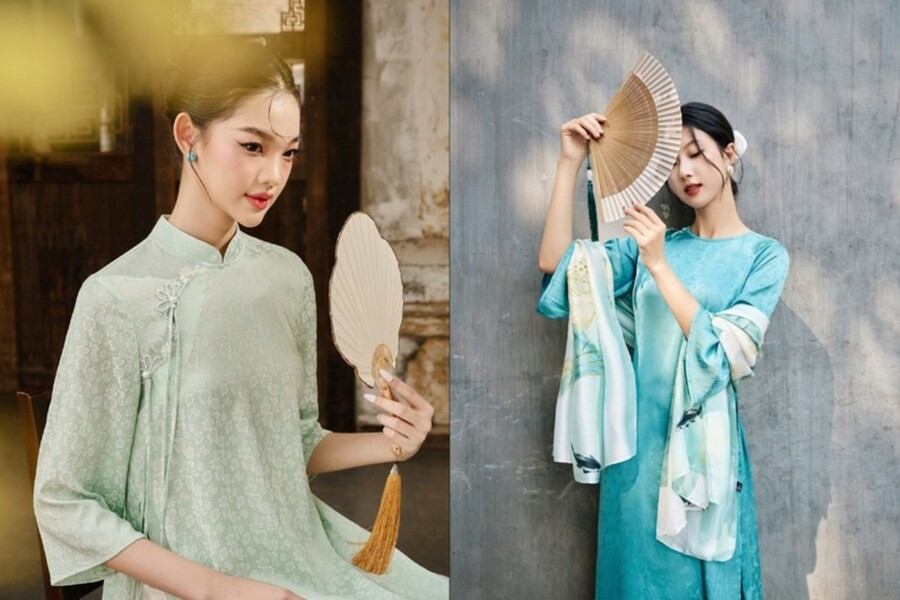
A yellow tint in photographs primarily stems from discrepancies in the color temperature of the shooting environment. Color temperature is measured in Kelvin (K) and is used to quantify the level of warmth (yellow, orange) or coolness (blue) of a light source.
In reality, the human eye is very adaptable to different lighting conditions. Whether you're under yellow lights or in bright sunlight, your brain still "adjusts" so that you perceive white as white. Cameras don't have that ability. They need clear instructions through white balance.
.jpg)
When shooting under yellow light, such as tungsten lamps, candlelight, or sunset, this light source has a low color temperature, typically ranging from 2000K to 3500K. Low Kelvin light will have a lot of yellow and orange hues. If the camera's white balance isn't set properly, the entire image will be covered in a thick layer of yellow, making skin appear darker, objects lose their neutral colors, and the image look "dirty."
Conversely, daylight or overcast skies have a higher color temperature, ranging from 5000K to 7500K, giving them a bluish tint. When shooting in these conditions with an incorrectly set white balance, the image may have a bluish tint. However, in everyday life, a yellowish tint is much more common because we often shoot in indoor spaces or under artificial light.
1.2 White Balance Errors
White balance is the process by which a camera determines the neutral white color in a frame, and then adjusts the other colors accordingly. When the white balance is incorrect, white is no longer white, causing the entire color system in the image to be skewed.
Many novice photographers tend to place complete trust in AWB (Auto White Balance). In simple lighting conditions, AWB can work fine. However, in environments with yellow light or mixed lighting (a combination of artificial and natural light), AWB often mismeasures and causes a strong yellow tint.
.jpg)
1.3 Underexposure and color noise in dark areas
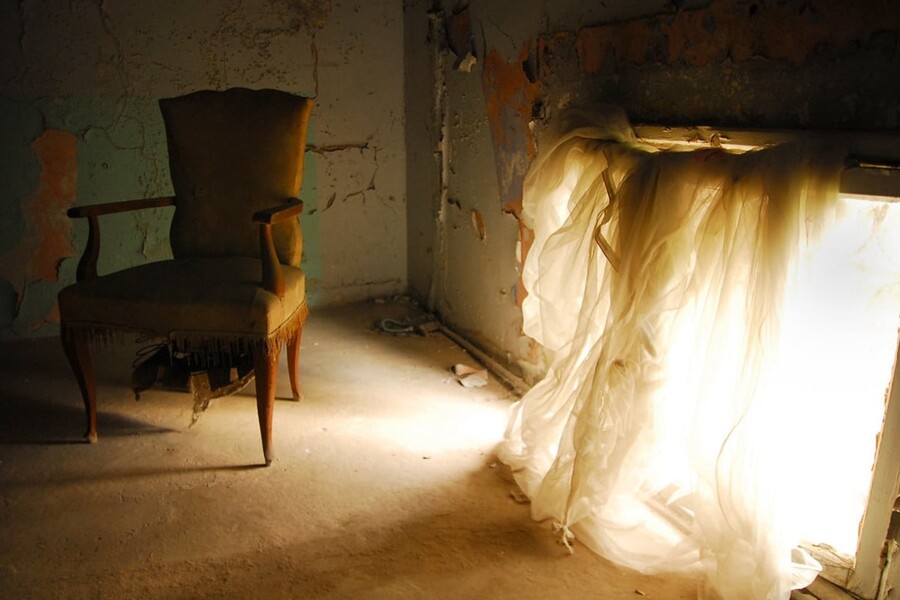
Besides color temperature and white balance, underexposure also contributes to the worsening of the yellow tint. When an image is too dark, especially in shadow areas, the sensor records incomplete color data. This makes dark areas more prone to noise and shifts towards undesirable tones, most commonly yellow or green.
In indoor photos taken in low light and with high ISO, the yellow tint is often accompanied by noise, resulting in images that are both color-inaccurate and lacking in detail.
1.4 Physical factors: lens, filter, and environment
Color distortion isn't always due to camera settings. Physical factors also directly affect the color of a photograph.
Dust, oil residue, and fingerprints on the lens can scatter light, creating a slight color cast on the image. Additionally, using warming filters or low-quality filters can inadvertently increase the yellow tint in photos.
2. Ways to reduce the yellow tint when taking photos
The most important principle in professional photography is: correcting the image at the moment of shooting is always better than correcting it in post-production. Below are the most effective methods to minimize yellow tint on location.
2.1 Set the white balance correctly before shooting.
To fix photos with a yellow tint, you need to actively control the white balance instead of leaving it to the camera.
.jpg)
Instead of using AWB, choose a White Balance Preset that suits your shooting environment. When shooting under tungsten light, select Tungsten mode. The camera will automatically add a blue tone to neutralize the yellow/orange hues of the light source. In the shade or overcast skies, Shade or Cloudy mode will help balance the colors better.
Using White Balance (WB) presets helps you achieve near-perfect colors right from the start, significantly reducing post-processing time, which is especially useful when shooting large numbers of photos such as events, weddings, or commercial shoots.
Manual Kelvin adjustment
For experienced photographers, manually adjusting the Kelvin value is the best method. When warm light causes a yellow tint, you need to set a lower Kelvin value to push the blue tones into the image.
For example, in a brightly lit environment, you can try setting the white balance (WB) to 3000K – 3500K, then take a test shot and fine-tune it. Observe the white areas or skin tones on the camera screen and adjust until the colors are accurate.
Custom White Balance with Grey Card
In complex or mixed lighting conditions, Custom White Balance is the most accurate solution. By using an 18% grayscale card, you provide the camera with an absolutely neutral color reference. The camera will measure the light based on the grayscale card and calculate the correct white balance for the entire frame.
This method completely eliminates the camera's "guessing" and is the standard in commercial, fashion, and product photography.
2.2 Cleaning the lens and optimizing lighting
A simple but often overlooked step is cleaning the lens. A clean lens allows light to pass through accurately, reducing scattering and chromatic aberration.
.jpg)
In addition, ensure proper exposure. Underexposed photos are not only dark but also more prone to a strong yellow tint. If possible, add supplemental light or adjust aperture, ISO, and shutter speed to achieve balanced exposure.
Finally, check the filters you're using. Unless you have a creative intention, remove any color-warming filters to avoid increasing unwanted yellow tones.
2.3 Removing yellow tint in post-production using RAW files
If an image has a yellow tint, the file format greatly determines the chances of recovering it. JPEGs are already compressed and processed, so the ability to recover the color is very limited.
Conversely, RAW files retain all the light data recorded by the sensor. This allows you to adjust white balance and color temperature without compromising image quality. Therefore, in challenging lighting conditions, shooting in RAW is almost a necessity.
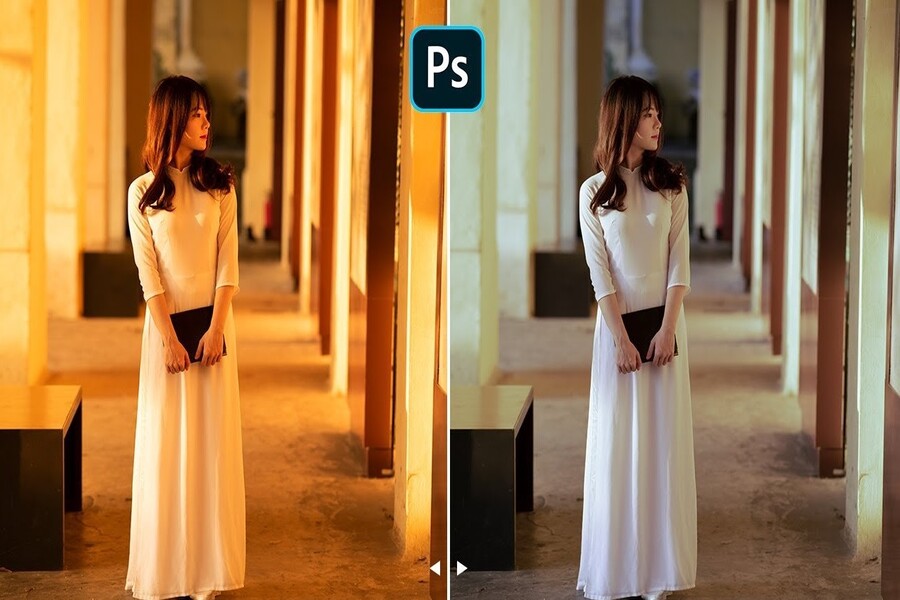
3. Instructions on adjusting color temperature using Lightroom or Photoshop
When it comes to post-processing RAW images, Lightroom and Photoshop are the two most popular and powerful tools.
In Lightroom, after opening the image, use the Eyedropper tool to click on a neutral area (gray or white). The software will automatically adjust the white balance. Then, you can fine-tune the Temperature slider towards blue to neutralize the yellow tones.
.jpg)
The tint stick allows for adjustment of the magenta green hue, helping to balance the overall color when ambient lighting causes a secondary color shift.
In Photoshop, you can use the Camera Raw Filter, which has a similar interface and processing method to Lightroom. Converting images to Smart Objects before editing allows for non-destructive editing and easy reverts if needed.
4. Important considerations when dealing with yellow-tinted images.
Not all yellowish photos are due to incorrect white balance. Some cases stem from mismatched color profiles. For example, editing an image in Adobe RGB but displaying it on a monitor that only supports sRGB can cause color distortion.
An uncalibrated monitor is also a common reason why you might see a yellow tint in images even if the original file is perfectly normal. Additionally, highlight and shadow areas are strongly affected by ambient light, easily leading to the misconception that it's a white balance (WB) error.
Therefore, before concluding that an image has a yellow tint, ensure your display environment and color workflow are set up correctly.
A yellow tint in photos isn't an "unfixable" flaw or a matter of luck. It's a direct consequence of poor control over color temperature, white balance, and lighting. By understanding the nature of light and color, you can completely prevent the yellow tint from the moment you shoot , or fix it thoroughly in post-processing without compromising image quality.


VIP Products


Best Selling Products
ChatGPT Plus Account (GPT-4)
16 USD
Upgrade Duolingo Super
29 USD
Adobe Premiere Pro Account
99 USD
Plugin Retouch4me
69 USD
Freepik Premium Account
59 USD
Autodesk All App Account Copyright
120 USD
Upgrade genuine Capture One account
120 USD
Adobe Photoshop Copyright - Full App
120 USD
Upgrade Genuine Office 365
49 USD
Capcut Pro 1 Year
39 USD
MidJourney Account
29 USD
Copyright Adobe Lightroom Account
59 USD
Genuine Cheap Canva Pro
39 USD
Windows 10 & 11 Pro Key
36 USD
Genuine Adobe Illustrator account
99 USD