Best Selling Products

MidJourney Account
29 USD

Capcut Pro 1 Year
39 USD

Windows 10 & 11 Pro Key
36 USD

ChatGPT Plus Account (GPT-4)
16 USD

Autodesk All App Account Copyright
120 USD

Adobe Premiere Pro Account
99 USD

Freepik Premium Account
59 USD

Genuine Adobe Illustrator account
99 USD

Plugin Retouch4me
69 USD

Upgrade Duolingo Super
29 USD

Genuine Cheap Canva Pro
39 USD

Copyright Adobe Lightroom Account
59 USD

Upgrade genuine Capture One account
120 USD

Upgrade Genuine Office 365
49 USD

Adobe Photoshop Copyright - Full App
120 USD
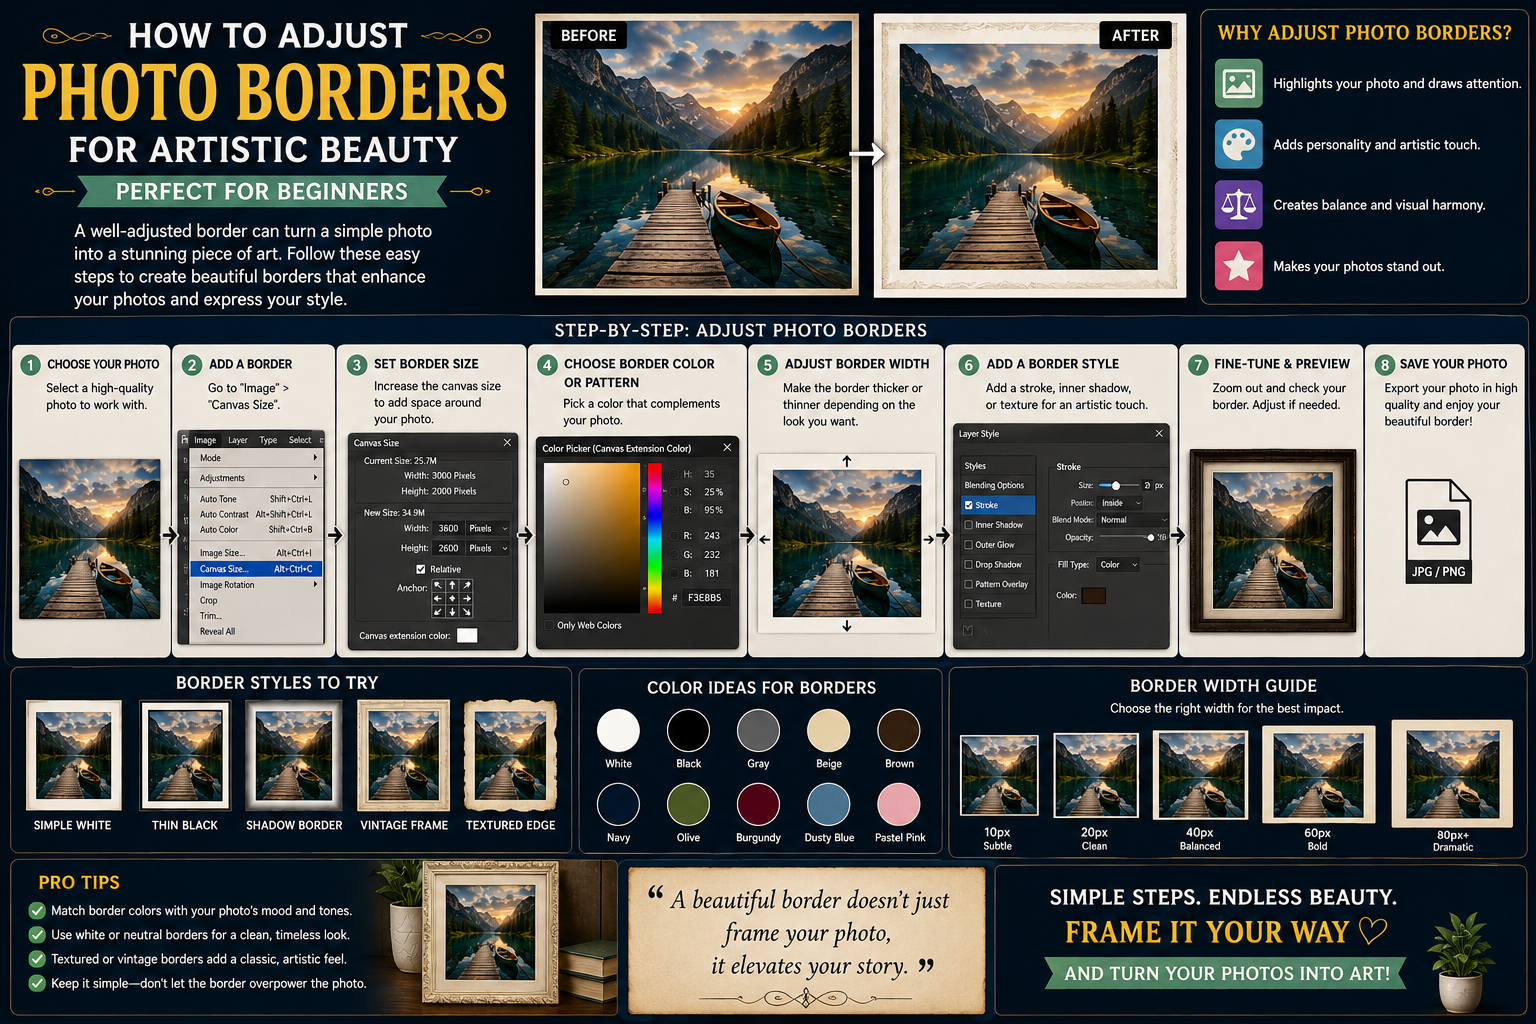
How to Adjust Photo Borders for Artistic Beauty, Perfect for Beginners
Nội dung
- 1. The aesthetic nature of image boundaries
- 1.1 The concept of visual boundaries in graphic design
- 1.2 Psychological effects of color from surrounding lines
- 1.3 Consistent brand identity value across the digital space
- 2. Quick photo border adjustment solutions using online applications
- 2.1 Utilizing Canva's Filter System
- 2.2 Optimizing borders with Lunapic
- 3. Professional image border processing procedure using computer software
- 3.1 Applying the Stroke Technique in Adobe Photoshop
- 3.2 Creating a boundary using GIMP
- 4. Methods for enhancing image borders on mobile phones.
- 4.1 Transform your style with the PicsArt app.
- 4.2 Create minimalist photo borders using Snapseed
- 5. Core rules for achieving aesthetically pleasing image borders.
- 5.1 The principle of balancing proportions between the outline and the subject
- 5.2 Harmonious color combinations avoid visual conflict.
- 6. Discover superior automatic graphics optimization solutions at appvip.ai
- 7. Classic mistakes to avoid when adjusting image amplitude
- 7.1 Image distortion due to uneven changes in workspace size
- 7.2 Error: Excessive use of overlapping micro-effect layers
- 8. Conclusion
A comprehensive guide to image editing methods on computers and phones. Discover the rules of color matching, corner rounding, and optimizing image structure for SEO.
1. The aesthetic nature of image boundaries
1.1 The concept of visual boundaries in graphic design
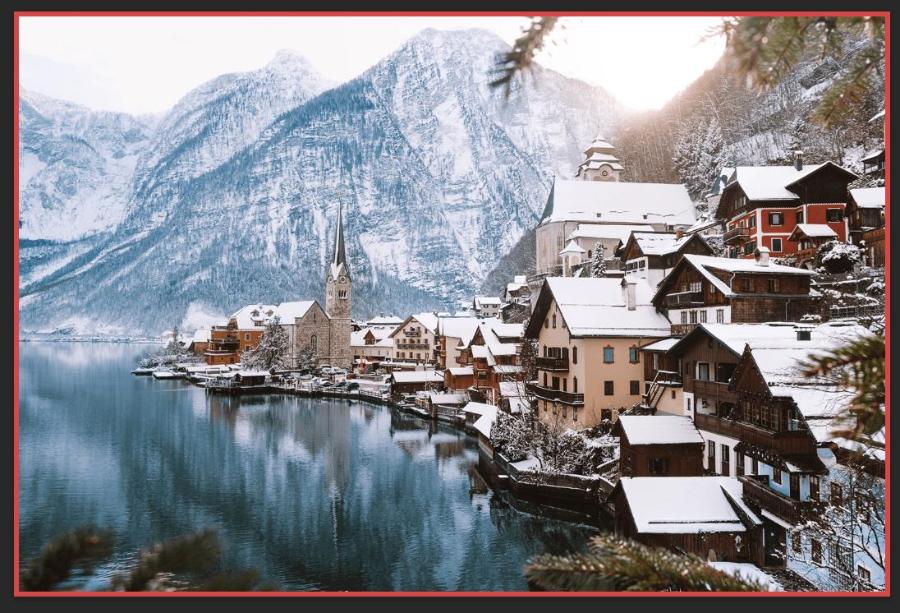
The boundaries of a photograph act as an invisible barrier, completely separating the creative content from its surrounding background. The presence of a carefully aligned boundary helps to fix the viewer's gaze, preventing distractions from superfluous details. This element plays a crucial role in establishing order and balance in the overall geometric structure.
1.2 Psychological effects of color from surrounding lines
Each shade chosen for the border of an image evokes different emotional responses in the viewer. A subtle white border suggests a sense of spaciousness, modernity, and allows the details within to "breathe." Conversely, darker borders create a sense of mystery and depth, enhancing the contrast and dimensionality of the central colors.
1.3 Consistent brand identity value across the digital space
Establishing a consistent, structured approach across all distribution channels is the fastest way for businesses to imprint their brand image in customers' minds. Maintaining a consistent standard for edge spacing and color palettes keeps the content organized. Audiences will easily recognize your product instantly amidst thousands of other disorganized pieces of content on social media.
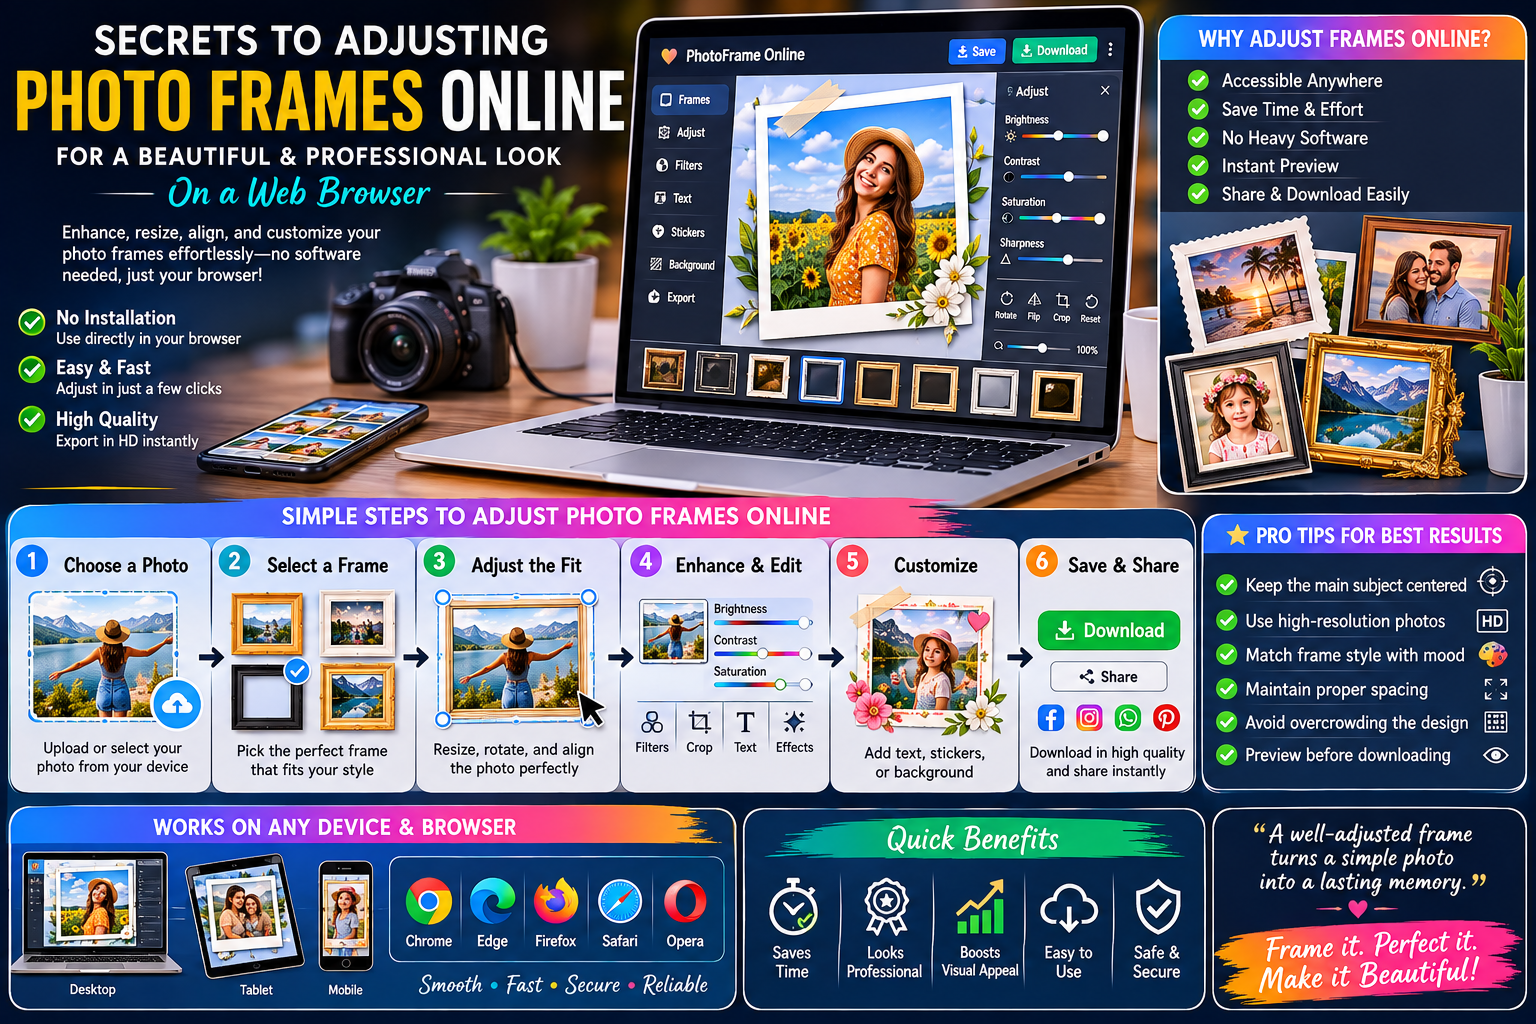
2. Quick photo border adjustment solutions using online applications
2.1 Utilizing Canva's Filter System
Modern web browsers allow you to perform image manipulation operations very smoothly without requiring a very powerful computer configuration.
-
Step 1: Import the image to be processed into the application's main workspace via the system upload feature.
-
Step 2: Click on the image, then select the "Edit Image" option from the additional menu bar at the top of the screen.
-
Step 3: Navigate to the Shadow or Border effects group , and set the size, opacity, and color parameters as desired to complete the new overlay.
2.2 Optimizing borders with Lunapic
Lunapic is a great solution for those looking for a purely online editing tool, deeply focused on core technical features.
-
Step 1: Open your browser, go to the Lunapic homepage, and upload image files from your device's storage to the cloud.
-
Step 2: Move your mouse to the function menu bar, find the Borders section , and select the appropriate border design style from the dropdown list.
-
Step 3: Adjust the Border Width parameter to change the edge thickness, use the color palette to change the color, and press the Apply button for the system to process automatically.
3. Professional image border processing procedure using computer software
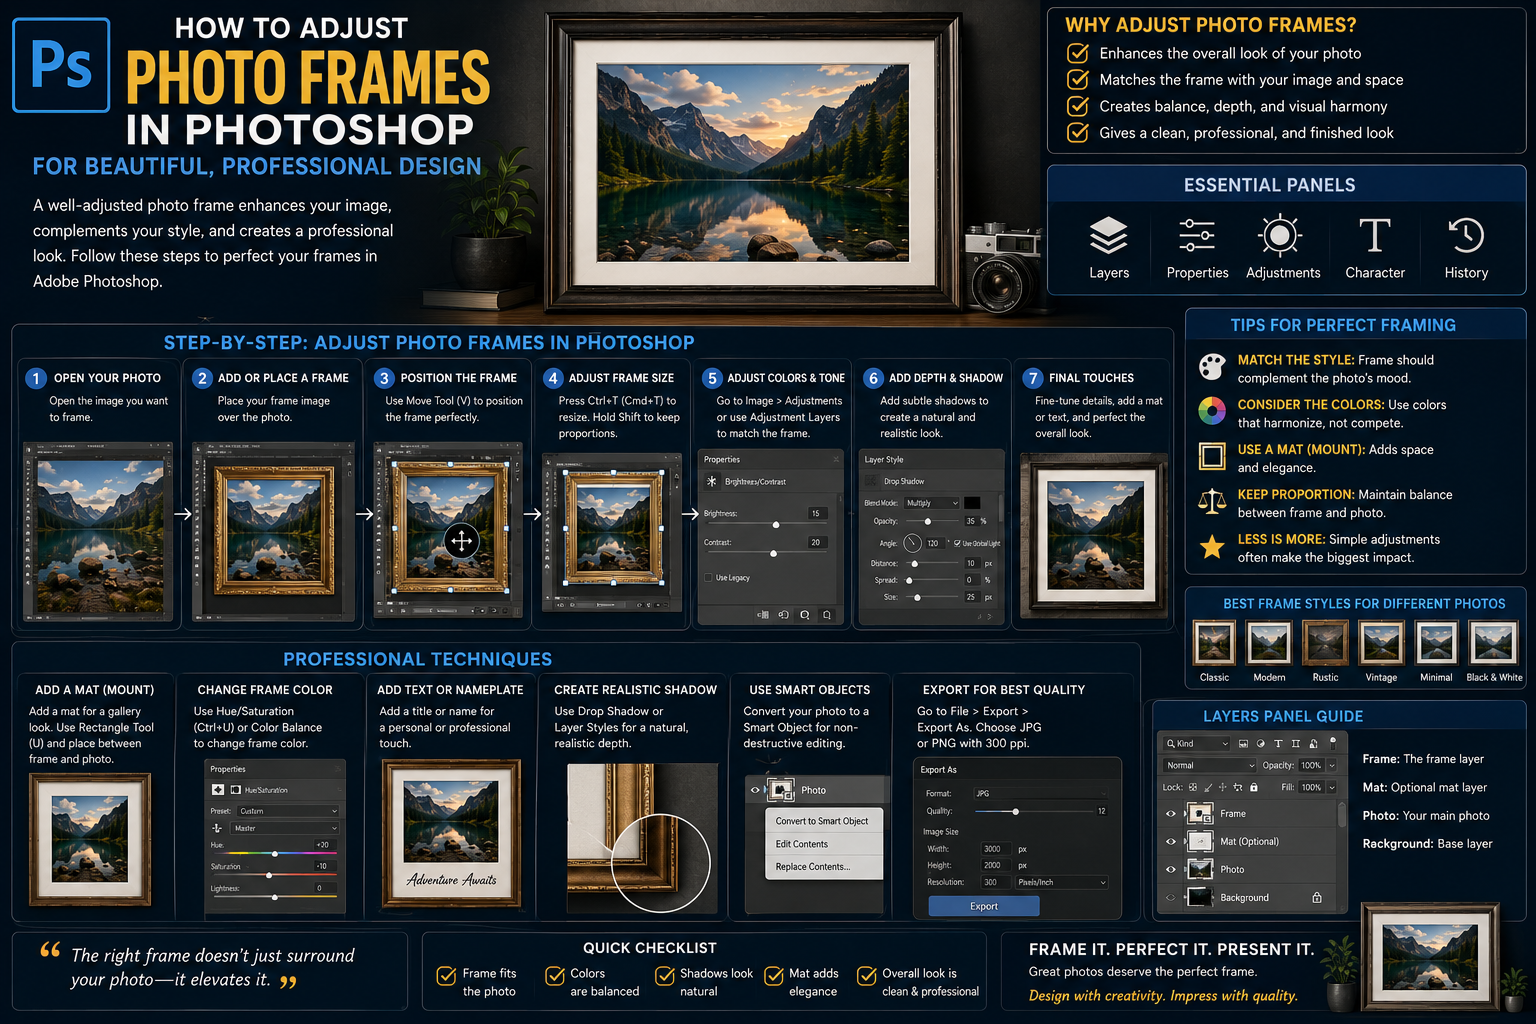
3.1 Applying the Stroke Technique in Adobe Photoshop
For professional designers, intricate pixel-by-pixel manipulation of borders requires the power of sophisticated graphics software.
-
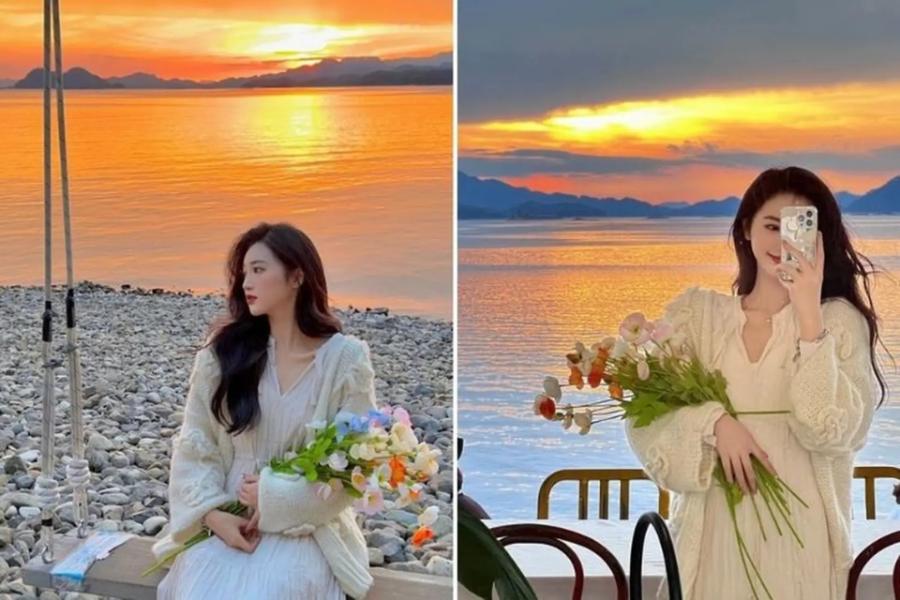
Step 1: Open the image file using the software, double-click on the original layer to convert it into a separate layer.
-
Step 2: Right-click on that layer in the control panel and select Blending Options to open up a world of rich effects.
-
Step 3: Check the Stroke option , adjust the Size parameter to define the thickness, select Position as Inside or Outside to determine the direction of the border, and then choose the color in the Color box .
3.2 Creating a boundary using GIMP
GIMP is a completely free alternative that boasts powerful features comparable to paid software.
-
Step 1: Bring the image into the GIMP workspace, using the keyboard shortcut Ctrl + A to fill the entire selection area around the image.
-
Step 2: Access the Edit menu at the top, find and click on the Stroke Selection command .
-
Step 3: Select your desired stroke style from the control panel, set the stroke width in pixels, and press the Stroke button to complete your artwork.
4. Methods for enhancing image borders on mobile phones.
4.1 Transform your style with the PicsArt app.
The widespread use of smart mobile devices has made the graphic editing process more intuitive than ever thanks to touch interaction mechanisms.
-
Step 1: Launch the application on your phone, select the plus icon to import the photo you want to edit from your gallery.
-
Step 2: Swipe the toolbar at the bottom of the screen to the left, find and select the feature called Border .
-
Step 3: Use the Outer and Inner sliders to adjust the thickness, and you can round the corners of the image by dragging the Radius slider .
4.2 Create minimalist photo borders using Snapseed
Google's advanced image processing applications offer sophisticated tools to help you create works with a classic photographic artistic flair.
-
Step 1: Tap the Snapseed home screen to upload the image you want to adjust.
-
Step 2: Click on the Tools menu , scroll to the bottom of the list, and select the Frames icon .
-
Step 3: Choose from available border styles such as negative film border, rough paper border, or minimalist white border, then swipe your finger left or right to increase or decrease the width of the border.
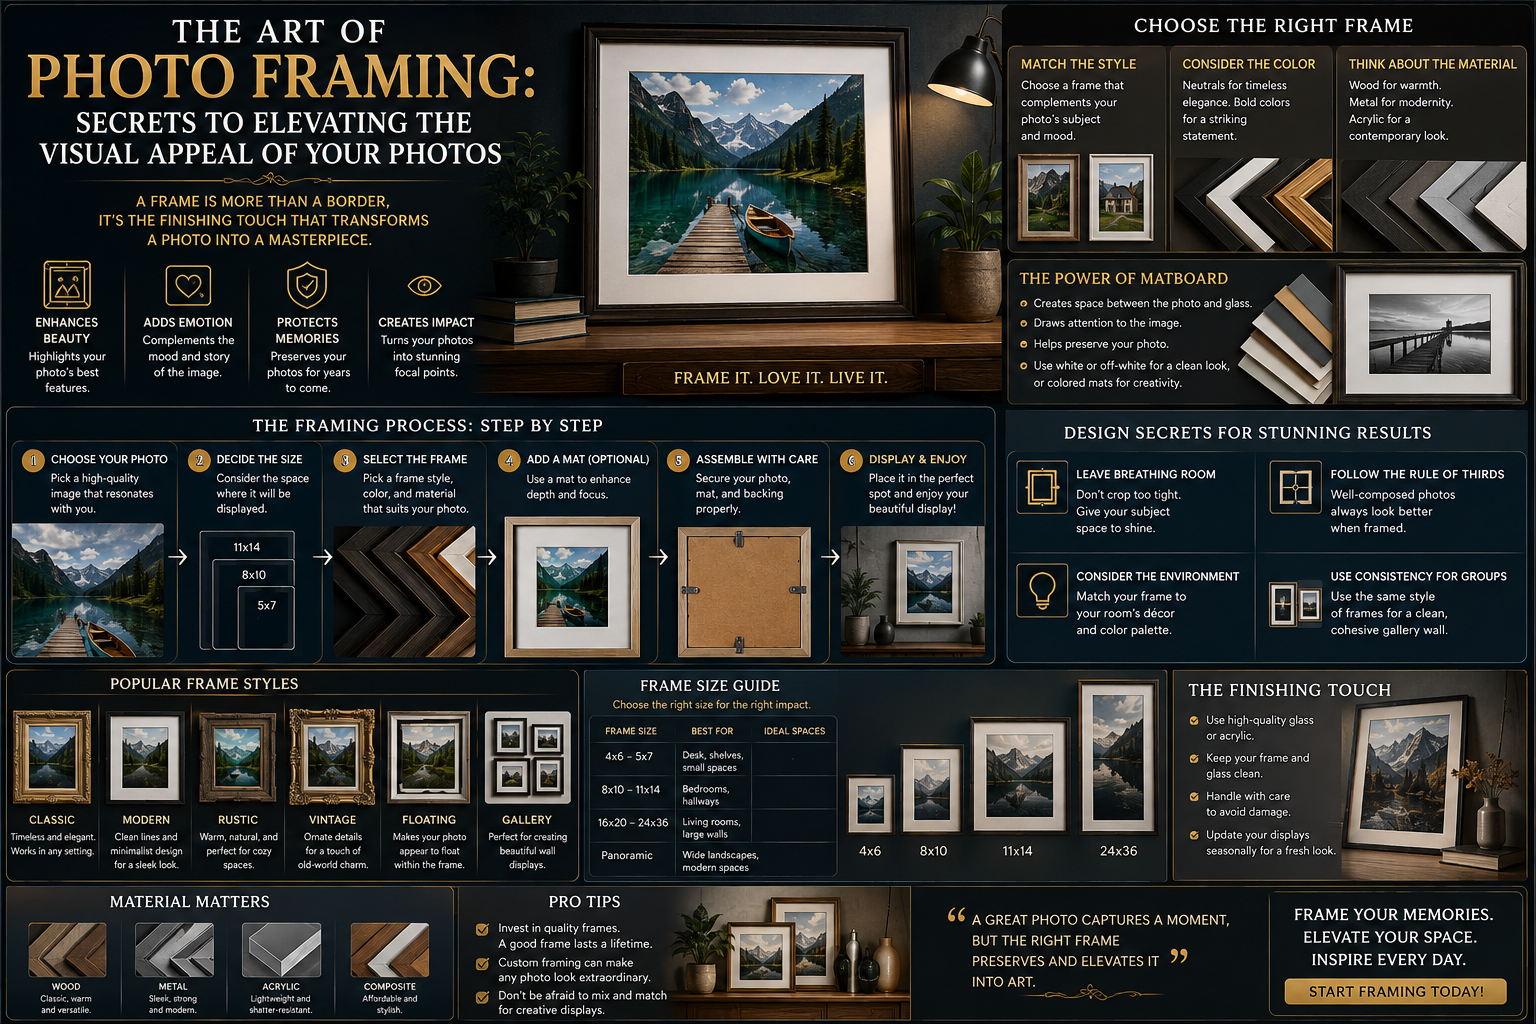
5. Core rules for achieving aesthetically pleasing image borders.
5.1 The principle of balancing proportions between the outline and the subject
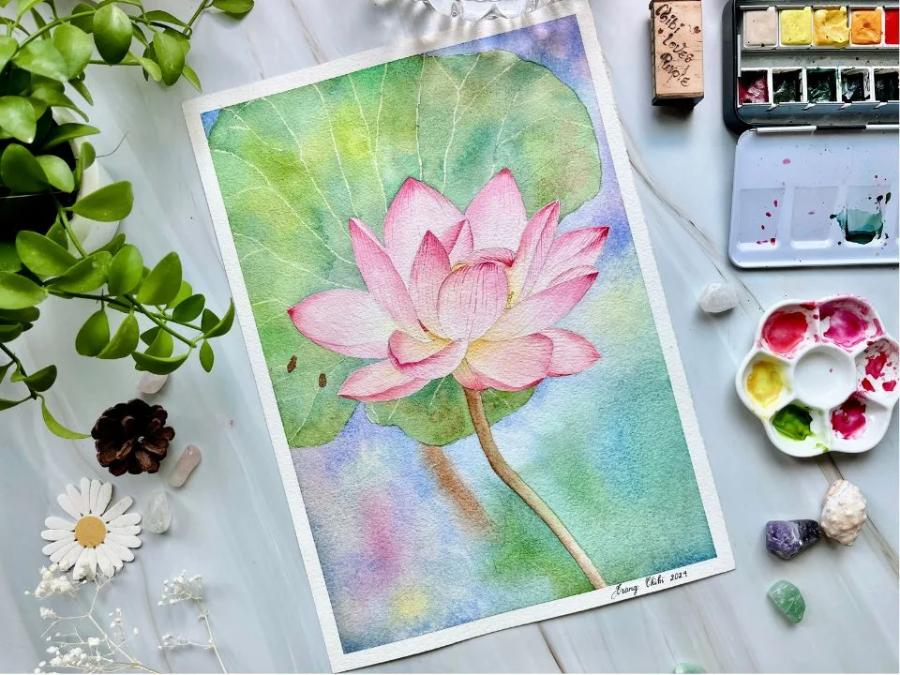
The thickness of the outer border needs to be calculated based on the actual size and detail density of the original image. A distant landscape photograph with a vast space will appear more elegant when combined with a thin, light border. Conversely, for close-up portraits or product shots, a thicker border will create weight, transforming the image into an independent work of art.
5.2 Harmonious color combinations avoid visual conflict.
The colors of the edges should never compete for attention with the core details within the image. The safest and most aesthetically effective solution is to use a color picker to select a neutral tone present in the image itself. This creates an invisible tonal link, making the overall work seamless and pleasing to the eye.
6. Discover superior automatic graphics optimization solutions at appvip.ai
The dramatic shift in digital technology trends is gradually replacing cumbersome manual editing tools with intelligent artificial intelligence systems. The website appvip.ai is a pioneering platform, offering a comprehensive breakthrough in the image processing workflow for modern users. No need to spend hours studying complex layer structures or memorizing numerous keyboard shortcuts; the intelligent system here automatically analyzes the geometric composition and color range of the original image. Next-generation algorithms automatically identify the main subject, calculate margin distances, and apply the most aesthetically pleasing golden ratio border patterns with just one click. This is an optimal solution to enhance work efficiency and unleash the full creative potential of digital content creators.
7. Classic mistakes to avoid when adjusting image amplitude
7.1 Image distortion due to uneven changes in workspace size
This phenomenon often occurs when designers intentionally stretch the edges of an image freely to create space for inserting borders without locking the original aspect ratio. This inadvertently distorts the geometric structure of the objects within, causing the image to become warped and lose its original realism. Always enable Constrain Proportions before making any resizing operations.
7.2 Error: Excessive use of overlapping micro-effect layers
Many people tend to overdo the effects, adding sharp outlines, shadows, and subtle glow effects to their photos. This excessive detail creates visual clutter, making the overall image heavy, tacky, and obscuring the core message of the original work. Minimalism is always the golden key to unlocking refined beauty.
8. Conclusion
Mastering spatial coordination skills and perfecting outlines is a huge advantage for anyone working in visual content creation. The flexible combination of traditional tools with next-generation automated technology solutions will help you optimize your workflow to the maximum extent.





















VIP Products








Best Selling Products
MidJourney Account
29 USD
Capcut Pro 1 Year
39 USD
Windows 10 & 11 Pro Key
36 USD
ChatGPT Plus Account (GPT-4)
16 USD
Autodesk All App Account Copyright
120 USD
Adobe Premiere Pro Account
99 USD
Freepik Premium Account
59 USD
Genuine Adobe Illustrator account
99 USD
Plugin Retouch4me
69 USD
Upgrade Duolingo Super
29 USD
Genuine Cheap Canva Pro
39 USD
Copyright Adobe Lightroom Account
59 USD
Upgrade genuine Capture One account
120 USD
Upgrade Genuine Office 365
49 USD
Adobe Photoshop Copyright - Full App
120 USD