Best Selling Products

Genuine Adobe Illustrator account
99 USD

Capcut Pro 1 Year
39 USD

ChatGPT Plus Account (GPT-4)
16 USD

Adobe Premiere Pro Account
99 USD

Upgrade Duolingo Super
29 USD

Plugin Retouch4me
69 USD

MidJourney Account
29 USD

Freepik Premium Account
59 USD

Autodesk All App Account Copyright
120 USD

Genuine Cheap Canva Pro
39 USD

Upgrade genuine Capture One account
120 USD

Windows 10 & 11 Pro Key
36 USD

Copyright Adobe Lightroom Account
59 USD

Adobe Photoshop Copyright - Full App
120 USD

Upgrade Genuine Office 365
49 USD
How to Adjust Photo Frames in Photoshop for Beautiful, Professional Design
Nội dung
- 1. The nature of framing in graphic design
- 1.1 Concepts of buffer space and visual boundaries
- 1.2 The role of maintaining the golden ratio in printed publications
- 2. Method for expanding the workspace to create a border using Canvas Size
- 2.1 How the Canvas Extension feature works
- 2.2 Setting the thickness and color parameters for the border
- 3. The process of cropping and changing the aspect ratio using the Crop Tool
- 3.1 Free-aligning frame operation according to eye level
- 3.2 Formatting the image frame according to international standard aspect ratios
- 4. Technique for embedding images into geometric frames using Clipping Task
- 4.1 Advantages of non-destructive layer processing methods
- 4.2 Detailed steps to follow on the Layer management panel
- 5. Important tips for owning a perfect picture frame
- 5.1 Choosing a resolution suitable for publishing purposes
- 5.2 Principles of color coordination for supporting the main subject.
- 5.3 Managing the scientific layer system during the work process
- 6. Experience the ultimate automatic graphics optimization solution at appvip.ai
- 7. Steps to add a soft rounded corner effect to your photo frame.
- 7.1 Using the built-in Live Shapes feature
- 7.2 Applying the Smooth filter to a selection
- 8. Conclusion
A comprehensive guide to image framing techniques in Photoshop, from basic to advanced. Master the secrets to creating borders, rounding corners, and optimizing image size.
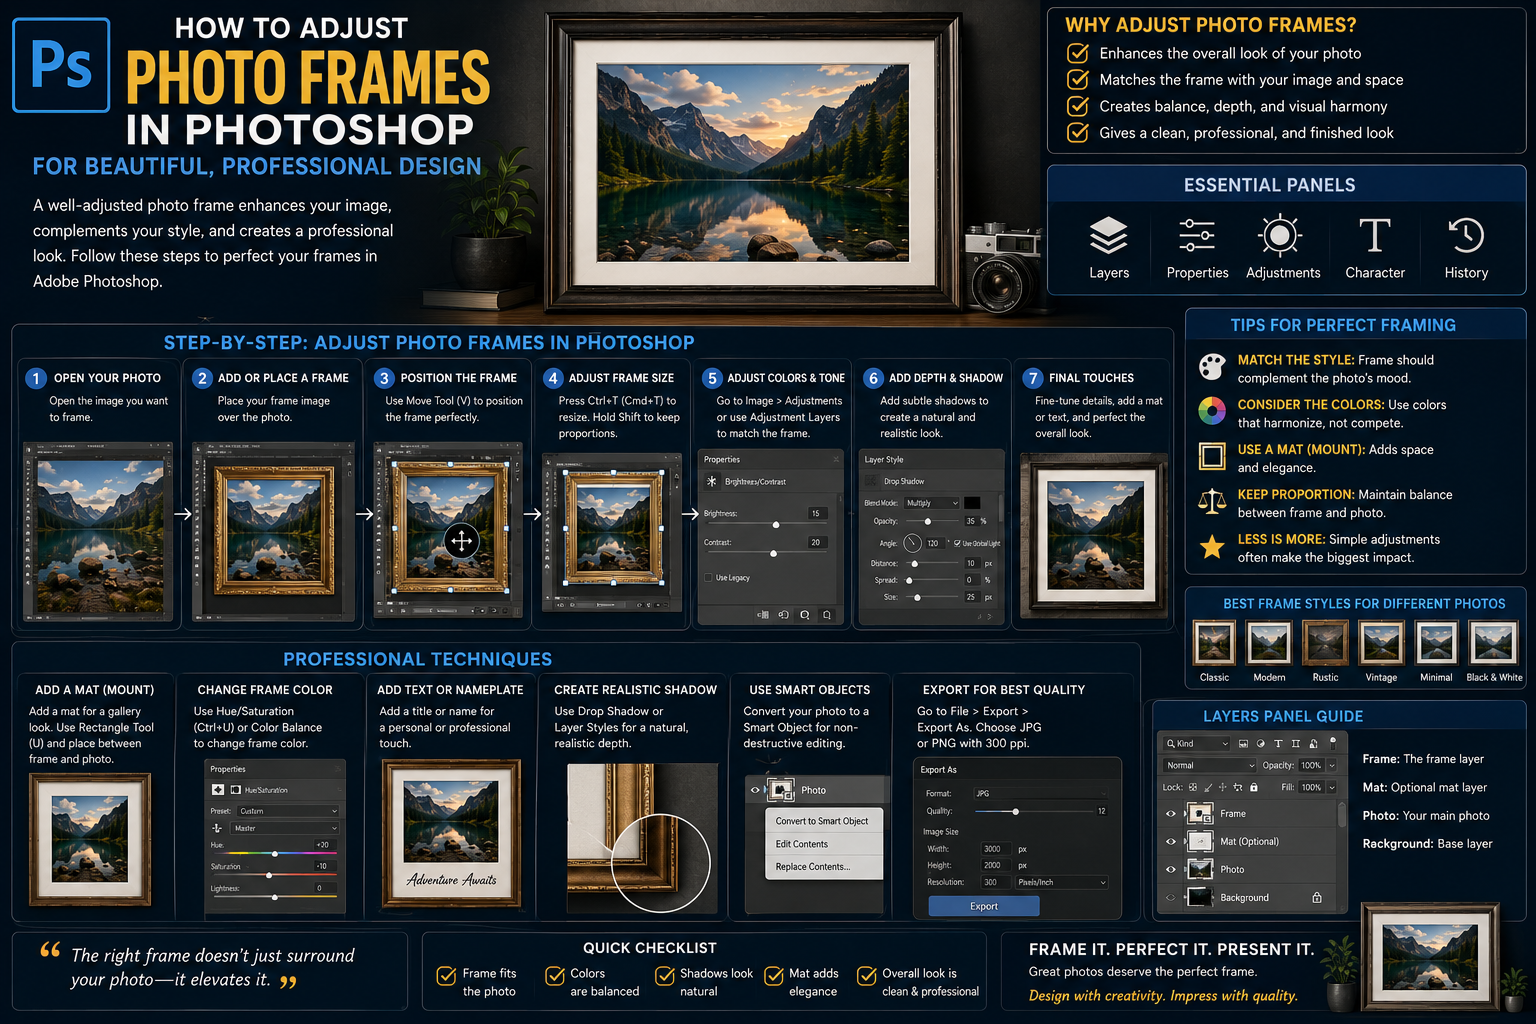
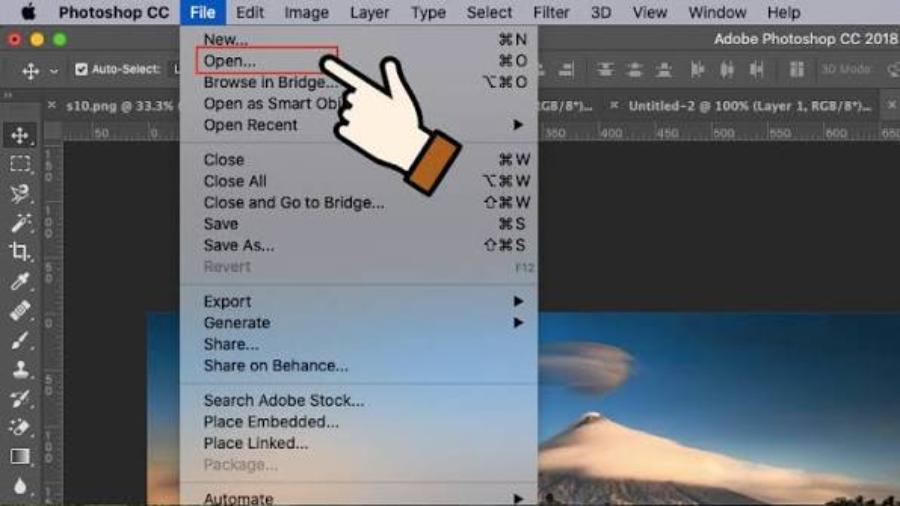
1. The nature of framing in graphic design
1.1 Concepts of buffer space and visual boundaries
A photograph, when standing alone in a design space, often blends easily into the background or surrounding text elements. Establishing a framing system acts as a visual filter, clearly defining the display boundaries of the artwork. This creates a necessary buffer space, allowing the viewer's eye to rest and focus intensely on the most important details at the center.
1.2 The role of maintaining the golden ratio in printed publications
Computer-generated designs often undergo a physical printing process for advertising or display purposes. This process requires absolute precision in margins and aspect ratios to prevent industrial cutting machines from encroaching on the main content. Establishing a standard frame structure from the outset in specialized software completely eliminates unnecessary technical risks during product publication.
2. Method for expanding the workspace to create a border using Canvas Size
2.1 How the Canvas Extension feature works
This method doesn't affect or distort the structure of the original image, but rather expands the background space around it. You can imagine this process as placing a small photo on top of a larger sheet of paper; the excess paper on all four sides automatically forms a perfect frame.
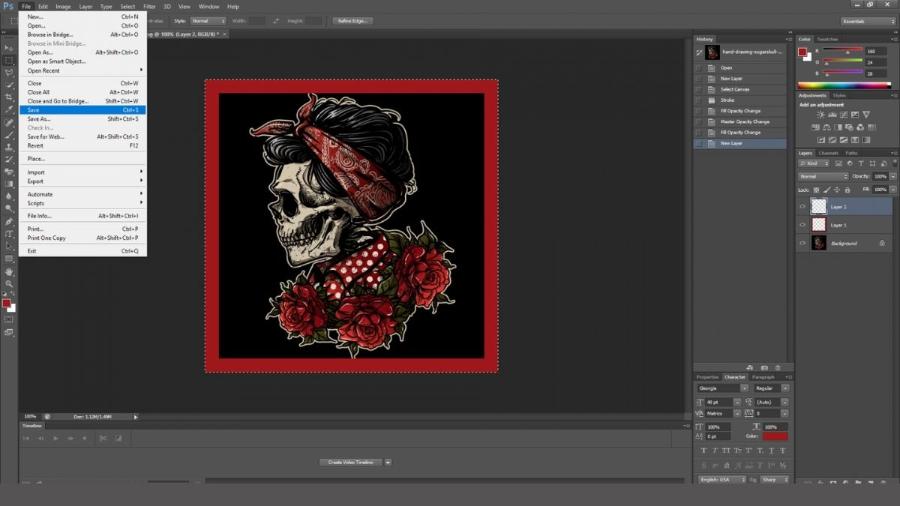
-
Step 1: Launch the software, open the image you want to process by going to the File menu and selecting Open .
-
Step 2: Move your mouse to the system menu bar at the top, select Image , and find the Canvas Size option (or quickly use the keyboard shortcut Ctrl + Alt + C ).
-
Step 3: In the control panel that appears, check the "Relative" box to allow the system to automatically calculate the size based on the original image data.
2.2 Setting the thickness and color parameters for the border
Precisely aligning the numbers gives you complete control over the display area of the surrounding frame.
-
Step 1: Change the unit of measurement to Pixels or Inches depending on the intended use of the publication.
-
Step 2: Enter the desired thickness in the Width (width of the two side edges) and Height (height of the top and bottom edges) fields. Click the arrows in the Anchor field if you want to fix the frame's expansion direction.
-
Step 3: Scroll down to the Canvas extension color section to choose a color for the border. The software provides basic options such as white, black, gray, or you can choose any color you like using the Color Picker panel .
3. The process of cropping and changing the aspect ratio using the Crop Tool
3.1 Free-aligning frame operation according to eye level
The Crop Tool provides the quickest solution when you want to reshape the entire geometric structure of an image according to a specific artistic intention.
-
Step 1: Press the C shortcut key on your keyboard to quickly activate the cropping tool icon on the left-hand toolbar.
-
Step 2: Move the mouse cursor to the corners or edges of the dashed frame that just surrounded the image.
-
Step 3: Press and hold the mouse button and drag it inward or outward to change the display area. The software will automatically blur the removed image area so you can easily visualize the result.
3.2 Formatting the image frame according to international standard aspect ratios
For designs requiring high precision for social media platforms, using pre-set aspect ratios is essential.
-
Step 1: Look at the Crop tool's additional options bar at the bottom of the main menu.
-
Step 2: Click the dropdown arrow next to the word Ratio to display a list of standard aspect ratios such as 1:1 (square), 4:5 (Instagram portrait), or 16:9 (horizontal computer screen).
-
Step 3: Move the entire image inside the frame to select the best viewing angle, then press Enter for the software to apply the changes.
4. Technique for embedding images into geometric frames using Clipping Task
4.1 Advantages of non-destructive layer processing methods
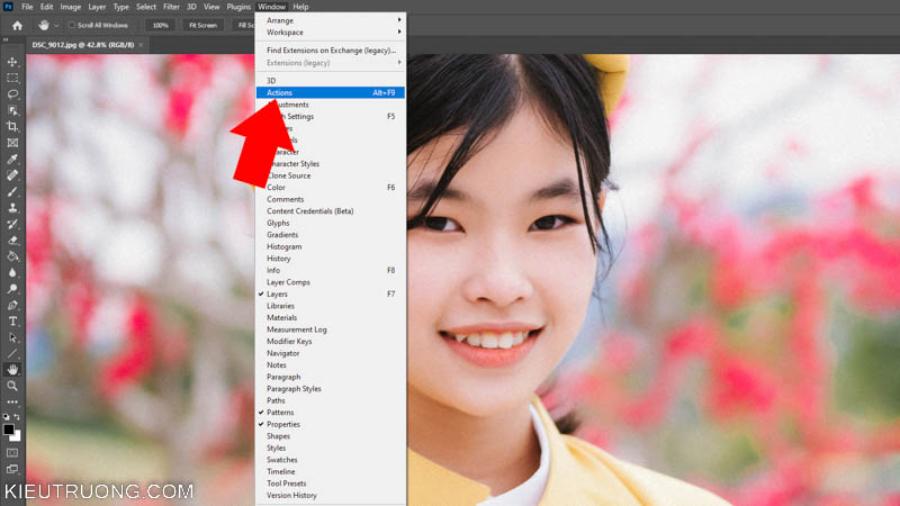
Clipping Mask is a cutting-edge technique that allows designers to neatly place any image inside any layer shape below. This method does not permanently crop the pixels of the original image, allowing you to freely move, zoom in, or zoom out the image within the frame at any time during the workflow.
4.2 Detailed steps to follow on the Layer management panel
This process requires users to have a thorough understanding of the software's layered and stacked structure.
-
Step 1: Use the Custom Shape Tool (shortcut key U ) to draw any shape such as a circle, a star, or a paint splatter to use as a background.
-
Step 2: Drag the image you want to frame into the workspace, making sure this image layer is directly above the shape layer you just created in the Layers panel .
-
Step 3: Right-click on the image layer and select " Create Clipping Mask" . Immediately, the image will automatically shrink and display the boundaries within the shape below.
5. Important tips for owning a perfect picture frame
5.1 Choosing a resolution suitable for publishing purposes
The process of scaling and changing the frame area can directly affect the pixel density (PPI) of the artwork. You need to set this index to a minimum of 72 PPI for publications displayed on digital screens and increase it to 300 PPI if the product is intended for large-format printing. This ensures that the edges and details in the image are not distorted or blurry.
5.2 Principles of color coordination for supporting the main subject.
The color of the surrounding frame should never compete for prominence with the content within the image. Choosing neutral, muted tones or using the Eyedropper Tool to highlight an existing color tone within the image will create a smooth visual connection, making the work a unified, elegant whole.
5.3 Managing the scientific layer system during the work process
Handling complex frame designs often requires combining many different layers of effects, borders, and masks. Clearly naming each layer and grouping them into folders using the Ctrl + G key combination will help you avoid confusion, easily find and modify parameters when changes are requested by the client.
6. Experience the ultimate automatic graphics optimization solution at appvip.ai
The website appvip.ai is a pioneering platform that helps users solve all complex image editing problems automatically. No need to spend hours studying toolbars or memorizing cumbersome keyboard shortcuts; the intelligent system automatically analyzes the geometric structure and colors of the original image. Next-generation algorithms automatically identify the subject, suggest and apply the most perfectly proportioned artistic borders with just one click. This is a groundbreaking solution that optimizes workflow for content creators in the digital age.
7. Steps to add a soft rounded corner effect to your photo frame.
7.1 Using the built-in Live Shapes feature
Modern software versions offer the ability to directly manipulate the curvature of geometric shapes in a highly intuitive and flexible manner.
-
Step 1: Select the layer containing the rectangular shape that is framing your image.
-
Step 2: Open the Properties panel in the menu bar on the right side of the workspace.
-
Step 3: Find the four input fields with the curved corner icon, enter the desired number of pixels for rounding, and the system will automatically round all four corners of the frame evenly.
7.2 Applying the Smooth filter to a selection
This method is suitable when you already have a sharp selection around the image and want to quickly soften the sharp corners.
-
Step 1: Hold down the Ctrl key and click on the thumbnail icon of the image layer to recreate the selection around the edges.
-
Step 2: Move up to the top menu bar, select Select , find Modify , and click the Smooth command .
-
Step 3: Enter the appropriate sample radius for the image size and click OK to allow the software to automatically smooth the selected area.
8. Conclusion
Mastering the structural integrity of images is a solid foundation for enhancing the value of all your graphic design products. Seamlessly combining basic and advanced tools within specialized software will give you maximum control in realizing your creative ideas. Continuously practice and experiment with different aspect ratios and border colors to discover unique styles that leave a lasting impression on your audience and clients.





















VIP Products








Best Selling Products
Genuine Adobe Illustrator account
99 USD
Capcut Pro 1 Year
39 USD
ChatGPT Plus Account (GPT-4)
16 USD
Adobe Premiere Pro Account
99 USD
Upgrade Duolingo Super
29 USD
Plugin Retouch4me
69 USD
MidJourney Account
29 USD
Freepik Premium Account
59 USD
Autodesk All App Account Copyright
120 USD
Genuine Cheap Canva Pro
39 USD
Upgrade genuine Capture One account
120 USD
Windows 10 & 11 Pro Key
36 USD
Copyright Adobe Lightroom Account
59 USD
Adobe Photoshop Copyright - Full App
120 USD
Upgrade Genuine Office 365
49 USD