Best Selling Products
How To Change Hair Color In Photoshop

Hi guys, today I’ll share with you how to change hair color in Photoshop.
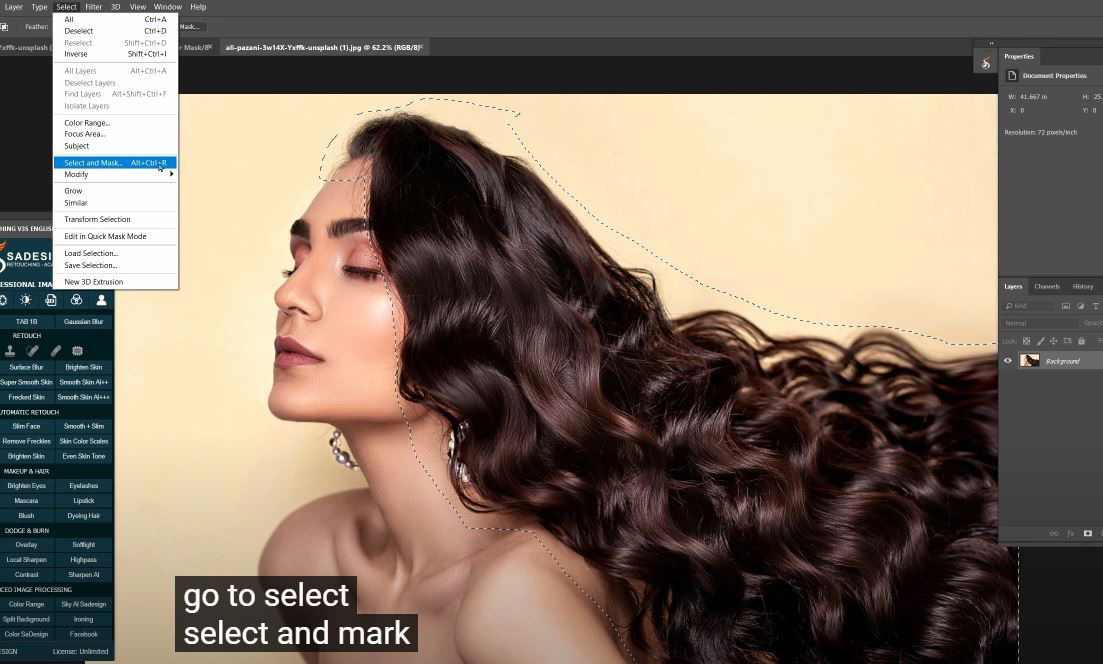
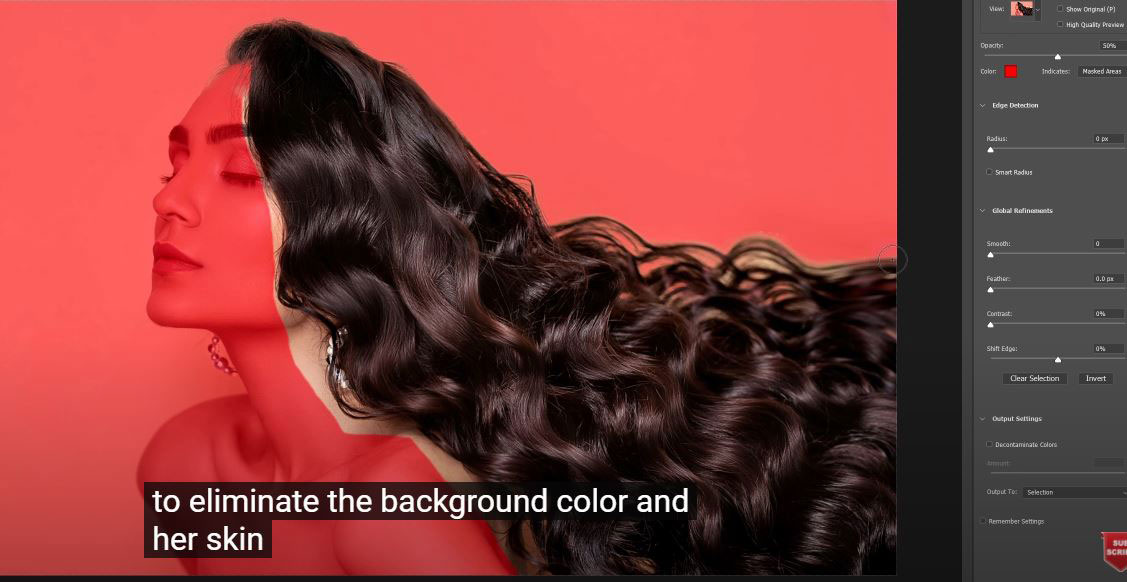
(1). At first, use “Lasso tool” with L short cut and cover her hair. Don’t need to be precise! Go to Select > Select and Mask > use “Refine Edge Brush Tool” (R shortcut) to eliminate the background color and her skin. Just keep the hair only. Ensure to check to “Decontaminate Colors” box. Choose New layer with layer mask in “output to”. The hair is already separated. Create a group, then click and drag the layer mask of hair into the group. The group has layer mask of hair now. Delete the background copy layer, create “Hue/saturation” layer, put the saturation to –100. Right click to the adjustment icon again and choose “Curves”, pull down shadow and increase highlight a little bit.
(2). Choose the mask, pick the eraser tool with white foreground to remove anything that is not hair like her skin on arms or face.
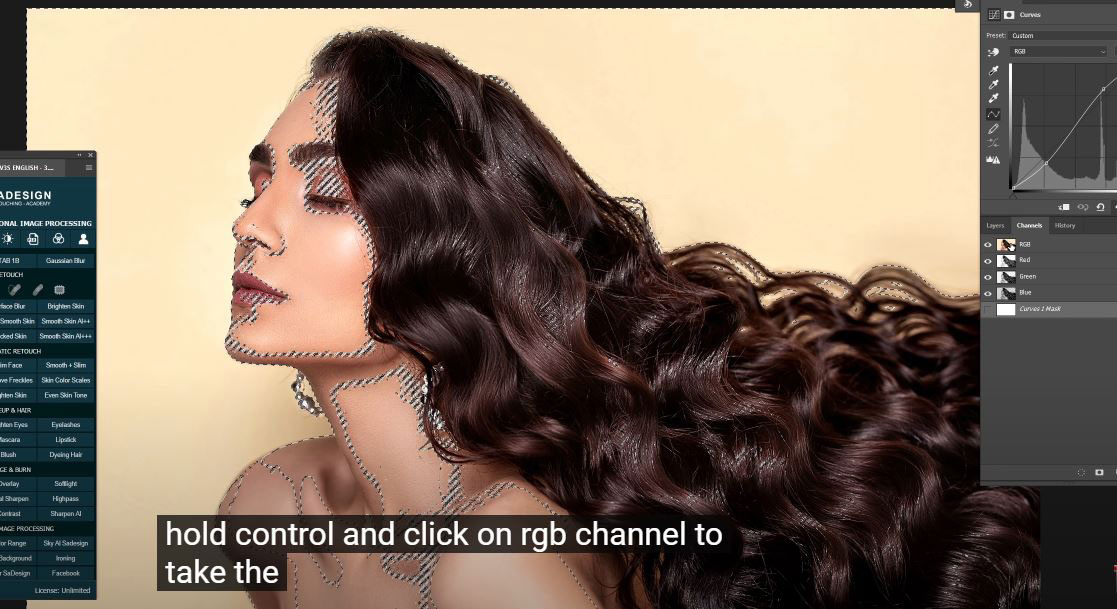
(3). Go to Window > Channels > hold CTRL and click on RGB channel to take the selection of it. Move back to layer tab, choose background layer and press CTRL or CMD + J to put the selection into new layer, move it to the group and adjust the opacity to 29%. Rename of group to “Black hair”
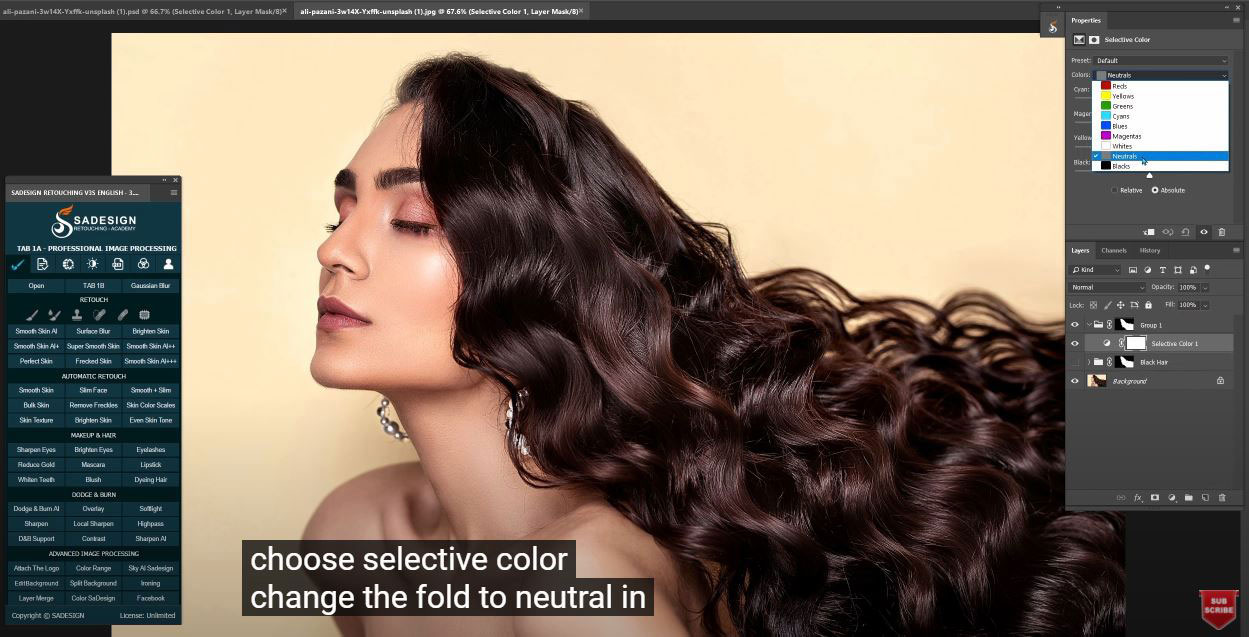
(4). Create a new group and copy the layer mask of hair into it. Right click to the adjustment icon and choose “Selective color”, change default to neutrals in colors box. Now you can adjust color of Cyan, Magenta, Yellow or Black to the color that you want. Create a new curves layer to add more contrast to the hair by increase highlight and decrease shadow. Rename group to Red hair and adjust the opacity of the group.
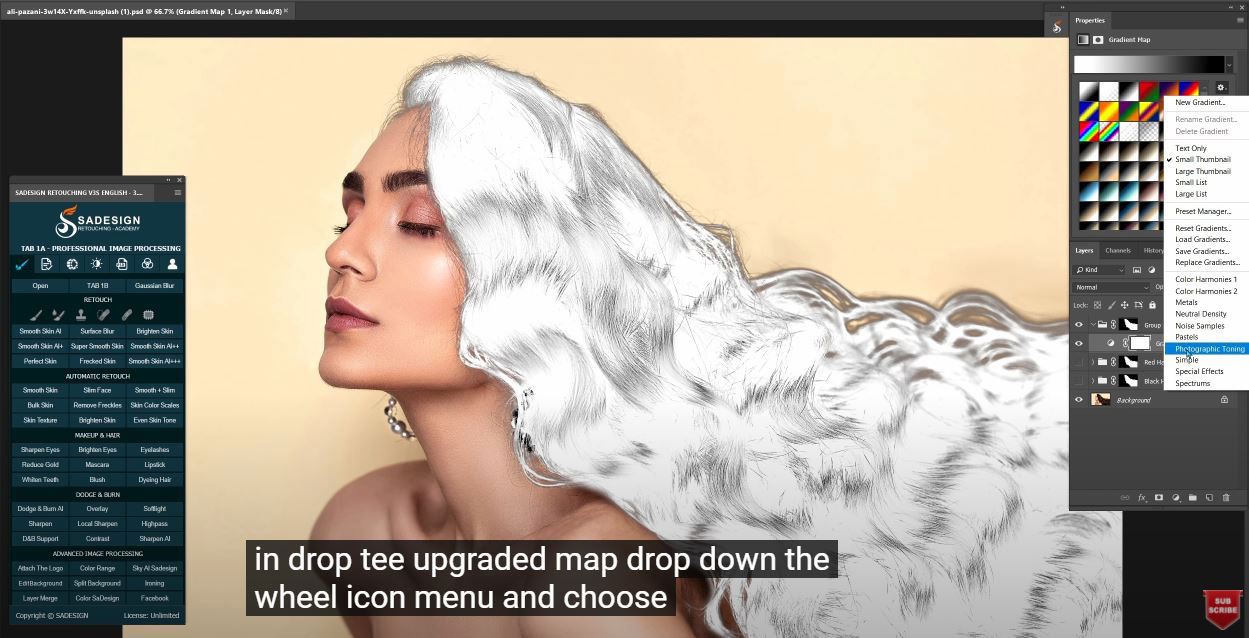
(5). Now, we will try to make blond hair color, create a new group and copy the layer mask of hair to it again. This time, we create “gradient map”. In properties of gradient map, drop down the wheel icon menu and choose “photographic toning” > choose Append. Now you can choose any gradient color that you prefer to apply it to her hair. Change blending mode to “Screen”. Double click to “gradient map” in properties tab. Change the black color to something that less dark.
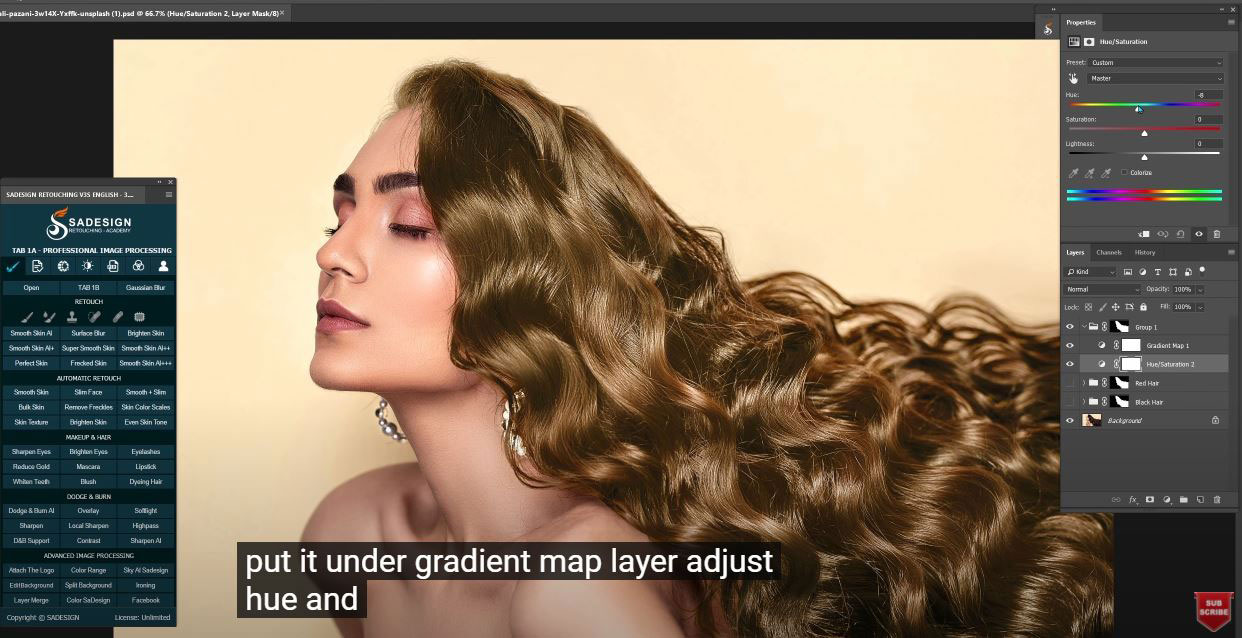
(6). Create “Hue/saturation”, put it under gradient map layer, adjust hue and saturation channel. Create curves to add contrast to it and rename the group to “Blond hair”
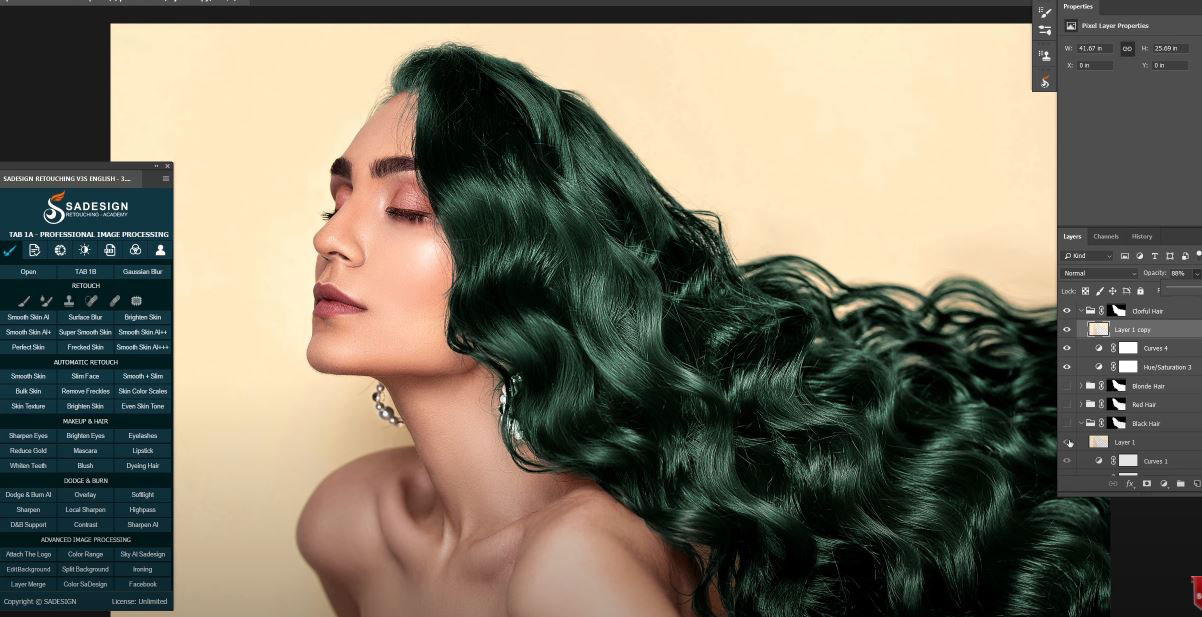
(7). Similarly, we will make her hair colorful by repeat the mentioned steps above. That’s it! Have fun to create your own hair color.
If you like Photoshop and Photograph just like SaDesign and you want to get more and more tips, techniques, experience from us. Make sure to subscribe our channel by simply clicking the subscribe button and you will get tons of free tutorials that SaDesign share about Photoshop technique on a daily basic. If you have any ideas, don’t hesitate to leave comments right below the video. We look forward to see your thoughts. Thanks so much for following and supporting SaDesign. See you guys in the following tutorials. Bye Bye!
Watch the video here:
REGISTER FOR FREE PHOTOSHOP LEARNING
============================
The most powerful Retouch tool processor
DOWNLOAD:
✅ SADESIGN PANEL ENGLISH: https://sadesign.ai/retouching/
✅ SADESIGN PANEL VIETNAM: https://www.retouching.vn/


