Best Selling Products
How to convert photo into oil painting using Photoshop
Thanks to Photoshop software, photos can be turned into oil paintings in just a few minutes. The combination of different tools gives your original photo a completely new look. So, how do you convert photos into oil paintings using Photoshop? Let's find out with SaDesign in the following shares.
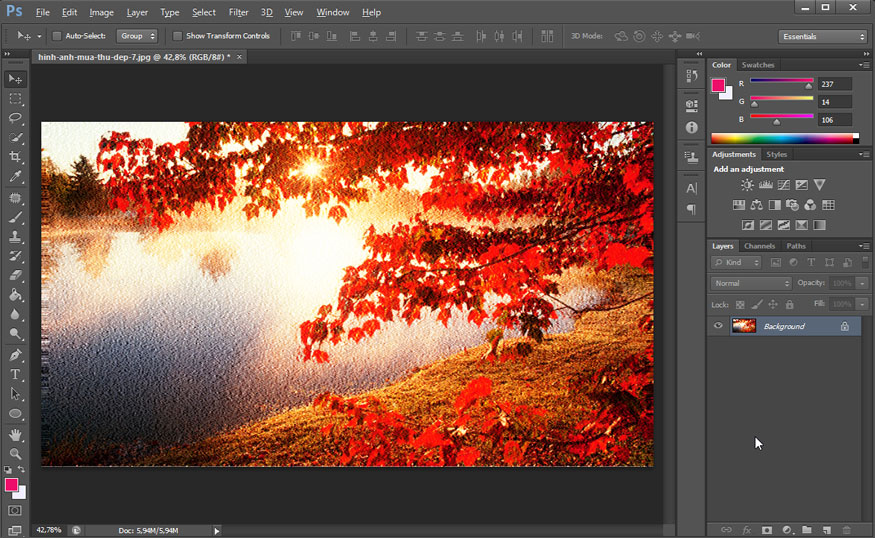
1. Steps to convert a photo into an oil painting using Photoshop
Converting a photo into an oil painting using Photoshop will make your photo look more "artistic" and impressive. To be able to convert a photo into an oil painting using Photoshop, let's refer to some basic steps as follows:
Step 1: First, we need to prepare a photo that we want to convert into an oil painting using Photoshop. The photo should have high contrast for the best effect. To open that photo in Photoshop, select File on the menu bar => Open => choose the photo to open => Open. Or you can press the key combination Ctrl + N.
.jpg)
Step 2: Duplicate the Background layer by right-clicking on Background and then selecting Duplicate Layer or using the shortcut key Ctrl+J (Cmd+J with MacOS).
.jpg)
Step 3: In the new copy layer, select Create new fill or adjustment layer (circle icon in the bottom right corner of the screen) then select Hue/Saturation to add a little color intensity. Or you can use the shortcut key combination Ctrl+U (Cmd+U with MacOS).
.jpg)
Drag the sliders on the Hue/Saturation panel in the Saturation row to your liking. Don't drag too much as this can cause an imbalance in the light and contrast of the photo.
.jpg)
Step 4: On the toolbar, select Layer => New Adjustments => Brightness/Contrast to set the brightness and contrast parameters of the photo.
.jpg)
Adjust the settings to suit your vision. If you are satisfied with the photo, you can skip this step.
Step 5: On the menu bar, select Filter => Filter Gallery.
.jpg)
Then click on Artistic => select Plastic Wrap and observe the details on the photo. You will see that the details in this photo are more blurred.
.jpg)
Step 6: Or create an additional Effects layer by clicking on the icon as shown in the image below.
.jpg)
On the newly created Effect layer, select the Paint Daubs tool and then adjust the appropriate parameters.
.jpg)
Similarly, still in this menu, create a new Effect layer, then click on the Texturizer tool and adjust the parameters accordingly to create the veins of the drawing font.
.jpg)
Continue doing the same as above with the Glass tool and also adjust the parameters moderately to avoid distortion or blurring the image.
.jpg)
After you have finished adjusting the parameters of the Effect layers you just created, click OK to complete. Your temporary result will be a picture like the one below.
.jpg)
Step 7: Now, on the menu bar, select Filter => select Stylize => select Emboss and then set the appropriate parameters (don't overdo it). Then click OK.
.jpg)
Step 8: Then change the layer's Blending mode to Vivid Light to overlap the layers below. Then use the shortcut Ctrl + Shift + E (Cmd + Shift + E with MacOS) to merge the newly created layers into one.
.jpg)
So you have completed converting a photo into an oil painting using Photoshop, very simple and fast right? The photo now looks more surreal like an oil painting.
.jpg)
2. Conclusion
Above are detailed instructions on how to convert photos into oil paintings using Photoshop. The above steps are not complicated at all. Hopefully, our sharing above can help you convert photos into oil paintings using Photoshop.


