Best Selling Products
How to combine 2 photos in Photoshop SUPER EASY for beginners
Nội dung
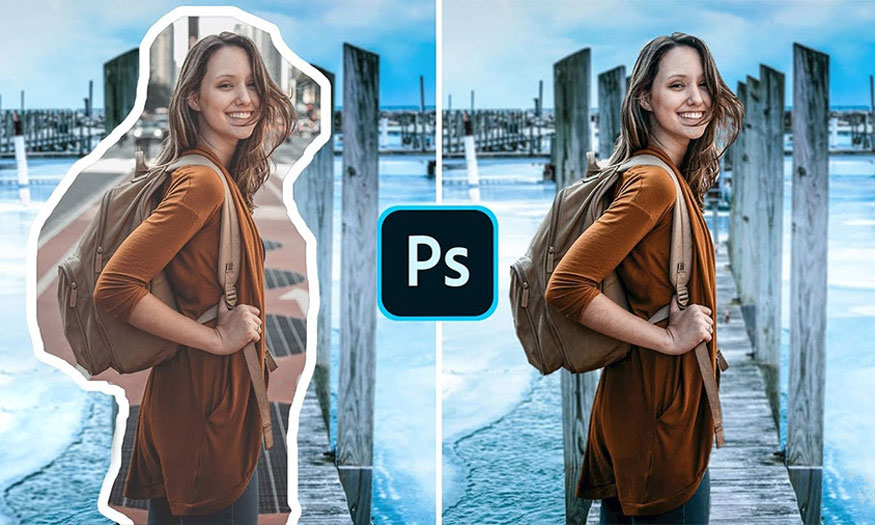
Combining 2 photos in Photoshop is one of the basic techniques you need to know to be able to design and customize your photos to be more unique. There are many different ways to combine 2 photos in Photoshop, let's explore with Sadesign right after this.

1. How to combine 2 photos in Photoshop CS6
To be able to combine 2 photos in Photoshop CS6, you can follow these basic steps:
Step 1: First, we need to create a working area to combine 2 images in Photoshop. Open Photoshop then press Ctrl + N (Windows) or Command + N (macOS). Name the file, set the parameters and then press Create to create the working frame.
.jpg)
Step 2: Add 2 images that you want to combine. On the menu bar, select File => select Open => Go to the folder containing the photos you want to combine => select the photo => Click Open. Here I want to combine the photo of a black cat with the photo of the night sky.
.jpg)
Step 3: Now we will blend the two images to get the best photo. First, we will need to separate the cat to combine it with the night sky photo. In the cat photo file, use the Quick Selection Tool (W) to create a selection of the cat. Create a selection as detailed as possible.
.jpg)
Step 4: On the menu bar, select Select => select Select and Mask (with Photoshop CC 2017 onwards and Refine Edge with previous versions of Photoshop). The dialog box that appears allows you to customize the selected area and then convert it into a mask.
.jpg)
Step 5: Refine the selection by changing the parameters in the dialog box and watching the image change. Refine Edge is used to fix hair, fur or soft edges. Under Edge Detection, check the Smart Radius box. This helps Photoshop distinguish between hard edges and soft edges.
You can also increase the Radius a bit. Place the Refine Edge brush on the outer edge of the cat's fur and start brushing. The cat's fur will gradually be added to the selection. Hold Alt and paint to undo changes if you're not happy with them. Output checks Decontaminate Colors to remove any background colors left in the selection. In Output, select New Layer with Layer Mask and press OK.
.jpg)
Step 6: Use the Move Tool to drag the background image into the first working document you created. Then drag the cat's background separation to overlap it. Adjust the size of the background and the cat so that they are proportional.
.jpg)
Step 7: You can use different blending styles of two layers to create unique effects. Go to Blending Mode and choose the appropriate blending style. Here I choose Screen mode.
.jpg)
So you have combined 2 photos in Photoshop very uniquely.
.jpg)
2. How to combine 2 photos using Photoshop online
Besides combining 2 photos in Photoshop, you can also combine 2 photos in Photoshop Online. To do this, follow these basic steps.
Step 1: Access Photoshop Online. Select Open File from the computer, then we will open 2 photos we want to combine. Here I want to combine a photo of a small butterfly perched on a girl's finger.
.jpg)
Click the icon to enlarge the screen so that the operation of combining 2 photos in Photoshop can take place more easily.
.jpg)
Step 2: We need to separate the butterfly before we can add it to the girl's photo. Use Free Selection (shortcut key L), then draw a border around the butterfly. You can use zoom (Z) to enlarge the photo, making it easier to create a selection.
.jpg)
Step 3: After creating a selection, we will press Ctrl + X to cut the selection. This action also copies the butterfly image.
.jpg)
Step 4: Switch to the girl's photo file, press Ctrl + V to paste the cut butterfly into the photo. Click the transform option to adjust the size of the butterfly to fit the girl's finger.
.jpg)
Step 5: After adjusting properly, in the Coloring section on the right corner, reduce the scale so that the butterfly is blurred, to match the photo.
.jpg)
So you have completed the process of combining 2 photos in Photoshop very simply and beautifully. SaDesign hopes that the above sharing can help you edit the most beautiful photos.


