Best Selling Products
How to Create a Pixel Stretch Effect in Photoshop
Stretching pixels in photos in Photoshop will make your designs more impressive, especially photos with moving subjects. So do you know how to create pixel stretching effects in Photoshop? If not, don't worry, let's find out right away in the following shares.

1. Steps to create pixel stretching effect in Photoshop
To create a pixel stretching effect in Photoshop, you can follow the instructions below.
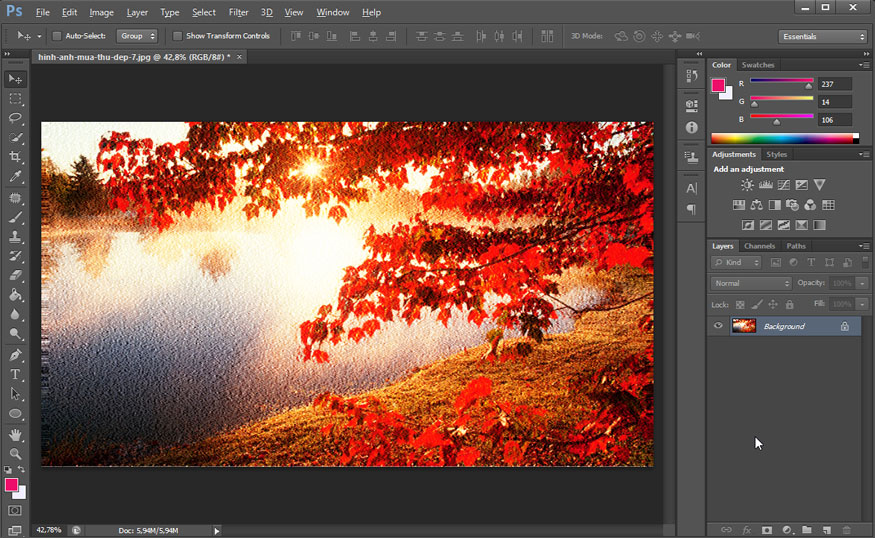
Step 1: First, you need to upload the photo you want to create a pixel stretching effect in Photoshop. You can click File on the menu bar => select Open => select the appropriate photo => Open. Or you can press the shortcut key Ctrl + O and then select the appropriate photo. Today, I chose a photo with the subject of a girl running.
![]()
Step 2: Then we need to create a new working file to create the pixel stretching effect in Photoshop on it. Go to File on the menu bar => select New… => set the appropriate size parameters. Or press the shortcut key Ctrl + N then set the parameters and press OK. Because the girl's outfit is white, I will fill the background with pink to highlight the subject.
![]()
Step 3: In the working file with the girl, use the Quick Selection Tool and select Select Subject to quickly select the object. Then press Ctrl + J to separate the selected object into a separate layer.
![]()
Step 4: On the toolbar, select the Move Tool to drag the newly separated layer to the file created at the beginning. You just need to select the layer with the separated subject, then hold the mouse and drag it to the original file.
![]()
Step 5: Create a new layer by selecting Create a new layer in the bottom corner of the screen.
![]()
Step 6: Next, select layer 1 you just created, use the Rectangular Marquee Tool to draw a small rectangle from the body to the feet of the subject. You should choose areas with different color ranges to create a unique color transition.
![]()
Go back to layer 0 (layer containing the separated object), press Ctrl + C to copy the object, then go to layer 1 and press Ctrl + V to paste.
Step 7: On layer 1, press Ctrl + T to select the newly selected area, then hold Shift to drag to both sides.
![]()
So you have created a pixel stretching effect in Photoshop. The pixels have been stretched. However, to be more impressive, you can transform these pixel strips.
Step 8: On the menu bar we will select Filter => select Distort => select Polar Coordinates.
![]()
In the Polar Coordinates window that appears, you will customize down to about 12.5% to fit the object (depending on the object, the size will be different), remember to check the Rectangular to polar box.
![]()
Step 9: Adjust the size of the newly created pixel circle as well as the object to fit or suit your idea.
![]()
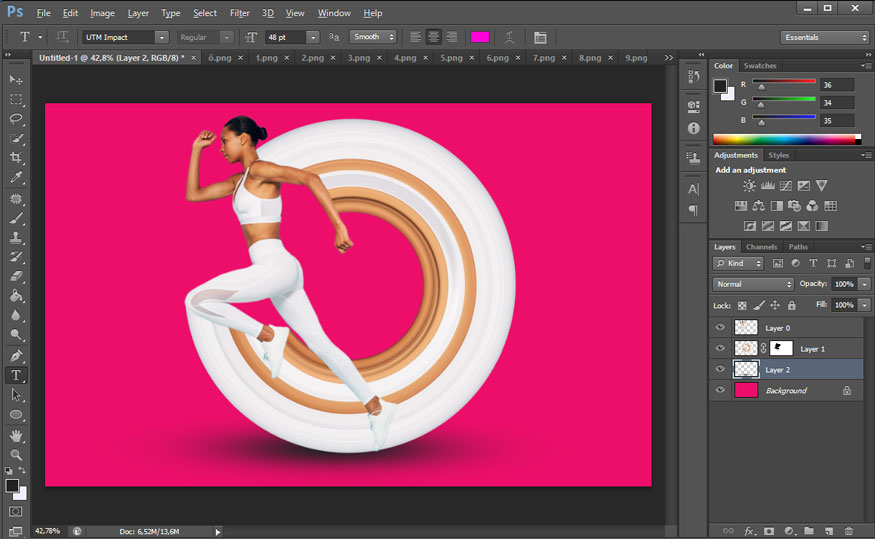
Step 10: Use the Eraser Tool on the toolbar to remove the pixel lines extending in front of the object to create the effect of the girl running with a pixel circle behind.
![]()
Step 11: You can add more shadows to the combination you just created to create impressive depth. Create a new layer to display the shadow of the effect, switch to black and white mode and use the Brush tool to create the shadow. Use the key combination Ctrl + T to adjust the appropriate shadow size. Drag the shadow layer below the subject and the pixel layer to stretch and adjust accordingly. The result you get will be.
![]()
2. Conclusion
So you have successfully created a pixel stretching effect in Photoshop. This method is very simple, right? Hopefully, the sharing from SaDesign can help you create a pixel stretching effect in Photoshop quickly.


