Best Selling Products

Adobe Premiere Pro Account
99 USD

Capcut Pro 1 Year
39 USD

MidJourney Account
29 USD

Freepik Premium Account
59 USD

Copyright Adobe Lightroom Account
59 USD

Plugin Retouch4me
69 USD

Genuine Adobe Illustrator account
99 USD

Genuine Cheap Canva Pro
39 USD

Autodesk All App Account Copyright
120 USD

Upgrade Duolingo Super
29 USD

Upgrade genuine Capture One account
120 USD

ChatGPT Plus Account (GPT-4)
16 USD

Windows 10 & 11 Pro Key
36 USD

Adobe Photoshop Copyright - Full App
120 USD

Upgrade Genuine Office 365
49 USD
How To Create Dynamic Snow Effects in Photoshop
Hi guys, today I'll show you how to create animated snow inside of Photoshop overlay for photos or video.
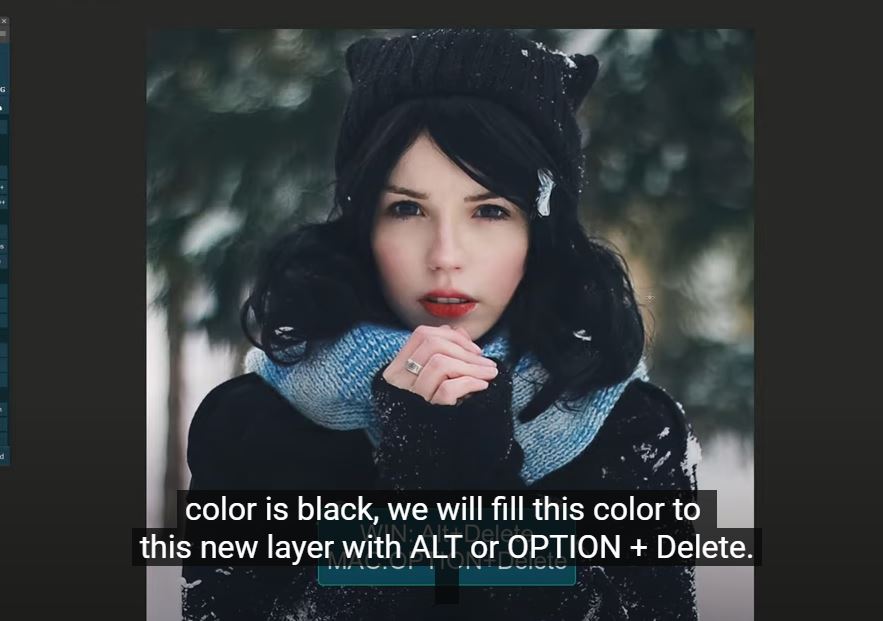
First, create a new layer with this icon at the lower right corner. Make sure foreground color is black, we will fill this color to this new layer with ALT or OPTION + Delete.
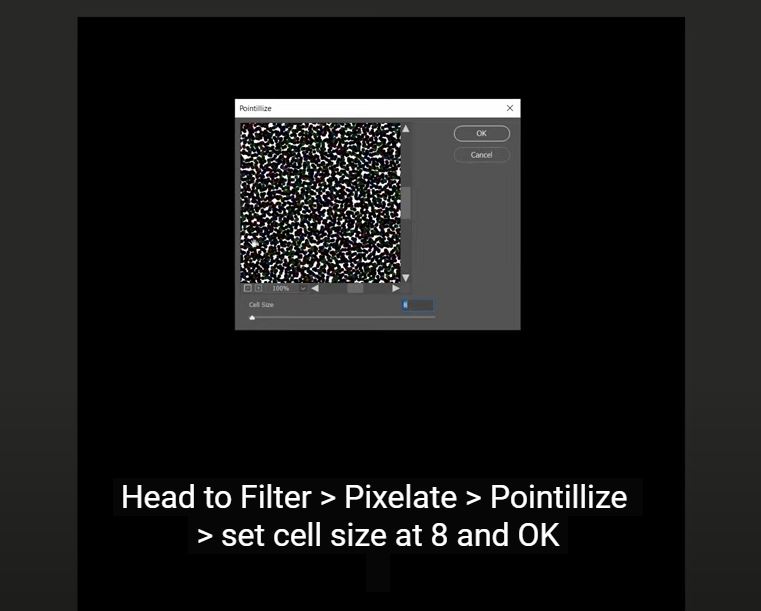
Head to Filter > Pixelate > Pointilize > set cell size at 8 and OK Next, Image > Adjustments > Desaturate or shortcut CTRL+SHIFT+U to remove color.
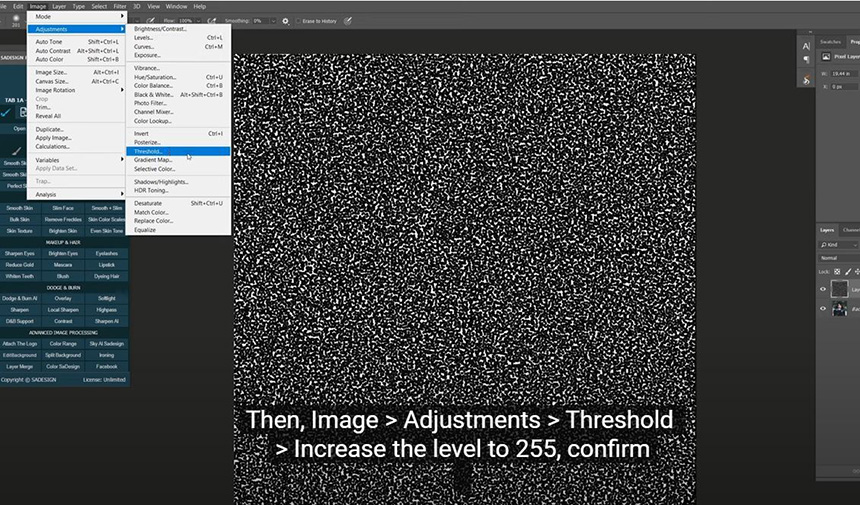
Then, Image > Adjustments > Threshold > Increase the level to 255, confirm Filter > Blur > Gaussian Blur > we will blur it with 1 radius pixel. Change its blend mode to “screen”.
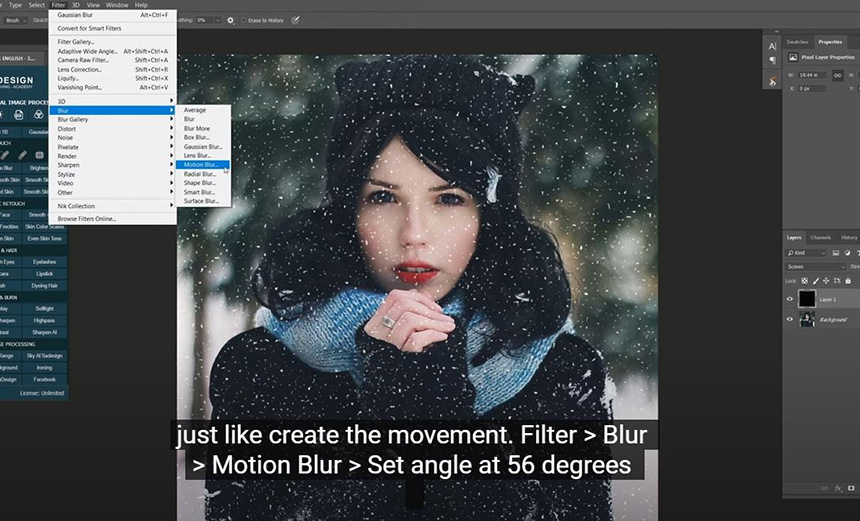
Open Levels with shortcut CTRL+L, bring black areas up to 189. Use Gaussian Blur again to blur a little bit more, just 0.5 pixels Now, we will add motion blur to it, just like create the movement. Filter > Blur > Motion Blur > Set angle at 56 degrees Distance: 5 pixels. OK
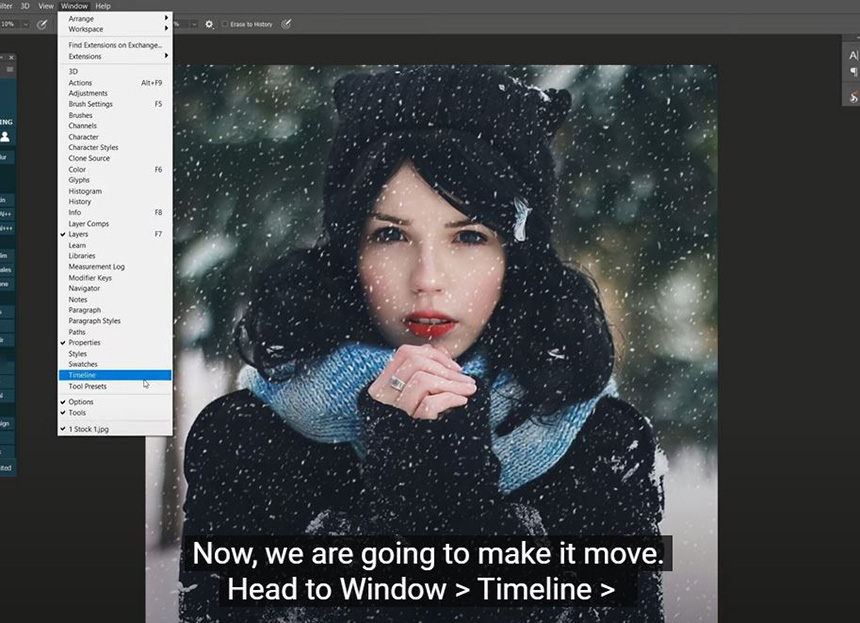
We are done with the first step which is to create snow. Now, we are going to make it move. Head to Window > Timeline > click to the arrow over here and Select Create Frame Animation at the Timeline window. Let's zoom out to have an overview.
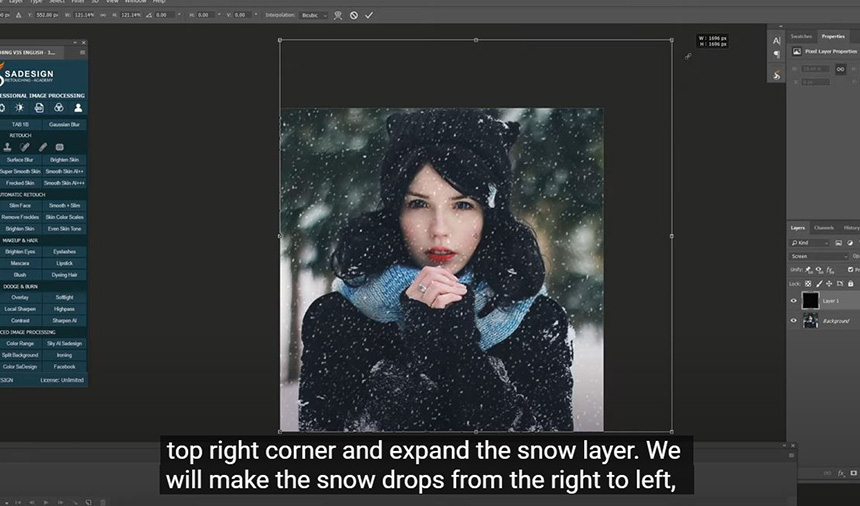
Press CTRL or CMD + T, click to the top right corner and expand the snow layer. We will make the snow drops from the right to left, just the same as the angle we set in Motion Blur.
Click to page icon to create another frame. In this frame, we will use move tool to move the snow layer to align with top left corner Select both frames and click to this icon to open Tween window. Print here, add 10 frames more.
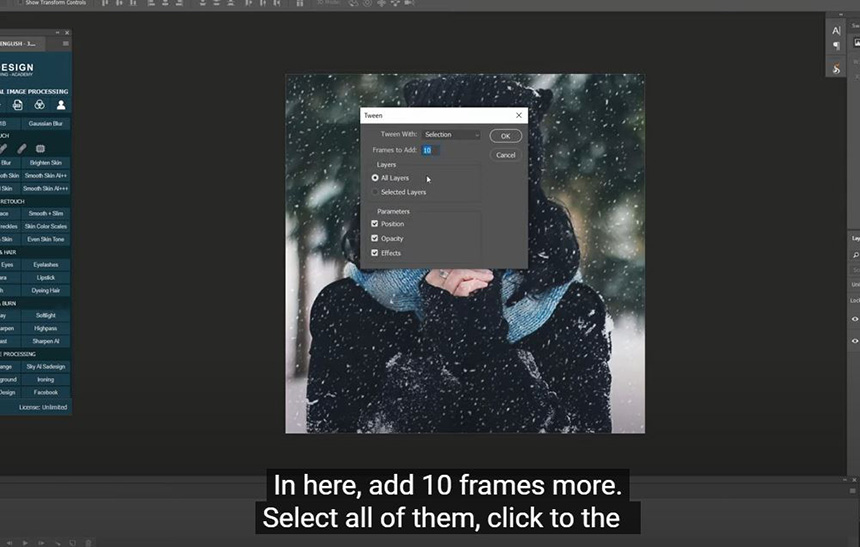
Select all of them, click to the small arrow below the frame and choose 0.1 seconds of the movement between each frame. Now, press Play button and see the result. You can adjust the time of each frame as you see fit.

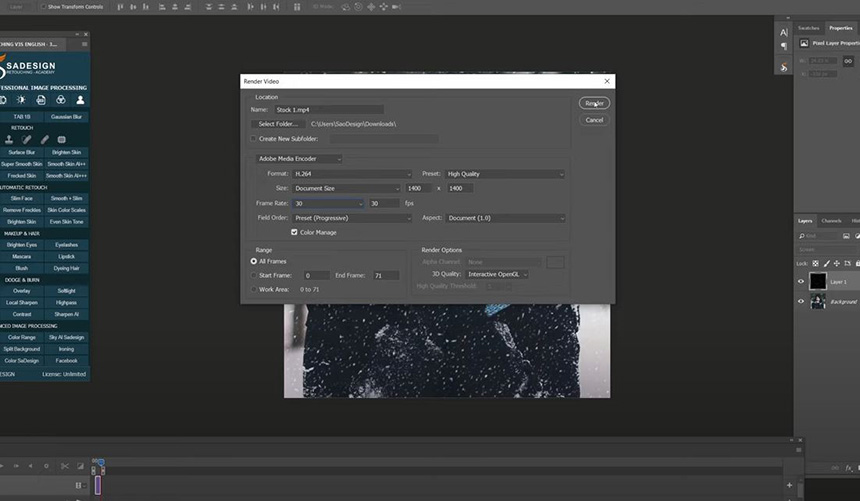
When you are satisfied with the result. The final step, we will export it into MP4 format. Click to this icon, and then the arrow icon to open the render video window.
Frame rate: 30 Check the name and destination folder. Hit "Render" There you go! Just play the video and enjoy your work.
Watch the video here:
REGISTER FOR FREE PHOTOSHOP LEARNING
============================
The most powerful Retouch tool processor
DOWNLOAD:
✅ SADESIGN PANEL ENGLISH: https://sadesign.ai/retouching/
✅ SADESIGN PANEL VIETNAM: https://www.retouching.vn/


VIP Products


Best Selling Products
Adobe Premiere Pro Account
99 USD
Capcut Pro 1 Year
39 USD
MidJourney Account
29 USD
Freepik Premium Account
59 USD
Copyright Adobe Lightroom Account
59 USD
Plugin Retouch4me
69 USD
Genuine Adobe Illustrator account
99 USD
Genuine Cheap Canva Pro
39 USD
Autodesk All App Account Copyright
120 USD
Upgrade Duolingo Super
29 USD
Upgrade genuine Capture One account
120 USD
ChatGPT Plus Account (GPT-4)
16 USD
Windows 10 & 11 Pro Key
36 USD
Adobe Photoshop Copyright - Full App
120 USD
Upgrade Genuine Office 365
49 USD