Best Selling Products

Genuine Adobe Illustrator account
99 USD

Upgrade Duolingo Super
29 USD

Adobe Photoshop Copyright - Full App
120 USD

Genuine Cheap Canva Pro
39 USD

Adobe Premiere Pro Account
99 USD

Capcut Pro 1 Year
39 USD

Freepik Premium Account
59 USD

Copyright Adobe Lightroom Account
59 USD

Autodesk All App Account Copyright
120 USD

Upgrade genuine Capture One account
120 USD

Plugin Retouch4me
69 USD

Windows 10 & 11 Pro Key
36 USD

Upgrade Genuine Office 365
49 USD

ChatGPT Plus Account (GPT-4)
16 USD

MidJourney Account
29 USD
How to Create High-Resolution Images in Adobe Firefly
Nội dung
- 1. Image Resolution in Firefly
- 2. How to Increase Image Resolution
- 2.1 Step 1: Choose the Appropriate Upgrade Model
- 2.2 Step 2: Select Upgrade Factor
- 2.3 Step 3: Refine the AI Model
- 2.4 Step 4: Create the Enhanced Image
- 3. Set up the best image export settings to ensure the highest quality.
- 4. Tips for Printing Photos from Firefly
- 5. Common Problems and Solutions
- 6. Best Practices When Creating High-Resolution AI Images
- 7. Frequently Asked Questions
Adobe Firefly is becoming one of the most popular AI-powered image creation tools today, especially among marketing, graphic design, and content creators. However, many users struggle to create images with sufficient resolution for printing, advertising, or professional commercial projects.
1. Image Resolution in Firefly
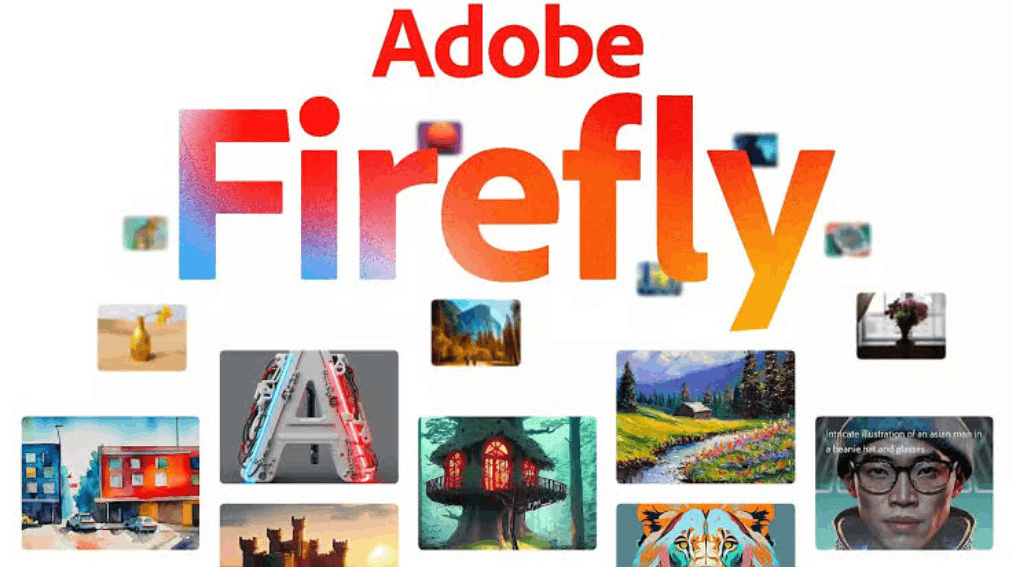
Before looking at ways to improve image quality, you need to understand the default resolution that Firefly supports. With its Text to Image feature, Firefly allows you to create images with a maximum size of approximately 2000 x 2000 pixels. This resolution is quite suitable for social media content, web graphics, presentations, or digital projects in general.
However, if your goal is to create posters, large-format prints, outdoor billboards, or other visual assets requiring flexible cropping, this default resolution is often insufficient. Currently, Firefly does not have a standard process that allows for the direct creation of 4K or 8K images right from the initial image generation stage.
The maximum resolution you can achieve will depend on your specific workflow. If using Firefly built into Photoshop, you can leverage the Generative Fill and Generative Expand tools to add image content within each section up to 2000 x 2000 pixels, expanding the frame without increasing the original resolution of the image details. Meanwhile, if you're using the Creative Production workflow for businesses, Firefly can create images with the longest side up to 8190 pixels, ideal for large-scale production projects.
It's important to note that resolution and image quality are two completely different concepts. The latest Firefly models can produce clean textures, realistic lighting, and high levels of detail, but the pixel size of the image remains the same. Upgrading to a newer model version will improve visual quality, not increase file size or image dimensions. Therefore, if you need a truly high-resolution image for professional editing or printing preparation, the best solution is to use the AI-powered resolution upscaling feature within Firefly.
2. How to Increase Image Resolution
You no longer need to rely on third-party resolution upscaling tools. Adobe has built-in a Generative Upscale feature in the Edit tab, allowing you to increase image size while maintaining original quality and detail. To get started, simply create an image in Firefly, switch to the Edit tab, and find the Generative Upscale option in the left-hand toolbar.
2.1 Step 1: Choose the Appropriate Upgrade Model
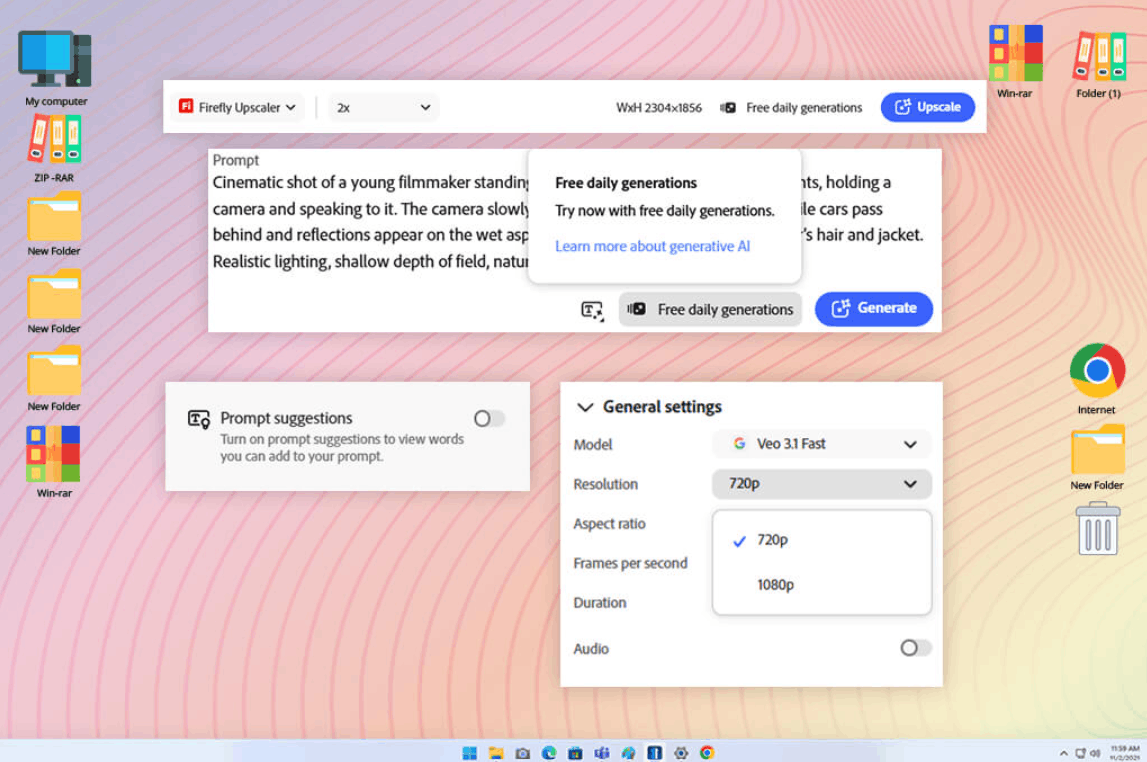
Firefly offers three different AI models for upscaling resolution, each suited to a specific use case.
Firefly Upscaler is a model developed by Adobe itself, aimed at creating natural and balanced results, suitable for everyday tasks that don't require excessive creative enhancement. Topaz Bloom is the ideal choice if you want AI to add new details and create a clearer artistic effect to your photos. Meanwhile, Topaz Gigapixel is considered the top choice when you need maximum sharpness and the best detail retention, very suitable for upscaling real-life photos or highly realistic AI images.
If you want to preserve the original style of the photo, choose Firefly Upscaler. However, if the goal is professional image enhancement or preparation for printing, Topaz Gigapixel usually delivers cleaner and more consistent results.
2.2 Step 2: Select Upgrade Factor
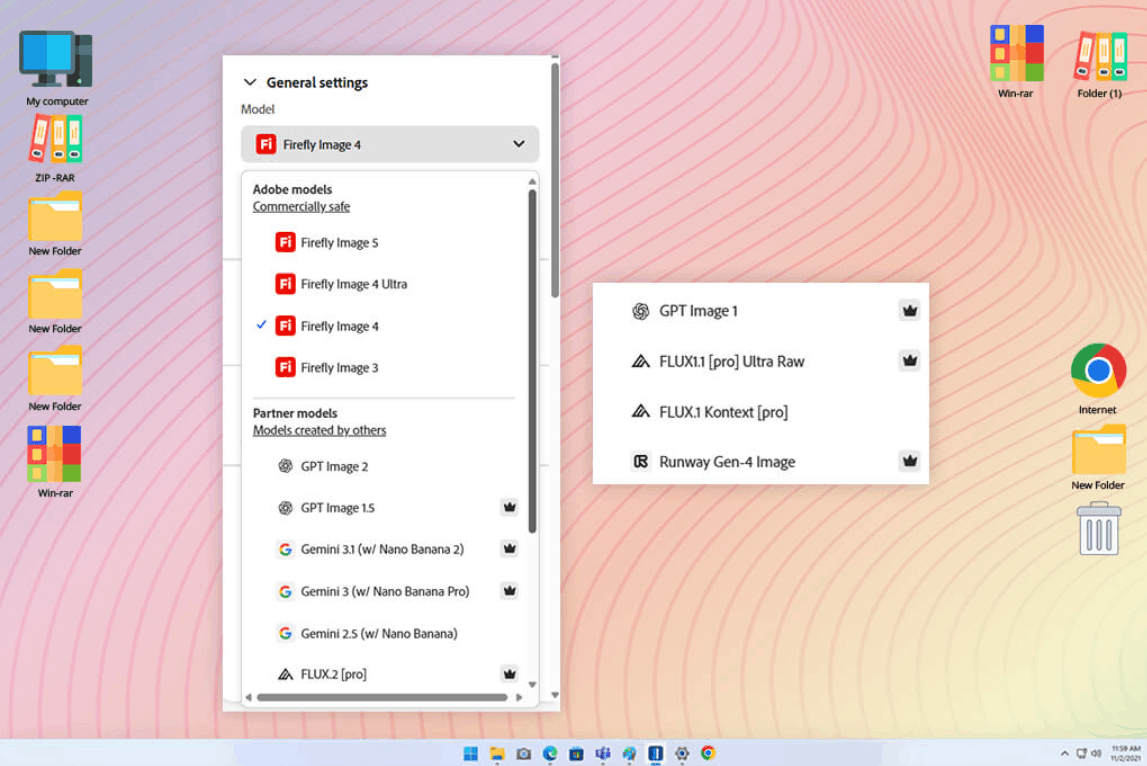
After selecting the appropriate model, you need to decide on the image magnification level. Firefly supports two main magnification factors: 2x and 4x. A 2x magnification is typically suitable for web graphics, presentations, and images that only require moderate enlargement. A 4x magnification is more appropriate when preparing images for printing, large-format displays, or advanced editing.
Before processing an image, Firefly lets you preview the expected output size, allowing you to determine your desired final pixel size before spending credits. It's worth noting that upscaling to the maximum size isn't always the best option. A 4x upscaling will result in significantly larger images, but it also requires longer processing times and consumes more credits, depending on the model you choose.
2.3 Step 3: Refine the AI Model
Some models allow you to adjust parameters to get better results. For example, Topaz Bloom offers a very useful Creativity slider. Dragging the slider to the left will make the output image as close to the original as possible. Conversely, dragging it to the right will proactively add new details and make more creative enhancements to the AI.
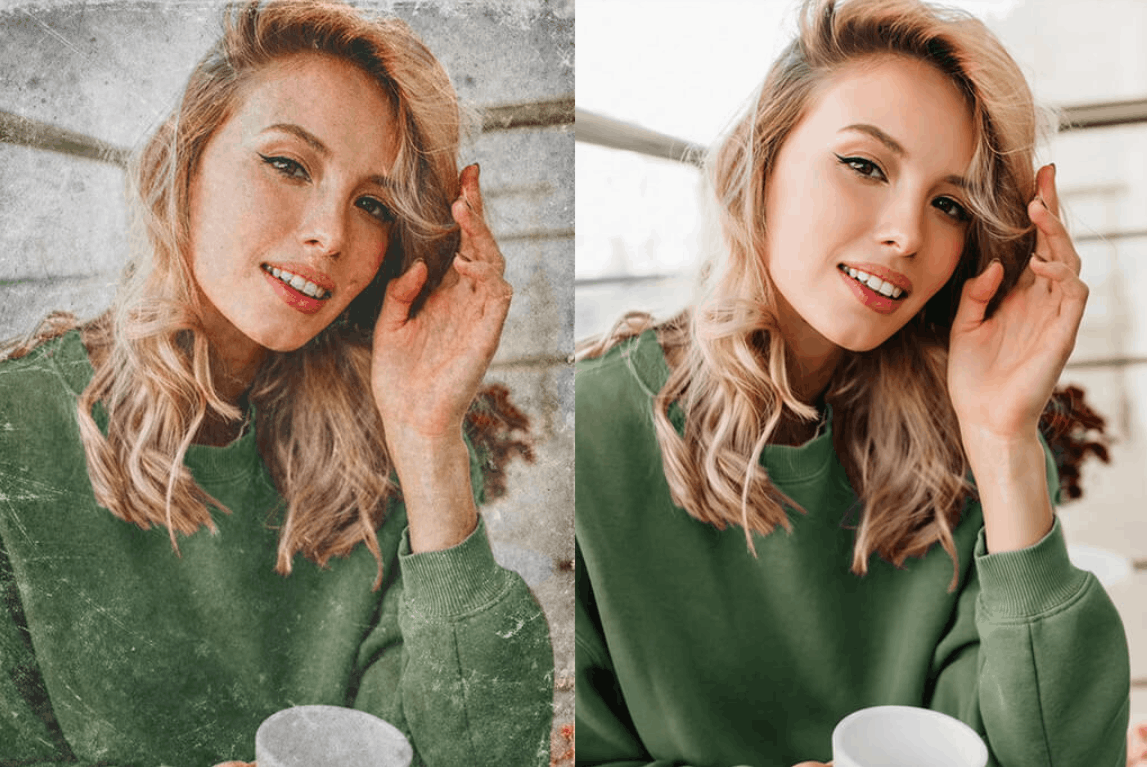
Meanwhile, the Topaz Gigapixel comes with a Face Recovery option, allowing you to restore facial features, increase sharpness, and maintain natural expressions when upscaling blurry or low-resolution portrait photos. If you're working with photos containing people, you should activate this feature to get sharp eyes, natural skin texture, and realistic facial features without further manual editing.
2.4 Step 4: Create the Enhanced Image
After completing the selection and adjustment steps, simply press the Upscale button and wait for Firefly to process the image to produce the final result. If you are not satisfied with the output image, you can press the Reset button to create a new version.
Keep in mind that the number of credits required will vary depending on the AI model you choose. Before pressing the Upscale button, hover over the information icon next to it to preview the number of credits needed for the high-resolution image creation process.
3. Set up the best image export settings to ensure the highest quality.
When it's crucial to preserve every detail of an image, the PNG format is always the top choice. This lossless compression format helps maintain sharp edges, detailed textures, and smooth color transitions without jagged edges or noise.
Conversely, the JPEG format uses a more aggressive compression method to optimize file size, but at the cost of image quality. While the difference may not be immediately apparent on the first output, repeatedly saving images in JPEG format can lead to significant degradation in image quality over time.
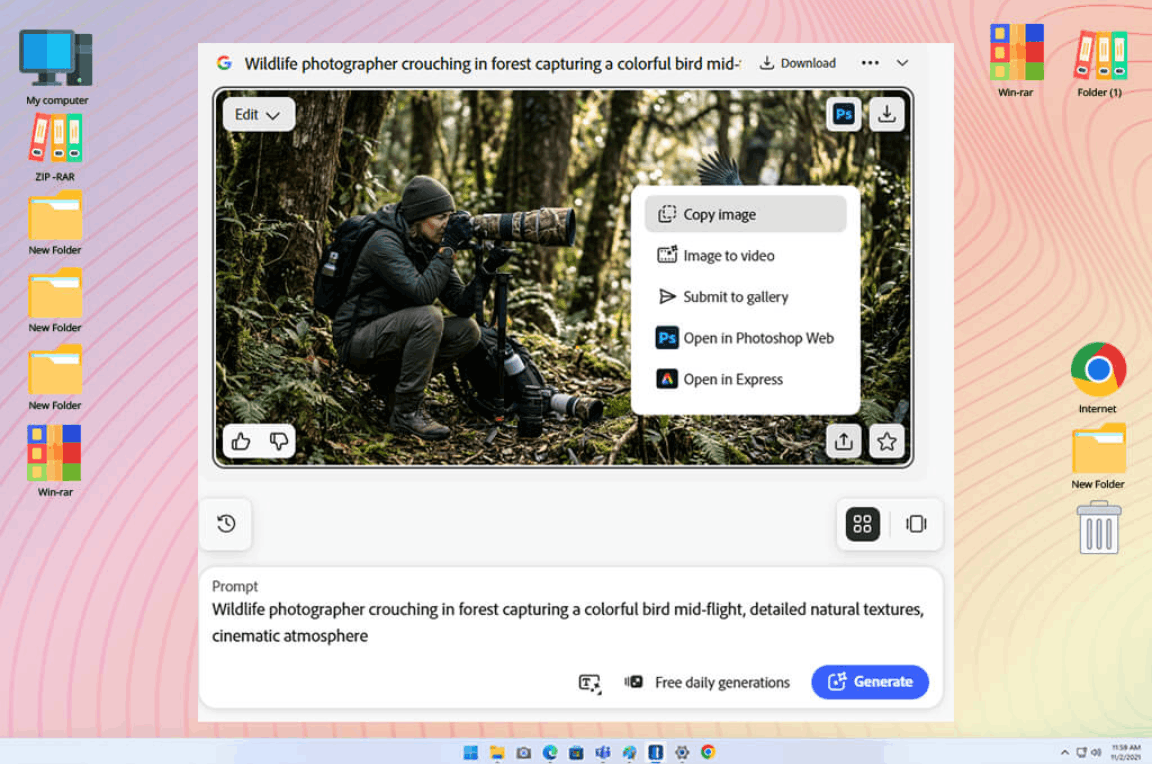
Compression level is another factor that many people often overlook, but it's very important. If you decide to save images as JPEGs, you shouldn't choose an excessively high compression level just to reduce file size. A quality level of 90 to 100 percent usually provides a reasonable balance between file size and image quality.
When exporting images in PNG format, you don't need to worry about quality degradation; however, the resulting file will be significantly larger. In practice, when editing images or increasing resolution using Photoshop or other software, the optimal approach is to create a high-quality original in PNG format, and then export the final version to JPEG when needed.
The choice of format should be based on the actual intended use of the image. PNG is often the best choice for storing AI work, working with images containing text, keeping the background transparent, performing professional editing operations, or preparing files for printing. JPEG, on the other hand, is more suitable for websites, blog posts, emails, and social media, as its smaller file size allows for faster page loading. If you're unsure which format to choose, export the image as a high-quality PNG first, then create smaller JPEG copies as needed. Once detail is lost due to compression, it cannot be recovered.
4. Tips for Printing Photos from Firefly
When printing photos created with Adobe Firefly, you need to carefully consider both the pixel size and the desired print size. For high-quality prints, 300 DPI (pixels per inch) is generally considered the industry standard for brochures, posters, magazines, and general photo prints.
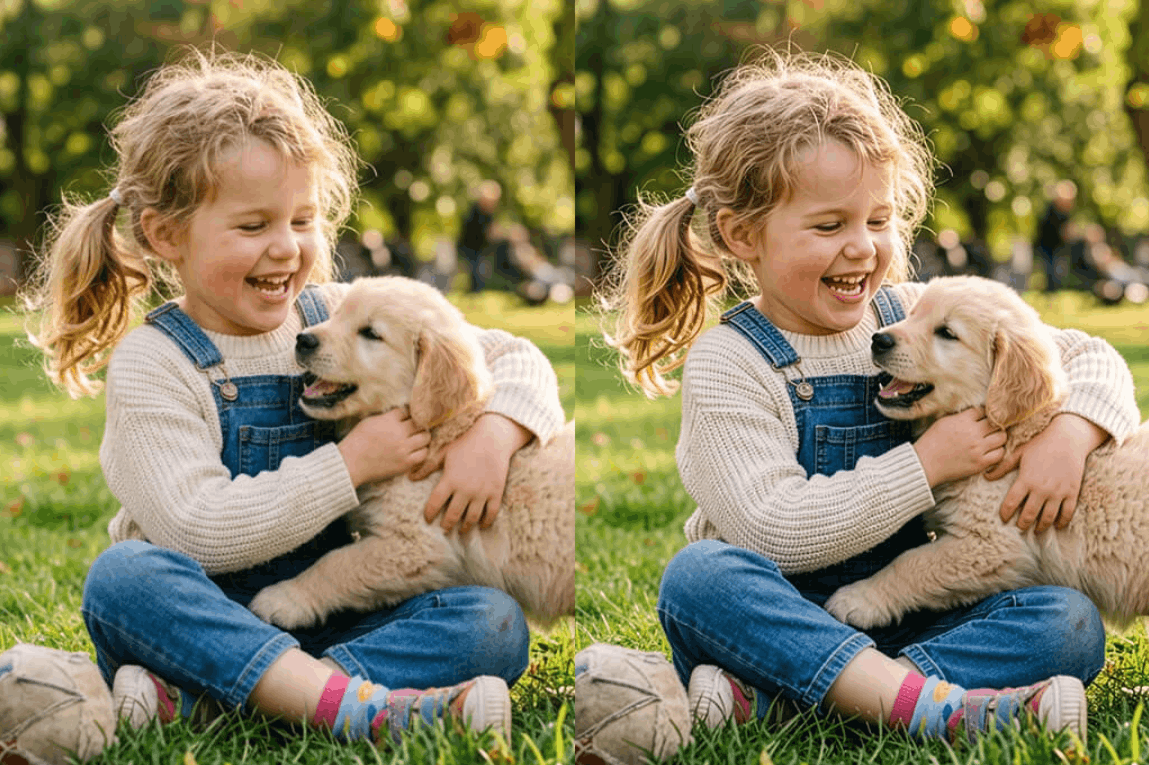
However, print quality depends not only on DPI but also on the actual number of pixels in the image. For example, an 8 x 10 inch print requires a minimum image resolution of approximately 2400 x 3000 pixels at 300 DPI. Since Firefly only outputs images at 2000 x 2000 pixels by default, you will almost certainly need to upscale the resolution before printing.
Many people mistakenly believe that simply increasing the DPI from 72 to 300 will improve image quality. In reality, DPI only affects the pixel density on the printed surface; it doesn't create new image data. If the original image doesn't have enough pixels, increasing the DPI won't make it sharper. The correct approach is to upgrade the image resolution first using Firefly's Generative Upscale feature or other AI upscaler tools, and then adjust the DPI accordingly in the editing software when preparing for export and printing.
5. Common Problems and Solutions
Blurry details often stem from using overly simplistic prompts, causing the AI to produce images lacking necessary detail. Instead of vague descriptions, you should clearly specify elements such as surface texture, lighting, camera angle, and the shape of the subject. It's important to note that if the original image is already blurry, subsequent resolution upscaling won't necessarily make it sharper.
The pixelation or jagged edges after upscaling often occur when you try to zoom in on a small image too much. AI-powered upscaling tools are great at increasing detail, but upscaling four times isn't always the best option. You should choose the highest quality image version that Firefly produces, use the two-fold upscaling first, analyze the results, and then zoom in further if necessary. This approach helps you achieve a more natural-looking result.
Overly smooth surface textures are also a common problem in AI-generated images, making fabrics, foliage, skin, or architectural details look unnatural, sometimes even plastic-like. To overcome this, you should create multiple versions from the same prompt, selecting the sharpest one before proceeding with enhancement. Additionally, writing detailed prompts and clearly describing your texture requirements will help Firefly produce more realistic results.
Sometimes, after creating or enhancing an image , unusual textures, strange edges, duplicated objects, or unnatural transitions may appear . Instead of trying to fix these errors in post-processing, a more effective approach is often to recreate the image from scratch to ensure there are no flaws in critical areas. If the errors are minor, you can use tools like the Generative Fill, Remove Tool, or Healing Brush in Photoshop to quickly clean up the image.
Poor facial detail is also a common problem with many AI image creation tools. If you notice that the resulting portrait lacks realism or the eyes and facial features aren't sharp enough, enable the Face Recovery feature when using the Topaz Gigapixel model to upscale the image. Additionally, creating the portrait at the largest possible size from the start helps retain more original detail, resulting in better upscaling results.
6. Best Practices When Creating High-Resolution AI Images
-
Create images at the largest size Firefly allows : This tool has size limitations, so starting with the highest resolution image will help you achieve better results after AI upscaling. Before upscaling, zoom in to 100 percent to check carefully. If you find issues such as unnatural-looking hands, distorted faces, or unwanted objects, it's best to recreate the image from scratch, as fixing these errors will be much easier than after zooming in four times.
-
Only upscale an image once when possible : Repeating the upscaling process on the same image multiple times can create glitches, distort texture, or make the image unnaturally sharp. If you have determined the desired final size, choose the appropriate 2x or 4x upscale level from the start, instead of performing multiple upscales in quick succession.
-
Use detailed prompts: You shouldn't use vague descriptions like "mountain landscape," but rather specifically describe the desired result, including lighting conditions, surface texture, camera lens, composition, artistic style, and level of detail. More detailed prompts generally result in higher-quality images that require less editing later.
-
Maintain image quality throughout the editing process : When exporting files, performing compression or resizing without a necessary reason can degrade image quality. Therefore, create a high-resolution copy in PNG format first, and only save to JPEG after the entire editing process is complete to maintain the desired level of detail. Additionally, consider upscaling as a last resort, rather than using it to salvage a low-quality image from the start, because while AI can improve original images well, it is less effective at adding details that weren't present before.
-
Choose the best version before upscaling : Firefly often generates multiple versions from the same prompt. Instead of trying to upscale all versions, you should compare them at full size and choose the one you like best, prioritizing the one with high sharpness, clear lines, and natural lighting. Starting with a high-quality image will make it easier to achieve better results in the end.
7. Frequently Asked Questions
Does increasing the resolution just make the image bigger, or does it actually make the image more detailed?
Modern AI-powered enhancement tools go beyond simply stretching images. They analyze patterns, identify surface textures, and determine outlines to create new pixels, resulting in more detail and reduced blur. While not entirely new information, this process significantly improves the visual quality of images.
Is it possible to upgrade only a portion of the image instead of the entire picture?
Firefly's Generative Upscale feature is designed to improve the overall quality of an image. If you only need to enhance a specific area, such as a face or a product, you should edit that area separately in Photoshop using AI tools, or crop the necessary part of the image, enhance it separately, and then combine it with the original image.
Will the upgrade change the style of AI images?
The results will depend on the model you choose. Firefly Upscaler typically preserves the style of the original image, while models like Topaz Bloom can add more creative textures and details. If you want to maintain the original style, you should choose the lowest setting and carefully compare multiple results before exporting the final image.
Should you recreate an image or upgrade a low-quality one?
In most cases, recreating the image is still the better option. If the original image is already blurry, has aspect ratio errors, or an unbalanced composition, upscaling will only make these problems more apparent. Therefore, it's best to try creating the image multiple times until you get a satisfactory result before proceeding with the resolution upgrade.
Can images enhanced in Firefly be used for commercial printing purposes?
Absolutely, as long as the output image has the appropriate resolution for the required print size and fully complies with Adobe's licensing terms. After the upgrade, you can use the image to create posters, marketing materials, product packaging, and many other commercial projects. However, always double-check the resolution before printing to ensure the best quality.





















VIP Products








Best Selling Products
Genuine Adobe Illustrator account
99 USD
Upgrade Duolingo Super
29 USD
Adobe Photoshop Copyright - Full App
120 USD
Genuine Cheap Canva Pro
39 USD
Adobe Premiere Pro Account
99 USD
Capcut Pro 1 Year
39 USD
Freepik Premium Account
59 USD
Copyright Adobe Lightroom Account
59 USD
Autodesk All App Account Copyright
120 USD
Upgrade genuine Capture One account
120 USD
Plugin Retouch4me
69 USD
Windows 10 & 11 Pro Key
36 USD
Upgrade Genuine Office 365
49 USD
ChatGPT Plus Account (GPT-4)
16 USD
MidJourney Account
29 USD