Best Selling Products

MidJourney Account
29 USD

Adobe Premiere Pro Account
99 USD

Copyright Adobe Lightroom Account
59 USD

Upgrade Duolingo Super
29 USD

Genuine Cheap Canva Pro
39 USD

Genuine Adobe Illustrator account
99 USD

Windows 10 & 11 Pro Key
36 USD

Adobe Photoshop Copyright - Full App
120 USD

Capcut Pro 1 Year
39 USD

Plugin Retouch4me
69 USD

Upgrade genuine Capture One account
120 USD

Freepik Premium Account
59 USD

Autodesk All App Account Copyright
120 USD

Upgrade Genuine Office 365
49 USD

ChatGPT Plus Account (GPT-4)
16 USD
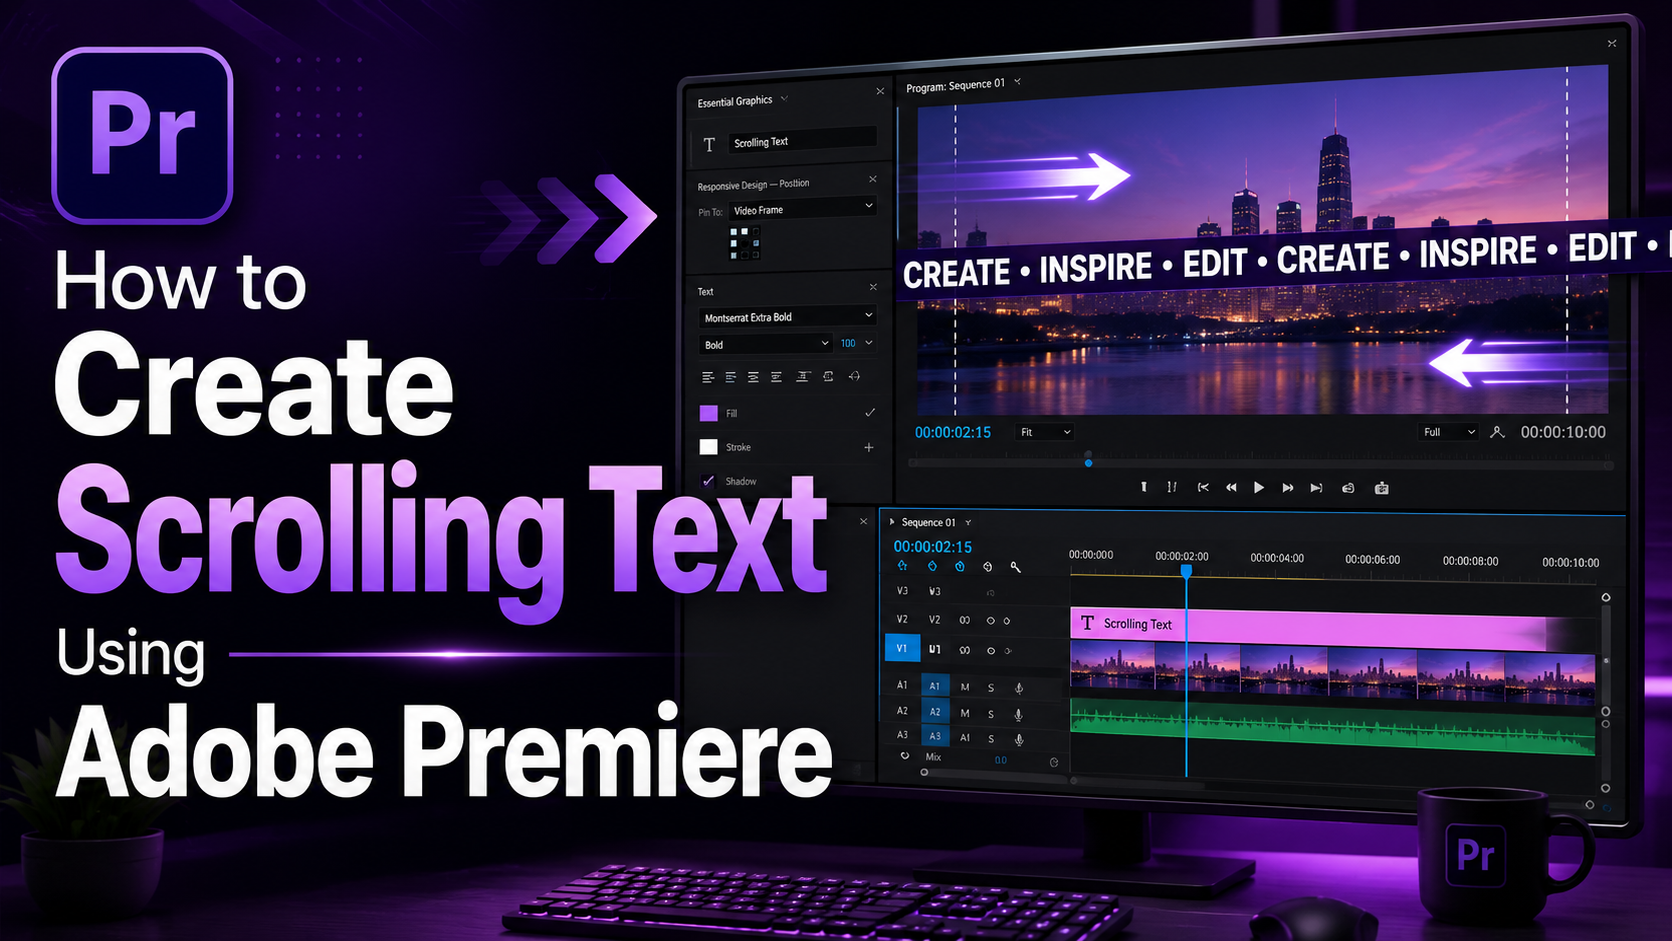
How to Create Scrolling Text Using Adobe Premiere Easily
Nội dung
- 1. Why should I choose Adobe Premiere for creating scrolling text effects?
- 2. Advantages of creating scrolling text effects in Adobe Premiere
- 3. Instructions on how to create horizontal scrolling text in Adobe Premiere
- 3.1 Step 1: Open the video in Adobe Premiere
- 3.2 Step 2: Add the video to the timeline for editing
- 3.3 Step 3: Create a scrolling text frame, optional
- 3.4 Step 4: Create a new title for the scrolling text
- 3.5 Step 5: Add and edit scrolling text content
- 3.6 Step 6: Set up horizontal scrolling text style
- 3.7 Step 7: Insert scrolling text into the video
- 3.8 Step 8: Preview and fine-tune
- 3.9 Step 9: Export the completed video
- 4. Instructions on how to create scrolling text from bottom to top in Adobe Premiere
- 4.1 Step 1: Open the video by importing it into Adobe Premiere
- 4.2 Step 2: Select the video and open the working file
- 4.3 Step 3: Drag the video onto the timeline to edit
- 4.4 Step 4: Add text using the Type Tool
- 4.5 Step 5: Customize the text to make it beautiful and suitable
- 4.6 Step 6: Activate the Roll effect for the text to scroll vertically
- 4.7 Step 7: Adjust the scrolling speed of the text
- 5. Conclusion
Today, video production is no longer just about cutting and pasting images and sound; it also requires creativity in content presentation. In this context, scrolling text effects play a crucial role, helping to attract attention and convey messages vividly and professionally. Adobe Premiere, the leading video editing software today, offers users many powerful and easy-to-use tools to create unique animated text effects. In this article, we will explore how to create scrolling text using Adobe Premiere, from basic steps like choosing fonts and setting speed, to adding special effects, making your videos impressive and creative. Let's explore with AI Software World!
1. Why should I choose Adobe Premiere for creating scrolling text effects?
Adobe Premiere is one of the leading professional video editing software programs available today, trusted by filmmakers, content creators, and businesses worldwide. With its intuitive interface and powerful toolset, Adobe Premiere allows users to easily cut, splice, color correct, add effects, and especially create high-quality scrolling text. As part of the Adobe ecosystem, it seamlessly integrates with other software such as Adobe After Effects, Photoshop, and Illustrator, resulting in an optimized and efficient workflow.
Choosing Adobe Premiere for creating scrolling text effects is ideal because this software not only provides many customization tools for fonts, colors, sizes, and positions, but also supports professional motion effects. Thanks to this, you can easily create unique scrolling text that matches the content and style of your video. In addition, Adobe Premiere supports high-quality video export, ensuring the final product is both visually appealing and professional, meeting the needs of everything from social media videos to films or brand advertising.
.jpg)
2. Advantages of creating scrolling text effects in Adobe Premiere
Scrolling text not only makes videos more dynamic but also enhances professionalism and attracts viewers. Adobe Premiere offers many powerful tools to easily create impressive scrolling text effects.
Enhanced viewer experience: Scrolling text helps viewers easily follow and understand video content, especially useful when the audio is unclear or when viewers cannot hear.
Create a professional effect: Skillfully using scrolling text creates a unique visual effect, making the video stand out and capture attention from the very first second.
High flexibility: Adobe Premiere allows you to customize fonts, colors, sizes, and positions, helping you design scrolling text that matches the style and content of your video.
Easy to edit: Users can easily change or update the scrolling text content directly within the software without needing any other tools.
Optimal integration into the production process: Adding scrolling text is done quickly, saving time and improving efficiency in the video editing process.
3. Instructions on how to create horizontal scrolling text in Adobe Premiere
Creating scrolling text effects is a popular technique in video editing, especially in news programs, commercials, movie subtitles, or tutorial videos. With Adobe Premiere, you can easily achieve this thanks to its powerful, professional yet user-friendly toolset. Below is a detailed step-by-step guide, ensuring even beginners can create beautiful and smooth scrolling text effects.
3.1 Step 1: Open the video in Adobe Premiere
First, you need to open Adobe Premiere Pro on your computer. On the main interface, navigate to the Project pane in the bottom left corner of the screen, then right-click and select Import…. A new window will appear allowing you to browse for the video you want to edit on your computer. Once you have found the desired video, click Open to import it into the software.
Properly importing video is a fundamental step in ensuring that image and sound quality are not compromised. Note that you should prepare videos in common formats such as MP4, MOV, or AVI so that Adobe Premiere can process them quickly and stably.
.jpg)
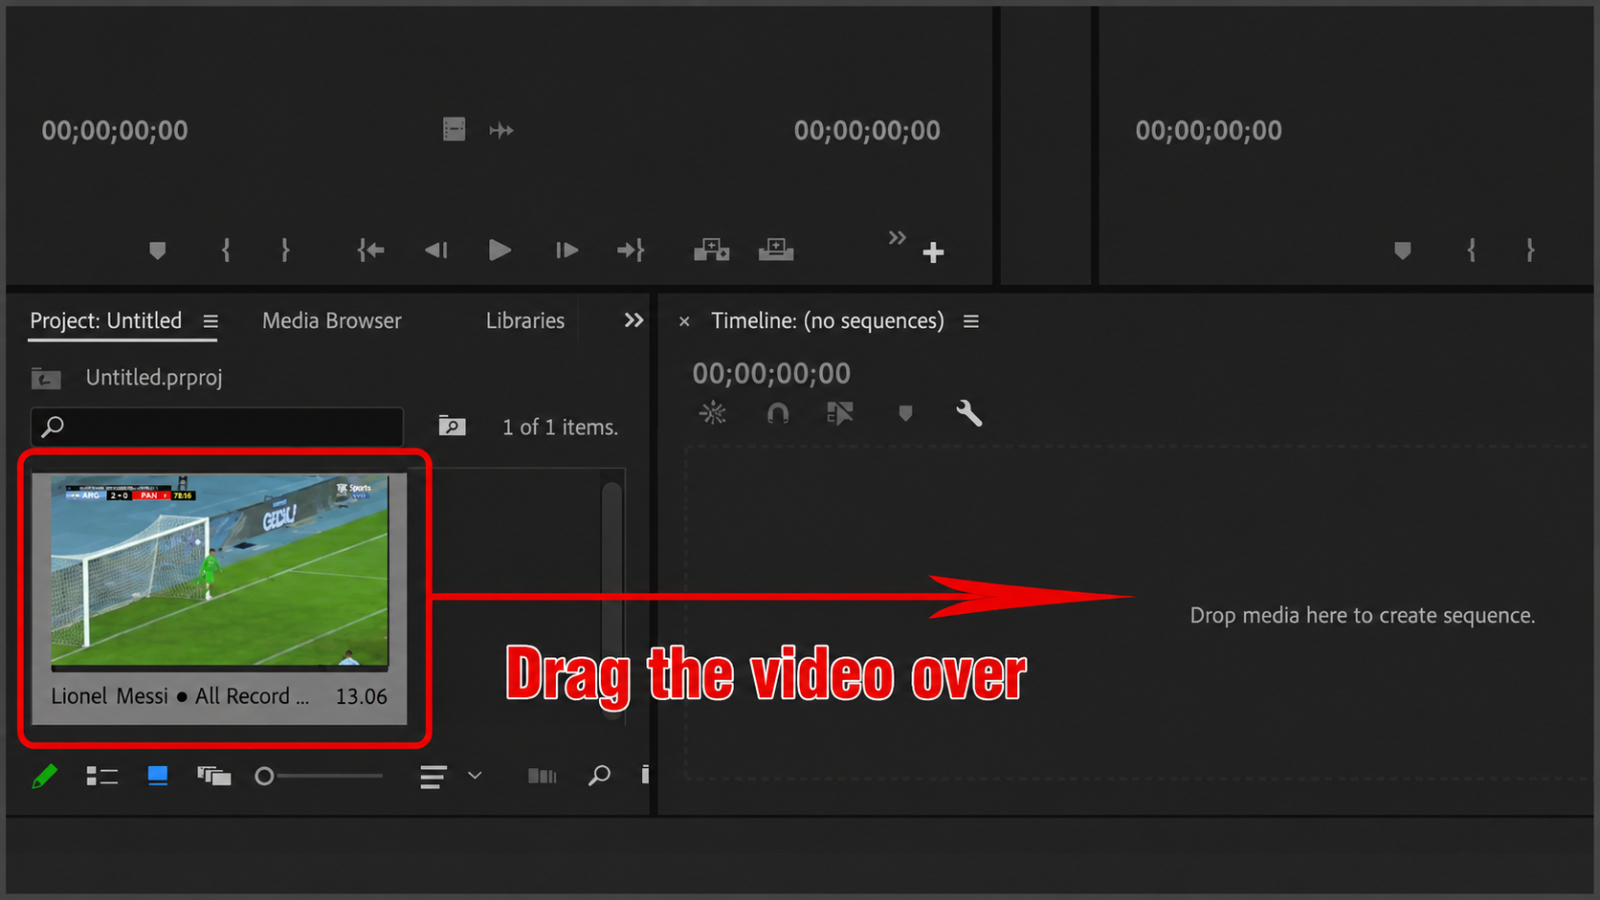
3.2 Step 2: Add the video to the timeline for editing
After the video is imported, you will see it appear in the Project frame. Next, drag the video from this frame and drop it onto the Timeline – the area at the bottom of the software interface. This is where you will perform editing operations such as cutting, splicing, adding effects, and inserting scrolling text.
Make sure the video is placed on the correct track and in the correct position where you want to add the scrolling text. Proper placement from the start will make it easier to control the layers during editing, especially if the video has many effects or complex audio.
3.3 Step 3: Create a scrolling text frame, optional
At this step, you can create a background for the scrolling text, especially useful for videos with complex or detailed backgrounds. To do this, select the Rectangle Tool from the toolbar on the left side of the screen, then draw a rectangle in the area where you want the scrolling text to appear.
This text box will serve as a background, making the text stand out and easier to read. You can customize the color, opacity, or add effects to the box to match the overall style of your video. If you want the scrolling text to appear directly without a background box, you can skip this step to save time.
.jpg)
3.4 Step 4: Create a new title for the scrolling text
To begin adding text, go to File > New > Legacy Title…. This is a tool for creating and managing separate text sections, allowing for extensive customization before inserting them into your video. When the window appears, name the Title for easy management, especially if you're working with multiple text layers. Then, click OK to open the text editing interface.
Clearly naming the titles, such as "Chu Chay Video 1" or "Phu De," will help you easily identify them and save time during later editing.
.jpg)
3.5 Step 5: Add and edit scrolling text content
In the Title window, select the Type Tool (T) and enter the scrolling text you want to display. This text can be the video title, subtitles, or advertising message.
After entering the content, switch to the Selection Tool (shortcut key V) to move the text to the correct position within the frame. Adobe Premiere allows you to customize text details such as font, size, color, stroke thickness, and alignment in the Essential Graphics panel. Choose easy-to-read fonts and colors that contrast with the video background to make the content clearer and more engaging.
.jpg)
3.6 Step 6: Set up horizontal scrolling text style
This is a crucial step that determines how the scrolling text appears in the video. In the Title window, click the scrolling text icon to open the customization dialog. Here, you will see the following options:
Roll: Text that scrolls from bottom to top, a type of text that scrolls vertically, often used for movie credits.
Crawl Left: Text scrolls from right to left, suitable for horizontal scrolling text in news articles or subtitles.
Crawl Right: Text scrolls from left to right, often used to create an introductory effect.
For horizontal scrolling text, you should choose Crawl Left or Crawl Right depending on your purpose. Don't forget to check the Start Off Screen and End Off Screen boxes; this will cause the text to start moving outside the frame and disappear completely after it finishes, creating a smoother and more natural effect. Then, press OK to save the settings.
.jpg)
3.7 Step 7: Insert scrolling text into the video
After installation is complete, click the X to close the Title window. The scrolling text you just created will now appear in the Project frame. Next, drag and drop it onto the Timeline, placing it on a separate track above the original video. This ensures the scrolling text is clearly visible and doesn't blend into the main content.
Properly positioning the scrolling text on your timeline will help you easily control the length, appearance, and disappearance of the text in your video.
.jpg)
3.8 Step 8: Preview and fine-tune
Press Play to preview the scrolling text effect you just created. Carefully observe the speed and position of the text:
If the text scrolls too fast, extend the text layer on the Timeline to increase its appearance time.
If the text scrolls too slowly, shorten the text layer to increase the scrolling speed.
Check the colors, sizes, and fonts to ensure the content is easy to read and harmonizes with the overall video.
Additionally, you can add Fade In or Fade Out effects to make the scrolling text appear and disappear more smoothly, creating a professional and natural feel.
3.9 Step 9: Export the completed video
Once you're satisfied with the scrolling text effect, you can export the video for use. Go to File > Export > Media, then select the appropriate parameters such as MP4 format, resolution, and image quality. Finally, click Export to start the video export process.
Make sure to choose a resolution that is appropriate for the platform you will be posting to, for example:
1080p for YouTube or Facebook.
720p is suitable for lightweight videos or social media with file size limits.
4. Instructions on how to create scrolling text from bottom to top in Adobe Premiere
The vertical scrolling text effect is commonly used in end credits, product promotions, or news programs. It adds a professional touch and makes it easier for viewers to grasp the information. With Adobe Premiere Pro, you can create this effect quickly and accurately. Below is a detailed step-by-step guide:
4.1 Step 1: Open the video by importing it into Adobe Premiere
Open Adobe Premiere Pro on your computer. On the main interface, find the Project tab in the bottom left corner of the screen, right-click and select Import…. This will open a file browsing window, allowing you to search for videos from your computer.
Properly importing videos will help Premiere recognize the files better and reduce errors during editing. You should prioritize videos in popular formats like MP4 or MOV to ensure quality and performance.
4.2 Step 2: Select the video and open the working file
After the Import window appears, navigate to the folder containing the video. Select the file you want to edit and click Open to add the video to the file list in the Project frame.
This step helps you clearly define the video you will use. If the video has many scenes or a large file size, you can prepare a shortened version beforehand to make it easier to work with when creating the scrolling text.
4.3 Step 3: Drag the video onto the timeline to edit
Next, from the Project frame, drag the video down to the Timeline – the crucial area where editing takes place. Place the video in the correct position on the video track to avoid affecting other layers.
This step determines when the scrolling text appears and synchronizes with the image, so you need to clearly define which sections will contain the text effect before adding the text.
.png)
4.4 Step 4: Add text using the Type Tool
Switch to the Graphic tab on the toolbar at the top. Here, select the Type Tool, shortcut key T, then click directly on the Preview screen and type the text you want to display.
This could be the name of the production team, a message, or any information you want to convey. Typing directly in Preview helps you visualize the exact placement of the text within the frame.
4.5 Step 5: Customize the text to make it beautiful and suitable
After adding the text, edit the text properties in the Essential Graphics panel located on the right side of the screen:
Font: Choose a font style that suits the content, for example, a modern font for a product introduction video or a classic font for a film.
Size and color: Adjust the font size to fit comfortably and choose a color that contrasts with the background to ensure readability.
Alignment: Usually centered to ensure balanced and professional-looking text.
This step will determine the overall aesthetic of the video, so experiment with many options before finalizing.
.jpg)
4.6 Step 6: Activate the Roll effect for the text to scroll vertically
To make the text scroll from bottom to top, click on the empty space below the text box in the Essential Graphics panel. When the Responsive Design Time option appears, check the Roll box.
Immediately, the text will be set to move from the bottom of the screen to the top. This is the crucial step that creates the professional Vertical Roll effect, similar to the end credits of a movie.
4.7 Step 7: Adjust the scrolling speed of the text
Go back to the Timeline, find the layer containing the text, and drag or shorten its length:
Extended: The text scrolls slower, suitable for videos where viewers need to read the information carefully.
Shortened: Text scrolls faster, saving video duration.
Preview the video several times to ensure the text scrolling speed is just right—not too fast to make it difficult to read, and not too slow to make the video boring.
5. Conclusion
Hopefully, with the information shared in this article, you have mastered how to create scrolling text in Adobe Premiere to enhance the quality of your videos. Mastering these techniques not only makes your video products more professional but also opens up many opportunities for creating engaging content. If you want to learn more about Adobe and other useful video editing tips, don't forget to visit the "News" section to stay updated with the latest articles.


VIP Products


Best Selling Products
MidJourney Account
29 USD
Adobe Premiere Pro Account
99 USD
Copyright Adobe Lightroom Account
59 USD
Upgrade Duolingo Super
29 USD
Genuine Cheap Canva Pro
39 USD
Genuine Adobe Illustrator account
99 USD
Windows 10 & 11 Pro Key
36 USD
Adobe Photoshop Copyright - Full App
120 USD
Capcut Pro 1 Year
39 USD
Plugin Retouch4me
69 USD
Upgrade genuine Capture One account
120 USD
Freepik Premium Account
59 USD
Autodesk All App Account Copyright
120 USD
Upgrade Genuine Office 365
49 USD
ChatGPT Plus Account (GPT-4)
16 USD