Best Selling Products

Autodesk All App Account Copyright
120 USD

Upgrade genuine Capture One account
120 USD

Adobe Photoshop Copyright - Full App
120 USD

Copyright Adobe Lightroom Account
59 USD

Capcut Pro 1 Year
39 USD

Upgrade Duolingo Super
29 USD

Freepik Premium Account
59 USD

Upgrade Genuine Office 365
49 USD

MidJourney Account
29 USD

Genuine Cheap Canva Pro
39 USD

ChatGPT Plus Account (GPT-4)
16 USD

Genuine Adobe Illustrator account
99 USD

Windows 10 & 11 Pro Key
36 USD

Plugin Retouch4me
69 USD

Adobe Premiere Pro Account
99 USD
How to Determine the Center Point in Photography
Nội dung
- 1. The role of the focal point in the frame
- 1.1. Visual Guidance
- 1.2. Creating a psychological connection
- 2. Create a focal point with color.
- 3. Separate the subject using background blur.
- 4. Apply the rule of thirds.
- 5. Leverage the link
- 6. Avoid too many focal points.
- 7. Fine-tune the lighting in post-production.
- 8. Combining multiple techniques
The focal point of a photograph is a crucial element that guides the viewer''s eye and conveys the main message of the image.
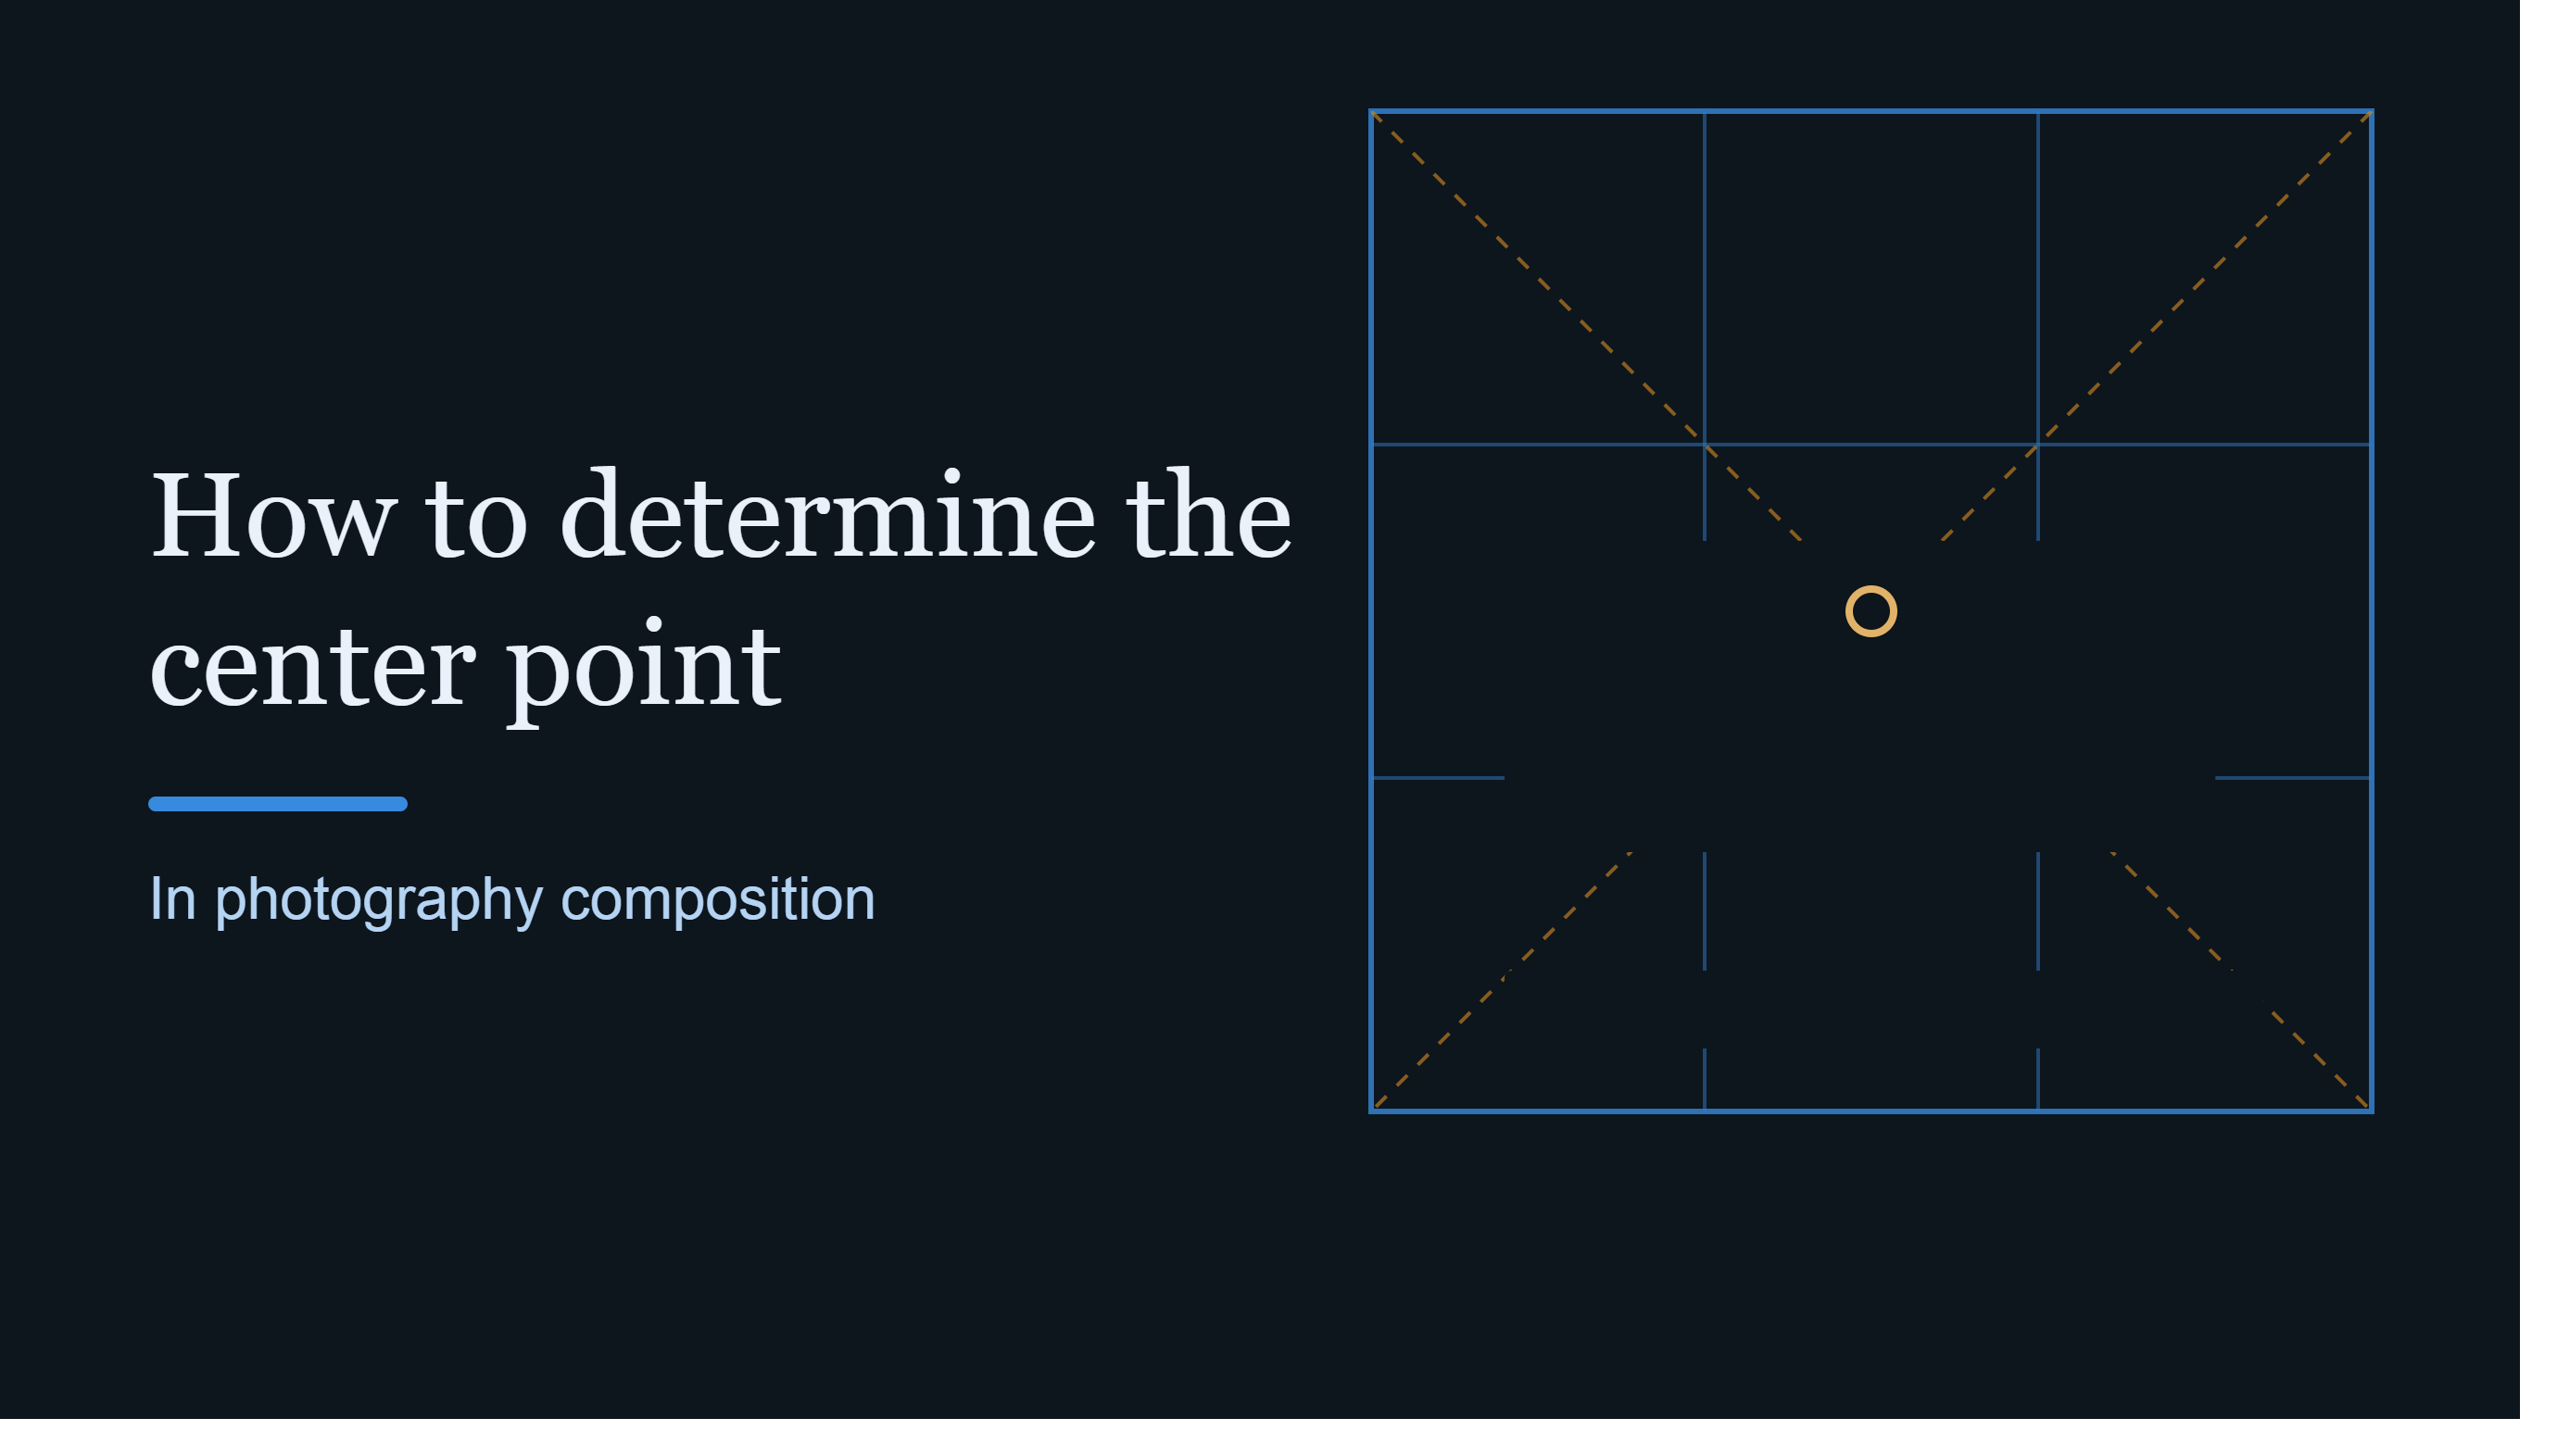
1. The role of the focal point in the frame
1.1. Visual Guidance
Upon first looking at a work of art, the human eye is usually drawn to striking elements such as contrasting colors, areas of light, faces, distinctive shapes, or subjects of remarkable size. If the photographer actively controls these elements, the viewer's observational journey becomes clearer.
Instead of letting the viewer's gaze wander randomly between various details, the focal point creates a visual stopping point. From there, the viewer can continue to explore the surrounding secondary elements while still understanding the main content.

A photograph doesn't necessarily need to have only one prominent object, but it does need a visual hierarchy . The main subject should have the highest level of attention, while the remaining elements play a supporting role.
For example, when photographing a person standing in the middle of a long road, the subject can be the main focal point. The road, the trees, and the buildings in the background don't disappear from the story but become elements that help complement the setting.
1.2. Creating a psychological connection
The focal point not only controls the viewer's gaze but also influences how the viewer perceives the emotions evoked in the photograph.
When the eyes quickly find the main subject, the brain can easily identify the content the author wants to convey. Viewers don't have to spend too much time deciphering the structure, thus allowing them to focus on the emotions and the story.
A face with a clear expression can create a sense of intimacy. A bright spot in a dark scene can create a sense of mystery. A small subject in a vast space can evoke a feeling of loneliness or a contrast in scale.
Therefore, the focal point of the frame is not simply the "most prominent feature." It is also the centerpiece of the work's message and emotion.
2. Create a focal point with color.
Color is one of the most visual methods for creating a focal point in a frame. When a color contrasts sharply with its surroundings, the human eye can easily perceive it.
Imagine a person wearing a red shirt standing in the middle of a predominantly green landscape. The red becomes a natural focal point because it creates a clear contrast against the background.
Similarly, a bright yellow spot in a gray-toned space can become the focal point without the need for any additional effects.
When taking photos, observe the relationship between the colors of the subject and the background. If the subject's color is similar to the surrounding environment, it may blend in. Conversely, contrasting colors will help the subject stand out more.

However, contrast doesn't necessarily mean using overly strong colors. A subtle difference in hue, brightness, or saturation can be enough to create visual hierarchy.
In post-production, you can adjust the colors of the subject and background to enhance the contrast. The key is to maintain a natural look and ensure the colors serve the story rather than becoming an excessive drawy element.
3. Separate the subject using background blur.
Another popular method for creating a focal point is background blur , which helps to separate the subject from its surroundings.
When the background is blurred, less important details become less competitive with the subject. The eye therefore tends to focus on the sharpest part of the image.
In portrait photography, this technique is particularly useful. Photographers can use a large aperture such as f/1.8 or f/2.8 to create a shallow depth of field, softening the background and emphasizing the subject.

For example, when photographing a person in a crowded park, the abundance of trees and passersby can make the frame look cluttered. Using the right settings to create a blurred background will make the subject's face and expression a clearer focal point.
The bokeh effect also contributes to a soft feel and enhances the aesthetic appeal of the image. The blurred bright areas in the background can become decorative features, but they shouldn't be so prominent that they compete with the subject.
It's important to note that background blur isn't always the best option. For landscape or storytelling photography, the surrounding environment is sometimes a crucial part of the content. In such cases, excessive blurring can cause the image to lose its necessary context.
4. Apply the rule of thirds.
The rule of thirds is one of the basic and useful compositional principles for locating the focal point.
Imagine the frame is divided into nine equal parts by two horizontal and two vertical lines. The four intersections of these lines are considered points that naturally attract attention.
Instead of placing the main subject right in the center, you could try positioning it at one of the four intersections.
For example, when photographing a person looking to the right, you can position the subject at the intersection to the left and leave space in front of their gaze. This arrangement creates a sense of balance and helps the viewer easily understand the direction of movement or the subject's gaze.

The rule of thirds isn't a mandatory formula. It's a starting point to help beginners in composition more easily identify the focal point.
In many cases, breaking the rule of thirds can also create a powerful effect. The important thing is to understand why you're placing the subject in that position and how that position serves the story.
5. Leverage the link
Pathways are lines within a frame that can guide the viewer's eye toward the focal point.
A road, a fence, a bridge, a river, a row of trees, or even architectural lines can all become visual pathways.
For example, when photographing a road extending from the foreground to a distant subject, the outline of the road will naturally guide the viewer's eye from the bottom of the frame to the subject.
This technique is particularly effective in landscape, architectural, and street photography. Besides guiding the eye, the leading line creates a sense of depth and helps give the image a clearer structure.
When composing, observe the natural lines already present in the environment. Then adjust the camera position so that these lines point toward the main subject instead of going out of the frame.

A good path doesn't necessarily have to be straight. Curves, diagonals, or broken lines can still create an interesting visual journey.
6. Avoid too many focal points.
One common mistake when creating a composition is cramming too many prominent elements into a single frame.
Imagine a photograph featuring a person in vibrant attire, a brightly lit sign in the background, a strikingly colorful object nearby, and a highly detailed background. Each element draws attention, making it difficult for the viewer to determine the main subject.
When there are too many "focal points," the photograph may actually lose its clear focal point.
To address this, define a simple question: “What do I want the viewer to see first?”
Once you've identified the answer, reduce the prominence of secondary elements. This can be done by changing the shooting angle, removing unnecessary objects, using depth of field, adjusting the lighting, or altering the composition.
Supporting elements can still appear, but they should support the story rather than compete with the main subject.
7. Fine-tune the lighting in post-production.
Even if the initial composition isn't perfect, post-production can help solidify the focal point.
One useful technique is adjusting the brightness between the subject and the surrounding area. Lightly brightening the areas that need emphasis and dimming less important areas can create a clearer visual hierarchy.

In Photoshop, the Dodge and Burn tools can be used for this purpose. Dodge helps to brighten selected areas, while Burn helps to darken the area that needs to be detracted from.
The process should be done gradually and in moderation. If the focal point is significantly brighter than the rest, the effect may look unnatural.
Besides lighting, you can also adjust color, contrast, and saturation to make the subject stand out more.
An important principle is that post-production should enhance the existing composition , rather than attempting to completely alter an already flawed composition. If the initial focal point is unclear, excessive editing can sometimes only make the image look artificial.
8. Combining multiple techniques
A strong focal point isn't necessarily created using a single technique. In fact, photographers often combine multiple elements to create visual hierarchy.
For example, a portrait might use the rule of thirds to position the subject, a large aperture to blur the background, and contrasting lighting to highlight the face.
In landscape photography, a leading line can draw the eye to a subject that is emphasized by color. Post-processing lighting can then further enhance this area.
The key is that the techniques must complement each other. Using too many effects at once can make the photo look heavy and unnatural.
Start with a central focal point, then consider how each surrounding element supports or distracts that attention.
The focal point is one of the crucial elements that helps a photograph have direction, emotion, and the ability to clearly convey a message. A well-defined focal point helps guide the viewer's eye, reduce distractions, and create a stronger impression in the viewer's experience





















VIP Products








Best Selling Products
Autodesk All App Account Copyright
120 USD
Upgrade genuine Capture One account
120 USD
Adobe Photoshop Copyright - Full App
120 USD
Copyright Adobe Lightroom Account
59 USD
Capcut Pro 1 Year
39 USD
Upgrade Duolingo Super
29 USD
Freepik Premium Account
59 USD
Upgrade Genuine Office 365
49 USD
MidJourney Account
29 USD
Genuine Cheap Canva Pro
39 USD
ChatGPT Plus Account (GPT-4)
16 USD
Genuine Adobe Illustrator account
99 USD
Windows 10 & 11 Pro Key
36 USD
Plugin Retouch4me
69 USD
Adobe Premiere Pro Account
99 USD