Best Selling Products

Adobe Photoshop Copyright - Full App
120 USD

Windows 10 & 11 Pro Key
36 USD

Autodesk All App Account Copyright
120 USD

Copyright Adobe Lightroom Account
59 USD

Capcut Pro 1 Year
39 USD

Upgrade Duolingo Super
29 USD

Freepik Premium Account
59 USD

ChatGPT Plus Account (GPT-4)
16 USD

Upgrade genuine Capture One account
120 USD

Genuine Cheap Canva Pro
39 USD

Adobe Premiere Pro Account
99 USD

Genuine Adobe Illustrator account
99 USD

Upgrade Genuine Office 365
49 USD

Plugin Retouch4me
69 USD

MidJourney Account
29 USD
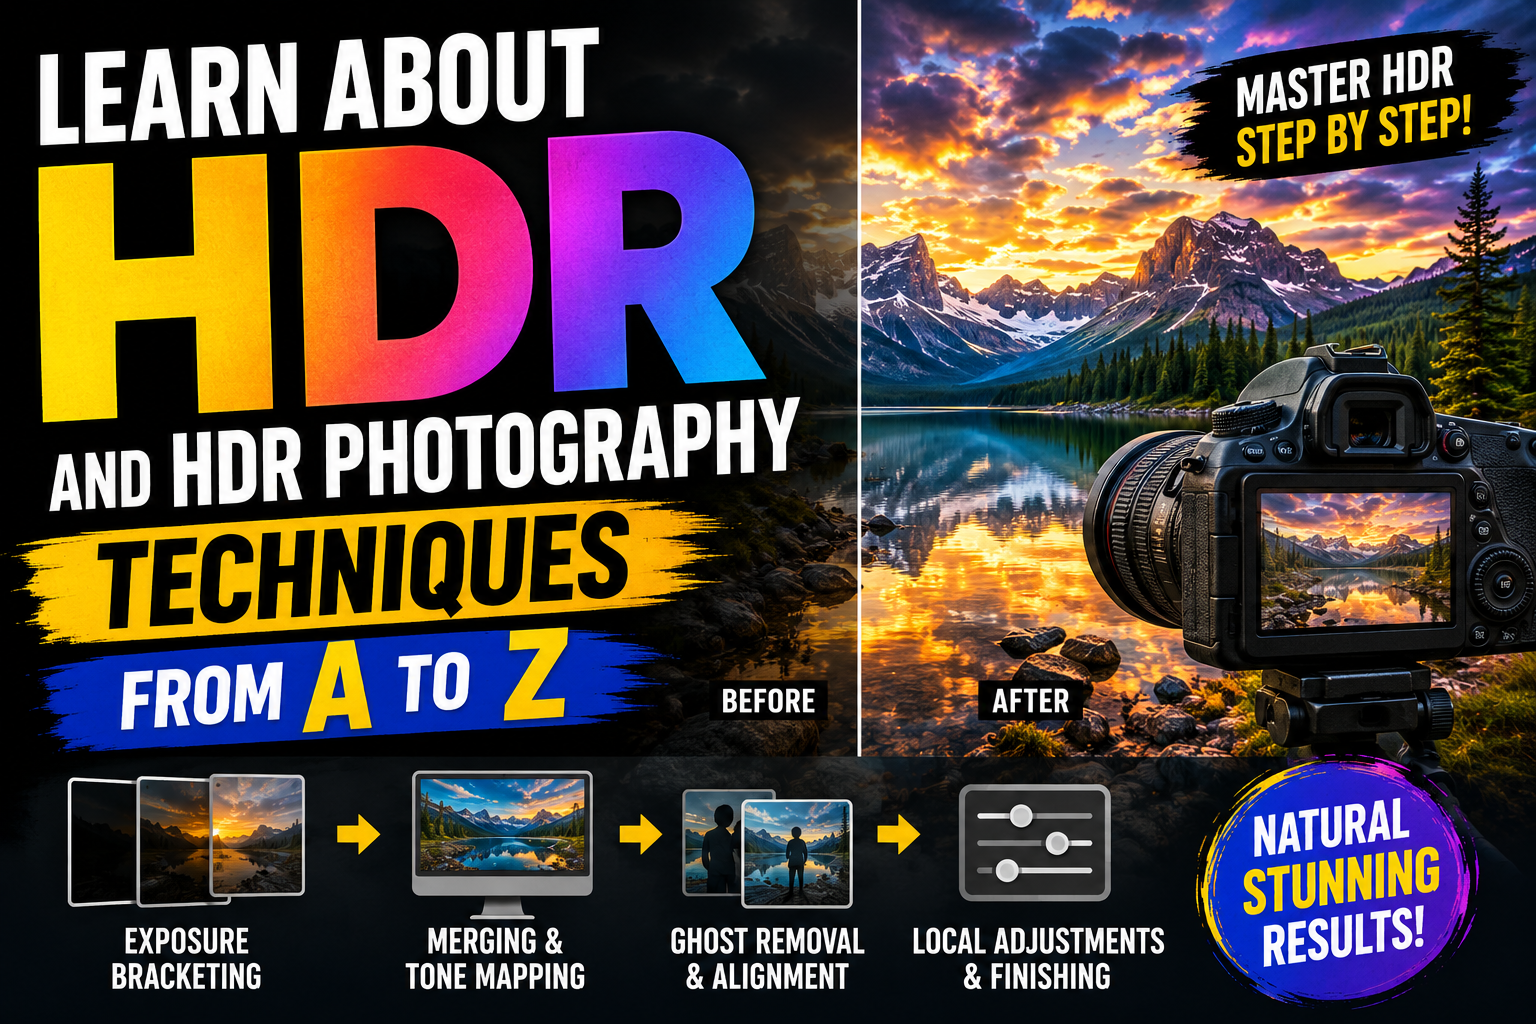
Learn About HDR and HDR Photography Techniques from A to Z
Nội dung
- 1. What is HDR?
- 2. How does HDR work on a camera?
- 3. Equipment needed for HDR photography
- 4. Guide to taking HDR photos correctly
- 5. When should HDR be used?
- 5.1. Outdoor Landscape Photography
- 5.2. Backlighting
- 5.3. Shooting in harsh lighting conditions
- 5.4. Spaces with multiple light sources
- 5.5. Shooting in low-light conditions
- 6. Situations where HDR should not be used.
- 6.1. When the subject is in continuous motion
- 6.2. The scenery is too brightly colored.
- 6.3. When you want to maintain high contrast
- 6.4. When using the flash
- 7. Conclusion
HDR (High Dynamic Range) is a technique that expands the dynamic range, retaining more detail in both bright and dark areas to create more realistic and sharper images.
1. What is HDR?
HDR stands for High Dynamic Range . This technique expands the camera's ability to capture light, allowing for the retention of more detail in both bright and dark areas within a single image.
To put it simply, imagine you're standing in front of a scene with a very bright sky, but below is a house in the shade. If you were shooting in normal mode, the camera would have to prioritize one of two things: either the sky is bright but the house is dark, or the house is bright but the sky is overexposed.
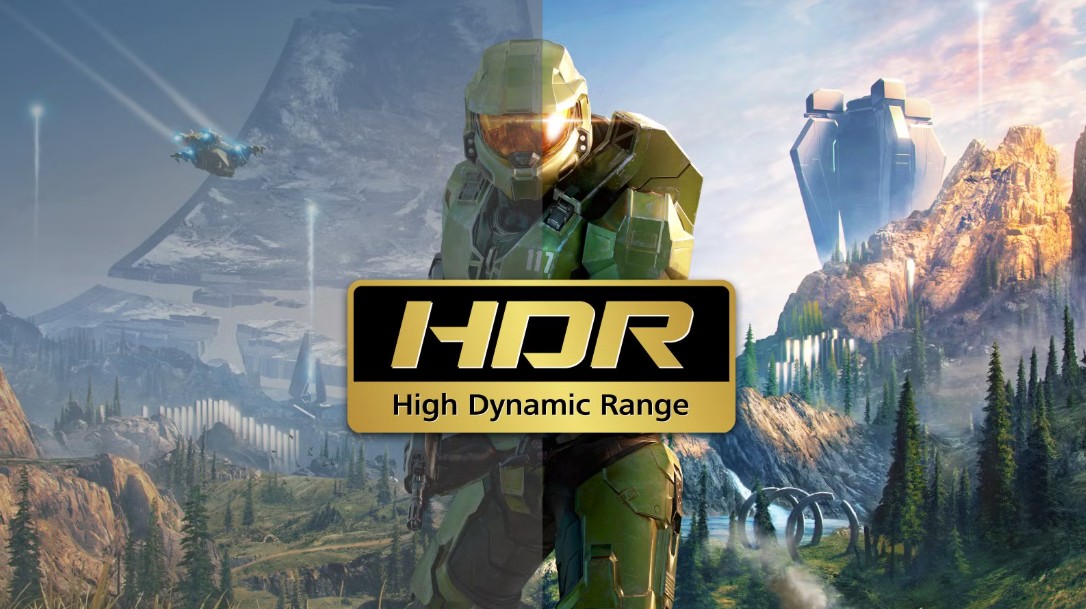
HDR was developed to solve this problem. Instead of recording just one exposure level, the camera takes multiple photos with different exposure levels and combines them into a single image. As a result, bright areas retain their color, dark areas retain full detail, and the overall image becomes more balanced.
Compared to regular photos, HDR photos have several outstanding advantages, such as:
-
It retains detail in both bright and dark areas.
-
The colors have more depth and are more realistic.
-
The contrast is more natural.
-
The images are sharp and feel very close to what the human eye sees.
Therefore, HDR is considered one of the important technologies that helps improve image quality in modern photography.
2. How does HDR work on a camera?
Today, many digital cameras and smartphones are equipped with HDR mode, allowing users to capture high-contrast scenes with just one press of a button.
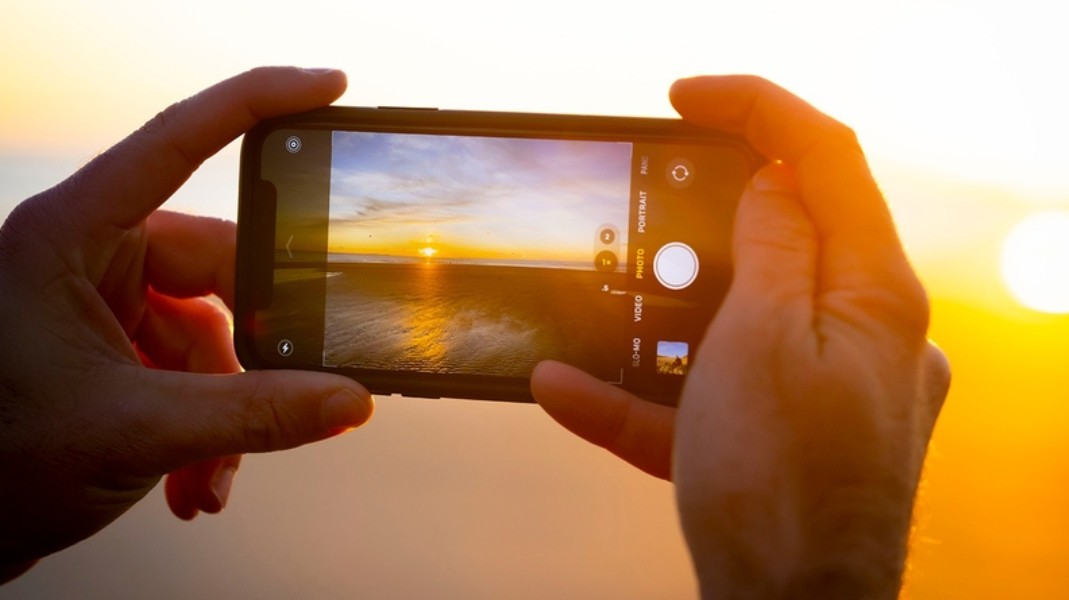
When HDR is enabled, the camera will not just take one picture, but will take multiple pictures in quick succession with different exposure levels. These typically include:
-
An underexposed image to preserve detail in the bright areas.
-
A normal exposure photograph.
-
An overexposed image is used to highlight details in dark areas.
Some high-end cameras even shoot at 5 to 9 different exposure levels to increase accuracy.
After the shooting process is complete, the camera's image processor automatically analyzes each area in the photos and selects the best-quality parts to combine into a complete image.
For example, the sky area will take data from an underexposed image to avoid overexposure, while the shaded area will take data from an overexposed image to clarify details.
This process happens very quickly, in just a few seconds on modern cameras or smartphones.
However, not all cameras have the ability to automatically combine HDR images. For models that don't support it, users need to take multiple photos with different exposure levels and then use post-processing software to combine them.
3. Equipment needed for HDR photography
To create a high-quality HDR photograph, in addition to shooting technique, preparing the right equipment is also very important.
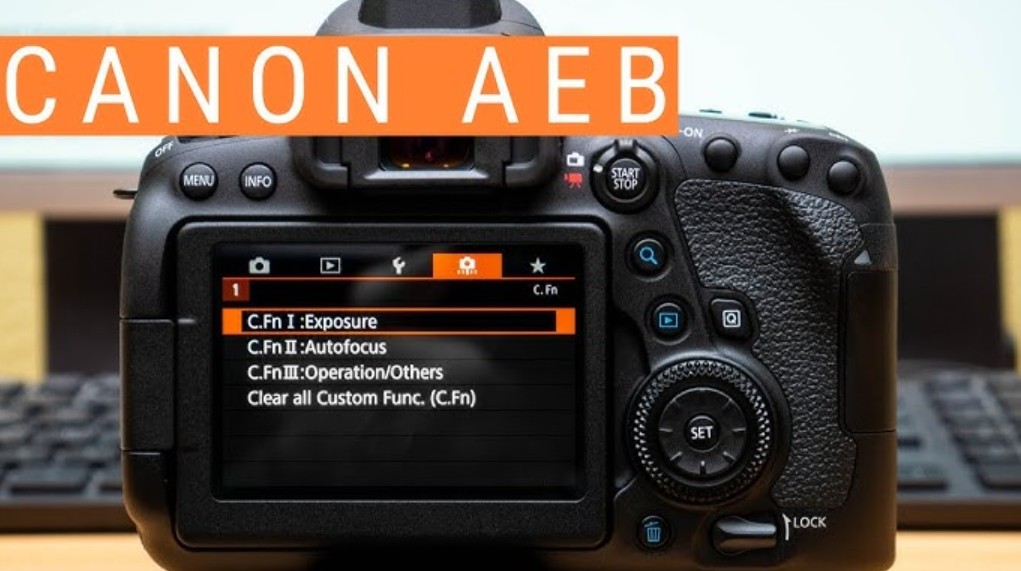
First, you should use a camera that supports Auto Exposure Bracketing (AEB) . This feature allows the camera to automatically take multiple consecutive photos with different exposure levels with just one press of the shutter button. This saves time and minimizes discrepancies between shots.
If your camera doesn't have AEB, you can still create HDR images by manually adjusting the exposure settings after each shot. However, this method requires more experience and takes more time.
One accessory that is almost mandatory is a tripod .
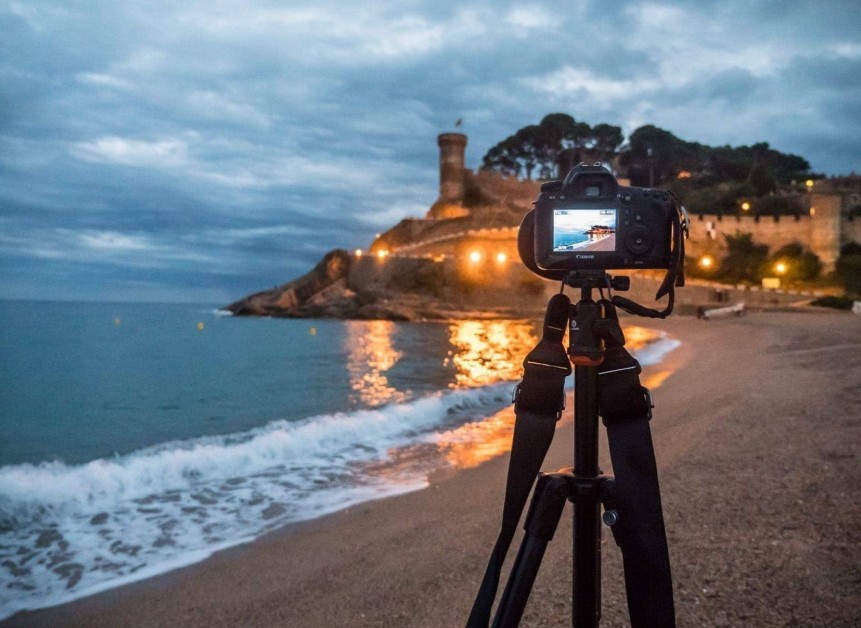
Because HDR images are stitched together from multiple frames, every image must have an identical composition. Even slight camera shake or a change in shooting angle will make it difficult for the software to accurately stitch them together, easily creating ghosting effects.
Besides using a tripod, you should also use a remote control or a timer to minimize camera shake when pressing the shutter button.
Finally, make sure you have a memory card with a fast write speed because HDR shooting often produces many large RAW images.
4. Guide to taking HDR photos correctly
Although automatic HDR mode is very convenient, for the highest quality results, you should follow the manual HDR shooting procedure.
First, choose scenes with a clear contrast between light and shadow, such as sunrise, sunset, backlit scenes, or interiors with large windows.
Next, place the camera on a tripod and stabilize the frame completely.
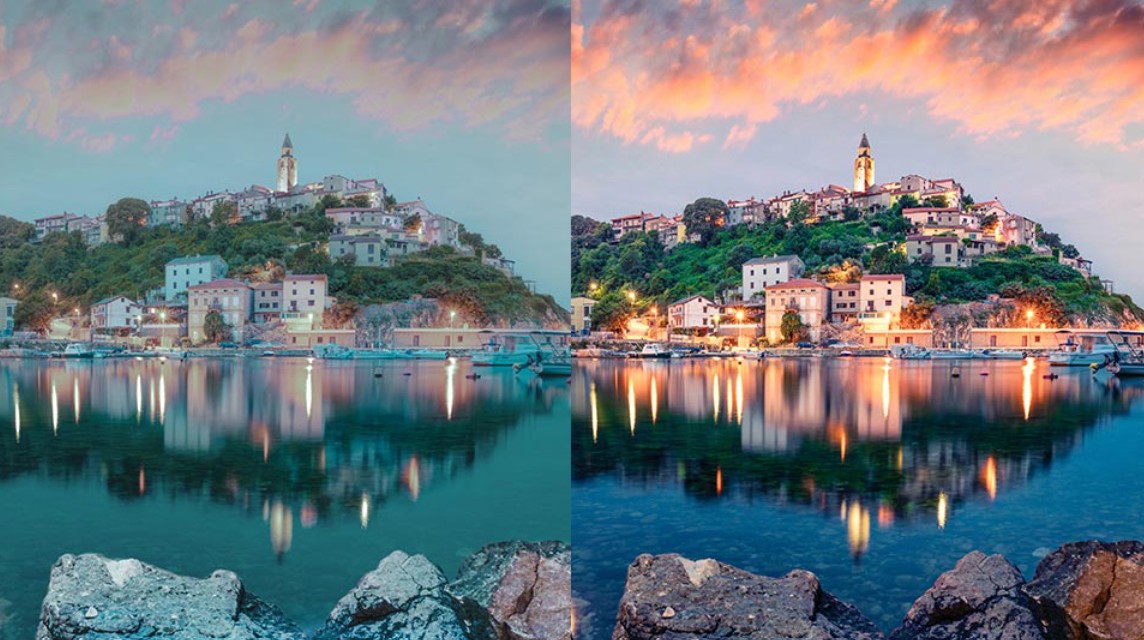
Next, switch the camera to AEB mode or manually set several different exposure levels. The most common are three levels:
-
HOME -2
-
HOME 0
-
THIS +2
For scenes with very high contrast, you can shoot at higher EV levels to capture more data.
An important note is to always shoot in RAW format .
RAW files retain the full sensor data, providing HDR stitching with significantly more information to process compared to JPEG. With JPEG, many details in bright or dark areas are compressed and cannot be fully recovered in post-processing.
After completing the shooting process, you need to combine the images using specialized software.
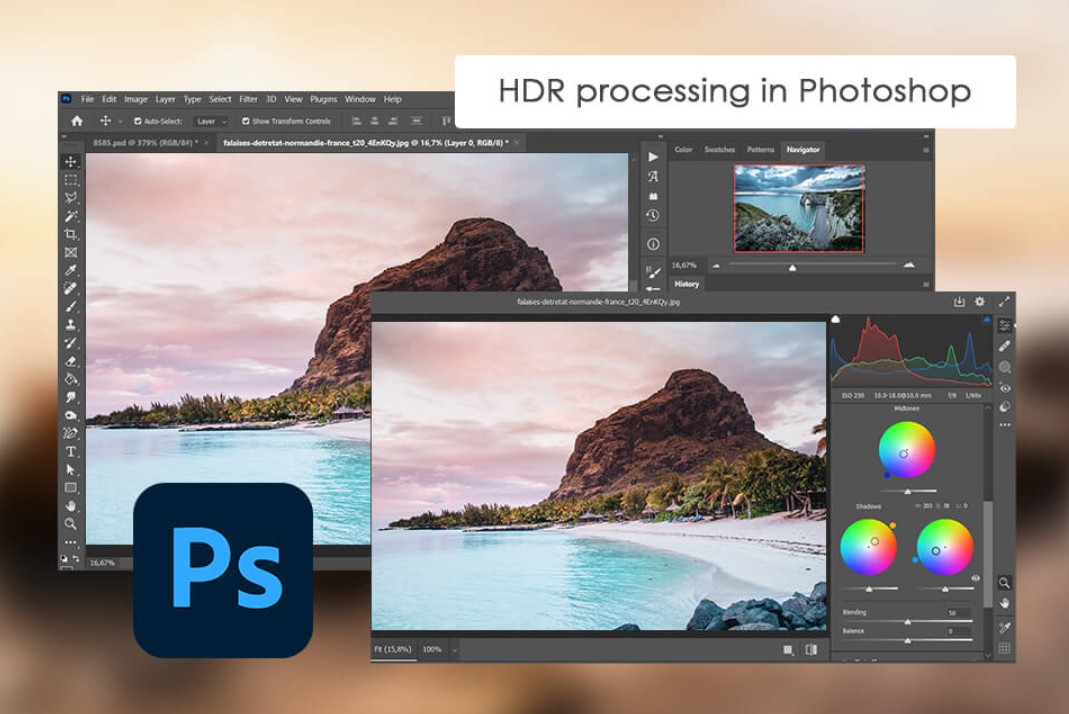
Some popular software includes:
-
Adobe Photoshop
-
Adobe Lightroom
-
Photomatix Pro
-
Aurora HDR
-
ON1 HDR
These software programs allow for image alignment, eliminating frame distortion, enhancing detail in highlights and shadows, and balancing colors before finalizing the image.
5. When should HDR be used?
Below are some examples where HDR is most effective.
5.1. Outdoor Landscape Photography
This is the most common situation for using HDR.
Landscape photographs often include areas with varying light levels, such as cloudy skies, the sun, mountains, trees, water, or architectural structures. If photographed in the conventional way, the camera would struggle to capture the full detail of the entire scene.
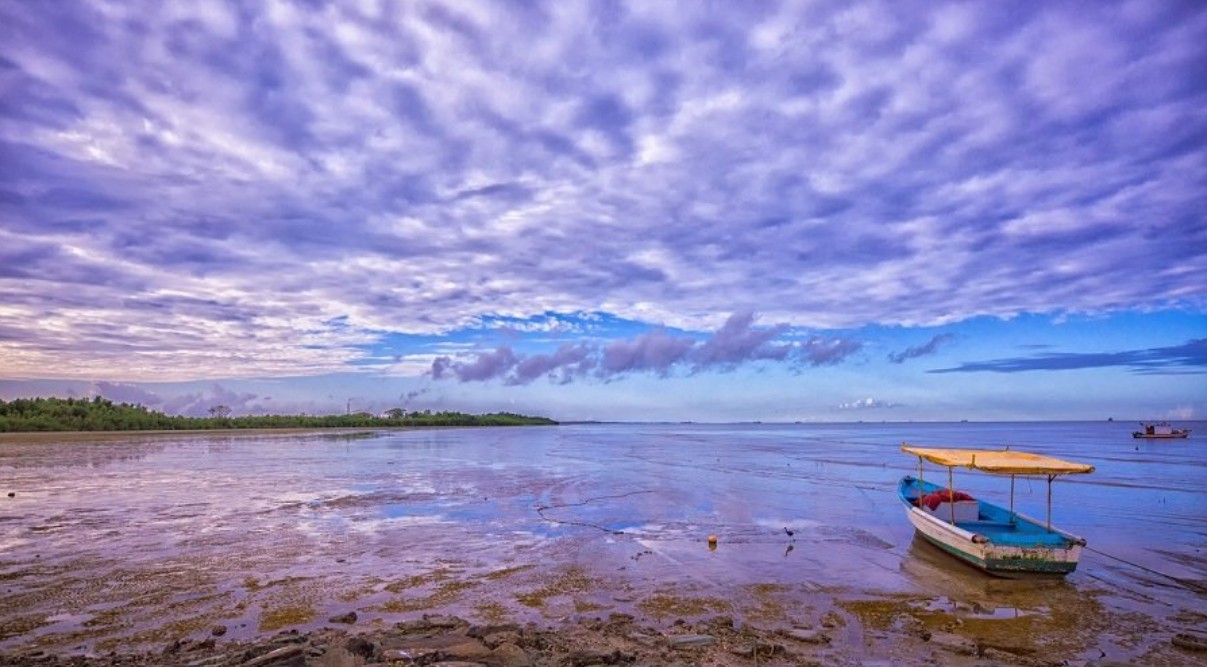
For example, when metering based on the sky, the ground area will be dark and lose detail. Conversely, if the ground is prioritized, the sky will be overexposed, the cloud colors will be lost, and it will lack depth.
HDR solves this problem by combining different exposure levels, helping to preserve the colors of the sky while clarifying details in the land, trees, and buildings below. As a result, landscape photos become more balanced, have greater depth, and look more realistic.
This is also why landscape photographers frequently use HDR when shooting sunrises, sunsets, or outdoor tourist destinations.
5.2. Backlighting
Backlighting has always been one of the biggest challenges for cameras.
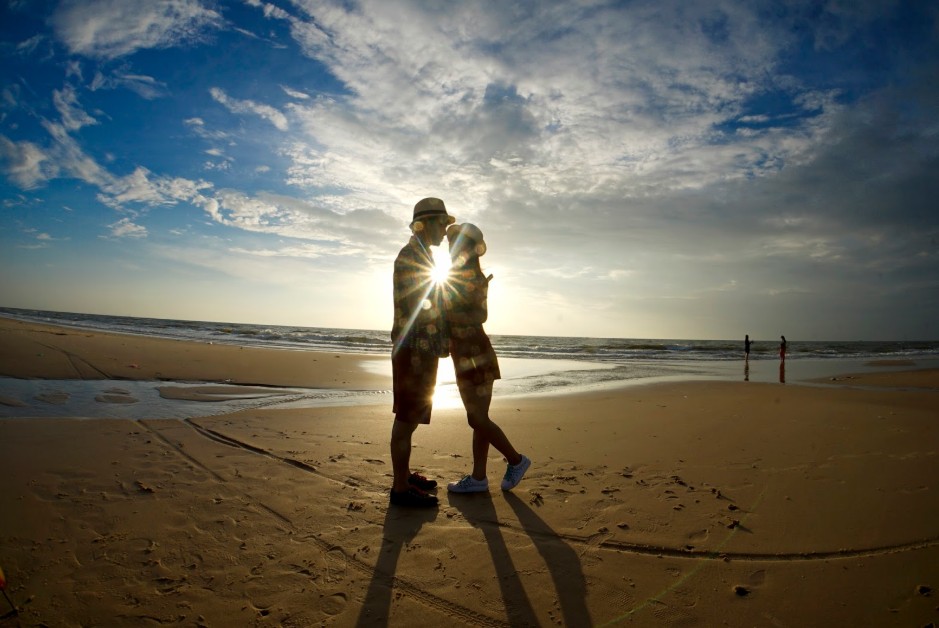
When the subject is standing in front of a window, the sun, or a strong light source, it is difficult for the camera to determine the appropriate exposure level.
If you prioritize metering based on the face, the background will be overexposed or blown out. Conversely, if you prioritize the background, the subject's face will be dark and lose detail.
In this case, HDR helps balance the lighting between the foreground and background by retaining detail in both areas. As a result, the face remains well-lit while the sky or light source behind it doesn't lose detail.
This technique is very useful when taking outdoor portraits, travel photos, or souvenir photos in the early morning and late afternoon.
5.3. Shooting in harsh lighting conditions
Midday sunlight often creates a stark contrast between areas in direct sunlight and those in shadow.
Without using HDR, photos are very likely to suffer from overexposure on walls, roads, or the sky, while areas with shadows from trees or awnings become too dark.
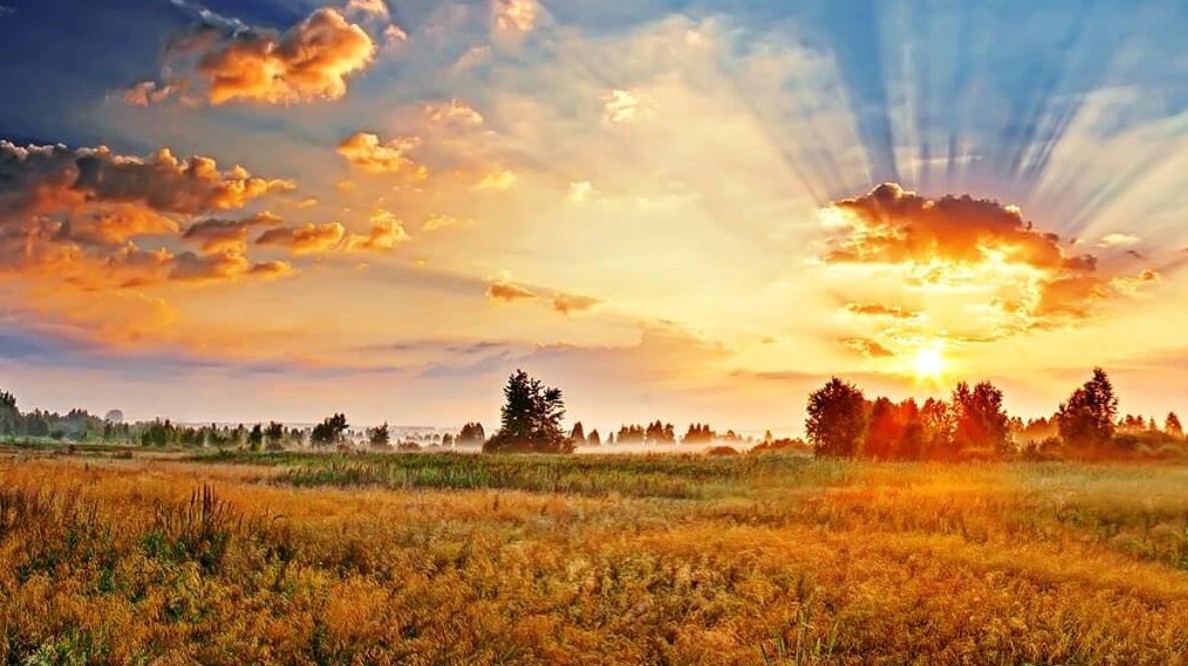
When HDR is enabled, the camera records more data in both bright and dark areas, thereby reducing loss of detail and giving the image smoother light transitions.
In particular, when photographing architectural structures or urban landscapes during the day, HDR helps preserve the colors of the sky while clarifying the details of buildings, trees, and streets.
5.4. Spaces with multiple light sources
Places like shopping malls, restaurants, theaters, nightlife venues, or light festivals often have numerous light sources with varying intensities and colors.
This makes it difficult for the camera to balance the light, resulting in areas with bright lights being overexposed while other areas are underexposed.
HDR helps reduce overexposure in signs, LED screens, or decorative lights, while preserving detail in less brightly lit areas.
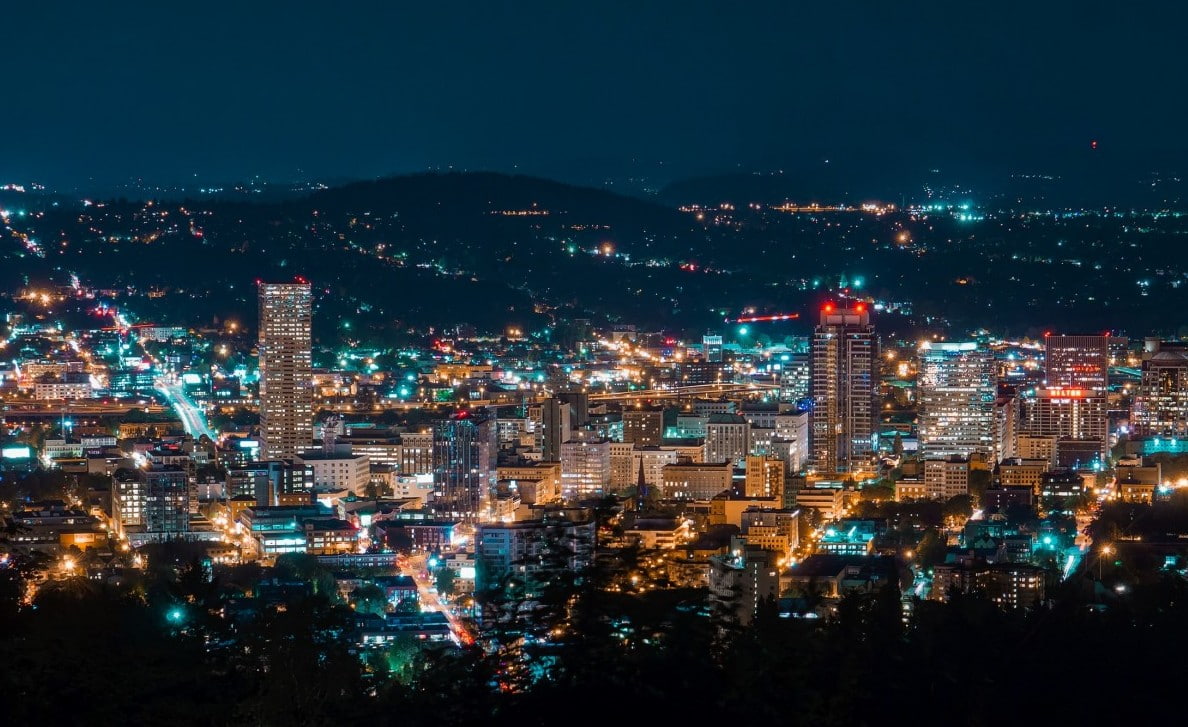
This allows the photograph to clearly show the surrounding space while still highlighting the main subject.
5.5. Shooting in low-light conditions
HDR is not only useful in bright light conditions but can also assist when shooting in low-light environments.
Indoors, in cafes, museums, or other low-light areas, HDR helps increase detail in dark areas without completely losing color in bright areas.
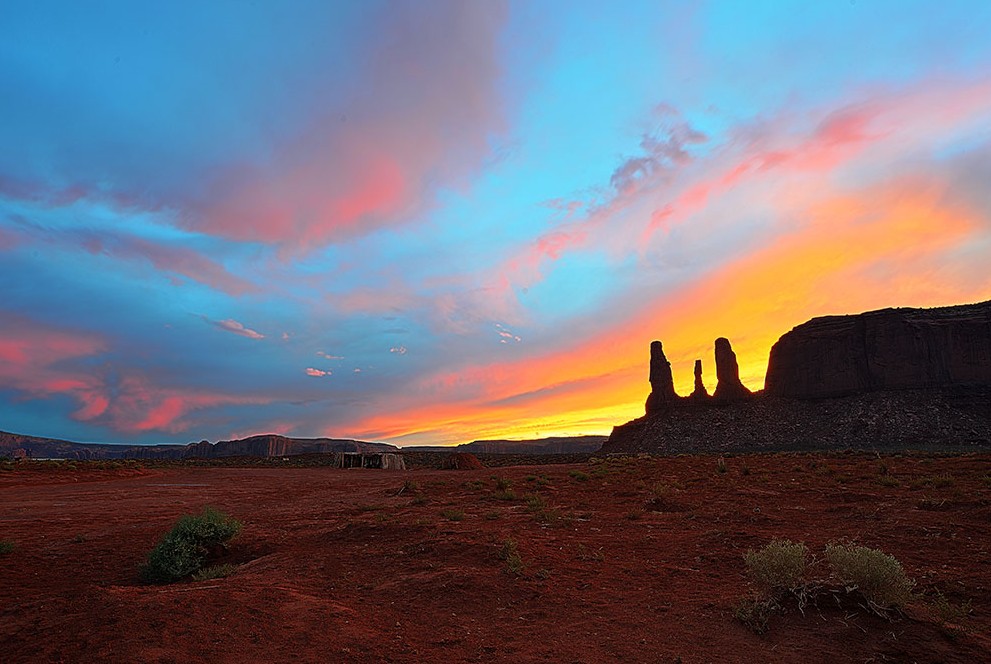
However, when using HDR in low light conditions, the shutter speed often decreases because the camera has to capture more frames in quick succession.
Therefore, you should place the camera on a tripod or hold it very steady to avoid shaking and blurry images.
If shooting with a smartphone, try to keep the phone steady for a few seconds after pressing the shutter button to give the system enough time to process the frames.
6. Situations where HDR should not be used.
Here are some situations where you should consider turning off HDR.
6.1. When the subject is in continuous motion
HDR works by capturing multiple consecutive frames and then combining them into a single complete image.
If the subject moves during this process, the frames will no longer align.
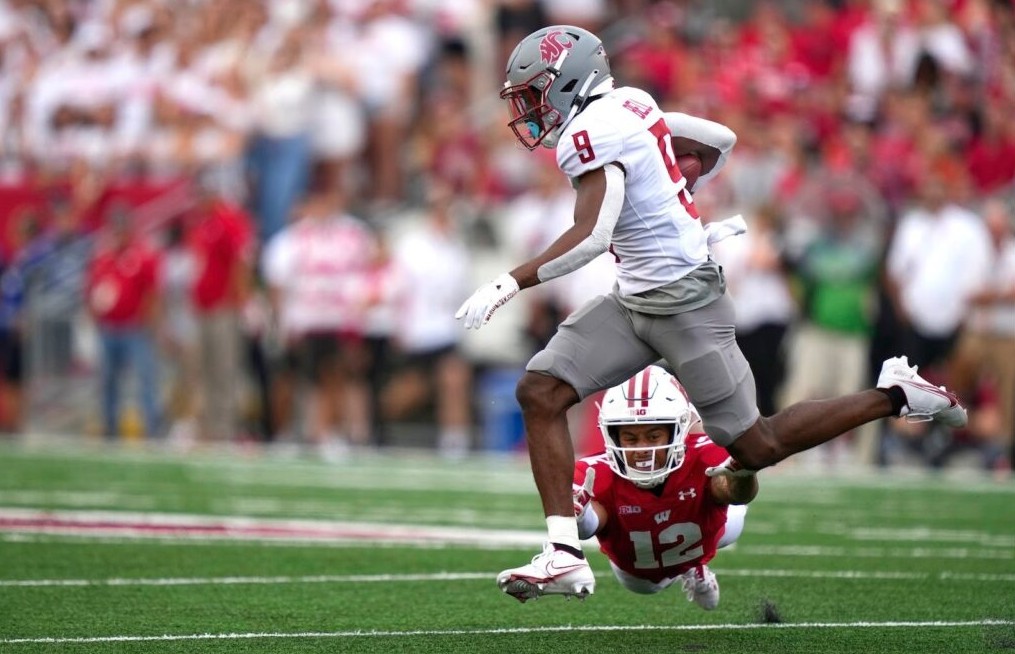
As a result, the image may exhibit ghosting or image overlapping, causing the subject to appear blurry and lacking sharpness.
Cases such as:
-
Sports photography.
-
Children run and jump.
-
The animals are moving.
-
Traffic.
-
Strong waves.
None of these are ideal options for enabling HDR.
In these situations, a fast shutter speed should be prioritized over HDR.
6.2. The scenery is too brightly colored.
HDR typically increases local contrast and improves color saturation.
If the scene already has many vibrant colors, such as a flower garden, festival, stage, or LED billboard, using HDR can sometimes make the colors appear too saturated and unnatural.
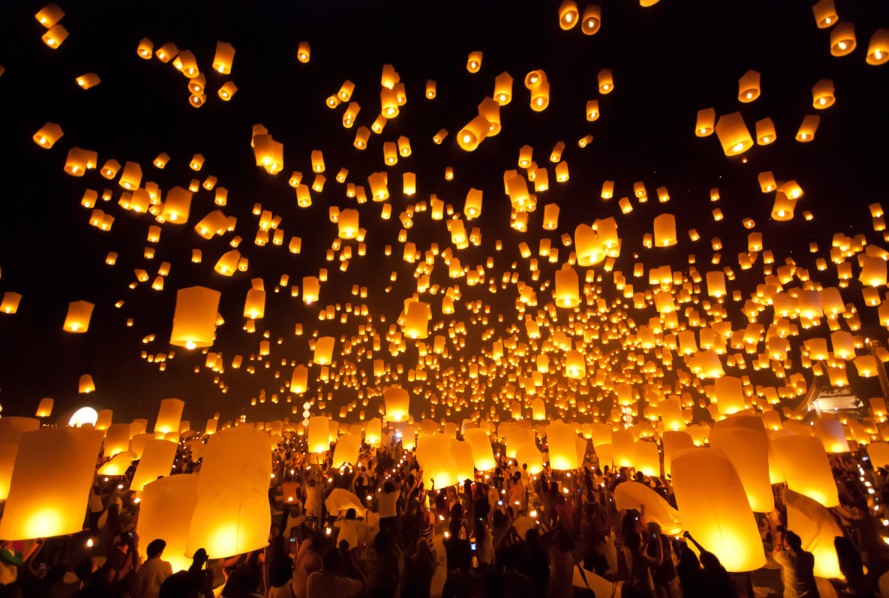
The photo may appear to have harsh colors, be unbalanced, or look artificial.
For artistic or fashion photography that requires accurate colors, shooting in a standard format and then post-processing will yield better results.
6.3. When you want to maintain high contrast
Increasing detail isn't always necessary.
Some photographic styles utilize the very difference between light and shadow to create unique artistic effects.
For example:
-
Silhouette photography (photographs of silhouettes before sunset).
-
Low Key photo.
-
Stage lighting photo.
-
The photo shows strong shadows in the studio.
If HDR is enabled, the camera will attempt to brighten dark areas and reduce brightness in bright areas, significantly reducing the contrast effect.
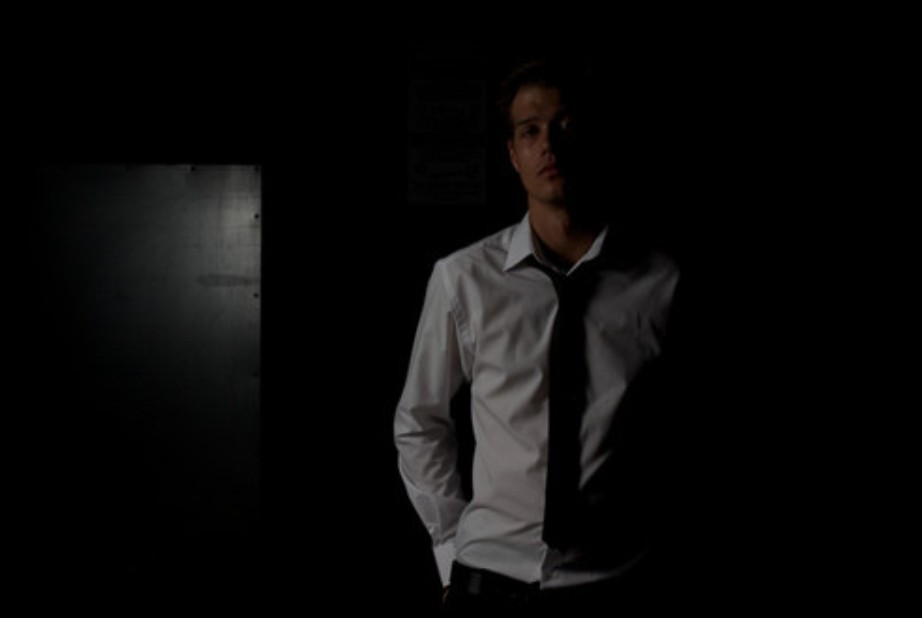
This detracts from the photographer's original creative intent.
6.4. When using the flash
Flash is already a very powerful light source.
If you use both the flash and HDR simultaneously, the camera will have difficulty calculating the appropriate exposure level.
This can easily lead to phenomena such as:
-
The subject is overexposed.
-
The background is too dark.
-
The lighting lacks naturalness.
-
The skin tone is inaccurate.
In most cases when shooting with a flash, you should turn off HDR so that the camera can focus on processing the light from the flash more accurately.
If you need more detail in the background, consider adjusting the flash power or changing the exposure settings instead of using HDR.
7. Conclusion
HDR is a crucial technique that expands a camera's dynamic range, resulting in highly detailed images in both bright and dark areas. When used correctly, HDR can significantly improve the quality of landscape photos, backlit shots, architectural photos, or scenes with complex lighting.
However, HDR isn't a "magic mode" for every situation. Understanding its working principles, preparing the right equipment, shooting in RAW format, and choosing the right time to use it will help you maximize the benefits of this technology. With a combination of shooting technique, post-processing skills, and practical experience, HDR will become a useful tool for creating photos with depth, natural colors, and professional quality.





















VIP Products








Best Selling Products
Adobe Photoshop Copyright - Full App
120 USD
Windows 10 & 11 Pro Key
36 USD
Autodesk All App Account Copyright
120 USD
Copyright Adobe Lightroom Account
59 USD
Capcut Pro 1 Year
39 USD
Upgrade Duolingo Super
29 USD
Freepik Premium Account
59 USD
ChatGPT Plus Account (GPT-4)
16 USD
Upgrade genuine Capture One account
120 USD
Genuine Cheap Canva Pro
39 USD
Adobe Premiere Pro Account
99 USD
Genuine Adobe Illustrator account
99 USD
Upgrade Genuine Office 365
49 USD
Plugin Retouch4me
69 USD
MidJourney Account
29 USD