Best Selling Products

Upgrade genuine Capture One account
120 USD

MidJourney Account
29 USD

Adobe Premiere Pro Account
99 USD

Copyright Adobe Lightroom Account
59 USD

Autodesk All App Account Copyright
120 USD

ChatGPT Plus Account (GPT-4)
16 USD

Capcut Pro 1 Year
39 USD

Freepik Premium Account
59 USD

Adobe Photoshop Copyright - Full App
120 USD

Upgrade Genuine Office 365
49 USD

Windows 10 & 11 Pro Key
36 USD

Upgrade Duolingo Super
29 USD

Genuine Adobe Illustrator account
99 USD

Plugin Retouch4me
69 USD

Genuine Cheap Canva Pro
39 USD
Principles and role of Prototype in UI/UX design
Nội dung
- 1. Overview of Prototype in UI/UX design
- 2. What is Prototype? Definition and nature
- 2.1. The exact definition of Prototype
- 2.2. The Nature of Prototype: Simulation and Interaction
- 3. Prototype Classification: Levels of Detail and Functionality
- 3.1. Prototype by level of detail (Fidelity)
- 3.2. Prototype by function and purpose
- 4. Why is Prototype important in UI/UX design?
- 4.1. Save time and money
- 4.2. Minimize risks and errors
- 4.3. Improve user experience (UX)
- 4.4. Promote effective collaboration and communication
- 4.5. Easy to present and get approval
- 5. Prototype creation process in UI/UX design
- 5.1. Step 1: Research & Requirements
- 5.2. Step 2: Sketching & Wireframing
- 5.3. Step 3: Mockup Design
- 5.4. Step 4: Create Prototype (Prototyping)
- 5.5. Step 5: User Testing
- 5.6. Step 6: Iterate & Refine
- 6. Popular Prototype Tools in UI/UX Design
- 6.1. Figma
- 6.2. Adobe XD
- 6.3. Sketch
- 6.4. InVision
- 6.5. Axure RP
- 6.6. Marvel App
- 7. Conclusion
What is Prototype in UI/UX design? Learn from A to Z about the concept, role and how to build a prototype to optimize user experience in your project
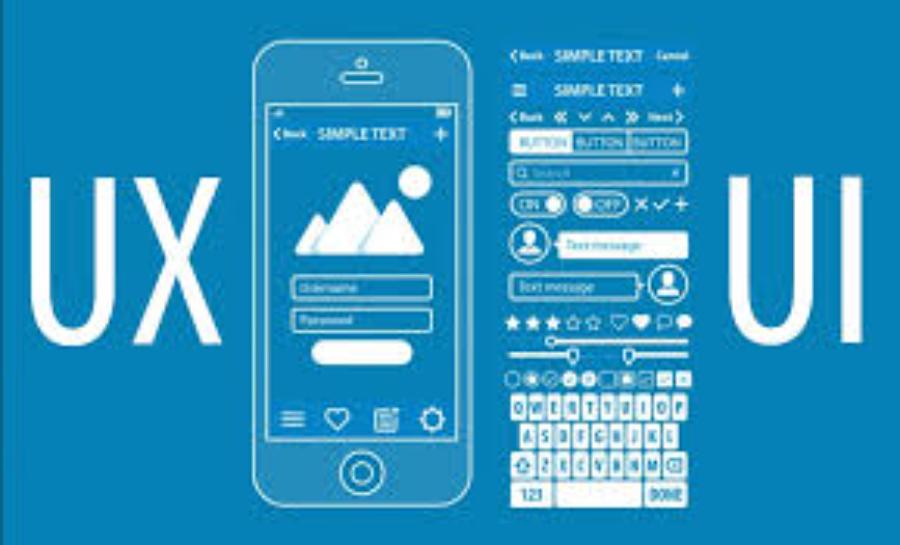
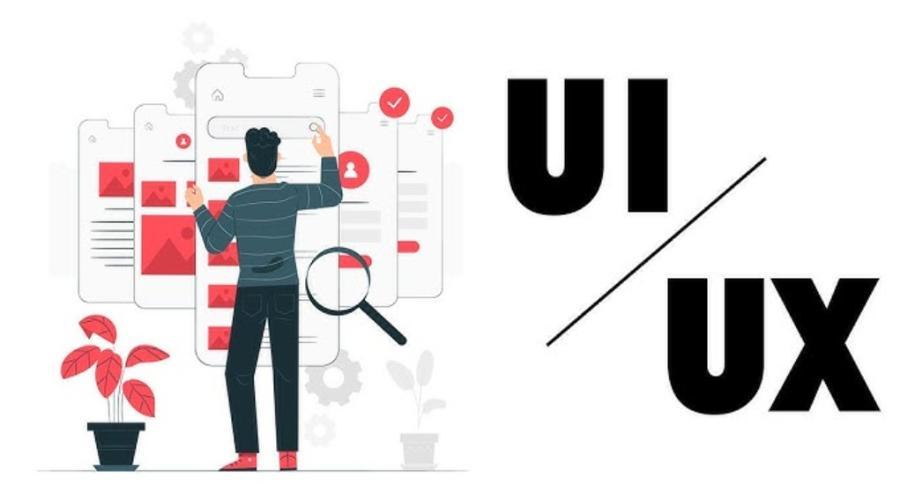
In the dynamic and creative world of UI/UX design, the term "Prototype" is no longer strange. However, not everyone clearly understands its nature, role and importance in the process of developing digital products. In this article, sadesign will delve into the definition, classification, benefits, Prototype creation process, popular tools and important notes to help you master the concept of Prototype in UI/UX design in the most comprehensive way.
1. Overview of Prototype in UI/UX design
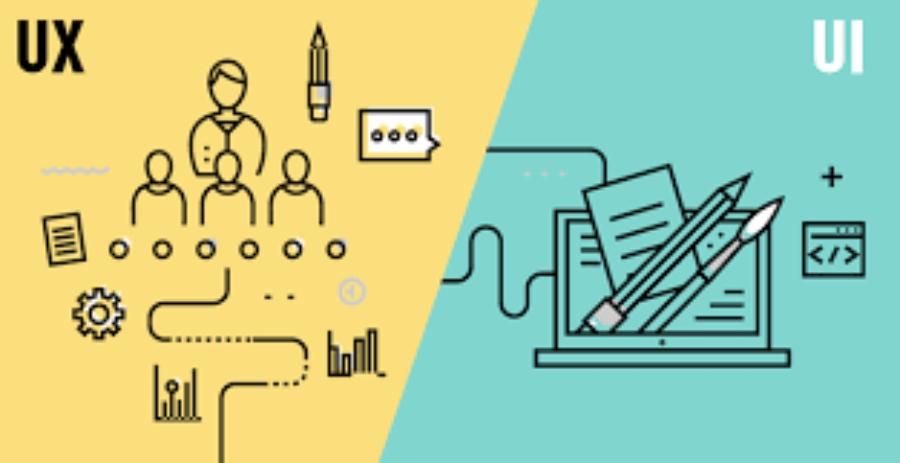
UI/UX design is a complex field that requires a combination of creative thinking, technical skills, and the ability to understand users. In the journey of turning an idea into a real product, creating a simulation, a preliminary version of the product before officially developing it is extremely important. That is when Prototype plays its role.
A prototype is more than just a static drawing or wireframe. It is an interactive model that allows users and stakeholders to experience, evaluate, and provide feedback on the design before the product is fully coded. This saves time, costs, and reduces risk during development.
2. What is Prototype? Definition and nature
2.1. The exact definition of Prototype
A prototype, in the context of UI/UX design, is a mock-up or interactive model of a product or feature. It is not the final product, but rather a tool for testing ideas, gathering feedback, and improving the design before moving into full development. Prototypes can have varying levels of detail and functionality, from a simple sketch to a model that closely resembles the final product.
2.2. The Nature of Prototype: Simulation and Interaction
The core of Prototype is its ability to simulate the user experience and enable interaction. Instead of just looking at a static image, users can click, drag, scroll, and navigate through screens, feeling the workflow and evaluating the usability of the design. This interaction provides much more insight than just looking at traditional design documents.
3. Prototype Classification: Levels of Detail and Functionality
Prototypes can be classified based on the level of detail (fidelity) and functionality they represent. Choosing the right type of Prototype depends on the stage of the project, testing goals, and available resources.
3.1. Prototype by level of detail (Fidelity)
-
Low-Fidelity Prototype:
-
Characteristics: Usually paper sketches, basic wireframes, or simple mockups created quickly. They focus on structure, user flow, and overall layout, ignoring details like images, colors, or fonts.
-
Purpose: Test initial ideas, test key user flows, evaluate basic usability, and gather early feedback on overall structure.
-
Advantages: Quick, cost effective, easy to change and not too labor intensive to create.
-
Cons: Lack of visual detail, can be difficult to visualize the final experience for users unfamiliar with design.
-
Examples: Hand drawn shapes on paper, basic wireframes in Figma or Adobe XD.
-
-
Mid-Fidelity Prototype:
-
Characteristics: More detailed than Low-Fidelity but less visual. They may include basic UI elements like buttons, input fields, navigation bars, but still use placeholder images or simple colors.
-
Purpose: Test user flows in more detail, evaluate the placement and functionality of UI elements, check design consistency.
-
Advantages: Provides a more realistic experience than Low-Fidelity, easier for users to visualize, still relatively quick to create and modify.
-
Cons: Still doesn't fully show the final interface, can be misleading if testers focus too much on visual details.
-
For example, Wireframes interact with basic UI components in Axure RP or Marvel App.
-
-
High-Fidelity Prototype:
-
Features: Close to the final product in both look and functionality. These include visual elements, colors, fonts, icons, and detailed interactions.
-
Purpose: Test near-complete user experience, evaluate visual details, test complex interactions, and gather final feedback before development.
-
Advantages: Provides the most authentic user experience, helping stakeholders easily visualize the final product.
-
Disadvantages: Time-consuming and labor-intensive to create, difficult to modify once completed, can cause users to focus on small details instead of the big picture.
-
For example: Prototypes created using InVision, Figma, Adobe XD with full UI design and complex interactions.
-
3.2. Prototype by function and purpose
-
Clickable Prototype:
-
Features: Static screens are linked together by hotspots, allowing users to navigate through pages without actual functionality.
-
Purpose: Test user flow and information structure.
-
For example, a series of design screens connected together in InVision.
-
-
Interactive Prototype:
-
Features: Includes interactive elements such as animations, screen transitions, hover effects, allowing users to interact with UI elements.
-
Purpose: Evaluate detailed user experience, test specific interactions.
-
For example: A login form with input effects, an animated dropdown menu.
-
-
Coded Prototype:
-
Features: Built with code (HTML, CSS, JavaScript) with some real functionality.
-
Purpose: Testing complex features, performance testing, and integration testing. Typically used near the end of development.
-
Example: A small piece of web application with basic search functionality.
-
4. Why is Prototype important in UI/UX design?
Prototype is not just a step in the design process, but a key element that brings significant benefits, helping to optimize the product development process.
4.1. Save time and money
Finding and fixing bugs early in the project is much cheaper than fixing them once the product is fully coded. Prototyping allows you to test your ideas, gather feedback, and make necessary adjustments before investing significant resources into development. This reduces the risk of having to start over or releasing a product that doesn’t meet user needs.
4.2. Minimize risks and errors
Prototyping helps identify usability issues, user flows, or other design issues early on. By testing with real users, you can quickly uncover any pain points, confusion, or difficulties users may encounter. Addressing these issues early in the design phase will make the final product more robust and less buggy.
4.3. Improve user experience (UX)
This is one of the most important benefits. Prototyping allows designers to observe how users interact with the product, understanding their behavior and needs. From the feedback they receive, designers can continuously iterate and improve the design, ensuring that the final product provides a smooth, intuitive, and satisfying user experience.
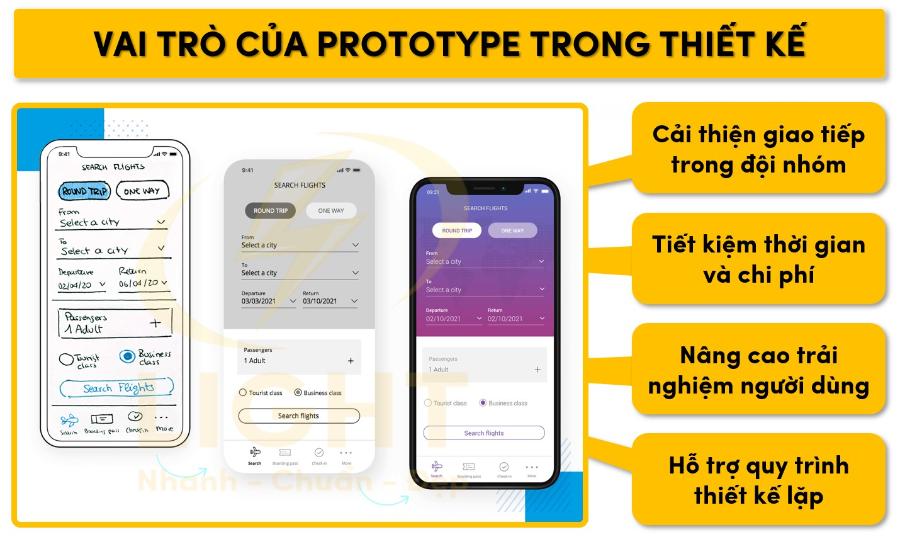
4.4. Promote effective collaboration and communication
Prototypes are a powerful communication tool. Instead of simply describing an idea verbally or in writing, prototypes provide a visual and interactive representation that all stakeholders – from designers, developers, product managers to customers – can understand and provide feedback on. This helps eliminate misunderstandings, aligns visions, and drives decision-making.
4.5. Easy to present and get approval
When presenting design ideas to stakeholders, an interactive prototype is much more effective than static drawings. It allows stakeholders to “feel” the product, allowing them to make decisions more quickly and accurately. This is especially important when seeking approval from investors or senior management.
5. Prototype creation process in UI/UX design
The Prototype creation process is typically done in an iterative cycle, from ideation to testing and improvement.
5.1. Step 1: Research & Requirements
Before starting any design, it is important to have a clear understanding of the user, business goals, and functional requirements of the product.
-
Conduct user research: Interview, survey, create user personas.
-
Define the goal and scope: What problem does this product solve? Who is the target audience? What core features are needed?
-
Competitor Analysis: Learn from what your competitors are doing well and avoid their mistakes.
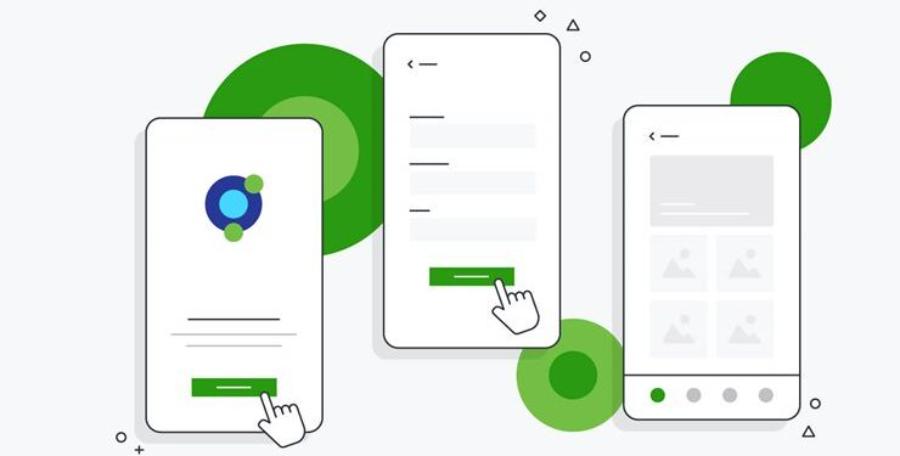
5.2. Step 2: Sketching & Wireframing
This is the stage of creating the basic structure of the interface.
-
Sketching: Quickly draw ideas on paper or a whiteboard. Focus on the overall layout and user flow.
-
Wireframe: Convert sketches into digital skeletons. A wireframe is a low-level representation of the structure, content, and functionality of a website or app.
5.3. Step 3: Mockup Design
Based on the wireframe, you start adding visual and branding elements.
-
Add colors, fonts, images, icons: Turn your wireframe into a more aesthetically pleasing interface.
-
Create different states of UI elements: For example, button state on hover, input field state on selected.
-
Ensure interface consistency: Adhere to design principles and brand guidelines.
5.4. Step 4: Create Prototype (Prototyping)
This is the step that turns a static mockup into an interactive model.
-
Choose the right Prototype tool: Based on the desired fidelity and required features.
-
Link screens: Create hotspots to navigate between screens.
-
Add interactions and animations: Simulate motion effects, transitions, hovers, clicks to make your Prototype more realistic.
-
Internal Testing: Test the Prototype yourself to ensure all links and interactions work properly.
5.5. Step 5: User Testing
This is a very important step in collecting feedback.
-
Recruit target users: Make sure they represent the product's real user audience.
-
Set up tasks: Ask users to perform specific tasks on the Prototype.
-
Observe and record feedback: Pay attention to how users interact, where they get stuck, what questions they ask.
-
Collect qualitative and quantitative data: Interviews, surveys, track task completion times, error rates.
5.6. Step 6: Iterate & Refine
Based on feedback from user testing, you will make necessary adjustments.
-
Data Analysis: Synthesize and analyze responses to identify key issues.
-
Make design changes: Adjust the Prototype based on findings.
-
Repeat the process: If necessary, create a new Prototype version and test again until you achieve the desired result.
6. Popular Prototype Tools in UI/UX Design
There are many powerful tools available in the market today that support prototyping, each with its own pros and cons.

6.1. Figma
This tool offers many powerful features such as creating wireframes, mockups and prototypes, helping designers quickly realize their ideas. In addition, Figma also integrates many useful plugins, supporting workflow optimization and improving design performance.
-
Pros: Powerful all-in-one tool for design, prototyping, and real-time collaboration. Intuitive, easy-to-learn interface. Free version available. Supports effective team collaboration.
-
Cons: Requires internet connection. Some advanced features may require a paid account.
-
Suitable for: Design teams looking to work collaboratively, projects ranging from small to large.
6.2. Adobe XD
Adobe XD is one of the popular and powerful prototyping tools widely used in UI/UX design. With
-
Advantages: Integrates well with other Adobe products (Photoshop, Illustrator). Friendly interface, easy to use. Provides grid automation and repetition features.
-
Cons: Collaboration features aren't as robust as Figma. May require a Creative Cloud subscription.
-
Suitable for: Individual designers or teams who are familiar with the Adobe ecosystem.
6.3. Sketch
-
Pros: Powerful vector design tool specifically for macOS. Lots of plugin support. Strong design system and Symbol library.
-
Cons: macOS only. More basic prototyping features than Figma or Adobe XD, often need to be combined with another plugin or tool like InVision.
-
Suitable for: Professional designers on macOS who prioritize design systems and plugins.
6.4. InVision
-
Pros: Known for its ability to turn static mockups into powerful interactive prototypes. Offers collaboration and project management features.
-
Cons: Not a design tool, just a prototyping tool.
-
Suitable for: Designers who want to quickly turn their designs from Sketch/Photoshop/Illustrator into interactive Prototypes for testing.
6.5. Axure RP
-
Pros: Provides high fidelity Prototype creation with complex interactions and logic. Powerful for creating dynamic forms, conditional logic.
-
Cons: Interface can be complicated for beginners. Takes more time to learn.
-
Suitable for: Projects requiring Prototypes with complex functionality, experienced designers.
6.6. Marvel App
-
Pros: Simple, easy to use, suitable for beginners. Can turn paper sketches into Prototypes.
-
Cons: Prototyping features are not too complex.
-
Suitable for: Rapid Prototyping, testing initial ideas.
7. Conclusion
Prototyping is an essential part of the modern UI/UX design process. It is not just a simple mockup, but a powerful tool that helps test ideas, save time and money, reduce risks, improve user experience, and promote effective collaboration. By understanding the nature of Prototypes, their classification, the creation process, and using the right tools, you will be able to create successful digital products that truly meet the needs of your users.


VIP Products


Best Selling Products
Upgrade genuine Capture One account
120 USD
MidJourney Account
29 USD
Adobe Premiere Pro Account
99 USD
Copyright Adobe Lightroom Account
59 USD
Autodesk All App Account Copyright
120 USD
ChatGPT Plus Account (GPT-4)
16 USD
Capcut Pro 1 Year
39 USD
Freepik Premium Account
59 USD
Adobe Photoshop Copyright - Full App
120 USD
Upgrade Genuine Office 365
49 USD
Windows 10 & 11 Pro Key
36 USD
Upgrade Duolingo Super
29 USD
Genuine Adobe Illustrator account
99 USD
Plugin Retouch4me
69 USD
Genuine Cheap Canva Pro
39 USD