Best Selling Products

Windows 10 & 11 Pro Key
36 USD

Upgrade genuine Capture One account
120 USD

Genuine Adobe Illustrator account
99 USD

Adobe Premiere Pro Account
99 USD

Autodesk All App Account Copyright
120 USD

MidJourney Account
29 USD

Upgrade Duolingo Super
29 USD

Freepik Premium Account
59 USD

Upgrade Genuine Office 365
49 USD

Adobe Photoshop Copyright - Full App
120 USD

Plugin Retouch4me
69 USD

Genuine Cheap Canva Pro
39 USD

Capcut Pro 1 Year
39 USD

ChatGPT Plus Account (GPT-4)
16 USD

Copyright Adobe Lightroom Account
59 USD
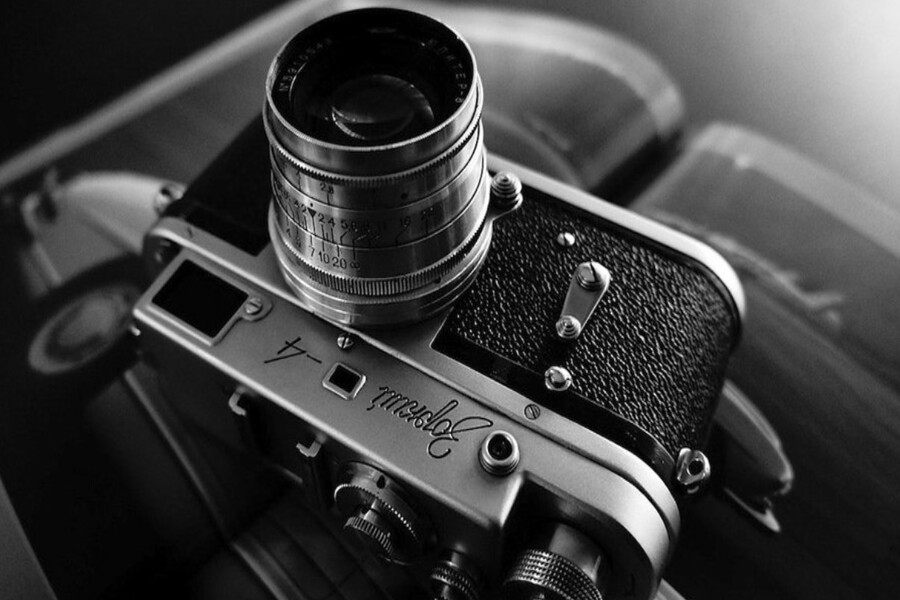
Recreating the Spirit of 1960s Photography Through a Modern Perspective
Nội dung
- 1. Why are photos taken with cameras during the golden hour (the golden hour)?
- 2. How to minimize the yellow tint when taking photos.
- 2.1 Set the white balance correctly before shooting.
- 2.2 Cleaning the lens and optimizing lighting
- 2.3 Removing yellow tint in post-processing by adjusting color temperature in RAW files
- 3. Instructions on adjusting color temperature using Lightroom or Photoshop
- 4. Note
How can you take photos that evoke the spirit of the 1960s using today's equipment?
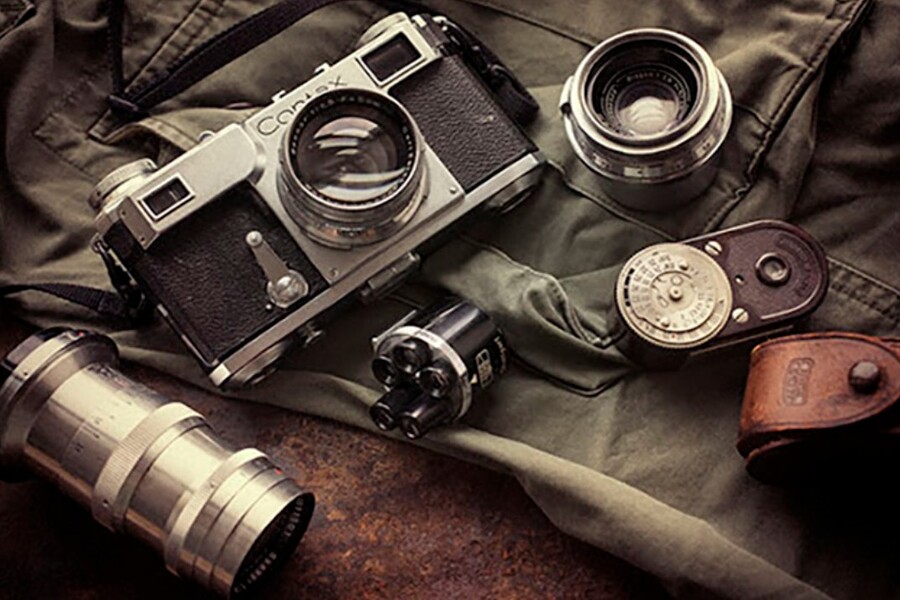
In the vast archive of analog photography and photographs taken from the 1960s, it's easy to spot a very familiar characteristic: a yellow or warm, tinged hue that permeates the frame. For many photography enthusiasts, this yellow hue evokes nostalgia, classicism, and emotion. But for professionals, especially commercial photographers, designers, or photo restorers, this is a "technical problem" that needs to be thoroughly solved.
The yellow tint in photos isn't just a matter of time or the aesthetic style of a historical period. It's a combined effect of light sources, color temperature, limitations of film sensor technology, and inaccuracies in color recording and display. Even with advancements in equipment in the digital age, the "yellow storm" phenomenon continues to appear, especially when shooting in complex lighting conditions or lacking white balance control. This article will approach the issue from both a technical and practical perspective: from understanding the nature of yellow tint in photos and how to mitigate it from the moment of shooting with a central camera, to precise methods for removing yellow in post-processing using Lightroom and Photoshop.
1. Why are photos taken with cameras during the golden hour (the golden hour)?
A photograph with a yellow tint, also known as a "yellow storm," is essentially the result of a white balance imbalance, stemming from the color temperature (Kelvin) of the light source at the time of shooting. Color temperature is a measure of whether the light is warm or cool, and it directly affects how the camera interprets colors.
In environments with yellow light, such as tungsten lamps, incandescent lights, sunsets, or older artificial light sources, the color temperature typically ranges from 2000K to 3500K. This is a warm light range, containing many red and orange components. When the camera's white balance is not properly adjusted, the entire frame will be tinted yellow, causing neutral areas like white, gray, or skin tones to appear discolored.
However, incorrect white balance isn't the only cause. Underexposure also exacerbates this phenomenon. When an image is underexposed, the sensor records less color data in the dark areas. During internal processing or post-processing, these dark areas often exhibit color noise, with yellow or green tones usually being the dominant ones.
In addition, seemingly minor physical factors can have a significant impact. Dust, oil residue, or fingerprints on the lens surface can cause light scattering, creating a slightly warm but uniform color cast on the image. The use of warming filters, if not properly controlled, can also unintentionally cause images to have a yellowish tint.
In the 1960s, when color film technology was still limited, these factors combined to create the distinctive color style of the era. However, when reproducing or reprocessing those photos using modern technology, understanding the underlying causes helps us distinguish between nostalgia and technical errors, thereby enabling us to make appropriate processing decisions.
2. How to minimize the yellow tint when taking photos.
2.1 Set the white balance correctly before shooting.
The most effective way to address yellow tint in photos is to prevent it from happening in the first place, by actively controlling the white balance. Many beginner photographers rely entirely on Auto White Balance (AWB), but AWB isn't always accurate, especially in complex or mixed lighting environments.
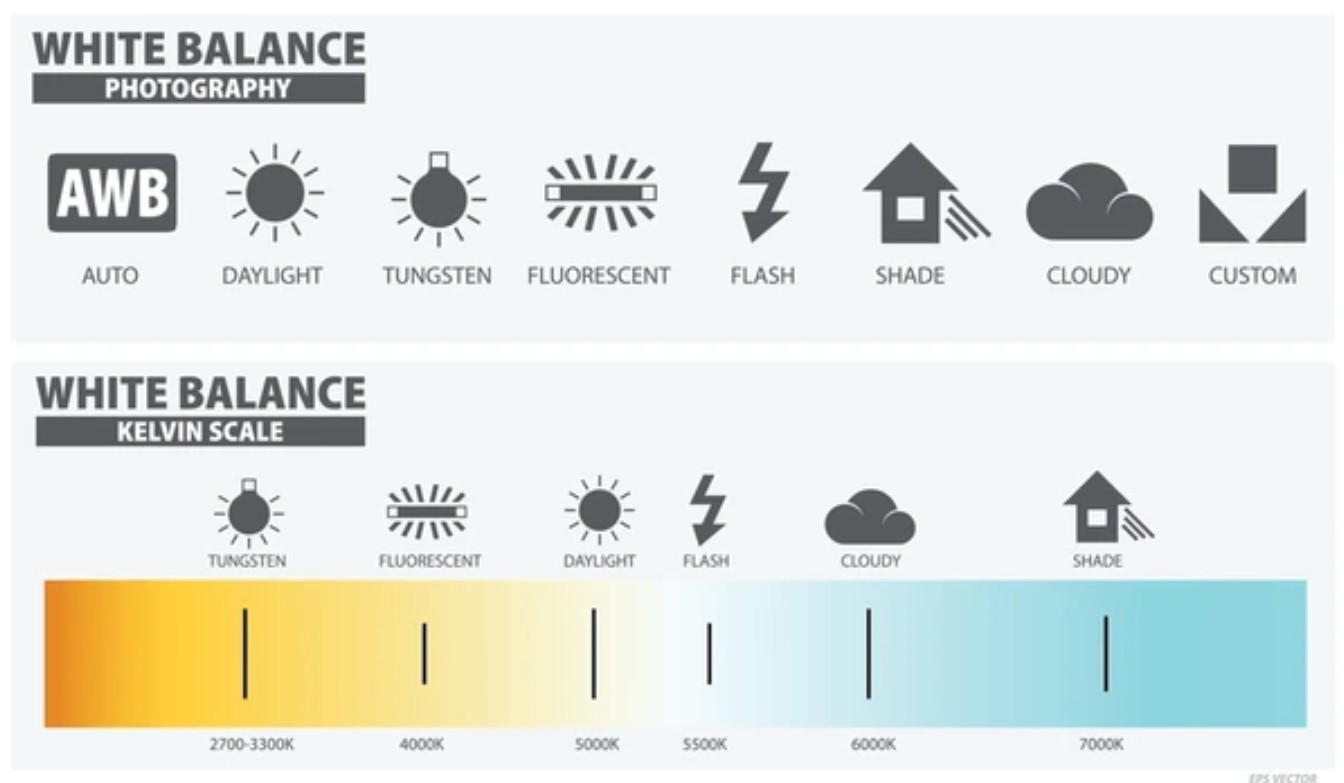
Instead of letting the camera "guess," you should use Manual White Balance or appropriate White Balance presets. When shooting under yellow light, such as tungsten lamps, choose the Tungsten preset. The camera will automatically add blue to neutralize the yellow tones. Conversely, when shooting in the shade or in overcast skies, the Shade preset will help prevent the image from having a blue tint.
For those who want more control, manually adjusting the Kelvin value is the ideal solution. When an image has a yellow tint, you need to lower the Kelvin value, for example from 5000K to 3500K or lower, to bring the blue tones back into the image. This process should be done by directly observing the white or gray areas on the camera screen until the colors become accurate.
In particularly complex lighting environments, Custom White Balance is the optimal choice. By using an 18% grayscale card, you provide the camera with an absolute neutral color reference. The camera will then use this to calculate the precise white balance, completely eliminating guesswork. This method is widely used by commercial photographers and photo restoration professionals due to its high accuracy and stability.
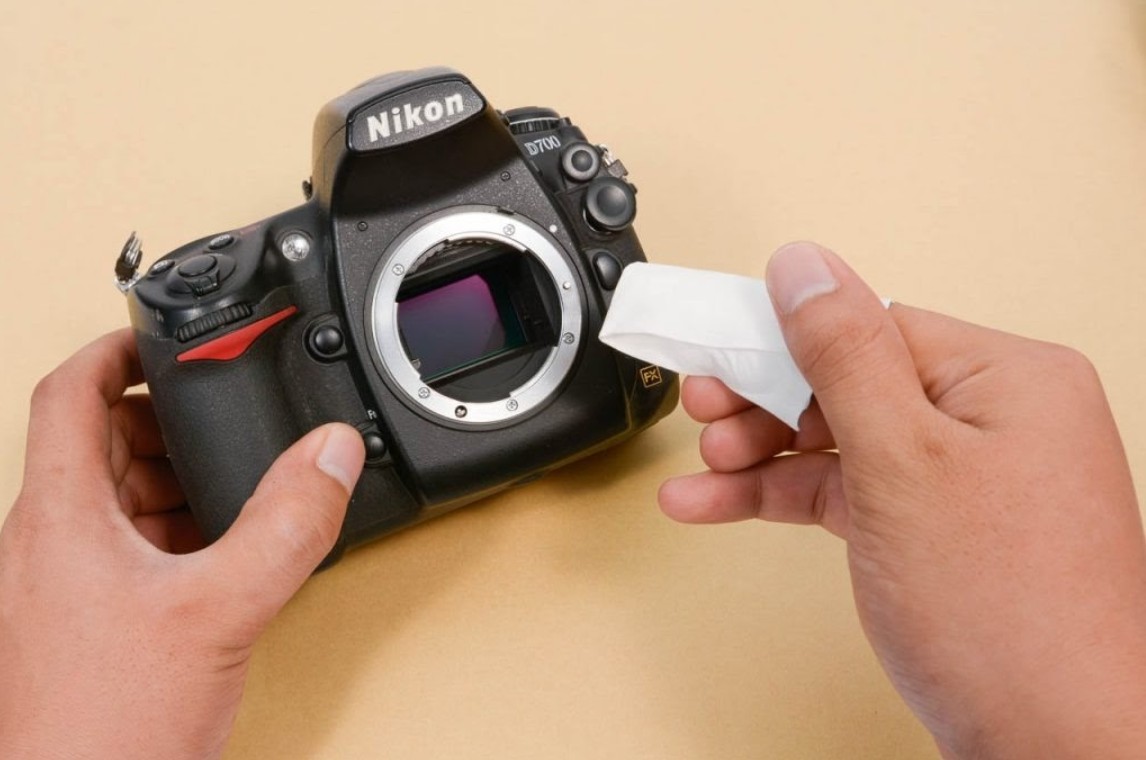
2.2 Cleaning the lens and optimizing lighting
The yellow tint isn't always due to camera settings. Physical factors, often overlooked, are usually the silent culprits. A dirty lens, especially a thin layer of oil from fingerprints, can cause slight flare and "warm up" the colors.
Regular lens cleaning with specialized solutions and cloths completely eliminates this risk. In addition, you also need to pay attention to exposure. Underexposed photos are not only dark but also prone to color noise, making the yellow tone heavy and more difficult to process in post-production.
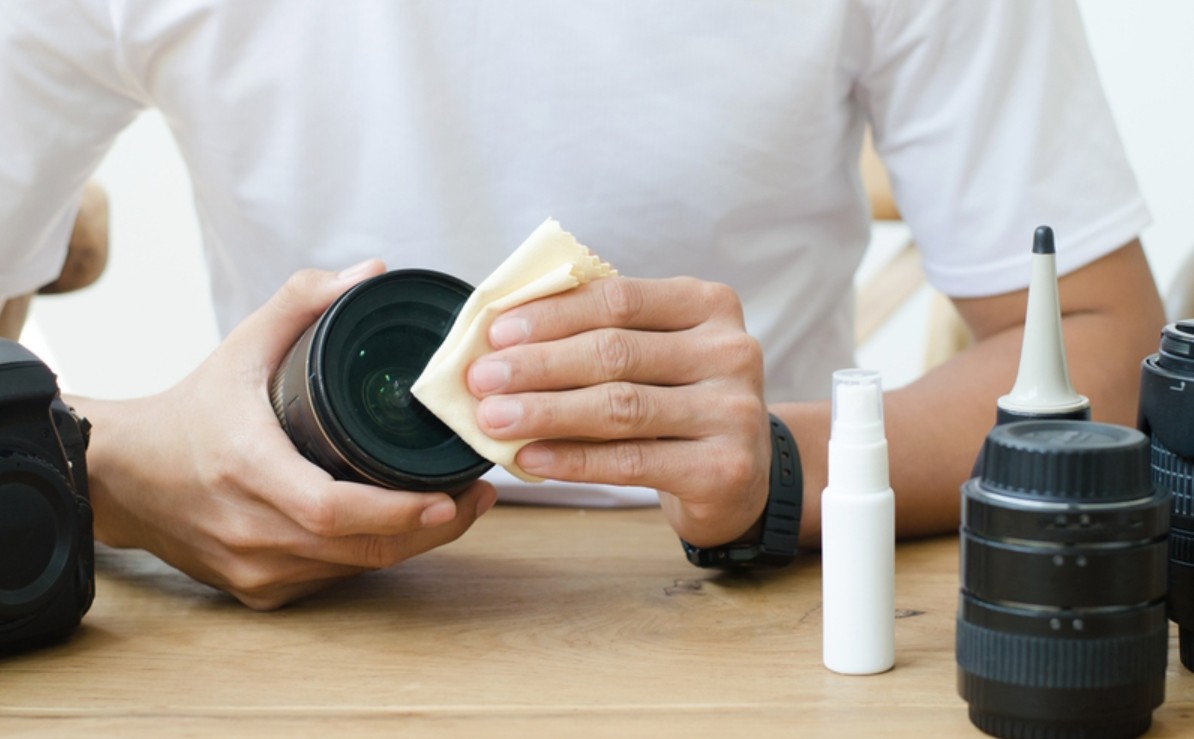
Additionally, check the filters attached to the lens. Some color-warming filters or inexpensive filters with substandard optical coatings can cause color distortion. Before shooting in a light-sensitive environment, removing unnecessary filters is a simple but effective step.
2.3 Removing yellow tint in post-processing by adjusting color temperature in RAW files
In situations where photos have already been taken and it's impossible to return to the scene, RAW files are a lifesaver. Unlike JPEGs, which are compressed and have their white balance "frozen," RAW files retain all the light data captured by the sensor.
This allows you to adjust the color temperature and tonal range without compromising image quality. This is why professional photographers always prefer shooting in RAW, especially in challenging lighting conditions.
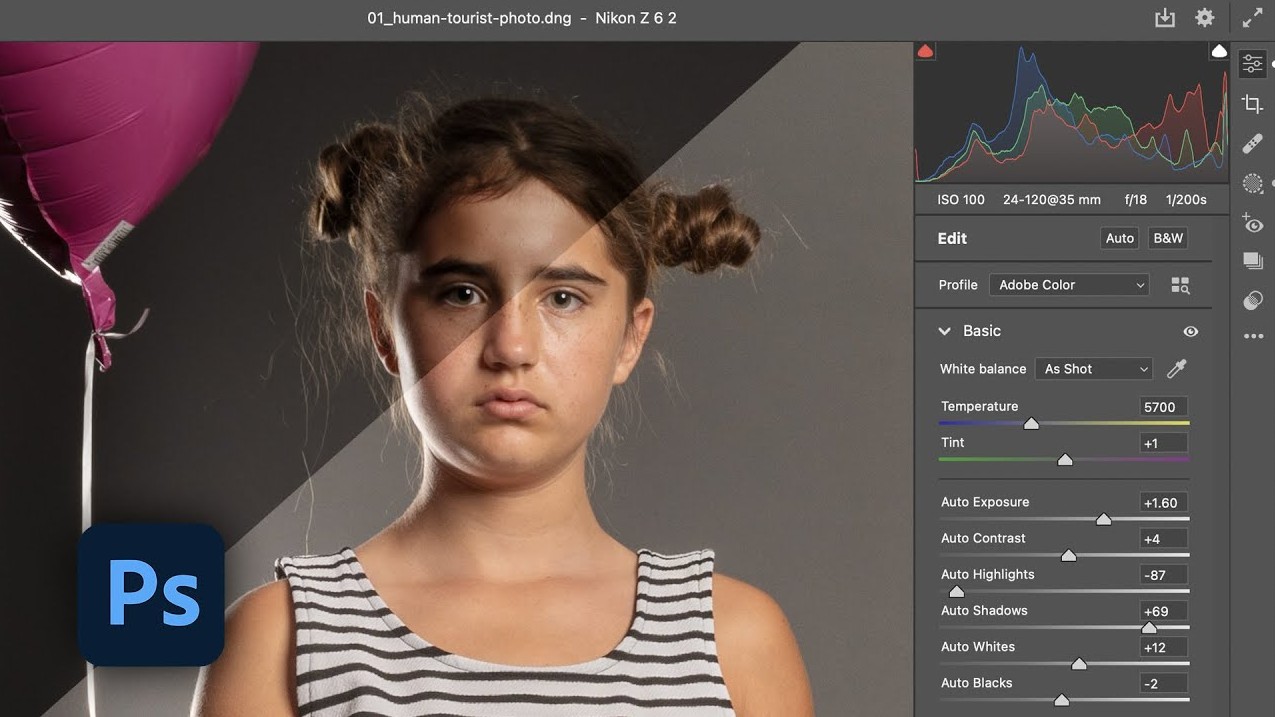
3. Instructions on adjusting color temperature using Lightroom or Photoshop
When opening a RAW file in Lightroom, the first step is to use the Eyedropper tool to extract color from a neutral area. As soon as you click on a gray or white area, the software will automatically adjust the color temperature and tint to a more balanced level.
Next, you can manually fine-tune the settings by dragging the Temperature slider towards green to reduce yellowness, and adjust the Tint to balance the green or magenta tones if needed. This helps eliminate the yellow tint while maintaining a natural feel to the light.
In Photoshop, the Camera Raw Filter works almost identically to Lightroom. By converting the image to a Smart Object before editing, you ensure that all operations are performed without destroying the original data. This is especially important when restoring old photos or processing artistic images that require multiple trials.
4. Note
Not every photo that appears "yellowish" is due to a white balance error. In many cases, the cause lies in the color space or display device not being calibrated. For example, when an image is edited in the Adobe RGB color space but viewed on a screen or platform that only supports sRGB, the colors may be compressed and shifted, creating the impression of a yellowish tint or an incorrect tone compared to the original intention.
Furthermore, overly strong highlights or deep shadows are also prone to color distortion due to the limitations of the sensor and image processing algorithms. In these areas, color data is often incomplete, resulting in inaccurate color display and easily misinterpreted as white balance errors.
Therefore, before rushing to adjust the white balance, you should check the color space you are using, whether your monitor is calibrated, and assess the overall image in terms of light and dark areas. Setting up the correct working environment will help you process colors more accurately and avoid unnecessary adjustments.
Photographs with a yellow tint, whether from the 1960s or modern shoots, are the result of a complex interaction between light, equipment, and the photographer. Understanding the nature of this phenomenon will not only help you correct errors more effectively but also allow you to proactively control color as a creative tool.
Instead of fearing the color yellow, learn to master it. When nostalgia is needed, you retain it. When honesty is required, you discard it. And that is the line between someone who simply edits photos and someone who truly masters color in photography.


VIP Products


Best Selling Products
Windows 10 & 11 Pro Key
36 USD
Upgrade genuine Capture One account
120 USD
Genuine Adobe Illustrator account
99 USD
Adobe Premiere Pro Account
99 USD
Autodesk All App Account Copyright
120 USD
MidJourney Account
29 USD
Upgrade Duolingo Super
29 USD
Freepik Premium Account
59 USD
Upgrade Genuine Office 365
49 USD
Adobe Photoshop Copyright - Full App
120 USD
Plugin Retouch4me
69 USD
Genuine Cheap Canva Pro
39 USD
Capcut Pro 1 Year
39 USD
ChatGPT Plus Account (GPT-4)
16 USD
Copyright Adobe Lightroom Account
59 USD