Best Selling Products
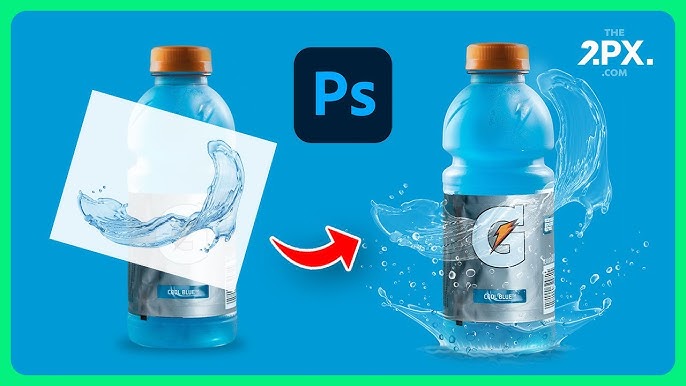
Removing water in Photoshop is NOT as DIFFICULT as you think
Water in photos is often transparent, almost the same color as the background, so many people have difficulty separating water. You want to separate water in photos to combine into your design but can't separate it? Don't worry, today we will introduce you to an extremely simple way to separate water in Photoshop from the background. Let's refer to Sadesign right after this.

1. Instructions on how to separate water in Photoshop
You want to use water effects for your photos but can't separate them? In fact, for those who are not very familiar with Photoshop, water in photos is often difficult to separate, it will be left out or separated but jagged, making the water unnatural. However, with the application of Mask, you can separate water in Photoshop very simply.
This layer mask allows you to partially or completely cover a layer without affecting the quality of the original image. The coverage of the Layer Mask depends on the darkness of the layer. Therefore, you can use the mask to easily separate water from the background. Let's refer to the detailed steps below.
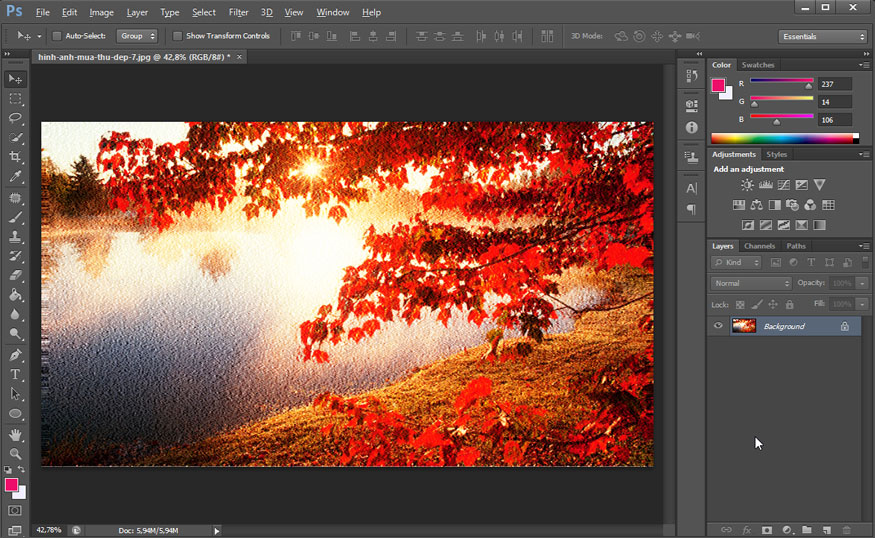
Step 1: First, we need to open the photo we want to separate the water in Photoshop. To open that photo in Photoshop, select File on the menu bar => select Open => select the photo to open => select Open. Or you can press the key combination Ctrl + O and select the photo to open.
(1).jpg)
Step 2: Now we will need to create a mask - layer mask for the photo. In the bottom right corner of the screen, select the rectangularicon with a black circle in the middle - Add vector mask.
(1).jpg)
Step 3: Now, point your mouse to the thumbnail layer - the layer containing the photo with water, then press Alt + A to select the photo, then press Ctrl + C to copy the photo.
(1).jpg)
Step 4: Go back to the layer mask thumbnail right next to it, hold Alt and click on the mask. The mask will now open with a white background.
(1).jpg)
Now we need to paste the copied image into the mask. Press Ctrl+V to paste the image containing water into it. Then press Ctrl+D to delete the selection.
(1).jpg)
Step 5: Still in the mask layer, press Ctrl + I to invert. Now the background will be black and the water will turnwhite.
(1).jpg)
Step 6: Select the transparent layer. If you want the water to be transparent to match different backgrounds, set the foreground color to white. If you want the water to be blue, red, purple, or yellow, set the color of your choice. Then press Ctrl + Delete. Then turn off the background below. We will get the result as shown.
(1).jpg)
So you have finished separating water in Photoshop. The way to do it is not complicated, right? Now the water has been completely separated from the background and you can use it in other photos very simply.
Below are some images of water separation in Photoshop where I set the water to different colors.
(1).jpg)
.jpg)
You can use the separated water to combine into your photos, for example, I used the separated water to combine with the image of an orange. The photo looks very beautiful, the water is very vivid, right?
.jpg)
2. Conclusion
Above are instructions on how to separate water in Photoshop. The implementation is not difficult, with just a few basic steps, you can separate water from the background of the image using Photoshop simply. Hopefully, the above sharing of Sadesign can help you separate water easily, let's try it right away .


