
Best Selling Products

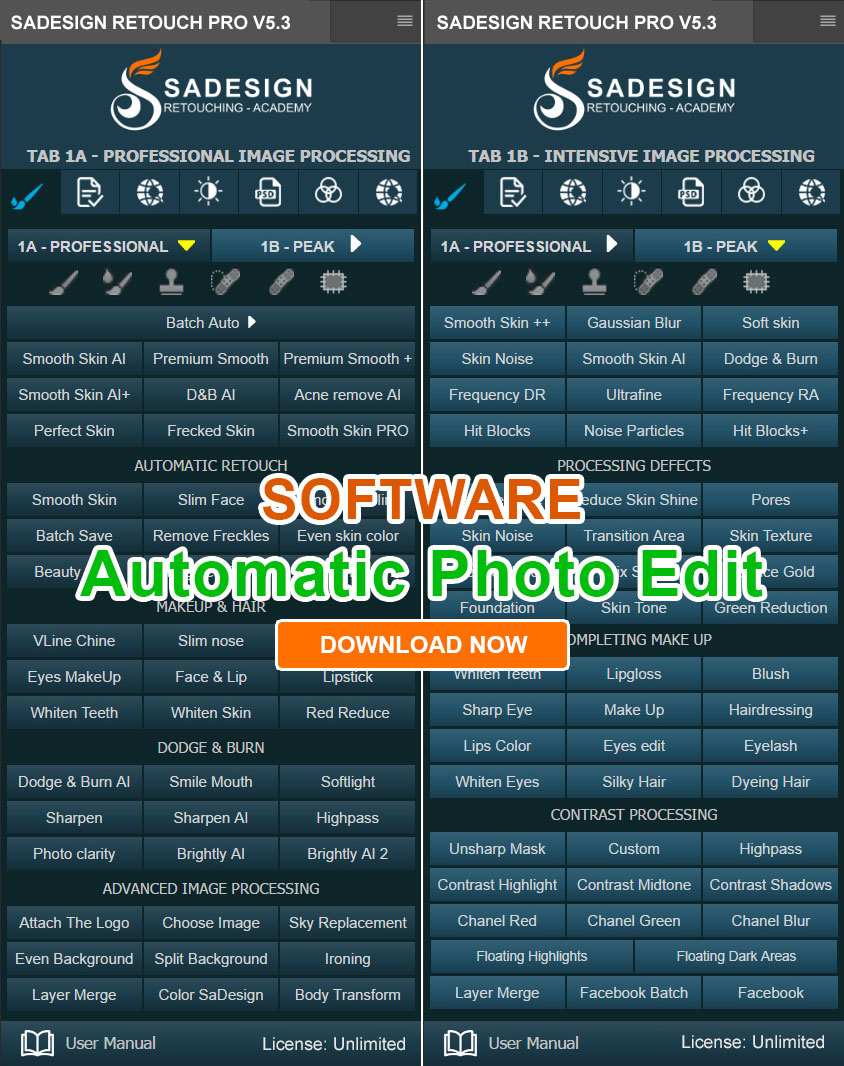
Plugin Retouch4me
69 USD

Windows 10 & 11 Pro Key
36 USD

Upgrade Duolingo Super
29 USD

Capcut Pro 1 Year
39 USD
Copyright Adobe Lightroom Account
59 USD

ChatGPT Plus Account (GPT-4)
16 USD

Upgrade Genuine Office 365
49 USD

Upgrade genuine Capture One account
120 USD

Genuine Cheap Canva Pro
39 USD
Adobe Photoshop Copyright - Full App
120 USD

Adobe Premiere Pro Account
99 USD

MidJourney Account
29 USD

Autodesk All App Account Copyright
120 USD

Genuine Adobe Illustrator account
99 USD

Freepik Premium Account
59 USD
Secrets to professional product advertising photography that boost sales.
Nội dung
- 1. Prepare thoroughly before the product advertising photoshoot.
- 2. Essential lighting techniques for product photography
- 2.1 Choosing appropriate backdrops and props
- 2.2 Record product details and labels effectively
- 3. Post-processing and photo editing tips
- 4. Common challenges and how to overcome them.
- 5. Finalize product images for use in advertising.
In modern commerce, product photos are often the first, and sometimes the only, point of contact between a customer and a brand before they decide to buy. You only have seconds to grab attention and prove that your product is worth choosing among hundreds of similar options. A blurry, poorly lit, or cluttered photo will make customers doubt the quality and reliability of the product, even if the product itself is excellent. Conversely, a well-produced photo will convey value, emotion, and professionalism from the very first glance.
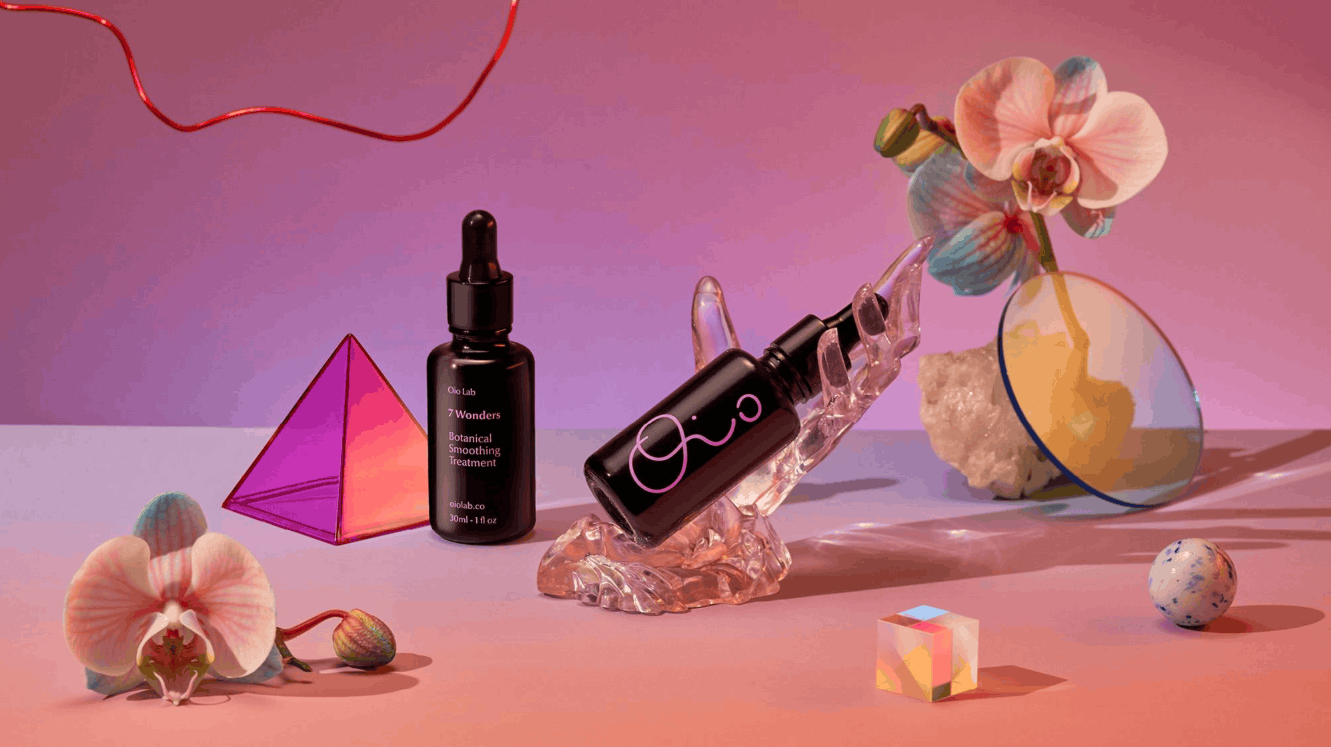
1. Prepare thoroughly before the product advertising photoshoot.
A successful photoshoot begins long before the shutter is pressed. The first thing a photographer needs to do is understand the target audience. Are they men, women, or children? What age group do they belong to? What is their income level and lifestyle? Which market will the product be sold in, and what are the specific cultural and aesthetic preferences of that market? For example, consumers in some countries prefer minimalist, clean images, while others favor colorful compositions and elements of everyday life. These answers form the framework upon which the entire visual concept is built.
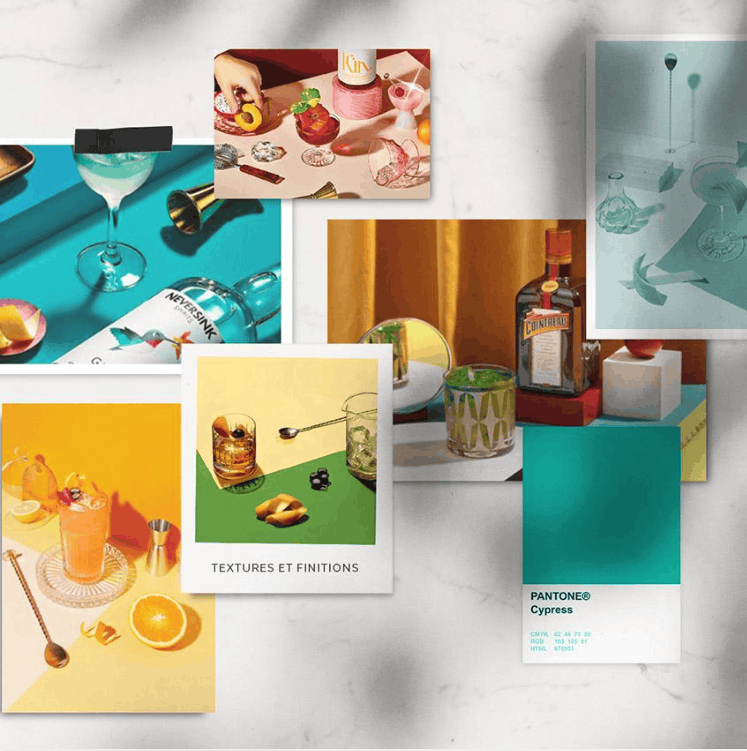
Upon receiving the brief from the client, carefully read the requirements regarding the intended use, distribution channel, desired style, and the main message of the product. From there, you can determine the number of photos to be taken, the necessary camera angles, and the output format. It's advisable to prepare a moodboard or image reference sheet beforehand so that both parties can agree on the color, lighting, and atmosphere of the photo set before starting work.
Next, choose your equipment and location. If possible, rent or prepare a studio large enough to comfortably arrange lights, backdrops, and a shooting table. If you don't yet own all the necessary equipment, make a detailed list of what you need and find a rental service early on. A basic kit usually includes a high-quality camera or phone, suitable lenses, a sturdy tripod, lights or softboxes, a reflector, a diffuser, black and white cardboard, a transparent shooting table (if available), and cleaning accessories such as microfiber cloths, compressed air spray, and thin gloves to avoid leaving fingerprints on the product.
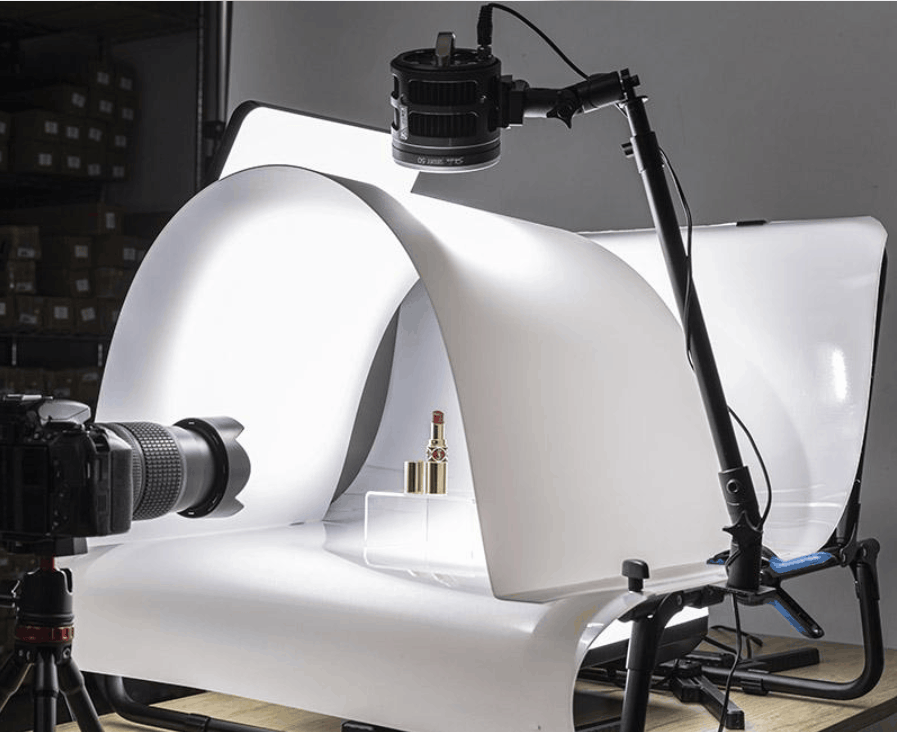
Advertising photography always requires creativity and improvisation, but that doesn't mean everything should be decided at the last minute. Thoroughly inspect the product before the shoot, clean off dust, smooth out labels, remove scratches, and prepare a few backup samples if possible. Good preparation will save you considerable editing time later.
2. Essential lighting techniques for product photography
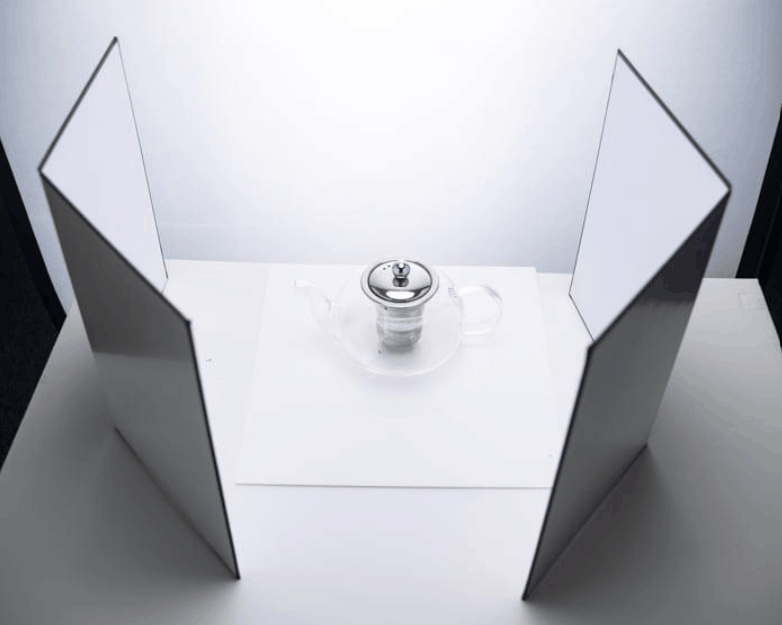
Lighting is almost entirely responsible for the quality of a product photograph. Each material reacts to light in its own way, so you'll need to adjust the workspace for each product type, rather than applying a fixed lighting scheme for every situation. Besides lighting equipment, white and black cardboard are simple yet incredibly useful accessories. White cardboard reflects light and softens shadows, while black cardboard creates depth and increases contrast at the edges of the object.
For glassware, such as glasses, bottles, or vases, the most common technique is backlighting. Place a softbox behind the product and cover it with a large diffuser to create a soft, smooth background light. The object will then appear as a delicate, transparent silhouette. Add black cardboard on either side to create sharp, dark outlines, helping to clearly define the product's shape against the background.
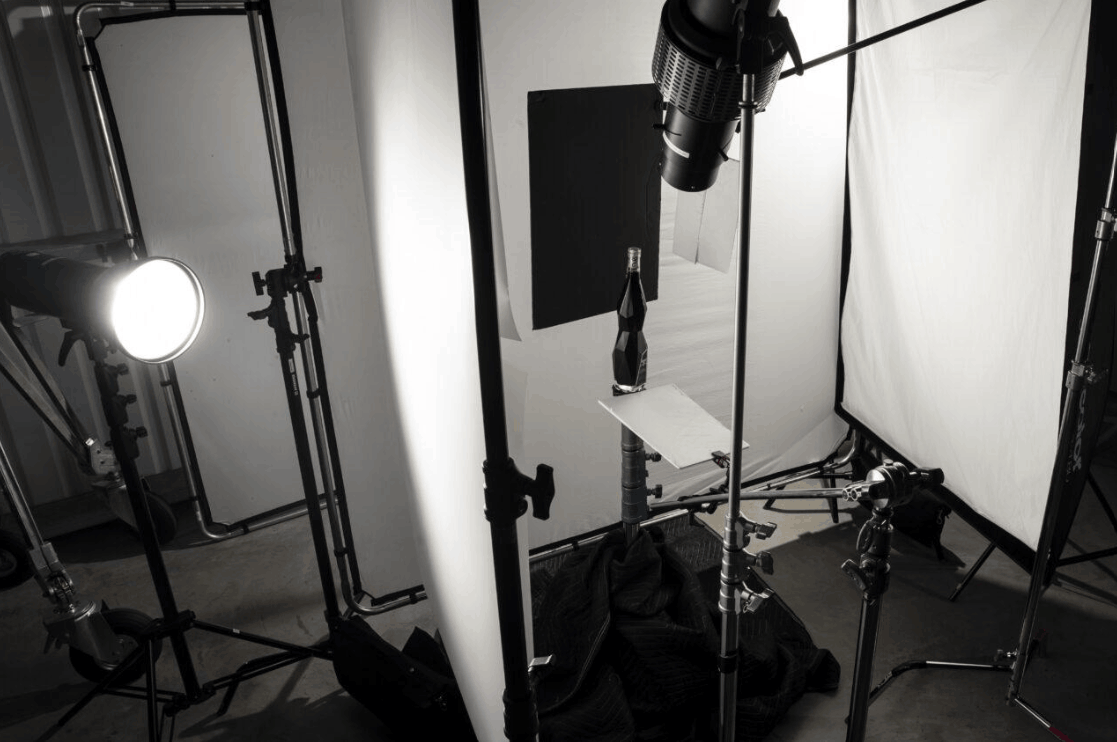
For metal objects and highly reflective surfaces, the primary light source should be a large softbox placed to the side or above the product. Surround the object with black cardboard to create deep, dark outlines, giving the product a more substantial and luxurious appearance. If you want to highlight small details such as logos or engraved patterns, you can add a hard light fixture with a honeycomb grid to focus light on the specific areas you want to emphasize.
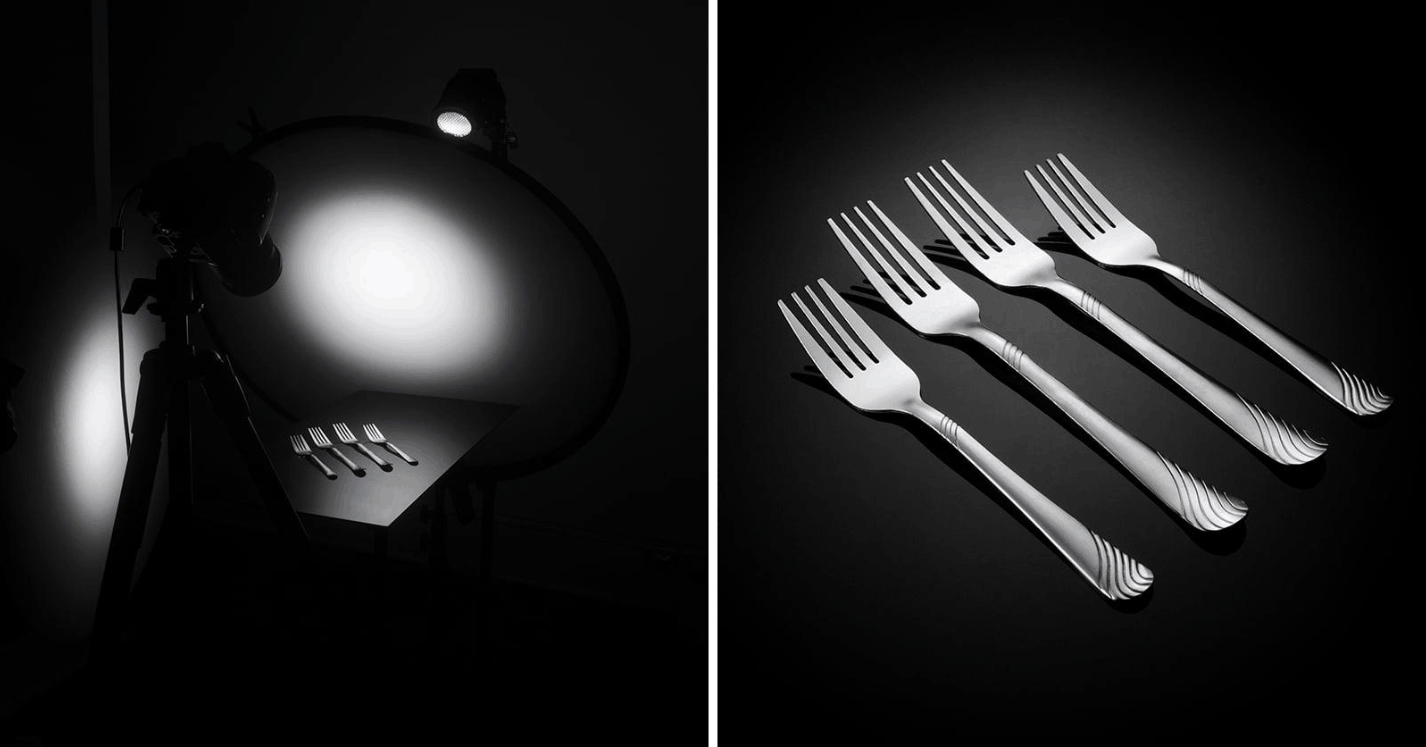
For plastic objects, position the light source behind the product at an angle of approximately 40 to 45 degrees to highlight the surface, and place a white sheet of cardboard opposite to reflect the light. For glossy plastic, place a softbox directly above the product, then use a second light to illuminate the background, creating a separation between the subject and the background.
For leather items, position the softbox slightly behind the product at a sharp angle. This reveals the leather grain, stitching, and texture, making the item look more premium. If the front or sides lack light, add reflectors to those areas to balance the lighting.
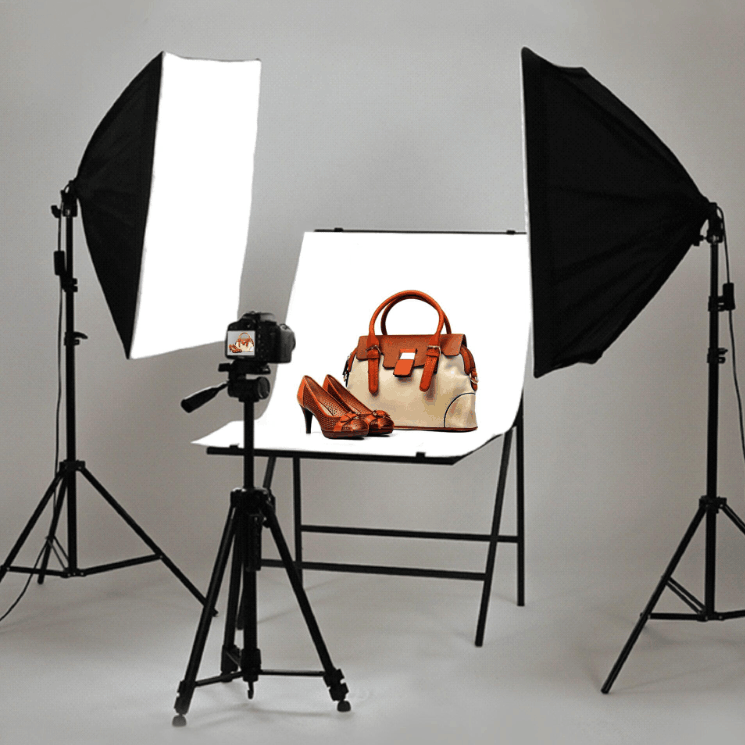
A common question among beginners is whether to choose a softbox or a diffuser. These two devices look quite similar but differ significantly in characteristics. A softbox creates a closed, directional beam of light with minimal light spill, and can be fitted with a honeycomb grid to narrow and direct the light. This is ideal for product photography, where you need to control the light and shadow areas. The downside is that softboxes are heavier, bulkier, and take longer to assemble. Diffusers open almost instantly, are lightweight and easy to carry, and emit a wide, soft light but reflect off all surrounding surfaces, making them difficult to control and lacking depth in shadows. Therefore, diffusers are often used as a supplementary light source in product photography, and are more suitable for group photos or outdoor events. An experienced photographer should own both, as they address different challenges and complement each other well.
2.1 Choosing appropriate backdrops and props
The background should be chosen based on where the photo will appear. If you're selling on an e-commerce platform, a plain white or gray background is the safest choice, as it allows buyers to clearly see the product's true shape and color, and meets the requirements of many platforms. For advertising photos or social media content, you have more creative space. Choose a surface with a texture that reflects the product's personality. A handmade bar of soap looks great on a rustic wooden surface, while a smartwatch will stand out against a metal or raw concrete background.
To prevent the photo from looking empty, add supporting items. These should convey the product's characteristics, ingredients, or uses, or have a certain connection in terms of design and color. For example, a juicy slice of lemon next to a bottle of citrus-scented perfume, or a cup of hot tea next to a winter sweater, will help viewers immediately understand the story behind the product.
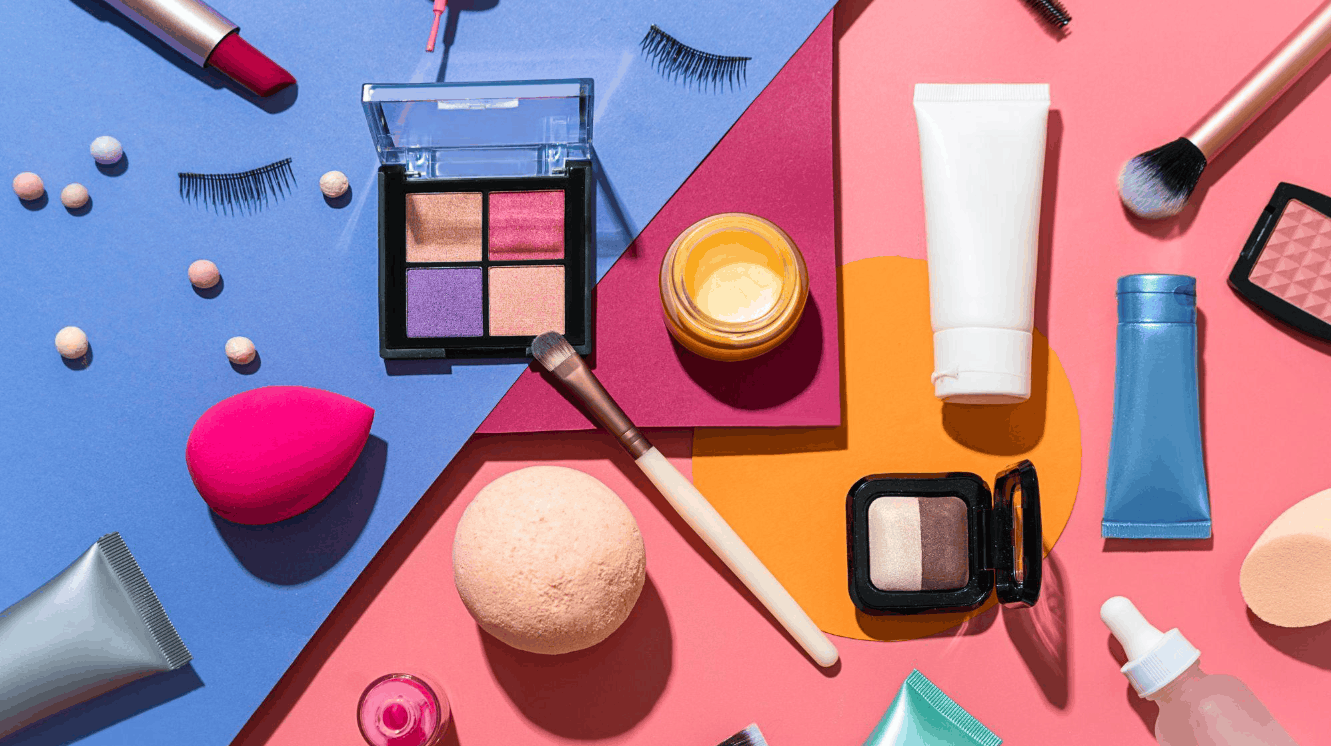
The key principle to remember is that props should always be smaller than the subject and not overly flashy. Think of it like a picture frame and canvas, where the secondary elements only exist to make the main product look better. Strong contrasts will draw the viewer's eye towards them. In an environment where customers only have a brief moment to glance at a bulletin board, this can seriously backfire, as viewers focus on the props and forget about the product.
2.2 Record product details and labels effectively
When photographing a product, you need to highlight all of its features and strengths. If the packaging has labels like organic or cruelty-free, they must be clearly visible, not glare-free, not blurry, and not so small that the text is illegible. You should also photograph the barcode, ingredient list, and other important information. However, these details can be reserved for the second, third, or subsequent photos in a carousel, so that the first photo retains its visual appeal.
For high-quality close-up shots, use a macro lens with an aperture of approximately f/8 to f/11, which is almost completely closed. This aperture provides sufficient depth of field so that all the text on the label is sharp. The light should be diffused, evenly covering the entire scene. Use a softbox and, if necessary, a polarizing filter to eliminate glare on glossy surfaces such as shrink wrap, foil-stamped paper, or labels.
Position your camera parallel to the surface the product is standing on to avoid perspective distortion, especially with flat labels that need to be clearly readable. Using a tripod and shooting via remote control or timer will help you avoid camera shake. Overall, these photos aren't too complicated, as long as you set up the conditions correctly and dare to experiment. Always create high-quality original files to have enough room to add unique details or correct minor errors in post-processing.
3. Post-processing and photo editing tips
Editing is the final step in any photoshoot. Using specialized photo editing software, photographers enhance the desired atmosphere of the image and minimize the impact of unwanted elements. However, the specific steps will vary depending on the format used, so before opening the software, clearly define where the image will be used.
For large e-commerce platforms like Amazon or eBay, the most common method is to separate the subject from the original image and place it on a pure white background. Carefully check the cropped edges to avoid jagged edges or leftover patches of the original background, and retain a slight shadow at the base of the product so the object doesn't appear to be floating. For products requiring a more sophisticated presentation, you can enhance the visual appeal. For example, when advertising a beverage, you can create a gradient background that matches the packaging's color scheme, place the bottle in the center, and add details such as a misty spray, a breeze, or scattered fruit slices around the bottle.
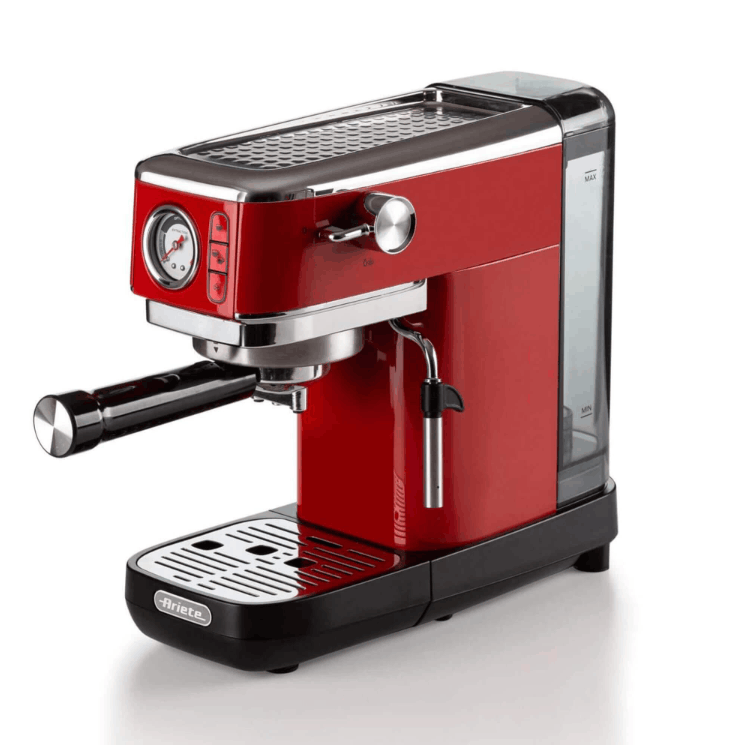
Images for social media or physical display screens need to be more content-rich. They should include accompanying objects, effects, colors, and text for effective communication. A white background with a short description is only really suitable when the product's main selling point is minimalism, as many high-end tech companies do. Below are some techniques to make your product tags more attractive.
- Background blurring, or bokeh effect: By blurring the background of the image, you create a beautiful depth of field, drawing the buyer's attention to the product.
- Object removal using AI generation: This tool seamlessly removes unwanted objects, glare, or surface imperfections while restoring the surface texture naturally.
- AI-powered image enlargement: You can increase the resolution and size of product images two, four, or six times while maintaining sharpness and preventing pixelation. This is especially useful for large-format printing or when the original file size is limited.
4. Common challenges and how to overcome them.
A good product photo is fundamental to effective sales, but the reverse is also true. Small mistakes can cost you customers without you even realizing it. Therefore, you need to identify and address errors skillfully, ideally right from the moment of shooting.
The first challenge is glare and reflections. When photographing shiny objects, metal, or glass, use a polarizing filter in combination with a softbox to eliminate unwanted reflections. Additionally, try changing the angle of the light source or camera angle, and use diffusers or white cloth to soften the light. Reflections may seem like a minor issue at first, but when you have to remove each one in post-processing, it can become a very time-consuming task, and even the most powerful commercial photo editing tools struggle to produce perfect results if the flaws are too severe.
The second challenge is color distortion due to incorrect white balance settings. Products may appear yellowish or bluish, leading to customer disappointment as the actual color doesn't match the image. Manually set the white balance using a grayscale card, double-check it every time the light source changes, and always shoot in RAW format for greater flexibility in post-processing color adjustments without compromising image quality.
Additionally, there are several other issues worth noting. Dust and fingerprints are often easily visible in magnified photos, so it's necessary to clean the product before each shot. Blurry or shaky images can be corrected with a stable tripod, an appropriate shutter speed, and shooting from a distance. Harsh shadows can be softened by moving the light source further away, using a larger diffuser, or adding a reflector. Finally, perspective distortion from close-up shots can be reduced by moving the camera further back and using a longer focal length lens.
5. Finalize product images for use in advertising.
Before uploading images to websites or advertising channels, they need to be technically optimized. The first step is to adjust the physical size of the image to meet the standards of the content management system or the requirements of each platform, as each platform and advertising channel has its own regulations regarding aspect ratio and minimum resolution. Product photos should be prepared with a size large enough for viewers to zoom in and see details.
The next step is to convert the image to the sRGB color profile. This is the most common color space on the web and most display devices, so it helps ensure that product colors are accurately and consistently reproduced across the customer's computers, phones, and tablets.
Next, compress the file to a size of approximately 150 to 200 KB and convert it to the modern WebP format. This strikes a good balance between image quality and page load speed. Image load speed directly impacts user experience, bounce rate, and website search ranking, so an overly large image can negate the benefits of high image quality. Consider cases where higher quality is needed, such as a hero image at the top of the page, and compress accordingly instead of applying a fixed number to all images.
The final step is to remove metadata, such as device information, location, or time of capture, to further reduce file size, contributing to faster download speeds and protecting privacy. Don't forget to give your files meaningful names and add alternative text to each image, as these factors optimize search engine optimization and accessibility for visually impaired users.
In summary, effective product advertising photography is the result of a complete process, from understanding the customer, preparing equipment, designing lighting, choosing the setting, capturing details, to post-production and file optimization. When each step is done carefully, your product images will not only be beautiful but also truly persuasive, leading customers to make a purchase decision.

















VIP Products







Best Selling Products
Plugin Retouch4me
69 USD
Windows 10 & 11 Pro Key
36 USD
Upgrade Duolingo Super
29 USD
Capcut Pro 1 Year
39 USD
Copyright Adobe Lightroom Account
59 USD
ChatGPT Plus Account (GPT-4)
16 USD
Upgrade Genuine Office 365
49 USD
Upgrade genuine Capture One account
120 USD
Genuine Cheap Canva Pro
39 USD
Adobe Photoshop Copyright - Full App
120 USD
Adobe Premiere Pro Account
99 USD
MidJourney Account
29 USD
Autodesk All App Account Copyright
120 USD
Genuine Adobe Illustrator account
99 USD
Freepik Premium Account
59 USD
Articles on the same topic