
Best Selling Products
Upgrade genuine Capture One account
120 USD

MidJourney Account
29 USD
Adobe Photoshop Copyright - Full App
120 USD
Windows 10 & 11 Pro Key
36 USD
Genuine Adobe Illustrator account
99 USD
Autodesk All App Account Copyright
120 USD
Capcut Pro 1 Year
39 USD

ChatGPT Plus Account (GPT-4)
16 USD
Adobe Premiere Pro Account
99 USD
Genuine Cheap Canva Pro
39 USD

Freepik Premium Account
59 USD
Plugin Retouch4me
69 USD

Upgrade Genuine Office 365
49 USD
Copyright Adobe Lightroom Account
59 USD

Upgrade Duolingo Super
29 USD
Sharpening videos with CapCut is extremely simple; improve video quality to a clear and beautiful image in just a few steps.
Nội dung
- 1. Why should you use CapCut to sharpen your videos?
- 2. Detailed instructions on how to sharpen videos using CapCut
- Step 1: Open CapCut and select the video you want to sharpen.
- Step 2: Access the image adjustment tool.
- Step 3: Increase video sharpness
- Step 4: Adjust brightness and contrast
- Step 5: Preview and save the video after editing.
- 3. Tips for sharpening videos using CapCut for a more natural look.
- 4. How to fix blurry or distorted videos when editing with CapCut
- 5. Other applications that support video sharpening besides CapCut
- 5.1. Reminiscence
- 5.2. Wink
- 5.3. PowerDirector
- 6. Conclusion
Videos, once recorded, sometimes lack the desired sharpness. Images can be blurry, out of focus, or lacking detail, making the overall clip less appealing. This is especially true when uploading videos to TikTok, Facebook, or Instagram, as poor image quality can diminish the viewer experience. Instead of reshooting, you can utilize editing tools to improve video clarity directly on your phone. CapCut is a popular choice thanks to its user-friendly interface, simple operation, and numerous useful editing features. With just a few adjustments, you can make your video brighter, with more harmonious colors and more prominent details. In this article, let''s explore how to sharpen videos using CapCut, effective editing tips, and other supporting applications to achieve the desired result!

1. Why should you use CapCut to sharpen your videos?
CapCut is popular for its flexible video editing capabilities, suitable for both beginners and experienced content creators. The application offers many tools to improve images, such as adjusting sharpness, brightness, contrast, color, and filters. Thanks to this, slightly blurry or lifeless videos can be significantly improved without using professional software. You can also combine various effects to make your videos more lively and eye-catching.
Another advantage of CapCut is that editing is done directly on the phone, saving time and effort. After sharpening, you can continue cutting, splicing, adding music, inserting text, or adding transition effects all within the same project. This is especially convenient for those who frequently create TikTok videos, sales videos, personal vlogs, or clips sharing everyday moments. However, it's important to note that the sharpening tool primarily makes the image look clearer and cannot completely restore details lost due to the original video being too blurry.
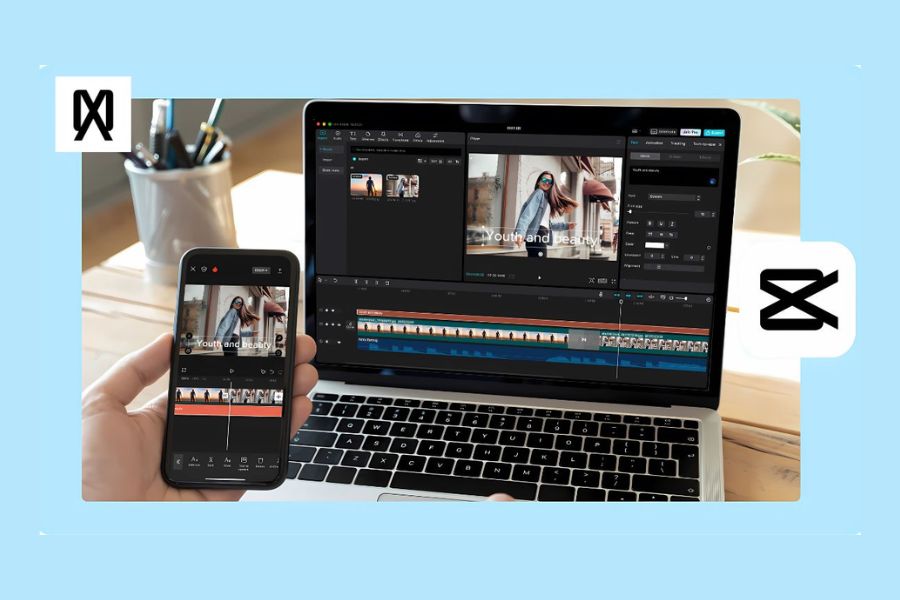
2. Detailed instructions on how to sharpen videos using CapCut
To improve video quality, you don't need to perform many complicated operations. CapCut has built-in image adjustment tools that allow users to easily control sharpness and color to their liking. Below is a step-by-step guide that you can apply right away on your phone.
Step 1: Open CapCut and select the video you want to sharpen.
First, open the CapCut app on your phone and select "Create New Project" from the main interface. Your device's image and video library will then appear for you to choose from. Find the video that is blurry, lacks detail, or has poor image quality that you want to edit. After selecting it, press "Add" to import the video into CapCut's editing interface.
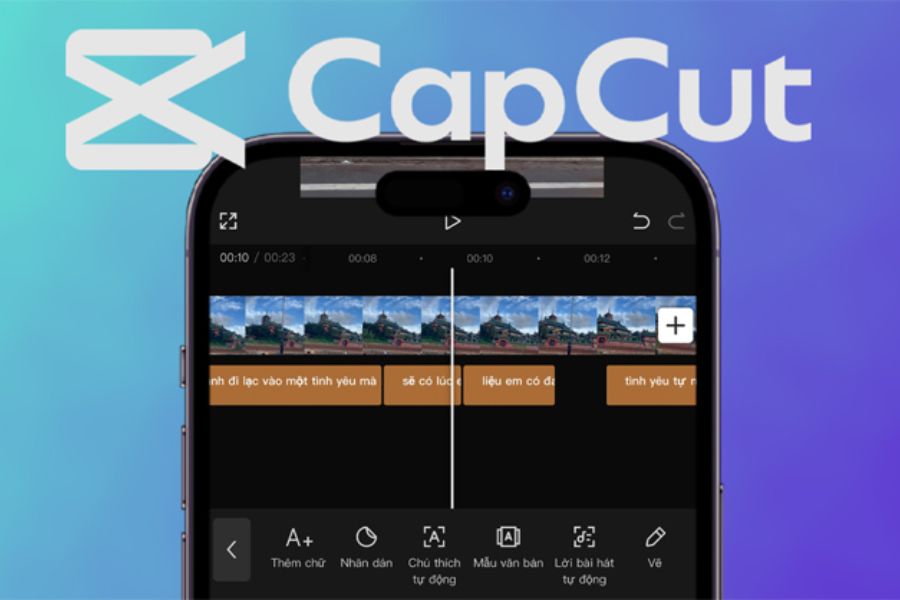
Step 2: Access the image adjustment tool.
Once the video appears on the timeline, select the clip you want to sharpen to open the editing tools. Next, find the "Adjust" option on the toolbar at the bottom of the screen. This area contains important parameters that help change the video's appearance, such as brightness, contrast, saturation, and sharpness. Take some time to familiarize yourself with each option to easily control image quality in the following steps.
Step 3: Increase video sharpness
In the settings panel, find the Sharpen tool and drag the slider to the right to increase image clarity. You should start with a moderate adjustment, then observe the changes in details such as faces, hair, clothing, or objects in the frame. If the video becomes clearer without harsh edges or noise, you can keep that setting. Conversely, if the image looks too stiff or unnatural, reduce the sharpness until you achieve the desired result.
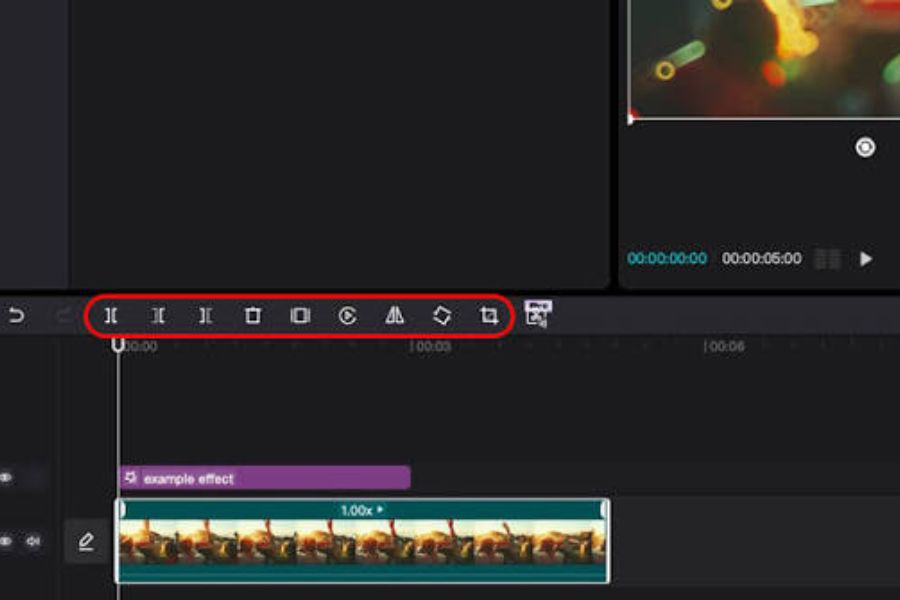
Step 4: Adjust brightness and contrast
After increasing sharpness, you should continue adjusting the lighting to make the video look more balanced. If the footage is too dark, slightly increase the brightness so that details in the frame are clearly visible. For videos with pale colors, you can adjust the contrast to create a difference between light and dark areas. Additionally, pay attention to saturation to make the colors vibrant but not overly saturated. Combining these parameters appropriately will give the video depth and a more professional look.
Step 5: Preview and save the video after editing.
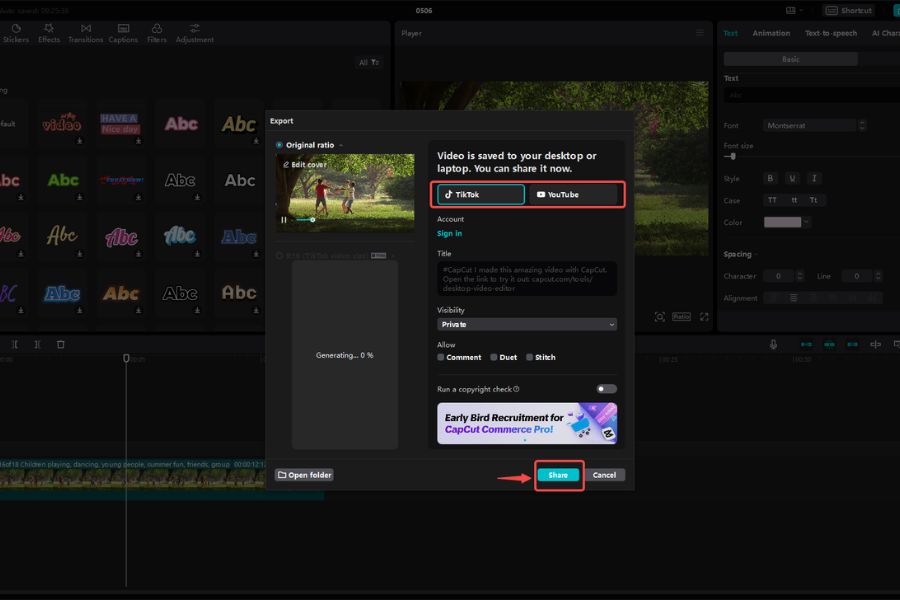
Once you've completed the adjustments, play back the video to check the image quality from beginning to end. Pay attention to any noise, pixelation, or unusual color changes. If you feel the image is clearer and more natural, press the Export button in the upper corner of the screen to save the video. Depending on the quality of the original file and your needs, you can choose 1080p or 4K resolution if supported. After successful export, the video will be saved to your library for you to share on social media platforms.
3. Tips for sharpening videos using CapCut for a more natural look.
Increasing the sharpness to the highest level doesn't necessarily mean the video will look better. In fact, over-adjusting it can result in grainy images, harsh edges, or unnatural colors. To achieve a visually appealing final product, you should combine multiple parameters instead of focusing on a single tool. The following tips will help you make the editing process more effective:
-
Increase Sharpen just enough: Only adjust the sharpness until details become clearer. Avoid pushing the slider to the maximum level as this can make the video harsh and lose its smoothness.
-
Improve lighting before increasing sharpness: For videos with low light, adjust the brightness and shadows first. This makes the image easier to see and reduces the blurry appearance caused by insufficient light.
-
Avoid overusing filters: Some filters can make colors too saturated or alter the original look of the video. Choose effects that suit the content and style you want to convey.
-
Use high-quality original video: Videos shot in high resolution usually retain more detail, resulting in better sharpening results.
-
Choose an appropriate output resolution: Prioritize a resolution that is equivalent to the original video quality, and avoid exporting repeatedly to prevent degradation of image quality.
4. How to fix blurry or distorted videos when editing with CapCut
During the video sharpening process, you may sometimes encounter situations where the image remains unclear even after increasing the sharpening level. This could be due to low-quality original video, inaccurate camera focus, or shaky footage. In these cases, simply increasing the sharpening level usually doesn't yield the desired results. You should try adjusting brightness, contrast, and noise reduction if your CapCut version supports it. Also, check the original video to determine if the problem lies with lighting, motion, or resolution.
Another tip is to avoid zooming in too much on the video during editing. When the image is stretched beyond its original resolution, pixels can become more pronounced, making the video look pixelated and less sharp. If shooting a new video, you should keep your phone steady, clean the camera before shooting, and choose a location with sufficient light. These seemingly simple steps greatly affect image quality. When the input video is good, editing with CapCut becomes easier and produces better results.
5. Other applications that support video sharpening besides CapCut
Besides CapCut, there are now many other applications that help improve video quality with their own features. If you've tried adjusting the settings but the video still isn't as clear as you'd like, you can check out some of the options below.
5.1. Reminiscence
Remini is a standout app that utilizes AI technology to enhance images and videos. This tool can improve low-resolution footage, blurriness in faces, and other visual issues. Instead of manually adjusting parameters, users simply select the video and let the AI handle the processing. As a result, older footage or videos shot with low-quality cameras can be significantly improved.
A notable feature of Remini is its ability to focus on restoring prominent details, especially faces and the main subject in the frame. However, processing results may vary depending on the quality of the original video. Some features are also limited by the subscription package. You should preview the finished product to check for naturalness before saving the video.
5.2. Wink
Wink is also a popular app for those looking to enhance image quality using AI. The app provides tools to improve clarity, boost video quality, and edit portraits. It's a suitable choice for clips with blurry images, lacking detail, or those needing an overall improvement before posting on social media.
Wink is quite intuitive to use. Simply select the video you want to process, access the quality enhancement feature, and wait for the application to complete the analysis. Then, review the results to assess the difference between the original and edited video. Depending on the features and version, the application may require payment or have usage limits.
5.3. PowerDirector
PowerDirector is a video editing application suitable for those who want to have more control over post-production elements. In addition to tools for cutting, adding effects, and color correction, the application also offers features to enhance image quality depending on the version. Users can combine adjustment parameters to make videos more harmonious, clear, and visually appealing.
PowerDirector's strength lies in its relatively comprehensive editing capabilities. You can complete images, audio, effects, and video content all within a single project. This is a worthwhile option if you frequently create tutorial videos, product introductions, or professional creative content.
6. Conclusion
Sharpening videos with CapCut is a simple solution to improve image quality right on your phone. With just a few adjustments to sharpness, brightness, and contrast, you can make your footage clearer, more harmonious, and more engaging. In particular, combining these parameters appropriately will help the video maintain a natural look, avoiding overly harsh images or excessive noise. Hopefully, with the detailed instructions above, you now know how to sharpen videos using CapCut and choose other suitable applications when you need to upgrade image quality. Try applying these techniques to your videos to create more beautiful, professional, and impressive footage!














VIP Products

Best Selling Products
Upgrade genuine Capture One account
120 USD
MidJourney Account
29 USD
Adobe Photoshop Copyright - Full App
120 USD
Windows 10 & 11 Pro Key
36 USD
Genuine Adobe Illustrator account
99 USD
Autodesk All App Account Copyright
120 USD
Capcut Pro 1 Year
39 USD
ChatGPT Plus Account (GPT-4)
16 USD
Adobe Premiere Pro Account
99 USD
Genuine Cheap Canva Pro
39 USD
Freepik Premium Account
59 USD
Plugin Retouch4me
69 USD
Upgrade Genuine Office 365
49 USD
Copyright Adobe Lightroom Account
59 USD
Upgrade Duolingo Super
29 USD