Best Selling Products

MidJourney Account
29 USD

ChatGPT Plus Account (GPT-4)
16 USD

Capcut Pro 1 Year
39 USD

Adobe Premiere Pro Account
99 USD

Upgrade Genuine Office 365
49 USD

Upgrade Duolingo Super
29 USD

Freepik Premium Account
59 USD

Plugin Retouch4me
69 USD

Upgrade genuine Capture One account
120 USD

Windows 10 & 11 Pro Key
36 USD

Adobe Photoshop Copyright - Full App
120 USD

Genuine Cheap Canva Pro
39 USD

Autodesk All App Account Copyright
120 USD

Copyright Adobe Lightroom Account
59 USD

Genuine Adobe Illustrator account
99 USD
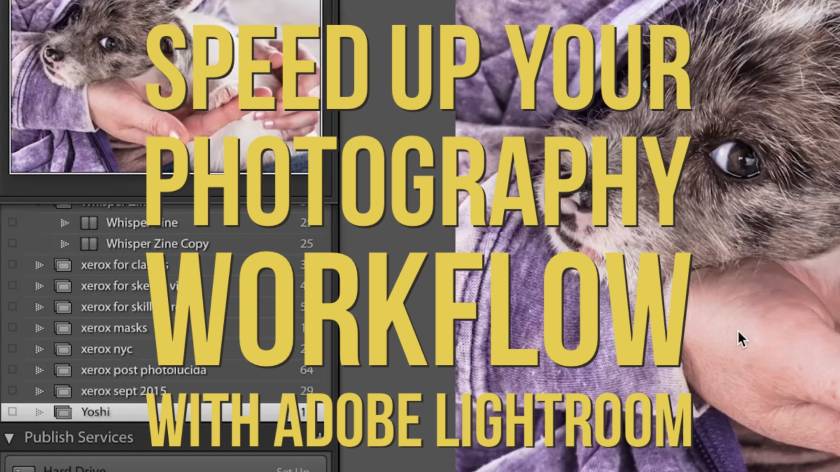
5 hidden tricks to speed up your workflow in Adobe Lightroom
Nội dung
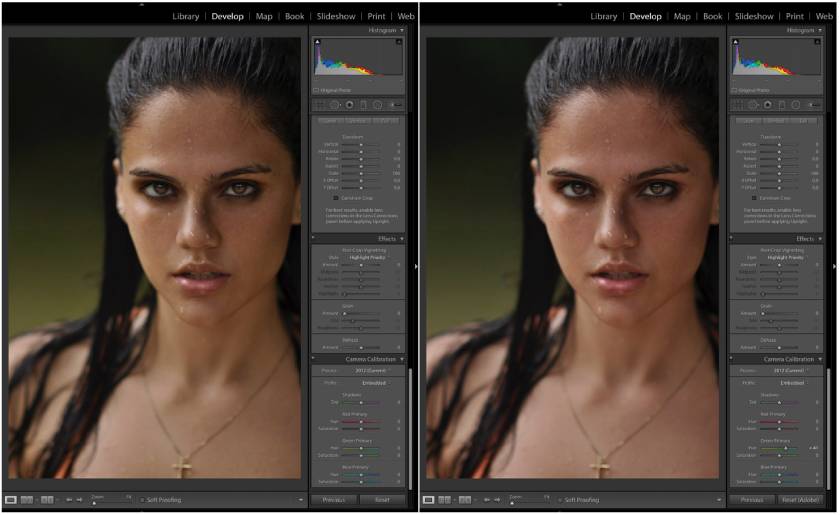
 To showcase new ways for photographers and photo editors to improve their workflow, we've shared similar videos in the past about helpful new techniques in Lightroom. Luckily, this tutorial is no different and is packed with new methods you might not have thought to try before. Speed up your Lightroom workflow
 #1 - Advanced Auto Rating Option
This is something that I would like Adobe to set to “ON” as default and then give you the option to disable it if you so choose. How many of you rate your photo by selecting a rating and then pressing the right arrow key to go to the next photo? How to do that,. Simply enable the Auto Advance feature by selecting it from the drop-down menu under 'Photos' or simply enable CAPS LOCK. Once activated, Lightroom will take you to the next photo in the queue after each successful rating. It's natural how quickly you can do a new import with this option enabled.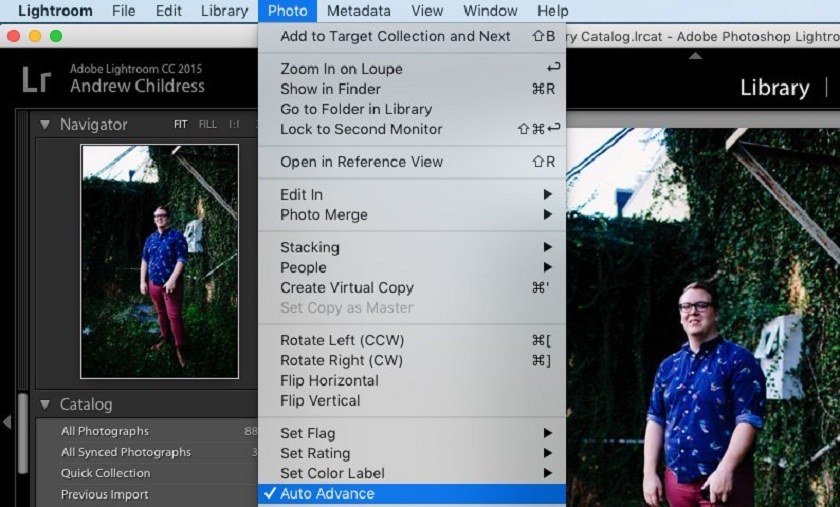
#2 - Start with a YES or NO rating system
I like to think of this as keeping it simple. There are a ton of different rating options (from flags, to stars, to colors) and while each serves one goal, I think it's best to keep it simple the first time you import a set of photos. new. Remember tip #1 above and enable Auto Advance, then use the 'P' or 'X' keys to rate your photos. The 'P' tells Lightroom that you want to keep the photo, and it's flagged as "Pick". The 'X' tells Lightroom that you want to disavow the photo, and it's marked as such. When you're done with your typing, press Command + Delete (PC control). This will delete all your photos, never to be seen again. (Select “remove disk” to not only remove from your LR catalog, but also remove from your hard drive) I find that this helps keep your libraries cleaner and easier to manage. It will also allow you to delete a lot of 'maybe-I'll use this-sometime' photos that in most cases are just a waste of time.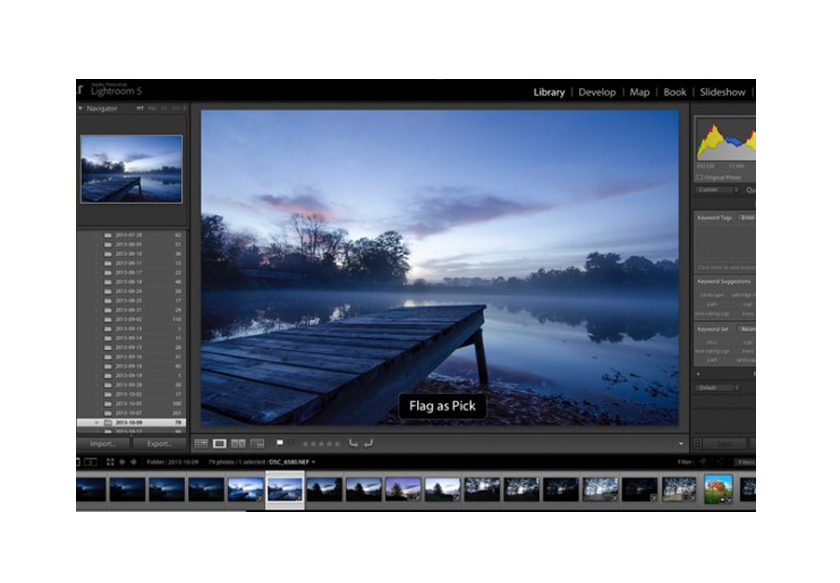
#3 - Learn and use shortcuts
I mentioned some shortcuts above, but the main list only has one more. Click Command + / (Control + / on PC) in any Lightroom panel and everything can be displayed in that window. Learning the keys is a job, and other jobs are put to them in yours (I'm still slowly learning how to do this myself), but once you get the hang of it, you'll fly through. the control panel without thinking about it.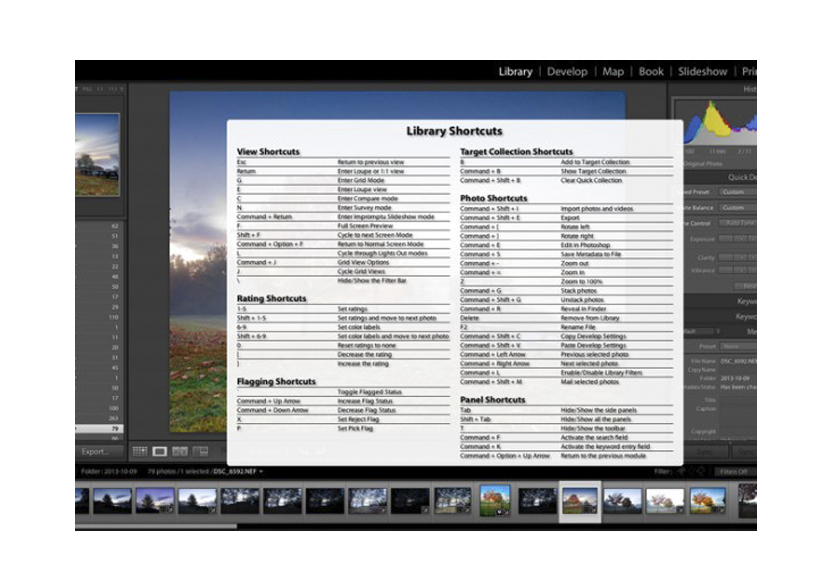
#4 - Use Solo mode on faces
Another Lightroom setting that I personally feel should be an optional default is the Solo mode option for Lightroom's various panel tools. This option allows you to automatically minimize one panel when you open another. For example, if you are working in the Basic Tab of the Develop module and want to switch to sharpening your image, click the Detail Tab, Lightroom will automatically close the Basic Tab for you. I find that this makes the interface a lot cleaner and easier to navigate, especially for those just starting out with the program (or using a small monitor or laptop) To enable the feature, simply right-click on any sidebar panel name (not the triangle) and select ‘Solo Mode’ from the menu that appears. Once activated, you will probably never come back.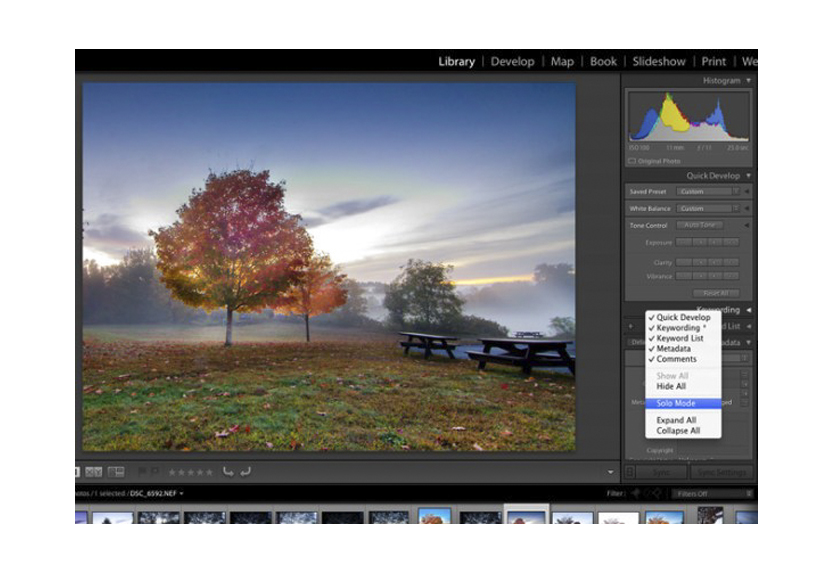
#5 - Lights Out mode focuses on the photo
Sometimes you want to focus on the center of the image you're working with - not the look and feel of Lightroom. This is when we use Lights Out mode to take advantage of that. To be able to enter Lights Out mode, press the L key on the keyboard in the Library module. And then the area around the image will be blurred, and the abnj's image will look nicer and clearer. Click again to make the area around the image completely dark. Press L a third time and you will reset to View mode.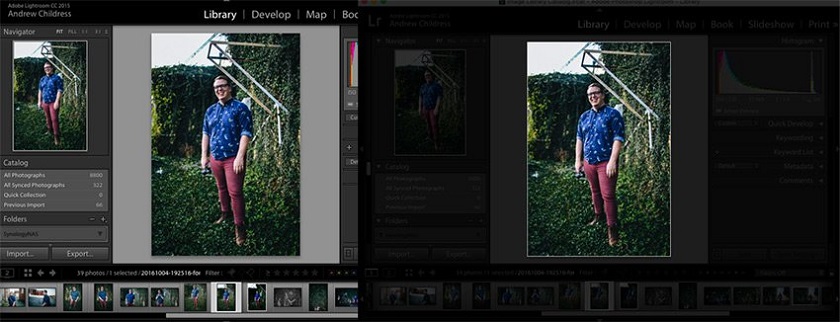 The Lights Out mode works great when it comes to viewing single images or as a grid. The point we're talking about here is the temporary blurring of the interface so you can focus on an image. There are also different ways to make working with Adobe Lightroom faster and easier to use. You can see more of Chelsea Nicole's video with her tips on working with Lightroom. [embed]https://www.youtube.com/watch?v=DHOuodQ_AxE[/embed] These new tricks will assist you in soft-testing your images before they are published to social media, giving you a quick way to ensure consistent visibility across multiple images. photos, improve your accuracy with color adjustments and better methods for applying specific changes in snapshots.


VIP Products


Best Selling Products
MidJourney Account
29 USD
ChatGPT Plus Account (GPT-4)
16 USD
Capcut Pro 1 Year
39 USD
Adobe Premiere Pro Account
99 USD
Upgrade Genuine Office 365
49 USD
Upgrade Duolingo Super
29 USD
Freepik Premium Account
59 USD
Plugin Retouch4me
69 USD
Upgrade genuine Capture One account
120 USD
Windows 10 & 11 Pro Key
36 USD
Adobe Photoshop Copyright - Full App
120 USD
Genuine Cheap Canva Pro
39 USD
Autodesk All App Account Copyright
120 USD
Copyright Adobe Lightroom Account
59 USD
Genuine Adobe Illustrator account
99 USD