Best Selling Products
Synthetic shortcuts in Lightroom helps you edit photos quickly

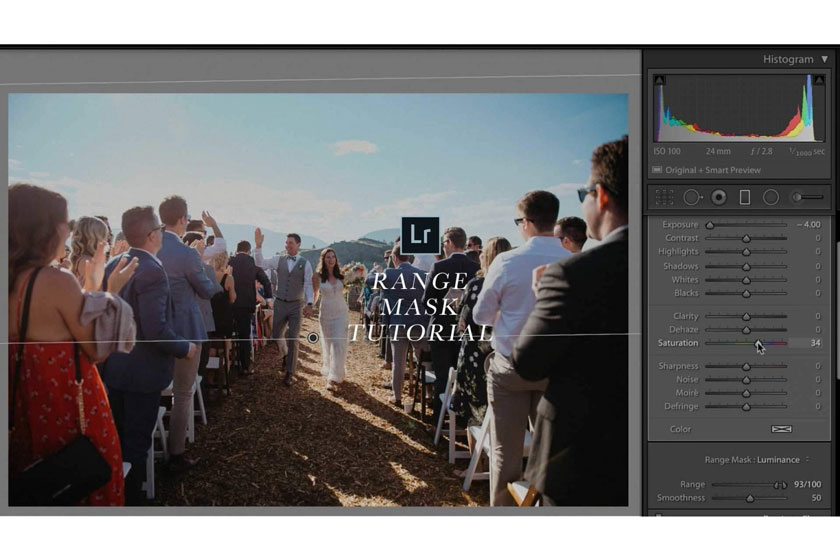
Adobe Lightroom is a powerful application with many features for photographers and photo editors. Utilizing all of its capabilities requires familiarizing yourself with the keyboard shortcuts to save your working time.
 shortcut in lightroom
All image post-processing, photo sharing are done in one interface, and multi-image work at the same time is fast. In that Adobe Lightroom software is special in that it can process images but not lose the original image.
And in the process of using the software, the operations by keyboard shortcuts are always faster if you do them manually. The following article SaDesign Retouching will summarize the shortcuts in Lightroom to help you edit photos quickly.
Adobe Lightroom is a very professional photo color blending software that is used by many professional photographers around the world. Adobe Lightroom software is mainly focused on post-processing image enhancement and RAW conversion for photographers.
Through many versions, this software is increasingly upgraded with more new features to help users easily complete works from start to finish, or create a photo album quickly. Therefore, when you use Adobe Lightroom, you cannot help but memorize these shortcuts, because it will certainly help your editing work quickly and you will also be much more professional.
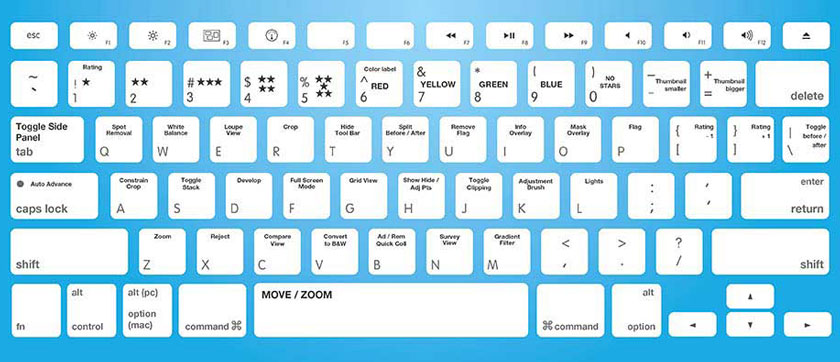 Lightrom keyboard shortcut
| No. | Shortcuts | Functions |
| 1 | Ctrl/CMD +Shift+I | Import photos into software |
| 2 | Ctrl/CMD +O | Open the catalog |
| 3 | Ctrl/CMD +Alt+, | Open catalogo settings |
| 4 | Ctrl/CMD +, | Open Preferences |
| 5 | G | Switch Grid Mode (Library Mode) |
| 6 | E | One-shot view (Loupe View) |
| 7 | F | Full screen mod |
| 8 | L | Turn lights on/off |
| 9 | P | Select a picture |
| 10 | X | Delete an image |
| 10 | Caps Lock | Next image automatically |
| 11 | D | Go to the tab Develop |
| 12 | Tab | Hide the 2-party toolbar |
| 13 | Shift+Tab | Hide all toolbars on the home screen |
| 14 | Ctrl/CMD +N | Compare photos |
| 15 | Y | Switch The Before (front) and After modes (after) to side-by-side |
| 16 | V | Black & White |
| 17 | \ | Turn on Before (front) and After (after) Lightroom |
| 18 | ~ | Check |
| 19 | U | Unmark |
| 20 | H | Hide adjustments |
| 21 | Q | Removal Tool point |
| 21 | Đỏ – 6, Vàng – 7, Xanh lá – 8, Xanh nước biển – 9 | Set a color label for a photo |
| 22 | 0, 1, 2, 3, 4, 5 | Worth the image by the number of stars |
| 23 | R | Turn on cropped or resize and rotate photos |
| 25 | Shift | When holding down this key, the aspect ratio of the edges of the image is preserved despite the resizing |
| 26 | Alt | When holding down this key and dragging to resize the image, the image is pulled symmetrically across the center point |
| 27 | Enter | Agree to crop a photo |
| 28 | Ctrl/ Option +‘ | Create a virtual copy |
| 29 | Ctrl/CMD +Z | Redo the previous operation |
| 30 | Ctrl/CMD +C | Copy Develop settings |
| 31 | Ctrl/CMD +P | Paste Develop settings |
| 32 | Ctrl/CMD +/ | See all keyboard shortcuts |
The first keyboard shortcut that you need to know first on your computer is the CMD / CTRL + C & CMD / CTRL + V keys to copy and paste.
 Keyboard shortcut in Lightroom
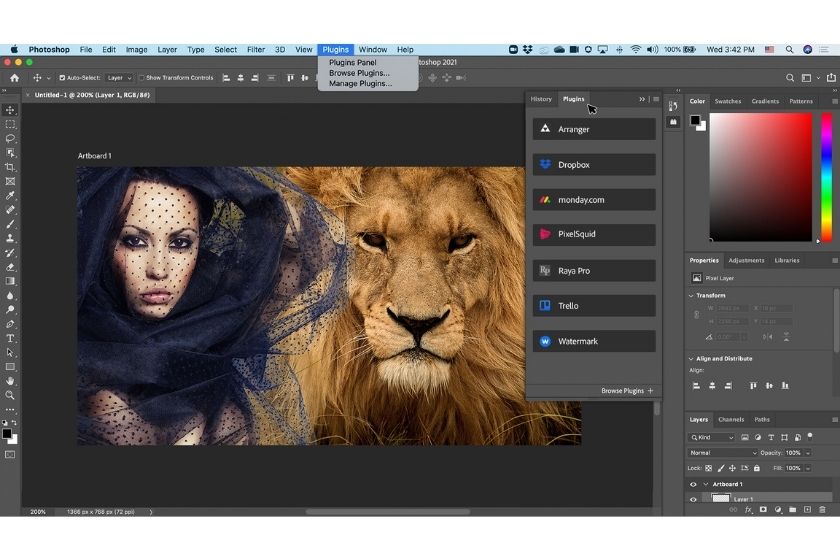
Above are a few basic shortcuts frequently used when we manipulate images in Adobe Lightroom. And Adobe Lightroom's interface is quite similar to the interface of Adobe photoshop, but its design is simpler, so it makes it easier for users to grasp the manipulations when performing.
Hopefully this article will help you in editing photos on Adobe Lightroom professional software and quickly in your workflow through these basic shortcuts. Thank you for watching the article.


