Best Selling Products
Color strip & Brightness Mask in Lightroom Classic CC
Nội dung

Color strip & Brightness mask in Lightroom Classic CC are the basics that need to be taken care of when editing images. Please join SaDesign Retouching to find out through the information in the following article.
 Brightness Mask in Lightroom
Lightroom Classic CC brings many outstanding utilities to make the image editing process of users become more professional. In which mask color range & brightness in Lightroom Classic CC is always the factor that is most concerned about. And if you are looking to become a professional photo editor with Lightroom Classic CC, do not ignore the information below.
Color strip and brightness mask
Lightroom Classic CC color band & brightness mask is the update of Adobe for computer which is new and lightning-fast that brings even more performance improvements to the board. If you are a photo editor, you will be familiar with Lightroom software. This is a photo editing software with a ton of features suitable for even beginners.
Once a year, adobe continuously releases new software versions with more attractive features that make users wait anxiously. The year 2020 is a breakthrough of adobe software's utility features. With improved performance, Lightroom Classic CC allows you to import photos, create previews and switch from gallery to Module Develop in record time, much faster image loading times.
 Lightroom has many innovative features
Color strip and brightness masks are one of the more exciting new features, opening up a whole new way to make local adjustments to your photos without being destroyed and applied quickly.
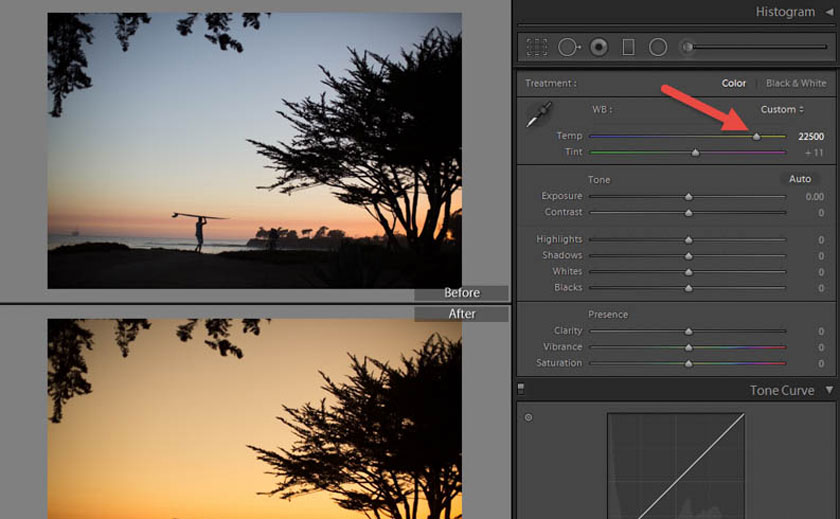
Even if you're not familiar with the image editing process, you may have seen the brightness scale setting on your camera. Brightness balance is a tool that helps the camera's sensor adjust colours according to each ambient lighting condition. However, if the photo does not have the right brightness, try editing by applying the technique in the section below.
How to use color strip mask and brightness correction in Lightroom Classic CC
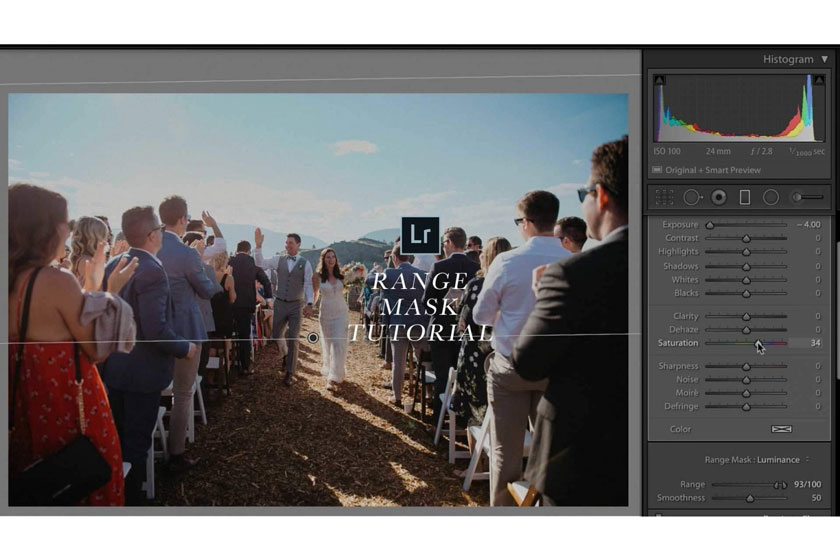
In the following tutorial, Julieanne Kost, Adobe's Key Digital Image Evangelist guides us through the utility of this powerful new feature. This is via the following video:
Starting with Gradation Filter, Julieanne demonstrates how you can control the exposure of the sky in a landscape through targeting the Brightness range. Before Luminance Range Masking, dark skies would also affect other subjects such as trees or mountains, but with the ability to dial according to the specific value you want to manipulate, the mask can be applied to only those that particular value.
 edit image
The next example focuses on the Adjustment Brush, creating the original mask to target the blue color of the sky, instead of its exposure. Select the Color Range Mask, followed by the Color Range Picker, Julieanne explains that by using the Shift key or clicking and dragging across a range of colors, it's completely possible to dial in the exact color they want the photo to. enjoy by their masks.
Masking is quick and easy like what Lightroom Classic CC offers today that can be exploited for a variety of things not just landscapes or backgrounds. Experiment with these new tools in your workflow to see how manipulating different color ranges and tones can affect your final image.
Above are the shares about color & brightness masks in Lightroom Classic CC, SaDesign Retouching hopes to help you grasp useful information. If you have questions or need help to use professional photo editing services, please contact the SaDesign team by leaving your phone number below the article, we will quickly assist you the most enthusiastically.
See more What is Preset Lightroom? How to Use Presets in Lightroom


