Best Selling Products
How to use new advanced features in Photoshop and Lightroom
Nội dung
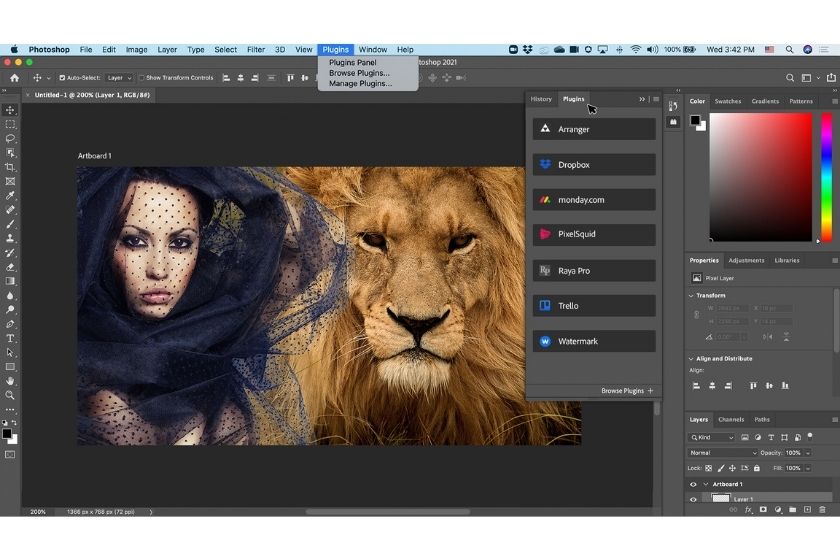
With recent updates to Photoshop and Lightroom CC, Adobe has published new features to enhance details worth exploring. Each of these features works differently. So in today's tutorial, SaDesign Retouching gives you information to help you learn more about the mechanism behind each option, and show you the best method to apply the new advanced features in Photoshop and Lightroom the most effectively.  new advanced features in Photoshop and Lightroom Usually when editing images, the factors that are primarily concerned are Sharpness, Textures, Clarity and Resolution, because they have the ability to re-add details to an image. However, all that the supplier can do on a technical level is to increase the contrast of specific frequencies, to enhance the edges of the frequencies, and to create the illusion of detail. Frequency is described as how often the tone changes in a given area. High frequencies have a lot of tonal variation in a smaller area of the picture, while low frequencies do not. Be aware that going too far with these sliders can create too much noise or contrast, so a subtle stroke goes a long way.
 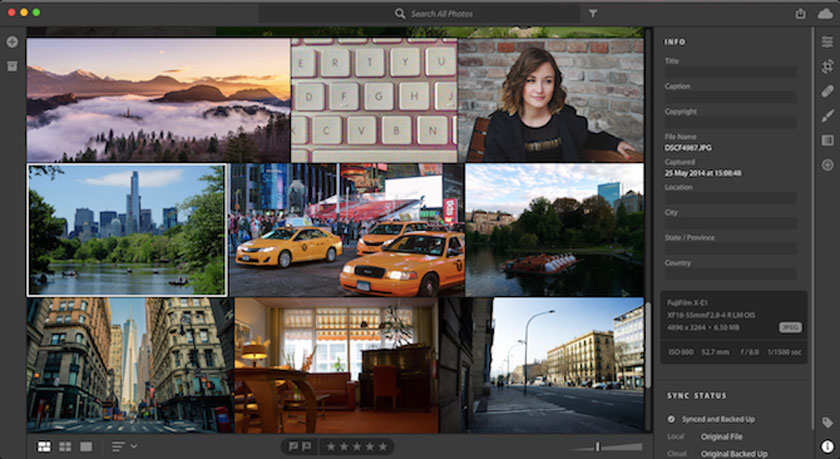 advanced features in Lightroom For practice, you can convert your image into a Smart Object. This will allow you to work smoothly, the original image is not destroyed, and you can revert your changes if needed. Once a Smart Object is created, you navigate to Filter => Camera RAW Filter. In this new window, you will be able to apply Texture, Clarity and Dehaze in the Basic Panel. You can click on Detail Panel to bring up Sharpen, which is one of the most classic options.
 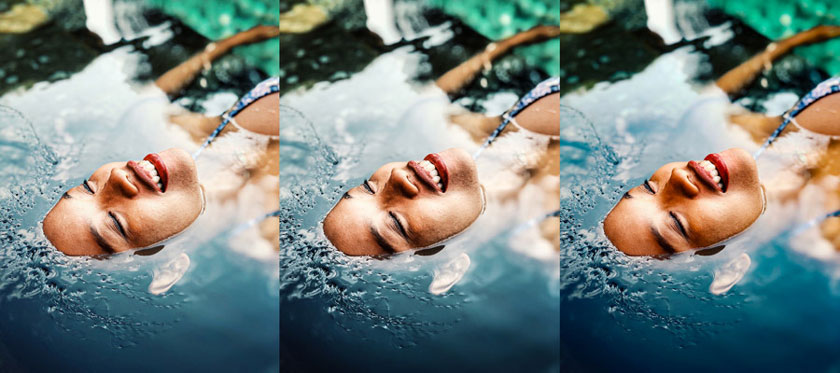 Describe each new advanced feature
 new advanced features in Photoshop and Lightroom
How to test and practice advanced features in Lightroom
You can test and practice these new features with Camera's RAW Filter in Photoshop, and once you get to know how they work, it will be easy for you to know how to use them in Lightroom CC and Lightroom Classic. advanced features in Lightroom
Describe each new advanced feature in Photoshop and Lightroom
 Describe each new advanced feature
- Sharpening: This is a detail enhancement option used mainly in Photoshop and Lightroom. This tool increases the contrast and visibility of the edges in the entire tonal range of your images. If you magnify your photo at 100%, you will find that high sharpness results in a lot of image noise, resulting in a "sharper" image when zoomed out. However, you should use the Masking feature so that you can apply the tool to the edges of an image, rather than using it entirely.
- Texture: This is a monolithic editing feature and increasing the contrast in the medium frequency regions. This option is probably the "most natural" of the rest and is often used when you retouch the beauty.
- Clarity: This option increases the contrast with the middle areas of the image, but it also driplessly changes the saturation. The implementation of this feature is often more difficult than the others, so the user needs to be very careful.
- Dehaze: This is a feature that moderately increases contrast and saturation. The purpose is to eliminate mist, so this option is only reasonable when you need to effect drastic changes to the colors in the image.
Sadesign Co., Ltd. provides the world's No. 1 warehouse of cheap copyrighted software with quality: Panel Retouch, Adobe Photoshop Full App, Premiere, Illustrator, CorelDraw, Chat GPT, Capcut Pro, Canva Pro, Windows Copyright Key, Office 365 , Spotify, Duolingo, Udemy, Zoom Pro...
Contact information
SADESIGN software Company Limited


