Best Selling Products

Capcut Pro 1 Year
39 USD

MidJourney Account
29 USD

Freepik Premium Account
59 USD

ChatGPT Plus Account (GPT-4)
16 USD

Upgrade Duolingo Super
29 USD

Autodesk All App Account Copyright
120 USD

Windows 10 & 11 Pro Key
36 USD

Copyright Adobe Lightroom Account
59 USD

Genuine Cheap Canva Pro
39 USD

Adobe Photoshop Copyright - Full App
120 USD

Adobe Premiere Pro Account
99 USD

Upgrade genuine Capture One account
120 USD

Plugin Retouch4me
69 USD

Upgrade Genuine Office 365
49 USD

Genuine Adobe Illustrator account
99 USD
How to take photographs creative toys and focused stacking
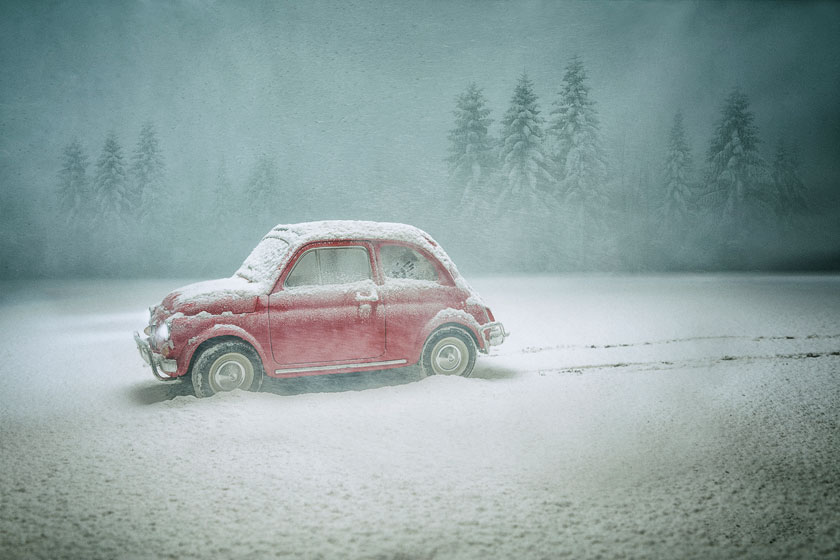 creative toy photography
Ratio
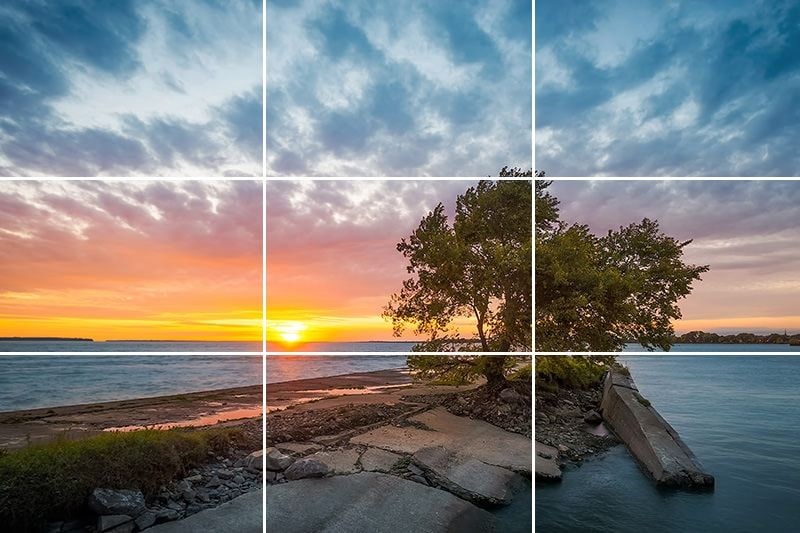
Ratio is one of the most important factors that are always in the spotlight of toy photographers. If your goal is to make your miniature models (toys) "real", you will need to get close to them to take photos. You would think that using macro lenses would do this job, but the problem with macro lenses is that they have a shallow depth of field.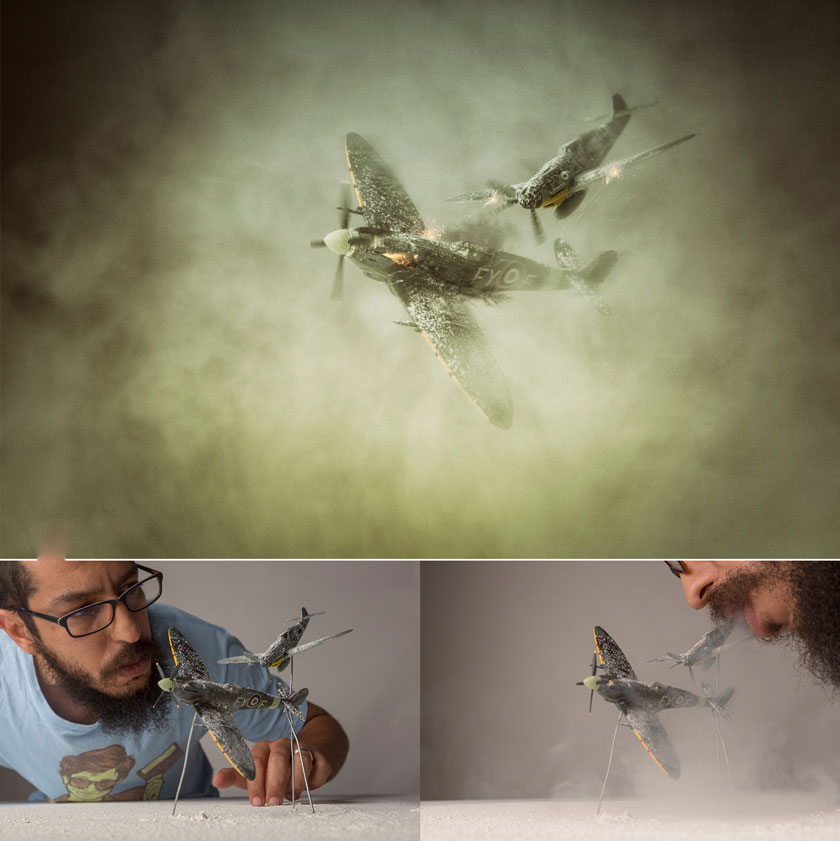 ratio
ratio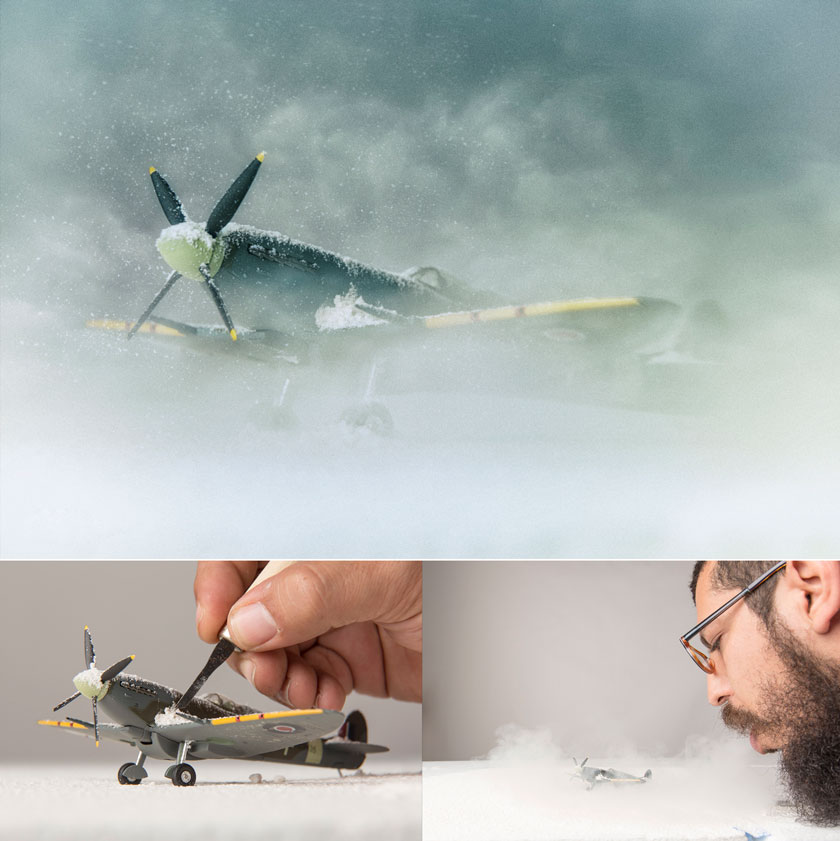 merge or flatten all of your layers
Some important notes for the scale
- In-camera focusing can be done with any type of lens, not necessarily a macro lens.
- When your scene is too wide, a macro lens will not work well. Ideally, you should use a wide angle lens.
- A 24-105mm lens is recommended. The focal length you choose will depend on your scene and composition.
- You do not need to focus if your model (toy) is large enough and you should take photo with an aperture number between f / 11 and f / 32.
Lighting
When you are photographing a model in a studio with studio lights, this can be similar to shooting a product, but if you want a sense of realism, you have to think about proportions. Photographing a real human model with an eight gearbox is not the same as shooting a "scaled model" with the same eight gearbox. The light quality will be softer as it is a huge tuning tool for the scaled model. So all studio lighting basics will be applied but let's take them in a smaller scale.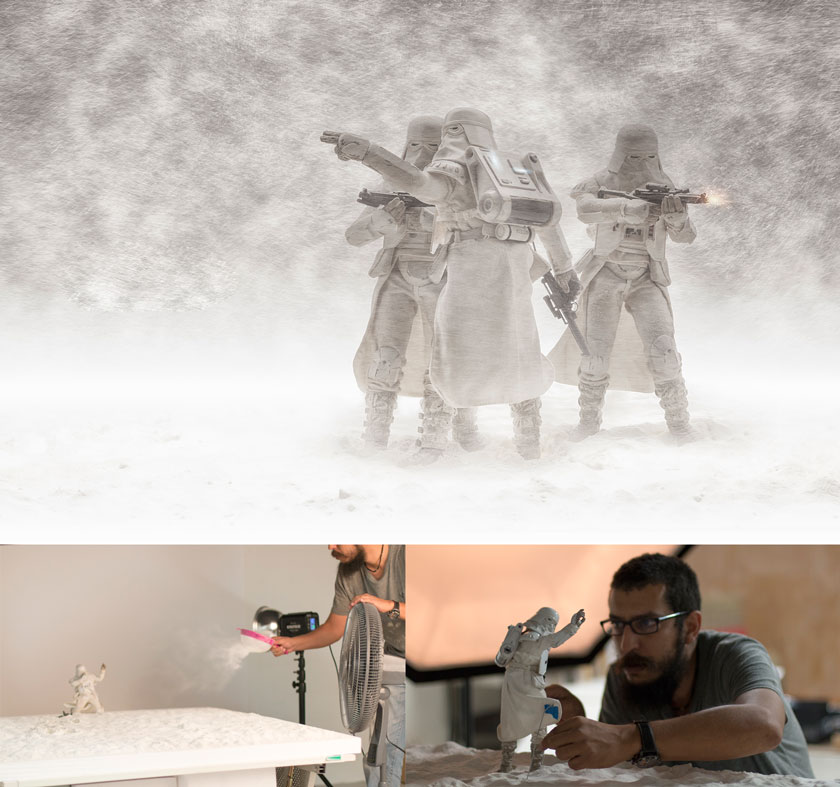 Lighting
Scenes
Photo manipulation and application of digital art are really cool things you can do in front of the camera. It is not only interesting, but it also brings a more realistic image. So if your model is in the snow, use your imagination and create a snow scene. You can use flour to "create" snow and use cornstarch to "make" the desert.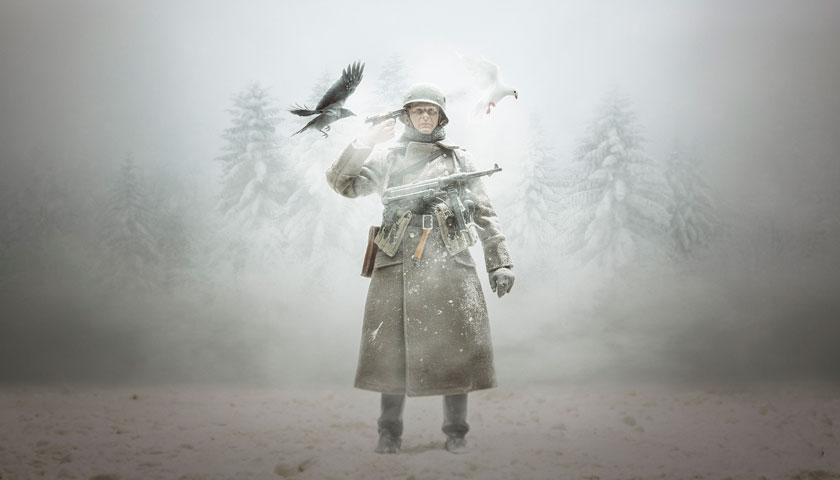 Scenes
Creativity
Creativity is endless and doesn't have a single recipe, so use your imagination and try different things.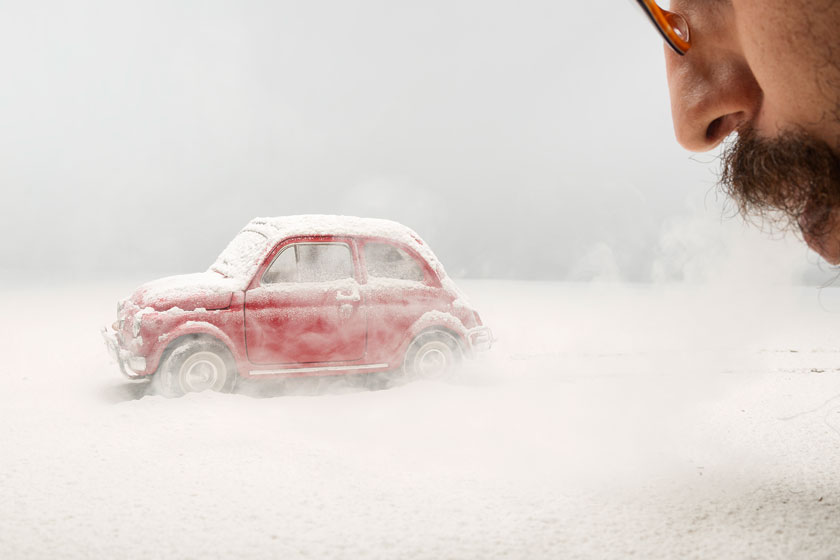 Creativity
Post - production
Post - production will give your image the ultimate “punch”. In the post, you can insert images into your background, effects that can be too complicated to do in camera, ... All of them are the missions of digital artists and most of them are done in Photoshop. The other important thing in the post is the color grading. It will integrate all of your elements in the best way. Color grading can be done in Photoshop or using the third filters like “Nik Software”. In short, Toy Photography was just a mix of playing with technical aspects of photography. You can learn about techniques easily, but the hardest part of toy photography is in in the mind and heart of the photographer, and that's the childishness, the foolishness, the dream,... Above are creative toy photography and focus stacking tutorials by famous photography expert, hope to help you get useful information. If you want advice on in-depth photo editing services, please contact SaDesign Retouching for the fastest service. See more How to use makeup techniques in Photoshop


VIP Products


Best Selling Products
Capcut Pro 1 Year
39 USD
MidJourney Account
29 USD
Freepik Premium Account
59 USD
ChatGPT Plus Account (GPT-4)
16 USD
Upgrade Duolingo Super
29 USD
Autodesk All App Account Copyright
120 USD
Windows 10 & 11 Pro Key
36 USD
Copyright Adobe Lightroom Account
59 USD
Genuine Cheap Canva Pro
39 USD
Adobe Photoshop Copyright - Full App
120 USD
Adobe Premiere Pro Account
99 USD
Upgrade genuine Capture One account
120 USD
Plugin Retouch4me
69 USD
Upgrade Genuine Office 365
49 USD
Genuine Adobe Illustrator account
99 USD