Best Selling Products
What is color blending in Photoshop? Simple Photoshop color blending tutorial
Nội dung
- 1. What is color blending in Photoshop?
- 2. Why is Color Blending Important?
- 3. Basic color matching principles in Photoshop
- 3.1. Additive color model (RGB)
- 3.2. Subtractive color model
- 4. Color Blending Modes in Photoshop
- 4.1. Darkening
- 4.2. Lightening
- 4.3. Contrasting
- 4.4. Coloring
- 5. How to Blend Photo Colors in Photoshop
- 5.1. Using Photo Filter
- 5.2. Using the Gradient tool
Do you want to edit and convert images from lighter to darker or darker to lighter? Use Color Blend in Photoshop right away. This tool allows you to blend colors in the photo most harmoniously and naturally, making the photo more attractive. Let's learn more about this function with SaDesign through the following shares.
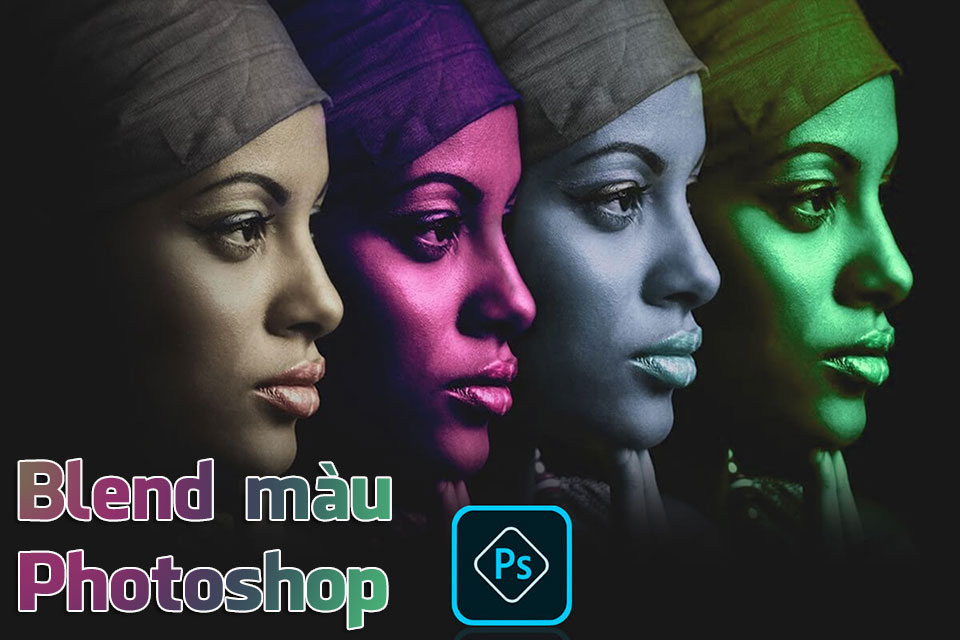
1. What is color blending in Photoshop?
Blending in Photoshop is a way to blend the pixels of two images together to get different types of effects to suit the needs of the editor. Blending modes are very popular among designers. It helps you edit photos and convert a lighter image into a darker image or a darker image into a lighter one. It also allows you to create some types of effects for specific images.
You can understand it more simply, Color Blending in Photoshop is the process of blending two or more different colors in a photo to make the image beautiful. Currently, Color Blending has many different modes, depending on the needs, the photo editor will choose different color blending modes. Color Blending modes in Photoshop can be easily adjusted or converted to normal mode, allowing flexible creativity throughout the design process.
2. Why is Color Blending Important?
(1).jpg)
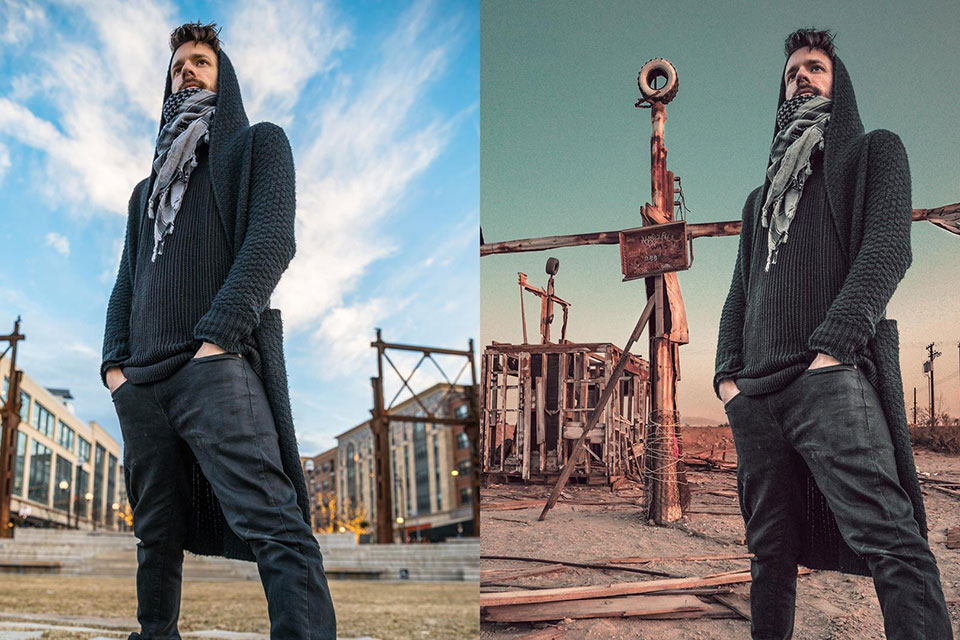
Color blending is considered an important post-production step after taking a photo. This is an indispensable photo editing step for many people because:
Blending colors will help to accurately express the theme and message that the photo wants to convey to the viewer more than the original photo.
Colors have a big impact on the viewer’s emotions. For example, if you want to create a sad photo, you can use a blend of dark colors instead of bright, warm tones. It will make the photo more vivid.
Blending colors in Photoshop is a great way to create a gradual transition from one color to another, which is useful in creating finer details, and making your photos look more realistic.
Using color blends in Photoshop also helps to eliminate repetition and create a sense of space in the photo. It is easy to create composition and depth for the photo.
Mastering the color blending technique will help you create visual variety and interest for viewers through your photos.
3. Basic color matching principles in Photoshop
To blend color blocks perfectly and naturally, you need to master the basic principles of color mixing in Photoshop. Color models explain how colors work, interact, and how we reproduce colors. Additive and subtractive color models are one of the basic principles of color mixing that you need to master.
3.1. Additive color model (RGB)
(1).jpg)
The additive color model is often abbreviated as RGB. The additive color model describes how light creates color. The complementary colors are red, green, and blue, hence the abbreviation RGB color.
RGB is the foundation of all colors. In 1704, Isaac Newton broke down white light into 7 rainbow colors including red, green, blue, yellow, orange, indigo, and violet. In which, indigo, yellow, violet, and orange can be created from 3 colors red, green, and blue. Therefore, the 3 colors red, green, and blue are considered the 3 most basic colors (primary colors) to create other colors.
The RGB additive color model is used with digital device displays. It uses light to display color. Color in this color model is the result of transmitted light. In the RGB model, the additive color starts with black, the convergence of the three primary additive colors produces white.
3.2. Subtractive color model
(1).jpg)
If the RGB additive color model starts from black and mixes the colors R, G, B to get white, the subtractive color model is the opposite. The subtractive color model starts from white, subtracting the colors R, G, B to get black. The removal of R, G, B is done by overprinting cyan, magenta, and yellow inks. Cyan can absorb R light, Magenta absorbs G light, and Yellow absorbs B light.
The subtractive color model is used in printing, silk screening, painting and other media to add pigment to the substrate. In fact, when the 3 colors C, M, Y are superimposed on each other, they still do not produce completely black. Therefore, the printing industry must use an additional black ink print to supplement C, M, Y to create more detail and depth to the image.
Once you understand the basic color models, blending colors in Photoshop will be easy and create the best results.
4. Color Blending Modes in Photoshop
Color blending in Photoshop currently has many different modes, depending on your needs, choose the appropriate one.
(1).jpg)
4.1. Darkening
This is a mode to edit and darken any part of the photo. In Darkening there are the following levels:
Darken: Keep the dark pixels of the blend layer, the light pixels will be replaced by the pixels of the layer below.
Multiply: Removes bright pixels on the blend layer and retains dark pixels, however, this mode is much smoother than other modes, suitable for cases where the image is bright and creates shadows.
Color Burn: This mode is darker than Multiply, taking information about the brightness of the blend layer to increase contrast, and darkening the colors of the layers below. The darker the color, the higher the contrast. White and black have no effect in this mode.
Linear Burn: Keeps dark pixels, and has no effect on white pixels. It reduces brightness but does not increase contrast like Color Burn
Darker Color: Similar to Darken mode but it works on all color channels (including composite channels), while Darken only works on specific color channels.
4.2. Lightening
Lightening is a mode that helps brighten images and correct underexposed photos. Lightening has the following levels:
Lighten: Compares the colored pixels of the upper and lower layers. If the colored pixels of the upper layer are lighter, they will be kept. Darker pixels will be replaced by the pixels of the lower layer. Opposite of Darken
Screen: The opposite of Multiply. It is similar to Lighten but brightens and removes more dark pixels.
Color Dodge: Opposite of Color Burn. It gives better brightness to the photo, but the color smoothness of Color Dodge is not as good as the Screen.
Linear Dodge: The opposite of Linear Burn. It uses the brightness information of the layer this mode is applied to to increase the brightness of the layer below.
Lighter Color: The opposite of Darker Color. It works on the color channels as a whole, not on individual channels like Lighten.
4.3. Contrasting
Contrasting mode allows you to increase the contrast of your photo. The levels available in Contrasting include:
Overlay: Combines the two blending modes Multiply and Screen, creating a transition in color and brightness.
Soft Light: Combines the effects of Color Dodge and Color Burn modes, a better choice than Overlay.
Hard Light: Darker areas on the blend layer will result in darker colors and vice versa.
Vivid Light: Used to increase the saturation of the image, similar to Overlay.
Linear Light: A combination of Linear Dodge and Linear Burn, providing better color protection than Vivid Light.
Pin Light: Combines the two blending modes Darken and Lighten.
Hard Mix: Create a poster effect by forcing similar colors into a single value.
Difference: Used to compare the differences between 2 pictures, the similar parts will be black.
Exclusion: This mode is like Difference but more impressive.
Subtract: Usually results in a darker image due to a significant color change.
Divide: Gives the result with the lighter color.
4.4. Coloring
Coloring is the mode of changing the color of an image. The levels in Coloring include:
Hue: Helps retain the brightness and saturation values of the base color.
Saturation: Uses the saturation value of the blend color, while retaining the brightness of the base color.
Color: Keep the luminance of the base color.
Luminosity: Keeps the hue and saturation of the base color.
There are also two other blending modes: Normal and Dissolve:
Normal: The default blending mode for new layers.
Dissolve: Used when semi-transparent pixels appear.
5. How to Blend Photo Colors in Photoshop
To blend image colors in Photoshop you can refer to the following two ways.
5.1. Using Photo Filter
(1).jpg)
Step 1: In the Photoshop application, open where you want to Blend color.
Step 2: Click on Image => Select Adjustments => Select Photo Filter.
Step 3: In Filter in the Photo Filter dialog box, select the appropriate filter. In addition, you can also click on Color to change the color tone. The Color Picker dialog box will appear, select warm or cold color tones => OK to set.
Step 4: Change the Density index by moving the slider before pressing OK to set. So you have finished blending the color for the photo.
5.2. Using the Gradient tool
(1).jpg)
Step 1: Open the image you want to blend colors. Then create a new layer. Select the Gradient Tool and then select a color in the menu bar.
Step 2: In the Gradient Editor dialog box, select the color you want to create the effect. Then click OK to drag the Gradient over the image => Reduce the yellow color with Overlay.
Step 3: Reduce the Fill of the effect to get the desired color blend, or click on the color bar on the Gradient menu to create different color styles.
Step 4: Then, click the Gradient menu and select the circular style => Drag diagonally across the image. Finally, click to create an Overlay effect on the Gradient Layer to blur the yellow roughness. Finally, save the image.
Above is the summary information about Color Blend in Photoshop. SaDesign hopes that the above sharing will be useful for your photo editing process, helping you to have more realistic and vivid photos.


