Best Selling Products

Adobe Premiere Pro Account
99 USD

Freepik Premium Account
59 USD

Upgrade Genuine Office 365
49 USD

Genuine Adobe Illustrator account
99 USD

Plugin Retouch4me
69 USD

MidJourney Account
29 USD

Autodesk All App Account Copyright
120 USD

Genuine Cheap Canva Pro
39 USD

Upgrade Duolingo Super
29 USD

Copyright Adobe Lightroom Account
59 USD

Capcut Pro 1 Year
39 USD

Windows 10 & 11 Pro Key
36 USD

ChatGPT Plus Account (GPT-4)
16 USD

Upgrade genuine Capture One account
120 USD

Adobe Photoshop Copyright - Full App
120 USD
A step-by-step guide to adjusting opacity in CapCut.
Nội dung
This article helps you understand what opacity is, what it's used for, and how to adjust it correctly in CapCut. It's suitable for beginners learning video editing and wanting to improve the aesthetics of their work.

1. Learn about the Opacity feature in CapCut
Opacity in CapCut is a feature that allows users to adjust the visibility of a content layer within the frame. This content layer can be the main video, video overlay, image, text, sticker, or logo. When Opacity is at its highest level, the content will be fully visible and clear, preventing background layers from seeing through. As Opacity decreases, that content layer will become more blurred, allowing viewers to see part or all of the layer below.
In visual design in general, opacity is considered one of the fundamental elements for creating depth. Humans tend to perceive sharp objects as closer and more important, while blurry or transparent elements feel distant, secondary, or background. When applying this principle to video, opacity helps editors control the priority order within the frame without having to cut or distort the content.
In CapCut, opacity is especially useful when you want to insert a logo but don't want it to be too prominent, blur the background to highlight the main character, or create light and color overlays to make the video look softer and more "cinematic." Instead of using complex effects, simply adjusting the opacity appropriately can completely change the visual feel of your video.
A notable feature is that CapCut's opacity works in real time. This means that every change you make is immediately displayed in the preview. This is a major advantage, allowing users to easily experiment with different levels until they find the perfect balance for their video style and content message.
2. Instructions on how to reduce Opacity in CapCut on a PC
Below are two ways to reduce opacity in CapCut on PC and mobile devices that Gamikey would like to introduce to you.
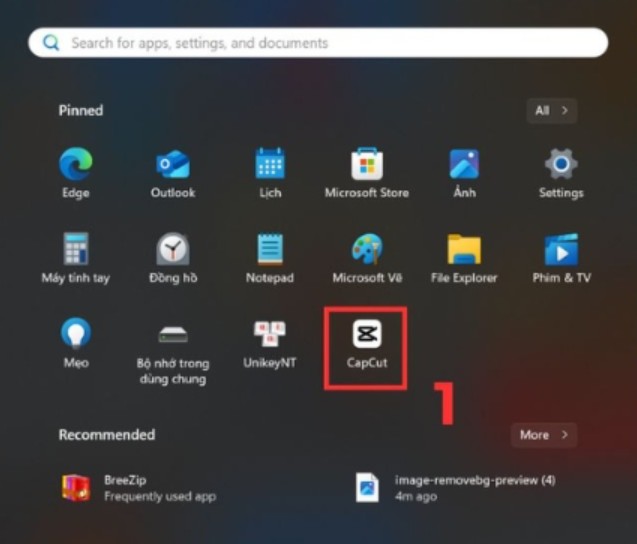
First, you need to open the CapCut software on your computer. Once the main interface appears, create a new project or open the project you are currently editing. This is a familiar starting step, but it's also when you should clearly define what you want to use Opacity for, such as blurring the background, creating an overlay, or inserting a brand logo.
Next, import the video or image you want to edit into your project. Once the content is on the timeline, select the video or image you want to reduce the transparency of. Choosing the correct layer is crucial, as opacity only applies to the currently active layer.
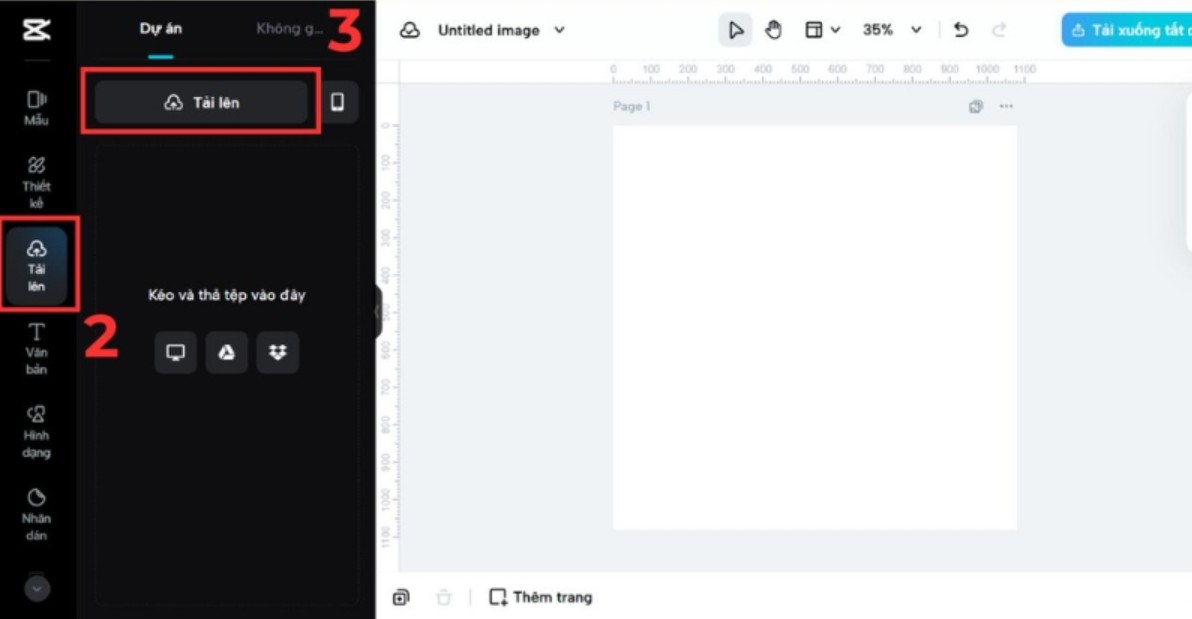
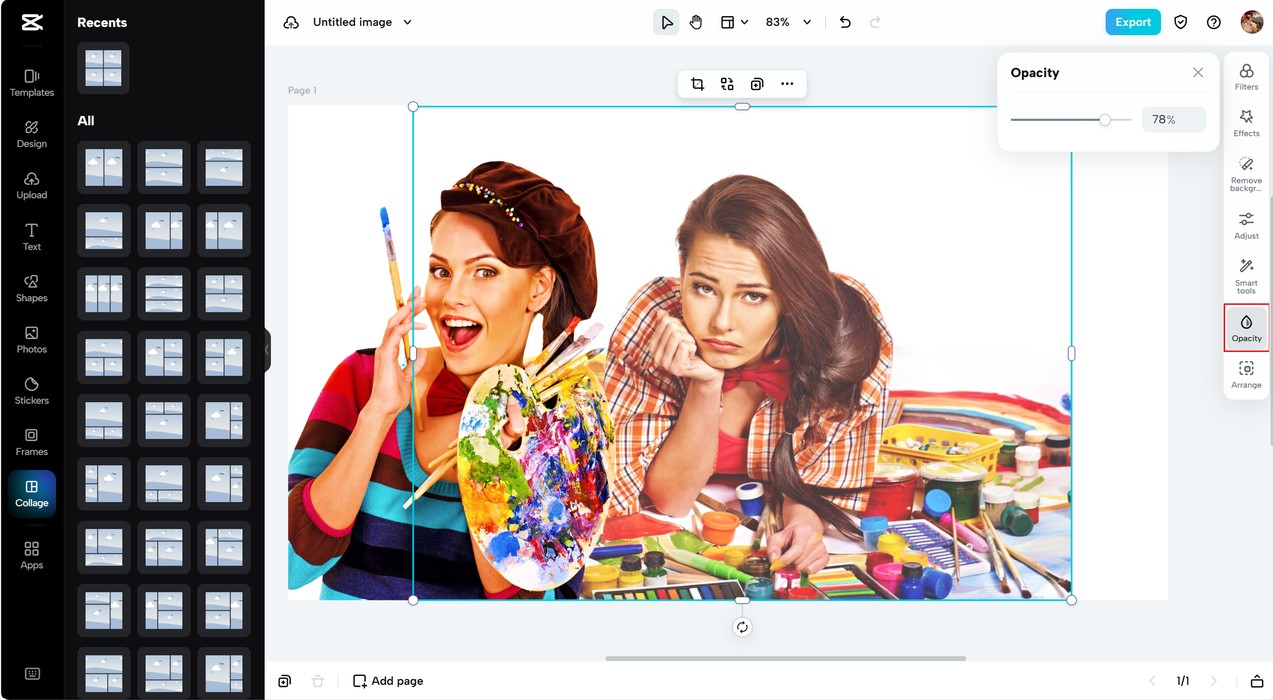
After selecting the layer, look at the toolbar on the right side of the CapCut interface. Here, you will see several different editing options such as Transform, Basic, Speed, Animation, and Opacity. Click on the Opacity option to open the transparency adjustment slider.
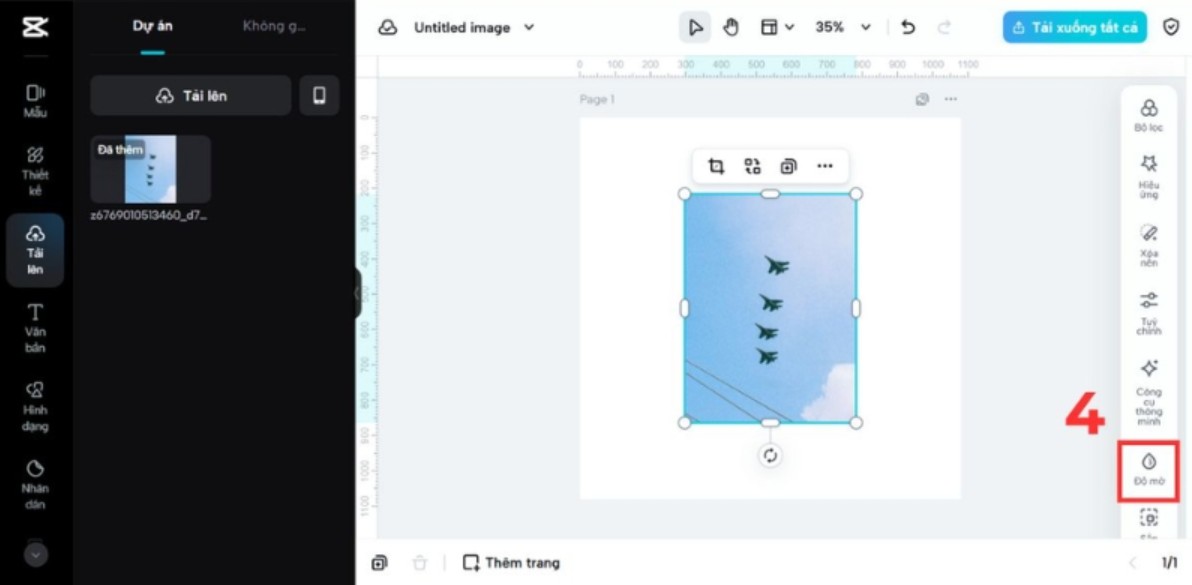
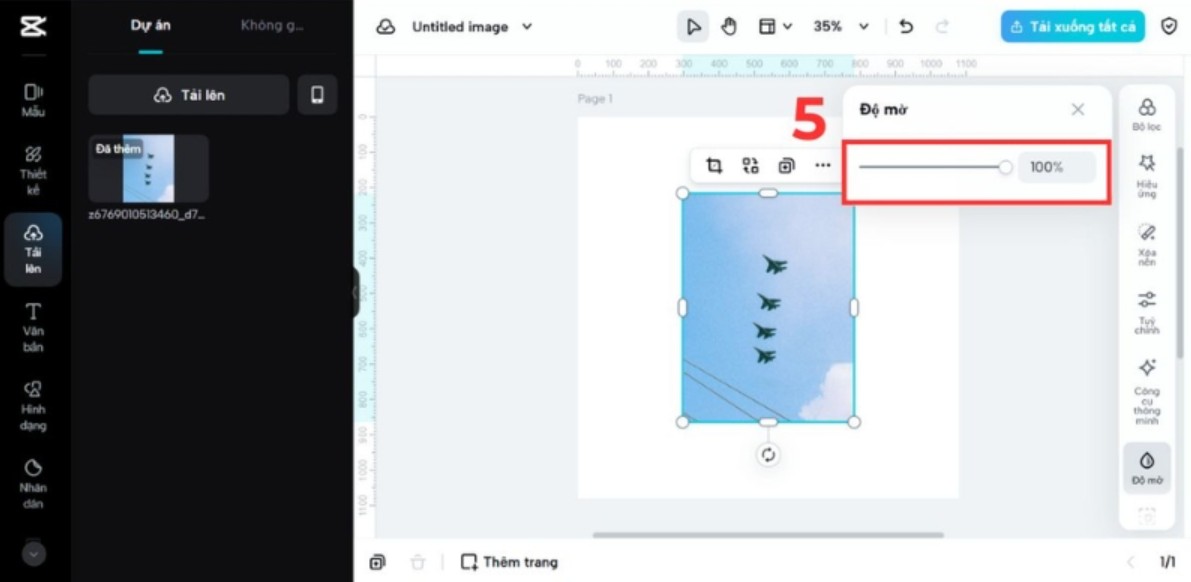
The default Opacity slider is 100%. When you drag the slider to the left, CapCut will immediately display the change on the preview screen. At this point, you can observe how the content layer gradually blends into the background. Adjustments should be made slowly, combined with playing back the video to ensure a stable display effect throughout the clip.
CapCut on PC allows you to control opacity very precisely, which is especially useful when creating videos with multiple layers. If used effectively, you can create professional-looking video layouts that are on par with more sophisticated video editing software.
3. Detailed instructions on how to reduce opacity in CapCut on your phone.
CapCut on mobile is designed for convenience and speed, making it ideal for content creators on TikTok, Instagram Reels, or YouTube Shorts. Although the interface is smaller than on PC, the opacity feature remains fully functional on mobile.
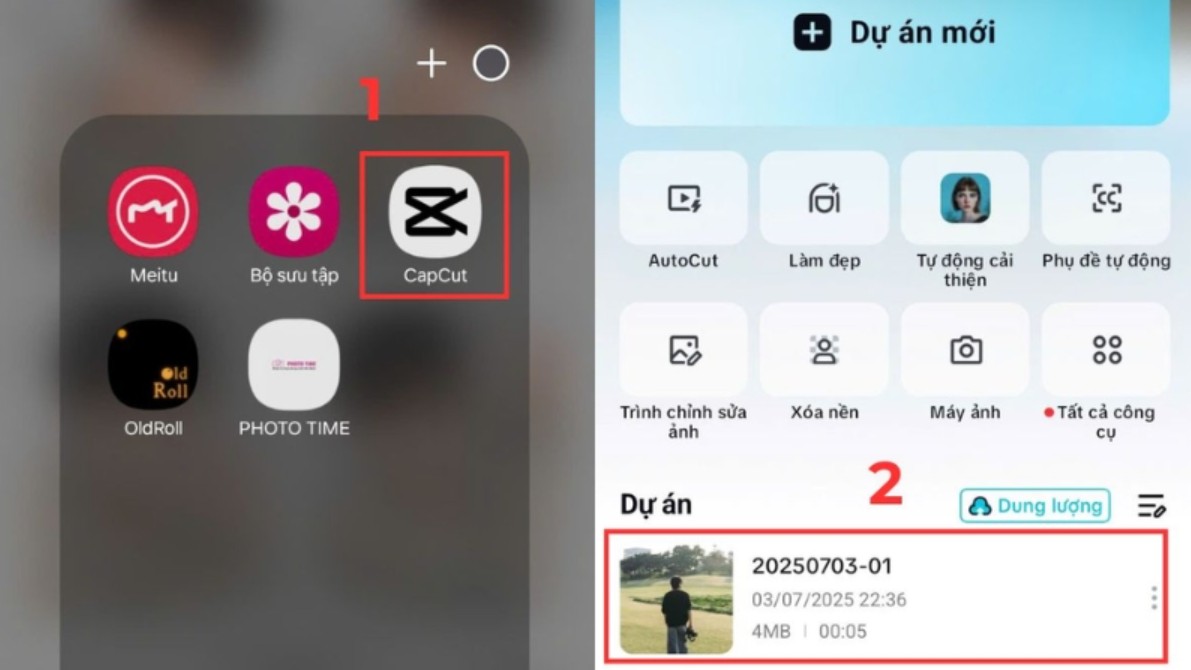
To begin, open the CapCut app on your phone and choose to create a new project or open an existing one. After selecting the video or image you want to edit, the content will appear on the timeline at the bottom of the screen.
Click directly on the video or image you want to reduce the opacity of. Once the layer is selected, the editing toolbar will appear at the bottom. Among the options, find the Opacity setting. When you click on it, a transparency adjustment slider will appear.
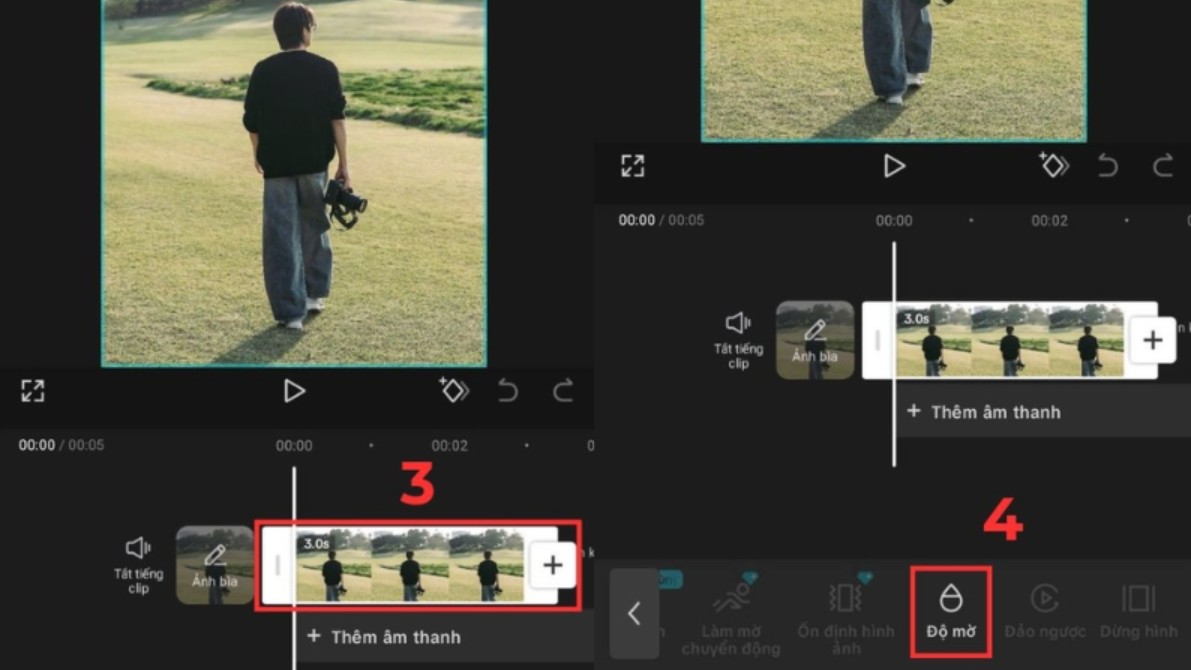
Similar to the PC version, the default Opacity slider is at maximum. Simply drag the slider to the left to reduce the layer's visibility. During the adjustment process, CapCut will immediately display the results on the preview screen, making it easy to observe the changes.
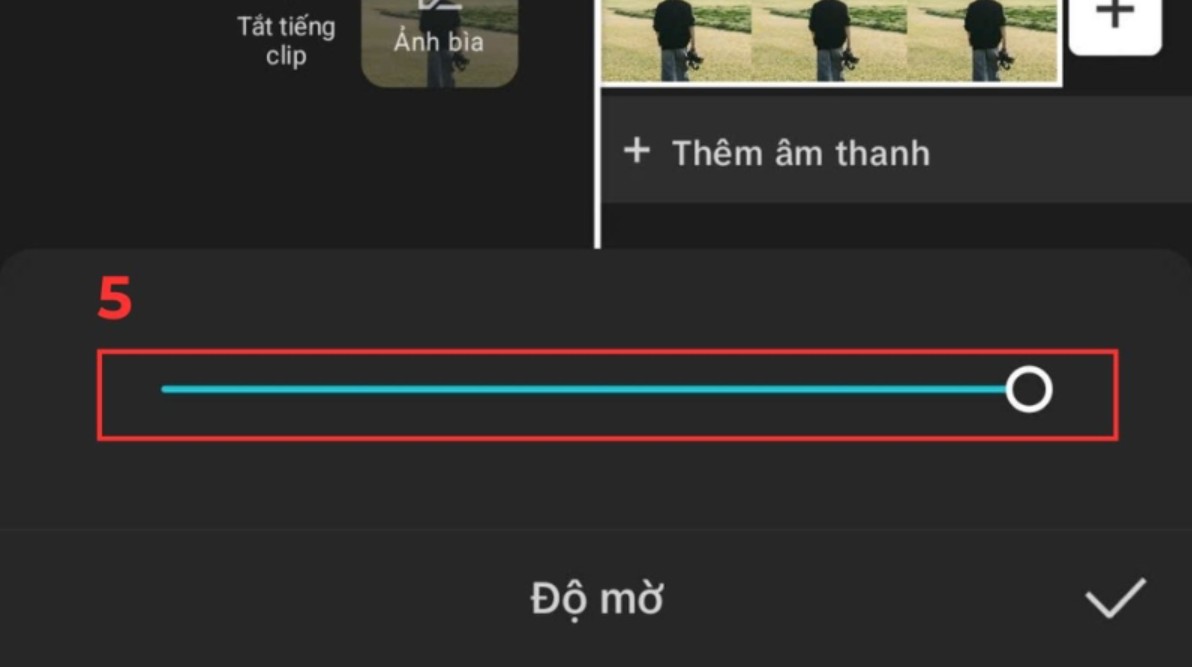
One thing to keep in mind when adjusting opacity on a phone is that the small screen size can make it difficult to notice the difference between similar opacity levels. Therefore, you should test the video after adjusting the settings to ensure the effect is as desired, especially when viewing the video on a larger screen.
4. Things to know when reducing Opacity in CapCut
Reducing opacity is a very common technique, but if used incorrectly, it can backfire and lower the overall quality of the video. The important thing isn't whether you know how to adjust the opacity slider, but how you use it with a sound design and video editing mindset.
First and foremost, you should always prioritize the display quality of the main content. If you reduce the opacity too low, images or videos may become blurry and difficult to see, especially when viewed on a small screen. This not only affects the viewer's experience but also diminishes the professionalism of the video.
Furthermore, color coordination between layers is crucial. When layering multiple layers with different opacity, colors can blend unintentionally. If the layers have strong contrasting colors or the background is too complex, the transparency effect will become visually jarring and feel out of control. A beautiful video always requires restraint and balance.
Additionally, opacity works better when combined with motion. Instead of having a layer with fixed transparency from beginning to end, you can combine opacity with transition effects or subtle animations to create a smoother and more natural feel. This is especially useful when creating product introduction videos, storytelling videos, or branding videos.
Finally, before deciding to reduce the opacity of a layer, you should carefully consider the background. If the background is too dark, too bright, or contains too much detail, a layer with low opacity will easily be "swallowed up," causing the transparency effect to lose its original meaning. In many cases, simplifying the background or adjusting the background color before reducing the opacity will yield much better results.
Understanding what opacity is, how to reduce opacity on both computers and phones, along with important considerations during use, will help you avoid common mistakes and maximize the power of CapCut. Whether you are a beginner or an experienced video editor, investing time in understanding and intentionally applying opacity is always a worthwhile choice.


VIP Products


Best Selling Products
Adobe Premiere Pro Account
99 USD
Freepik Premium Account
59 USD
Upgrade Genuine Office 365
49 USD
Genuine Adobe Illustrator account
99 USD
Plugin Retouch4me
69 USD
MidJourney Account
29 USD
Autodesk All App Account Copyright
120 USD
Genuine Cheap Canva Pro
39 USD
Upgrade Duolingo Super
29 USD
Copyright Adobe Lightroom Account
59 USD
Capcut Pro 1 Year
39 USD
Windows 10 & 11 Pro Key
36 USD
ChatGPT Plus Account (GPT-4)
16 USD
Upgrade genuine Capture One account
120 USD
Adobe Photoshop Copyright - Full App
120 USD