Best Selling Products
Add Effects Using Photoshop In Premiere Extremely Easily
Nội dung
- 1. Why Should You Combine Photoshop With Premiere?
- 1.1 Optimize Content Creation Process
- 1.2 Increase Professionalism for Videos
- 2. Detailed instructions on how to add effects using Photoshop in Premiere
- 2.1 Preparation before adding effects with Photoshop
- 2.2 Step 1: Import .psd file and footage into Premiere
- 2.3 Step 2: Arrange and edit on the timeline
- 3. Some Tips When Adding Effects From Photoshop To Premiere
- 3.1 Optimize Photoshop Files
- 3.2 Using Blending Modes
- 3.3 Combining Keyframes to Create Dynamic Effects
- 4. Benefits of Adding Effects Using Photoshop in Premiere
- 4.1 Increase creativity
- 4.2 Cost savings
- 4.3 Improve editing skills
- 5. Conclusion
Detailed instructions on how to add effects using Photoshop to Premiere simply and easily. Combine editing and create unique videos with these two software today!

1. Why Should You Combine Photoshop With Premiere?
Combining Photoshop with Premiere brings many outstanding benefits in the process of producing multimedia content, especially in the fields of graphic design and video editing.
.jpg)
1.1 Optimize Content Creation Process
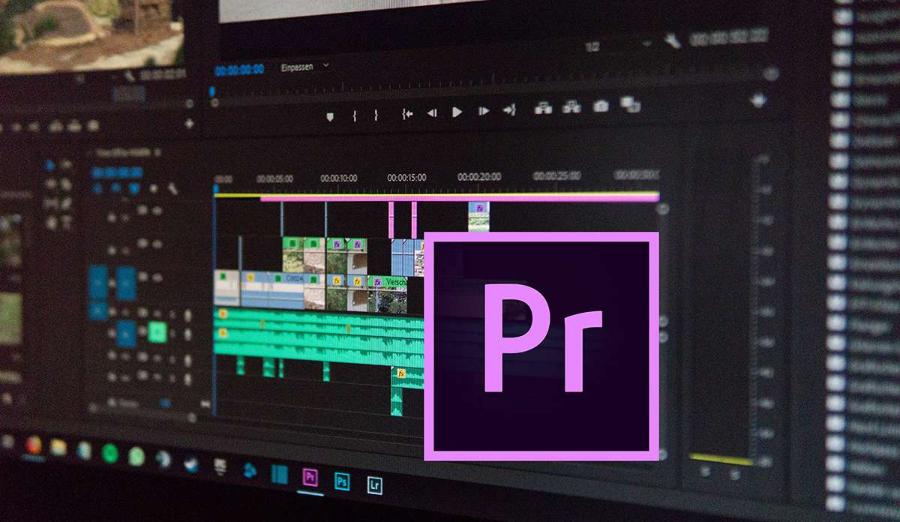
Photoshop is a popular software for image editing and graphic design. Meanwhile, Premiere is a powerful tool for filmmaking and video editing. Combining these two software makes it easy to create unique visual effects in videos such as:
Image overlay, effects
Insert creative text
Create unique animation effects
1.2 Increase Professionalism for Videos
Using Photoshop to add effects to Premiere helps you highlight important details in your video. Effects like drop shadows, textures, or color filters all help make your video more dynamic and professional.
Photoshop is a powerful tool for image manipulation, creating detailed and professional designs, while Premiere is known for its flexible and efficient video editing capabilities. Using these two software together, users can easily create custom graphic elements in Photoshop and integrate them directly into video projects on Premiere.
.jpg)
This not only helps to optimize the workflow but also ensures the final product is of the highest quality. This combination is especially useful for content creators, filmmakers and media professionals who want to create impressive and unique products.
2. Detailed instructions on how to add effects using Photoshop in Premiere
Here is a detailed guide on how to add effects using Photoshop in Premiere specifically with the following steps:
2.1 Preparation before adding effects with Photoshop
Before you start the process of adding effects to Premiere using Photoshop, the first thing you need to do is prepare a Photoshop file (.psd) with clearly separated layers. This is extremely important because it makes it easier to edit each element of the effect while working in Premiere. A well-organized .psd file will save time and increase efficiency in post-production.
Additionally, you should also prepare footage containing additional effects that you want to add to your video. This footage can be created manually or downloaded from free resources such as Freepik, Vecteezy or Videvo. This not only helps diversify the content but also brings a professional look to the final product.
2.2 Step 1: Import .psd file and footage into Premiere
Once you have your .psd file and footage ready, the next step is to import them into your Premiere project. Here are the detailed instructions:
1. Create a new project: Open Premiere, create a new project and set the save location and necessary parameters.
2. Import .psd file: Drag and drop the Photoshop file into the Premiere workspace. An “Import Layered File” dialog box will appear. Here, you can choose the import method such as “Individual Layers” (separate each layer) or “Sequence” (import the entire file as a sequence). This option makes it easy to adjust each
layer during the editing process.
3. Add footage: Similarly, you can import accompanying footage to use in your video. Make sure that the footage fits the content and style of your project.
2.3 Step 2: Arrange and edit on the timeline
After importing the resources, you need to drag and drop them into the timeline to start the editing process:
- Arrange layers and footage: Place layers from .psd files and footage in the appropriate positions on the timeline. This makes it easy to control the display order and effects of each element.
- Remove green background (if any): If your footage has a green background, use the Ultrakey tool in the Effects section to remove the background. Simply drag and drop the Ultra Key onto the footage, then use the color picker to select the green you want to remove.
3. Some Tips When Adding Effects From Photoshop To Premiere
.jpg)
When adding effects from Photoshop to Premiere, you need to keep in mind some important points to ensure quality and efficiency of work.
3.1 Optimize Photoshop Files
When adding effects from Photoshop to Premiere, optimizing the Photoshop file is an important step to ensure a smooth and efficient workflow. First, arrange the layers in the Photoshop file scientifically, name them clearly and reasonably for easy management when importing into Premiere. Next, you should remove unnecessary layers or group related layers to reduce file size. In addition, use the PSD file format with the appropriate resolution and ensure that the effects or layer styles in Photoshop are preserved when transferring to Premiere. This helps avoid loss of detail or display errors during video editing. Finally, regularly check the compatibility between Photoshop and Premiere to ensure that the changes you make will be applied correctly in the video project.
3.2 Using Blending Modes
When adding effects from Photoshop to Premiere, using Blending Modes wisely can help enhance the aesthetics and professionalism of your videos. To get the best results, you should understand how each blending mode works and how it affects the image. For example, Multiply mode is often used to darken the image, while Screen mode helps brighten and retain brighter details. Additionally, adjusting the opacity is also an important factor to ensure the effect blends naturally with the original footage. Don't forget to double-check the timeline to make sure the effect is not distracting and fits the message you want to convey in the video.
3.3 Combining Keyframes to Create Dynamic Effects
Applying effects from Photoshop to Premiere is a useful method to enhance the quality and creativity of video projects. However, to achieve optimal efficiency, combining keyframes is an important factor that cannot be ignored. Keyframes allow you to create dynamic effects, smoothly transition between different states of the effect, thereby bringing professionalism and appeal to the final product.
.jpg)
When using keyframes, you need to pay attention to adjusting the timing and change level of each effect to match the content and rhythm of the video. At the same time, it is also necessary to carefully check the file before exporting to ensure that the effects are displayed correctly and do not distract the viewer.
4. Benefits of Adding Effects Using Photoshop in Premiere
Adding effects using Photoshop in Premiere not only saves time, but also has many benefits:
4.1 Increase creativity
Adding effects using Photoshop in Premiere offers many significant benefits, especially when it comes to enhancing the creativity and quality of your product. The combination of these two powerful tools allows you to create unique and sophisticated visual effects, making your videos more professional and impressive.
Photoshop offers detailed editing and complex effects, while Premiere supports seamless video integration and processing. When used correctly, using Photoshop effects in Premiere not only optimizes workflows but also opens up creative opportunities to meet the growing demands of audiences and clients.
4.2 Cost savings
Using Photoshop effects in Premiere has many significant benefits, especially when it comes to saving production costs. Instead of having to invest in additional software or tools, you can take full advantage of Photoshop's powerful features to create high-quality visual effects, then integrate them directly into Premiere.
.jpg)
This not only helps reduce software purchasing costs, but also saves editing time, optimizes workflows, and ensures consistency in the final product. Furthermore, the flexibility between the two software makes it easy for content creators to realize complex ideas without having to hire additional specialized staff or use external services.
4.3 Improve editing skills
Applying Photoshop effects in Premiere brings many significant benefits, contributing to improving editing skills and optimizing product quality. Combining these two powerful tools helps users maximize their creativity, creating unique and more professional visual effects.
Additionally, using Photoshop to process image details before integrating into Premiere not only improves accuracy but also reduces overall editing time. This is an effective method to improve video quality while developing personal skills in the field of post-production and multimedia design.
Buy Adobe Premiere Pro License Cheap
5. Conclusion
Adding effects from Photoshop to Premiere is an extremely useful technique, especially for professional video makers. With a simple process, you can completely create impressive and unique videos like never before. Try applying the instructions in this article right away and discover the flexibility that Photoshop and Premiere bring. Good luck!


