Best Selling Products
All about Rasterize Layer & how to work "lightning fast" in Photoshop
Nội dung
- 1. What is Raster?
- 2. Rasterize layers in Photoshop
- 3. Rasterize layer objects
- 4. When to Rasterize layer?
- 5. How to Rasterize Layers in Photoshop
- 5.1. Preparation
- 5.2. Basic Rasterize Operations
- 5.3. Use quick shortcuts
- 5.4. Alternative method & save original layer
- 6. Tips & notes when working with Rasterize layer
- 7. FAQs
Step into the world of Rasterize Layers as your secret weapon. Learn how to prepare your files, choose the right options, and combine advanced filters to make your designs stand out to your clients.

Photoshop is the “king” in the world of photo editing and graphic design, allowing you to work flexibly with each layer (a separate layer containing images, text, shapes or Smart Objects). When it comes to layers, most of us are familiar with two main types: vector (lines, text, shapes) and raster (bitmap or pixel images). In this article, we will delve into the concept of Rasterizing layers , the conversion process, practical applications and important notes before working. From there, you will be more proficient in applying filters, brushes, pixel-based effects… to upgrade your design work.
1. What is Raster?
Raster is a metadata structure that represents a colored rectangular grid of pixels that viewers can directly observe through screens or display devices in graphic design. In fact, raster has many formats suitable for many different cases such as PNG, Gif, bmp, etc. Along with that, the number of bits per pixel in different formats is the length and width of the raster image.
.png)
.png)
2. Rasterize layers in Photoshop
In Photoshop, most data types and tools work based on raster images with Bitmap metadata structure. However, there are still some tools such as Type, Shape, Layer, etc. that do not work according to this standard principle. At that time, users are forced to use raster to convert non-Bitmap images into pixels to merge other layers, add layers, edit, convert, etc. and create the final product.
(1).jpg)
Advantage:
Allows to apply any filter (Gaussian Blur, Oil Paint…), brush effects, textures, layer styles that are only available for pixel-based layers.
Easily combine with other photos, retouch, blend colors, draw by hand...
Disadvantages:
Lost the ability to edit the original vector (text cannot edit font, shape cannot replace path).
Zoom limit: when working on a rasterized layer, zooming in beyond the original size will cause broken lines.
PSD files can increase in size if too many unnecessary raster layers are created.
.png)
3. Rasterize layer objects
In Photoshop, there are many different raster formats. Among them, we cannot fail to mention popular objects such as:
.png)
Shape layer
Shape layer is one of the two most used objects in Rasterize layer Photoshop. Shape layer is not made of pixels but is made of vectors. Thanks to this vector format, Shape layer can be stretched and zoomed freely without changing the image quality. Accordingly, Rasterize layer will help you easily create layer masks, cover layers, create layer colors, ... in a simple and easy way.
.png)
Type layer
Type layers allow you to change the formatting of text on different layers. In Photoshop, Rasterizing a type layer helps complete the typography after it has been done at the pixel level.
.png)
4. When to Rasterize layer?
Rasterizing layers should be done indiscriminately, but only when you are absolutely sure you need to manipulate new pixels. Here are some common scenarios:
Apply filters or brush strokes
If you want to use filters like Gaussian Blur, Sharpen, Oil Paint or brushes to draw, create textures... then only do it on the raster layer.
Prepare to export bitmap file
When exporting to JPEG, PNG, TIFF… Photoshop will automatically rasterize, but knowing in advance will help you optimize layers and avoid excess.
Photo collage, professional retouching
Using Healing Brush, Clone Stamp, Liquify… all only affect pixels, requiring raster layers.
Web design, fixed size banner
For artwork that needs to stay pixel-sized (720×1280, 1920×1080…), you want to make sure every element is pixel-based.
Optimize performance
Sometimes PSD files contain too many Smart Objects, vector will be slow. Converting some layers to raster will help the machine process faster, but need to consider the balance between quality and speed.
.png)
5. How to Rasterize Layers in Photoshop
5.1. Preparation
Open .psd file: Make sure you saved the original file, naming the layer clearly.
Identify vector layers: Usually Text (T), Shape (square), Smart Object (small square icon in the right corner) layers need to be rasterized.
5.2. Basic Rasterize Operations
Select the layer you want to rasterize
On the main menu, go to Layer > Rasterize, then choose the right type:
Type: convert Text to bitmap
Shape: convert Shape layer
Smart Object: convert Smart Object to pixels
Observe the layer icon change:
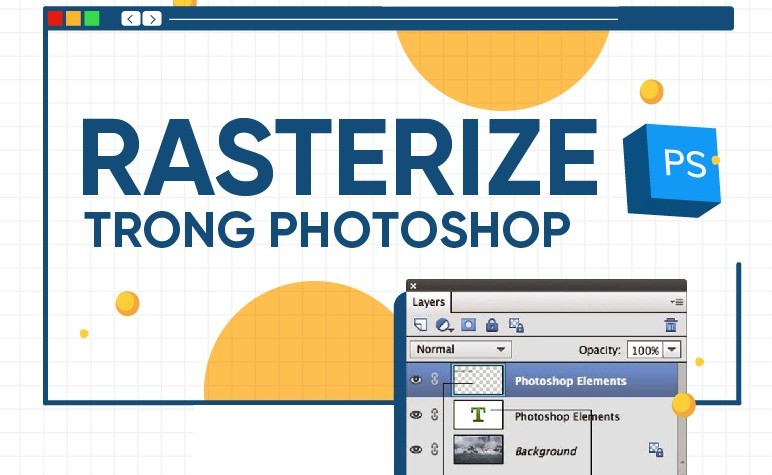
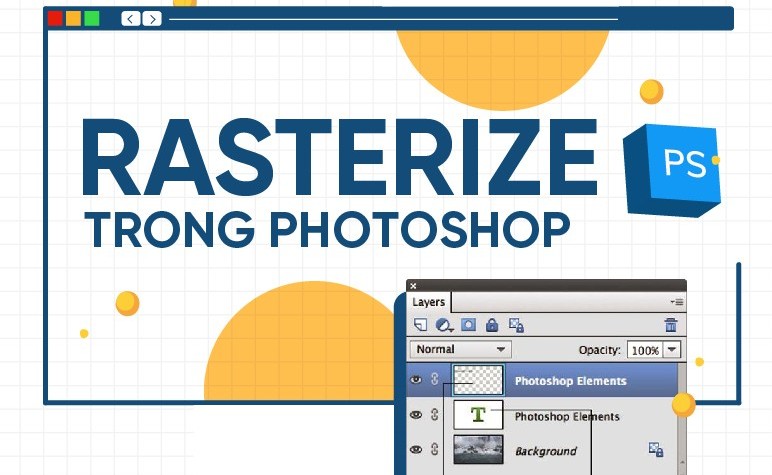
From vector icon (small square, letter T) > normal gray square icon.
.png)
5.3. Use quick shortcuts
If rasterizing is needed frequently:
Vào Edit > Keyboard Shortcuts… (Alt+Shift+Ctrl+K).
Go to Layer > Rasterize Layer or Rasterize All Layers, assign a shortcut of your choice (e.g. Ctrl+Alt+R).
Remember to save the new shortcut set.
5.4. Alternative method & save original layer
Duplicate Layer: Before rasterizing, press Ctrl+J to duplicate the layer. After trying the filter, if you are not satisfied, you still have the original.
Smart Object > Rasterize: With the Smart Object layer, you can right-click and select Rasterize Layer or go to Layer > Smart Objects > Rasterize.
Smart Filters: If you want to apply a non-destructive filter, you can convert the layer to a Smart Object first, then apply the filter as a Smart Filter. You can edit it again if needed.
So you have mastered all the ways to rasterize layers in Photoshop. Next, don't miss out on these tips to avoid losing your original data!
.png)
6. Tips & notes when working with Rasterize layer
Always back up the original layer: Use Duplicate Layer or group (Ctrl+G) before rasterizing. When needed, just toggle the group on/off to restore.
Consider document resolution: 72 dpi files are good for web, 300 dpi for print. Rasterizing at low resolution can result in pixelated prints.
Using layer mask: Before rasterizing, you can add a layer mask to keep the area hidden/shown. When rasterizing, the mask remains active, avoiding destroying the original pixels.
Take advantage of Smart Filters: If you want to make the filter editable , convert the layer to a Smart Object, apply the filter, and then consider rasterizing it when needed.
Name layers clearly: When working with multiple raster layers, naming them like “Text_Raster”, “Logo_Raster”… will help you avoid confusion.
.png)
7. FAQs
Is it possible to reverse (vectorize) after rasterizing?
After rasterizing, the layer is just a bitmap. You can use Image → Adjustments → Posterize combined with Filter → Stylize → Trace Contour to create a contour effect, but it cannot restore the original vector exactly. For approximate vectorization, use a plugin or software like Illustrator (Live Trace).
Does rasterize change the file size?
Typically, raster layers contain more pixel information than vectors, so PSD files can increase by several tens of MB depending on the resolution. Converting multiple heavy vector layers to raster also makes the file larger.
How to distinguish whether a layer has been rasterized or not?
View layer icon: Text/Shape/Smart Object layer has a specific icon. After rasterization, the icon becomes a simple pixel thumbnail.
Right click on the layer: if the Rasterize menu is not displayed, the layer is already in raster format.
Rasterized by mistake, how to recover?
History Panel (Window → History): go back to the step before rasterizing.
If you have oversaved, you can only open the backup file or the old version of the PSD file. Always keep the habit of saving incremental files.
In the colorful world of Photoshop, rasterizing a layer is an important step between vector and bitmap, giving you full access to the pixel-based toolset that Photoshop offers. However, this operation also means that you “sacrifice” the ability to edit the original vector, so you need to consider and back it up carefully. Wish you have exciting creative moments with Photoshop and don’t forget to share your experience with SaDesign!


