Best Selling Products
How to create reflective lines for traffic warning posts using the Celynder tool in Photoshop
Nội dung
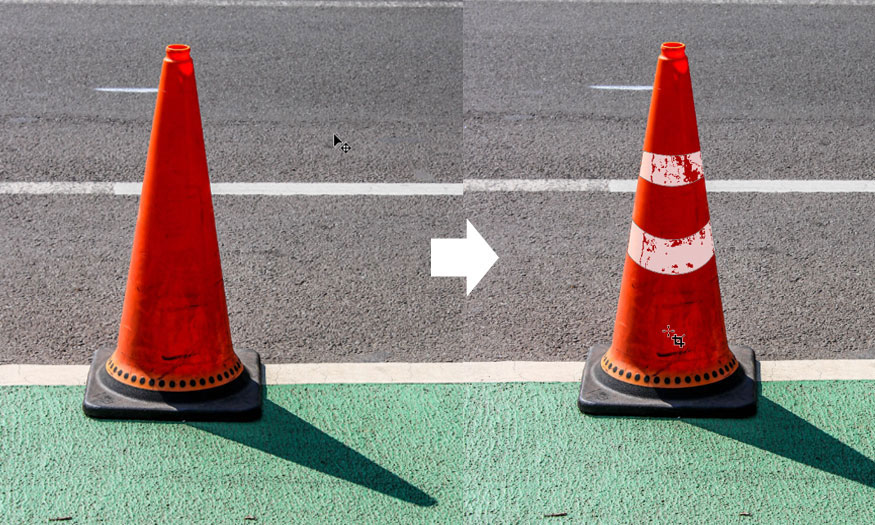
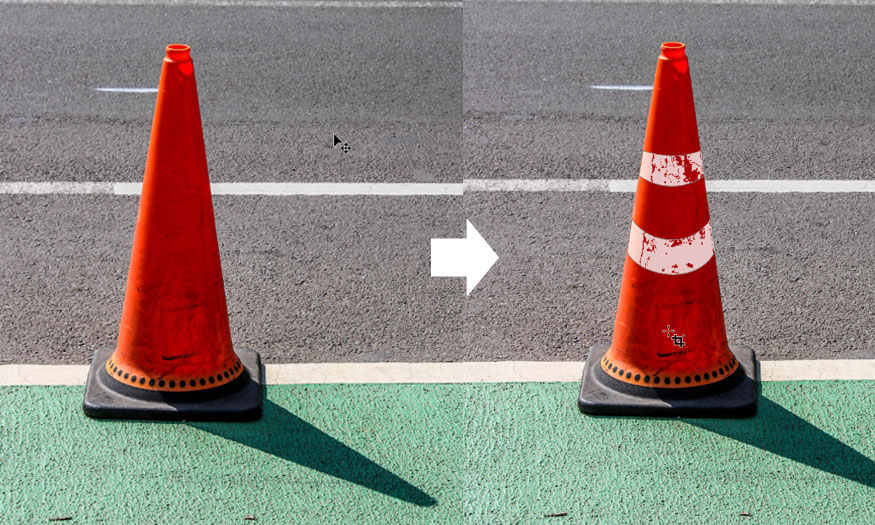
With the Celynder tool in Photoshop, you can completely create extremely realistic reflective lines for your traffic warning posts. Let's refer to the detailed implementation through the sharing of Sadesign right after this.
1. What is the Celynder tool in Photoshop?
Cylinder is a tool in Photoshop's Transform Warp. With Cylinder, Photoshop is introducing the ability to transform cylinders allowing you to bend flat documents into round cylindrical surfaces. In addition, you can change the size and control the perspective so that the entire selection can fit naturally.
This tool is most suitable for packaging design work, especially the step of inserting images into round cylindrical products.
2. Steps to create reflective lines for traffic warning posts using the Celynder tool in Photoshop
Do you have a photo with a traffic warning cone but no reflective lines? Don't worry, you can completely add reflective lines to the warning post yourself using the Celynder tool in Photoshop. Please refer to the following basic steps.
Step 1: First, you need to open the photo with the traffic warning post that needs reflective lines. On the menu bar, select File => Open => select the appropriate photo and then press Ok. Or use the key combination Ctrl + O and then select the necessary photo.
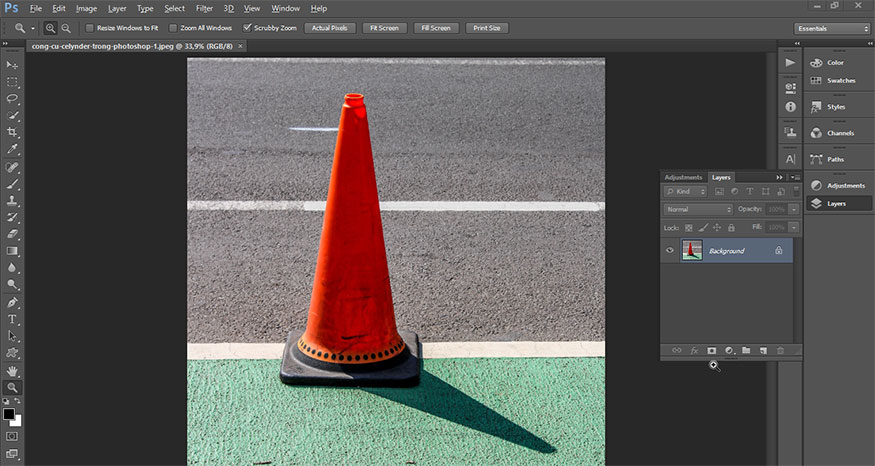
Step 2: On the toolbar, set the foreground color to white, the background color to black. Then select the Rectangle Tool and draw a rectangle across the warning post.
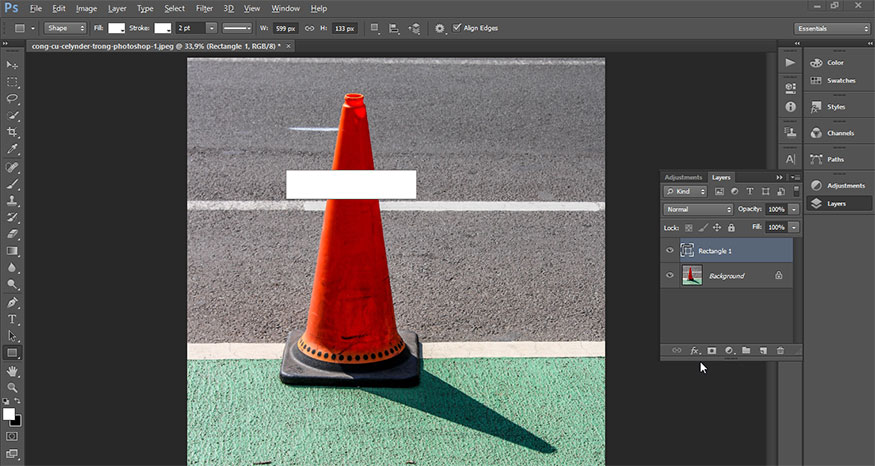
Step 3: At the rectangle layer just created, press Ctrl+J to duplicate the layer. Now we will have 2 rectangles. Use the Move Tool on the toolbar to drag the copied layer down. Then press Ctrl+T to show the anchor points, drag the anchor points above or below so that the bottom rectangle is a little smaller than the top rectangle.
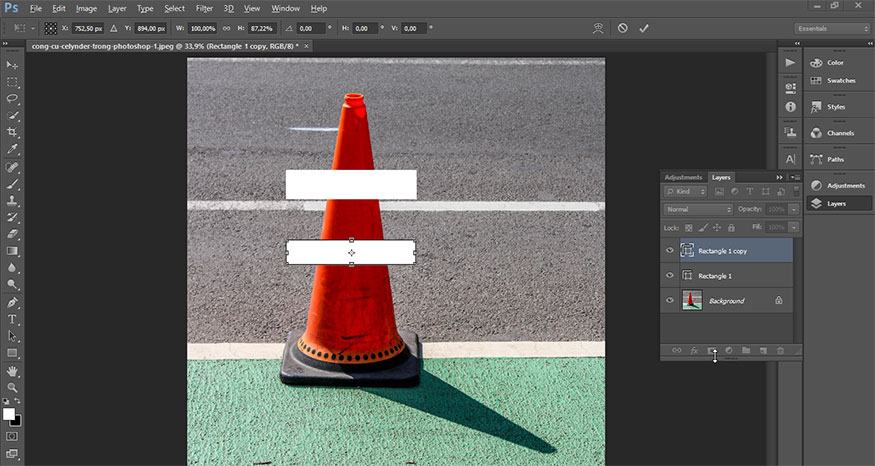
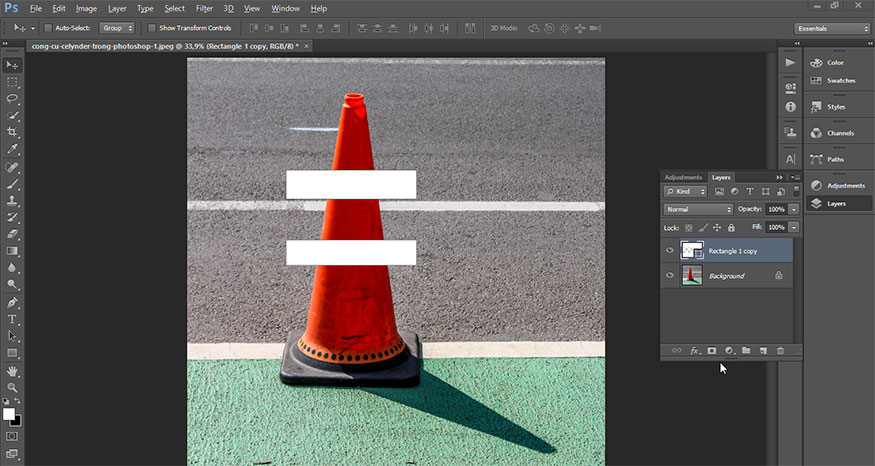
Step 4: Now we need to merge these 2 layers for easy manipulation. Click on the top layer, then hold Shift and click to select the bottom layer. Now we select 2 layers at the same time. Press Ctrl+E to merge the 2 layers into 1.
Step 5: At the merged layer, press Ctrl+T to display the alignment anchor points. Then right-click and select Distort.
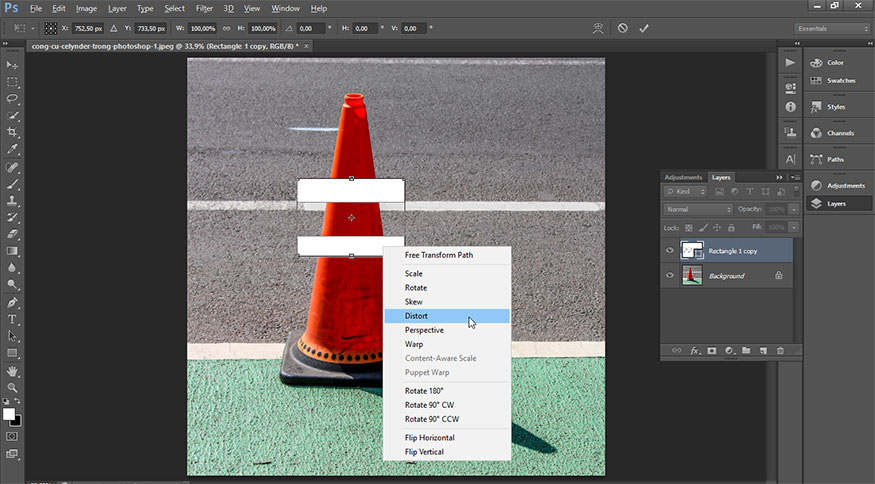
Step 6: Now we hold Shift, and at the same time drag the 4 anchor points to fit the column of the warning post.
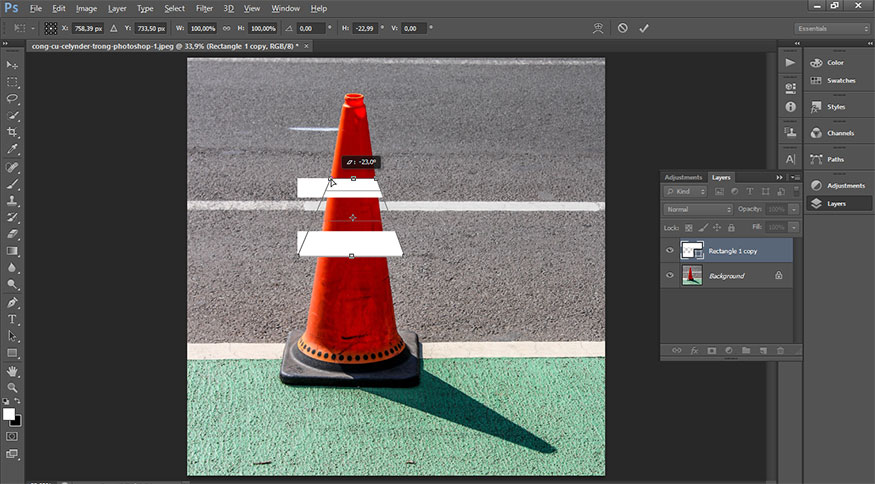
After dragging all 4 anchor points, we will get the result as shown.
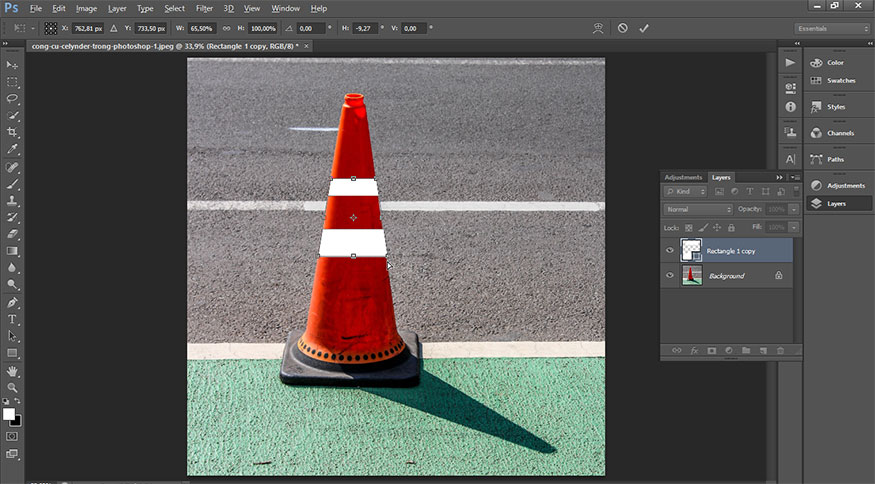
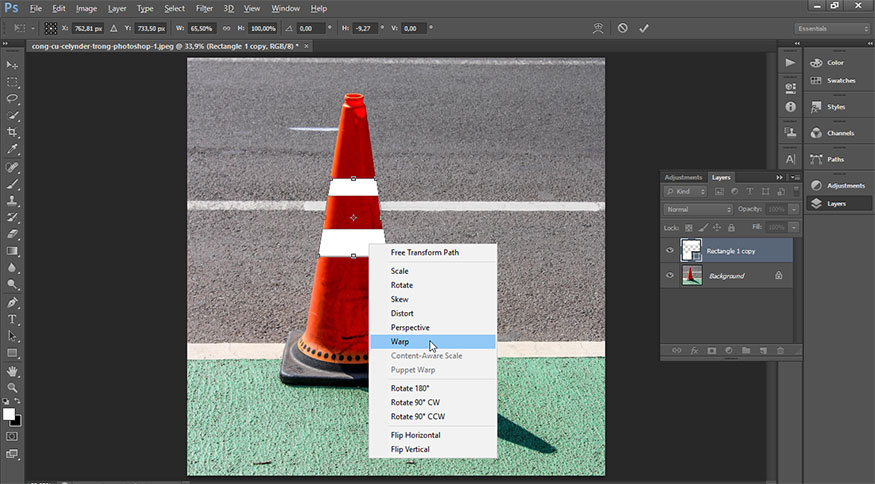
Step 7: Now you continue to right-click on the notification cylinder and select Wrap.
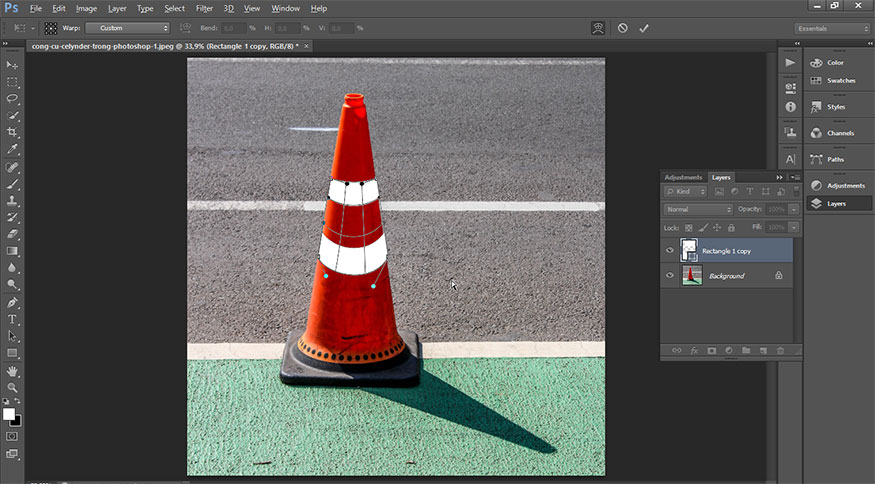
Step 8: In the top Options bar below the menu bar, select Celynder. If your Photoshop version does not have this tool, you can select Custom and adjust the anchor points yourself so that the reflective line is slightly curved as shown in the image below.
Step 9: Now we have almost basically created a reflective color line for the warning post. You just need to add a blending mode for more realistic colors. In the merged layer in the layer panel, right-click and select Blending Option…
.jpg)
Step 10: At this time, the Layer Style panel will appear, adjust the Underlying Layer slider at the end so that the reflective stripe looks most realistic. You can also reduce the Opacity a bit to make the design look most realistic.
(1).jpg)
So you have finished designing the reflective part for the traffic warning post using the Cylinder tool in Photoshop. The implementation is not difficult, right?
The above is a summary of the steps to apply the Celynder tool in Photoshop to a specific design. With this tool, designing packaging on round cylinders becomes simpler than ever. Let's try it now. Hopefully these shares will be useful to you.

Installation and support contact information:
🏡 SADESIGN Software Company Limited
📨 Email: phamvansa@gmail.com
🌍 Website: https://sadesign.ai


.png)


