Best Selling Products

Genuine Adobe Illustrator account
99 USD

Copyright Adobe Lightroom Account
59 USD

Plugin Retouch4me
69 USD

MidJourney Account
29 USD

ChatGPT Plus Account (GPT-4)
16 USD

Upgrade Duolingo Super
29 USD

Capcut Pro 1 Year
39 USD

Adobe Photoshop Copyright - Full App
120 USD

Autodesk All App Account Copyright
120 USD

Windows 10 & 11 Pro Key
36 USD

Upgrade genuine Capture One account
120 USD

Upgrade Genuine Office 365
49 USD

Adobe Premiere Pro Account
99 USD

Freepik Premium Account
59 USD

Genuine Cheap Canva Pro
39 USD
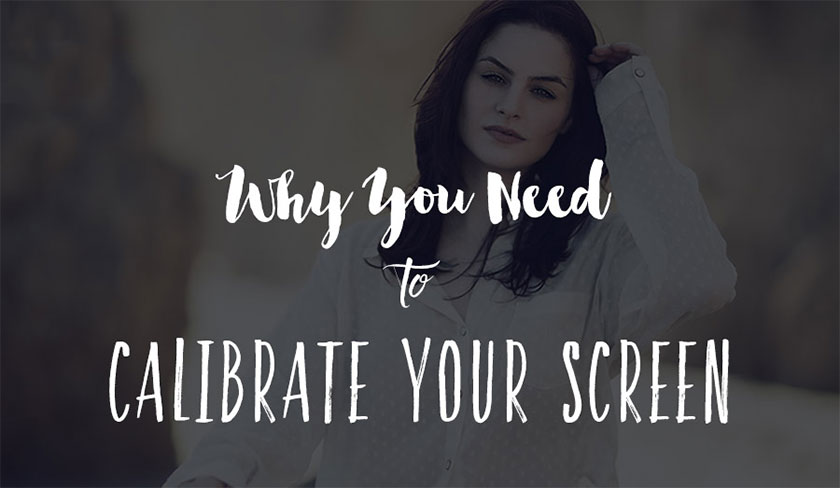
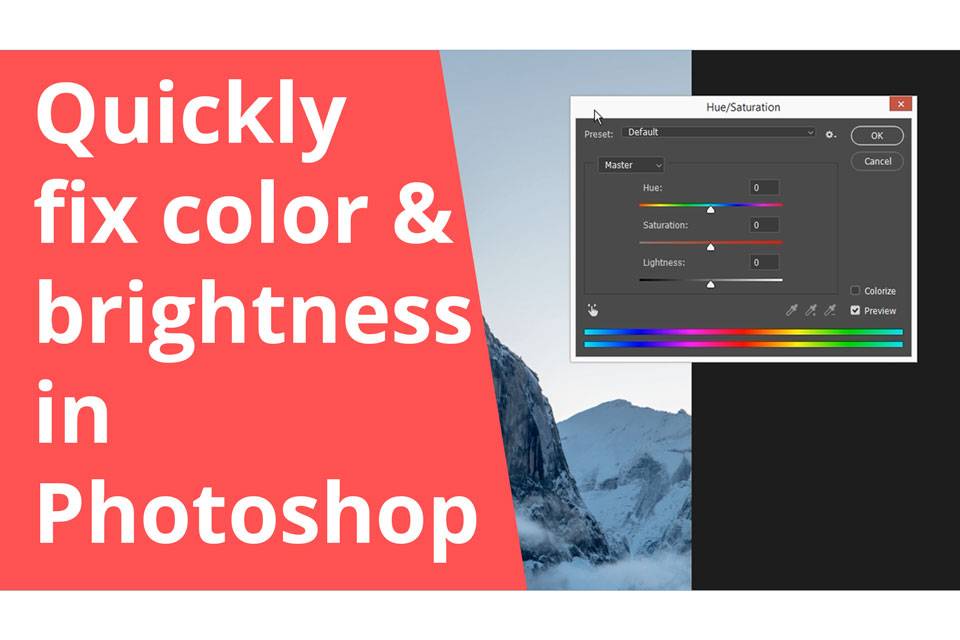
Color and Brightness: Real-world color correction techniques
Nội dung
The issue of color and brightness, as well as real-world color correction techniques, is always a topic of interest to photographers. If you are also interested in this issue, please refer to the following share!
color and brightness in photoshopAn introduction to color and brightness
Occasionally, an image comes with complex color schemes that can frustrate you to retouch. For such cases, isolating the brightness and color components of the image and treating each component individually can be helpful.
First, we need to define the terms we are going to use.
Brightness
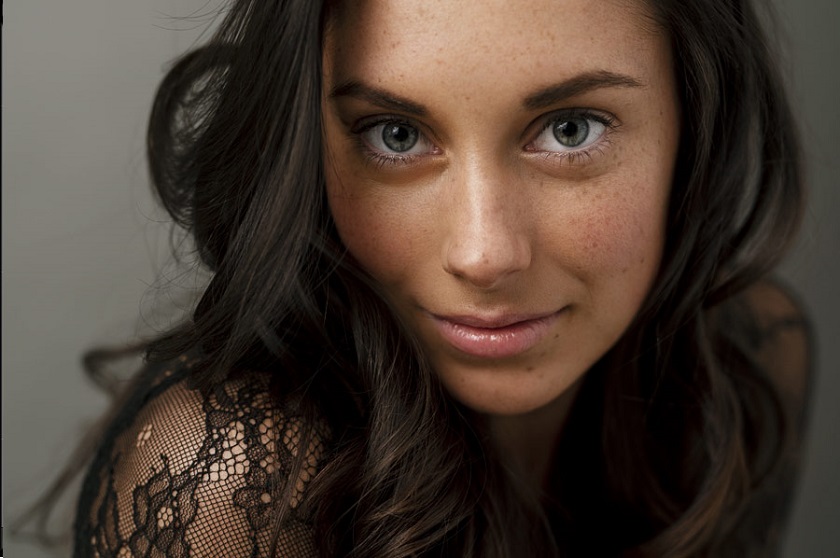
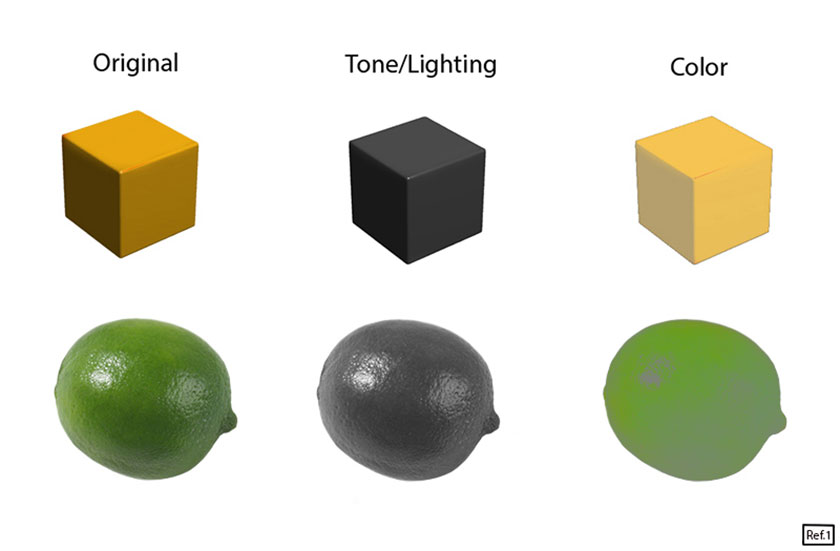
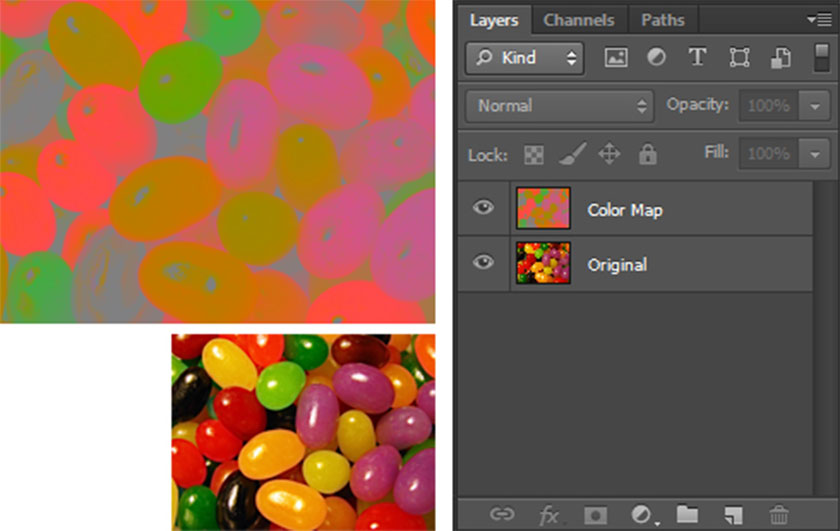
If you refer to the image below and look at the cube and the lime pad, you will see that the dark areas under the shadow are desaturated while the areas opposite the light source are significantly more saturated.
There is a gradient from saturation to desaturation that correlates well lit areas to shadow areas, except that the catchlight is pure white and therefore desaturated.
Due to excessive Dodging & Burning during real-world editing, highlights often appear as unsaturated highlights and oversaturated shadows.
 Brightness
To fix this problem and help with image management, isolating Brightness from Color and working on Color first can make things a lot easier. This is usually the point in your workflow after the bulk of Dodging and Burning is done.
Color
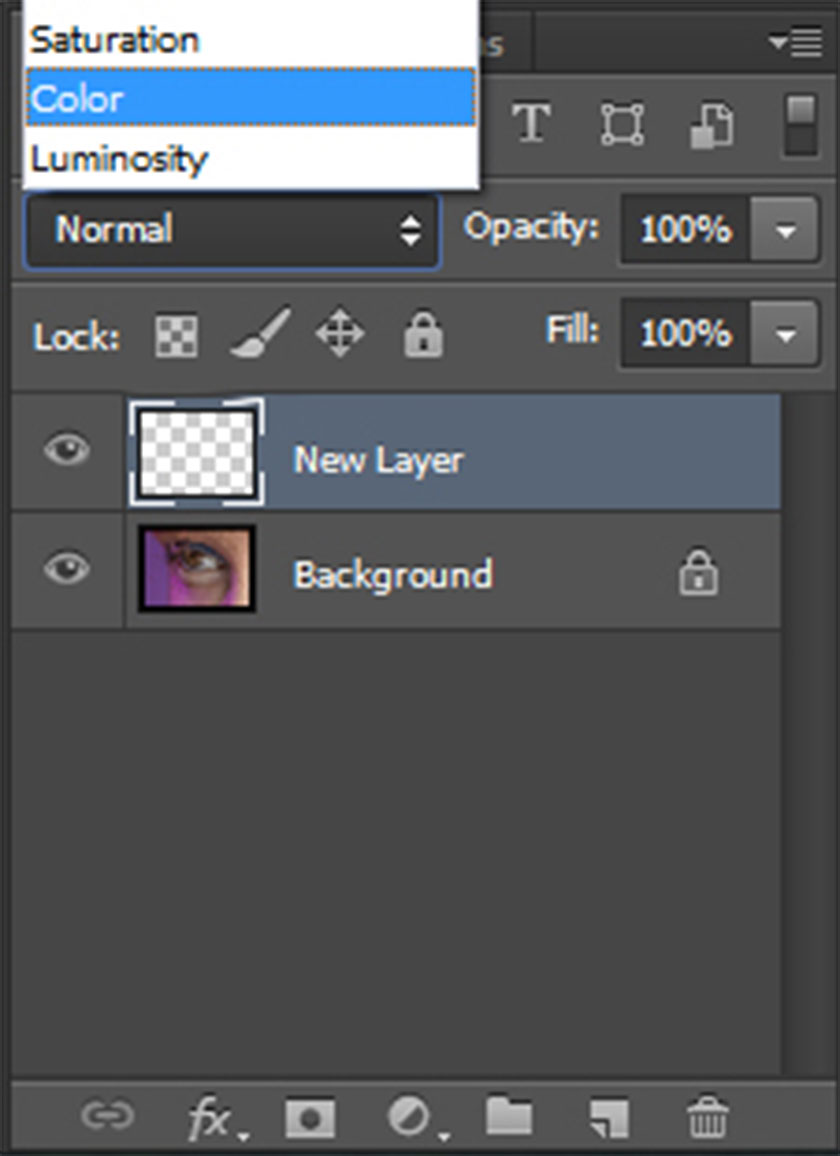
In situations when you need to sample an exact color (Hue and Saturation), creating a Color Map will help you get the most accurate results.
To do this, first duplicate your flattened image into a new layer.
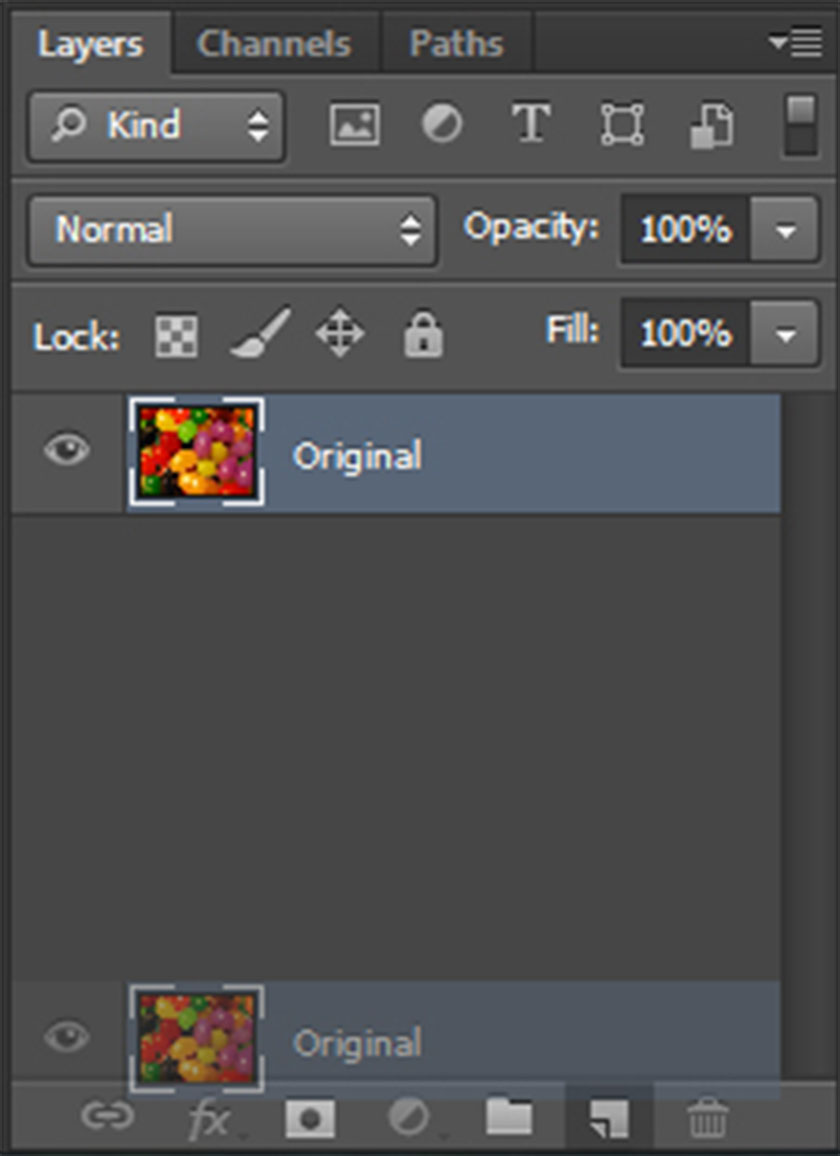 copy the image into a new layer
Set the Blending Mode of this new layer to Color.
Create a new layer between the original layer and the Color layer. Fill this new layer with 50% gray (or RGB = 128, 128, 128).
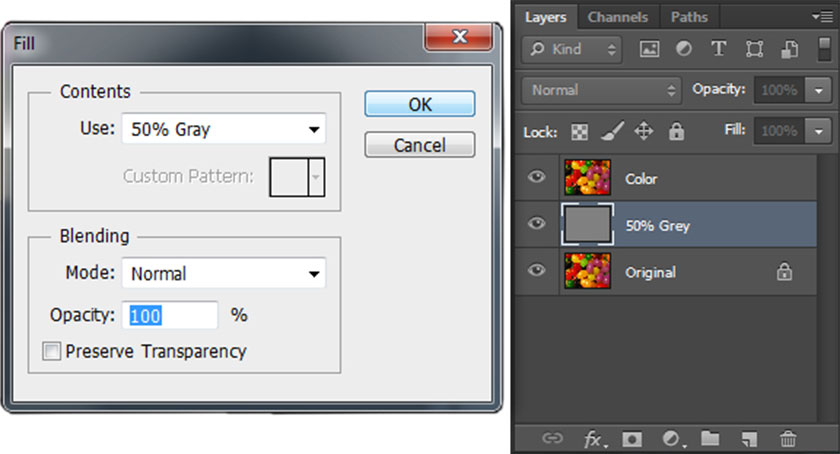 new layer coloring
Merge the “Color” and “50% Gray” layers together. The resulting layer is a complete Color Map of your image, which when you need to extract an exact color, it's ready for you to sample from.
 merge color layers
If you just want to see a temporary colormap and don't need a flat copy, then you can simply create a 50% gray layer over your image and set it to luminance.
Color correction in real world editing
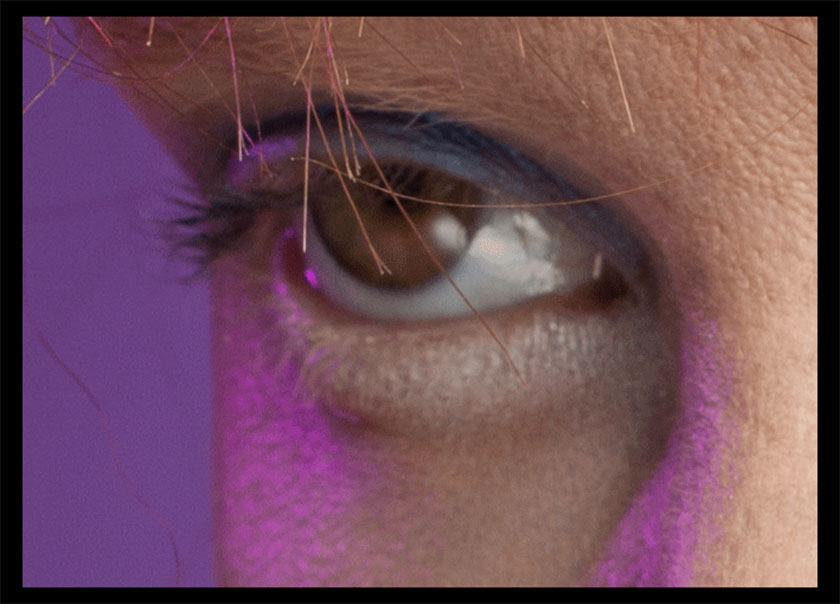
When it's time to do color correction, the best way to achieve natural looking results is to paint with a low opacity Brush on an empty layer set to Color Blending Mode. I prefer the results from this technique over others, because most of the natural color variations are preserved.
First, create a new layer on top of your file and set the layer mode to “Color”.
 set layer mode to color
Next, sample from the extreme points of your image's color range, as sampling from the image's natural palette will achieve better results. This is where you can use the Color Map we just talked about above, if you want accurate color sampling.
Then select the Paint Brush tool, set its Opacity to 10% and paint over the empty color layer.
The following GIF files will cycle between:
Image 1: Original color of the edited image
Image 2: Adjusting the color layer
Image 3: Retouched image after applying color correction.
Watch closely, as the changes are intended to be small.
Remember, this technique is only for minor adjustments. Therefore, use it carefully!
As such, the above article has introduced users to the basics of color and brightness, as well as real-world color correction techniques. From there, apply to your photo editing work.
See more How to paint and shape eyebrows in Photoshop


VIP Products


Best Selling Products
Genuine Adobe Illustrator account
99 USD
Copyright Adobe Lightroom Account
59 USD
Plugin Retouch4me
69 USD
MidJourney Account
29 USD
ChatGPT Plus Account (GPT-4)
16 USD
Upgrade Duolingo Super
29 USD
Capcut Pro 1 Year
39 USD
Adobe Photoshop Copyright - Full App
120 USD
Autodesk All App Account Copyright
120 USD
Windows 10 & 11 Pro Key
36 USD
Upgrade genuine Capture One account
120 USD
Upgrade Genuine Office 365
49 USD
Adobe Premiere Pro Account
99 USD
Freepik Premium Account
59 USD
Genuine Cheap Canva Pro
39 USD