Best Selling Products
Learn Adobe profiles with the Capture One color curve
Nội dung
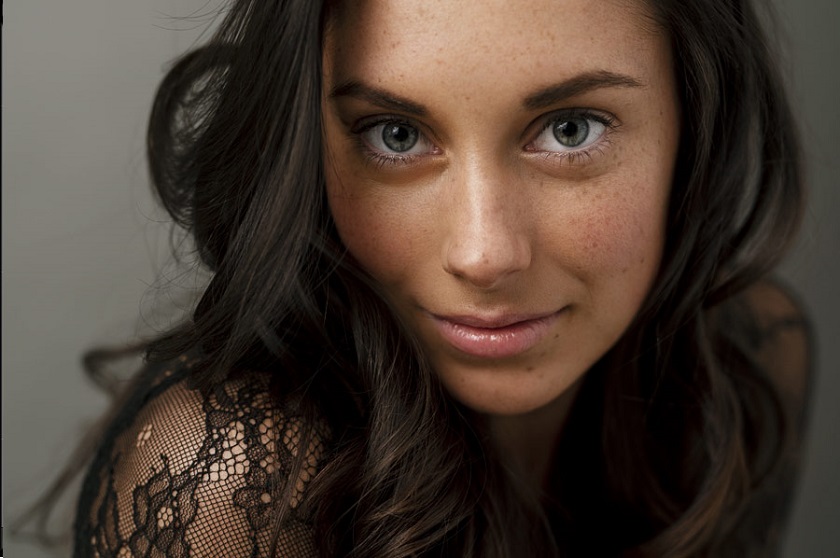
Color is a very complex subject in the field of photography, in order to have a beautiful color art, we need to use editing software to make them better. In this article, SaDesign Retouching will compare the new configurations from Adobe with the color rendering of Capture One.
 Adobe profile
What is Adobe?
Adobe is known as a large corporation in the field of software production in the world with many different software. From graphic design, editing, web design, and digital marketing management, ...
Adobe recently released a significant update to Camera RAW and Lightroom in the form of "Profiles". These profiles determine how the software renders colors during the original RAW conversion.
Adobe currently has 6 profiles to choose from:
- Adobe Color
- Adobe Neutral
- Adobe Vivid
- Adobe portraits
- Adobe Landscape
- Adobe Standard (still, but no longer the default)
Before we compare the two, it's essential to differentiate: Adobe and Camera Matching profiles are not the same. This Camera Matching profile tries to match the camera manufacturer's color interface in specific settings, while Adobe Profile is how they interpret the color data of an image.
What is Capture One?
Capture One is designed specifically for creating high-quality images, and it also has a variety of tools that are easier to use. It is known for its exceptional image color processing capabilities.
When it comes to color rendering, Capture One is often considered king. In Capture One, the color rendering can be adjusted via the "Color Panel" using the "Curves" found in the submenu of the "Basic Characteristics" pane. Capture One also has 6 variations for you to choose from as follows:
- Auto
- Film Extra Shadow
- Film High Contrast
- Film Standard
- Linear Response
- Portrait
The purpose of this article is not to go into the tool's part about how colors are interpreted and displayed between Adobe and Capture One's tools, but rather to compare the aesthetic differences between the two. Tools as shown below:
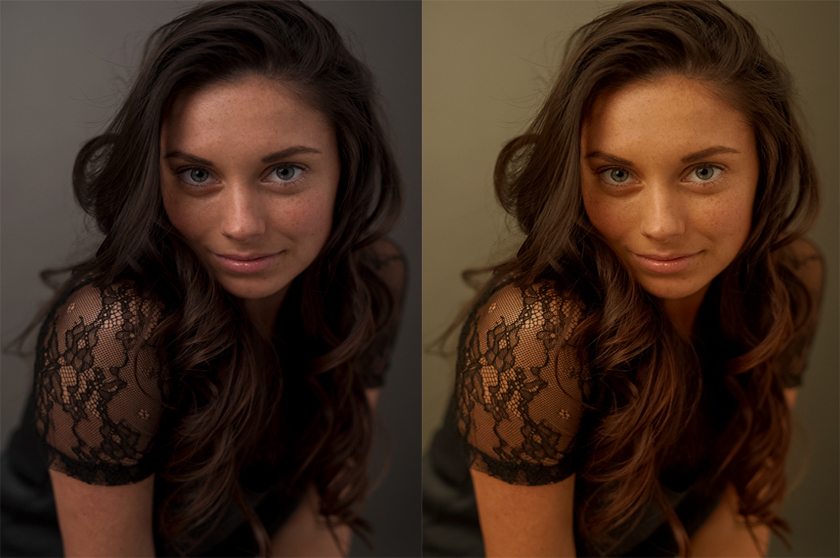 Adobe profiles with the Capture One color
Here, you can preview the same image with all 6 of Curves C1's renderings:
 6 of Curves Capture One
Now let's compare Adobe's new Profiles.
 Adobe's new Profiles
While I think the difference is quite dramatic, I find that for this particular image the Adobe profiles are more accurate and more realistic, while the Capture One appears to have color saturation. taller, may look a bit unnatural. There are other factors to consider when it comes to color rendering, such as camera settings and lighting settings, so results may vary.
The examples above have no modifications to be made other than changing the Adobe Profile or Capture One configuration. However, one thing to keep in mind is that the Capture One files are twice the size of Adobe after saving the image. At this point, the cause of that file size increase is still considered.
Summary:
- If Capture One is considered as a dynamic modern developing city, Adobe is the capital of a long-standing sustainable development foundation.
- If One Pro is compared to a modern dynamic developing city, Lightroom is the capital with a long and sustainable development foundation. Considering the process of formation and development of giant Adobe has also been a testament to the effectiveness of Lightroom in post-production editing, as its name suggests, but even so, One Pro still has. There is a huge advantage in capturing and editing directly during shooting, so the post-production process after that is much lighter than Lightroom.
- If you need good pre-post-production images, One Pro is a good choice, but if you want good post-production images, Lightroom is the best choice.
- Each configuration has its own advantages, as long as you have a good understanding of these software, image editing will be simpler and better blending between colors.
Which profile do you prefer: Adobe profile or Capture One color curve? Go ahead and tell SaDesign Retouching the opinions of those two configurations.
See more Similarities and differences between Camera Raw and Capture One


