Best Selling Products
Create light rays in Photoshop
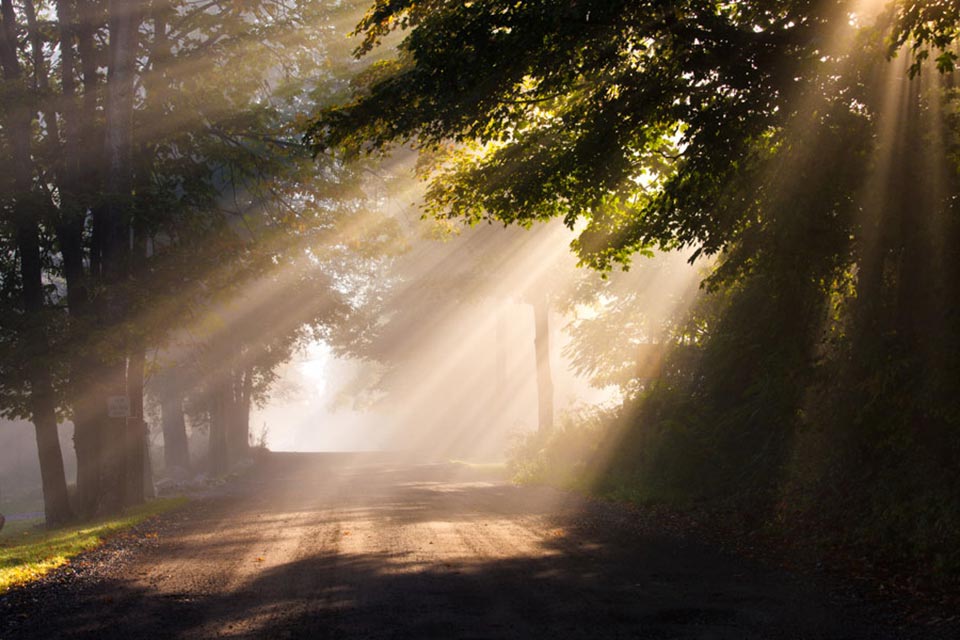
Beautiful nature photos often capture beautiful moments of sunlight or light. If you do not have the opportunity to capture these natural moments, you can completely create light rays in Photoshop with just a few simple steps in the following article.

In the following article, we will guide users on how to create the most beautiful and natural light rays.
Taking photos of light rays on phones and cameras
To be able to take photos of light rays with your phone, you should take them early in the morning. To ensure you get a photo with beautiful light rays, you should pay special attention to areas with lots of trees in the early morning, especially after a rain, the probability of them appearing is up to 70%. To take photos of nature with beautiful light rays with your phone, you should pay attention when taking photos as follows:
Be careful to keep the camera lens free of fingerprints or scratches to avoid affecting the sharpness of the photo when taking it.
You should take photos in the early morning or late afternoon, especially on foggy days or early morning sunshine after rain. This time you will be able to capture moments with extremely beautiful sunray effects.
When taking pictures, hold the camera firmly to ensure that it does not shake, causing the photo to be blurry and unclear.
When taking photos, you should not use the zoom feature on your phone, because it will make your photos broken and worse.
Pay attention to different angles to create beautiful scenes.
Color correct your photos.
If you use a camera, pay attention to closing the aperture to around F/8-F/11 to create beautiful light rays. Depending on each lens, you can close the aperture appropriately to create the most beautiful effects.
How to create light rays in Photoshop
(1).jpg)
To be able to create light rays with photoshop , you should use a plugin called Digital Film tools ray . If you have not downloaded this plugin, you need to download it to be able to make edits. After downloading, install it like other plugins. When you go to the filter section, if it is not there, go back to drive C and copy the folder and paste the plugin folder so that they appear on the photoshop filter. The steps to create light rays in photoshop are as follows: Step 1 : Open the photo to be edited. Then create a new blank layer, you can name it " ray layer ".
(1).jpg)
Step 2 : Reset the 2 default colors, Foreground is white, and Background is black. Next, select Filter => Render => Clouds .
.jpg)
Step 3 : Select Image => Adjustment => Threshold . Then, click OK.
.jpg)
Step 4 : Select Filter => Blur => Radial Blur . In the dialog box that appears, set the following parameters:
Amount = 84
Blur Method = Zoom
Quality = Good
.jpg)
You proceed to adjust the center of the light beam as you wish. Specifically, as in the picture, we need to adjust the center of the light beam to the left corner of the screen. See more: Create sunbeams in photoshop
.jpg)
Then Click OK .
.jpg)
Step 5 : Change the ray layer created from step 1 to Soft light blending mode . Then, reduce Opacity to 77%, Fill to 94%, you can adjust these parameters to suit your needs.
.jpg)
Step 6 : Add a layer mask to the ray layer, then proceed to erase unnecessary areas to complete the work of creating light rays using photoshop.
.jpg)
Creating light for photos using photoshop is not too difficult, so just pay attention and learn a little and you can successfully create light rays for your photos, thanks to which the photos look beautiful, attractive and extremely realistic. Hopefully, with the information SaDesign has shared above about creating light rays in photoshop, it will help you have more necessary knowledge in editing beautiful photos, helping to breathe life into your photos more vividly. Wish you can successfully perform the steps to create light rays as instructed above.


